
Introduction
Radars seem pretty cool in movies. Not only are the cool, but also quite useful when you need to stay up the night and finish that book you started but also want to it to go unnoticed whenever mom or dad are around the room. The best part? It’s super easy to make! A few easily available components, evive, and some enthusiastic DIYing is all you need et voila! Nothing can escape your eyes and ears now!
Want to know to make one? Hop on board!
Making
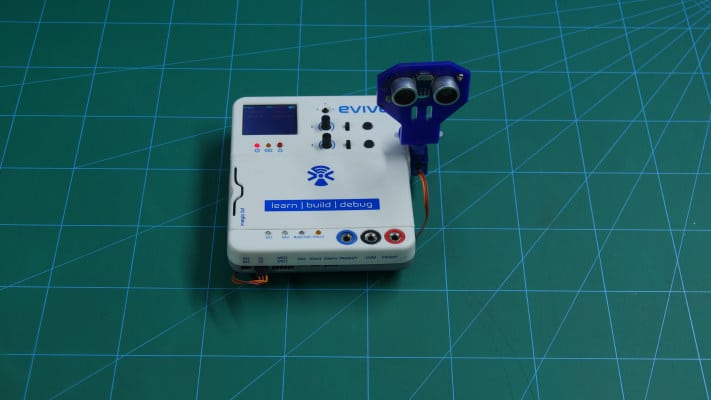
Take the Servo, ultrasonic sensor and the ultrasonic sensor holder.
Now, ultrasonic sensor and fasten it to the holder using self-threading screws.
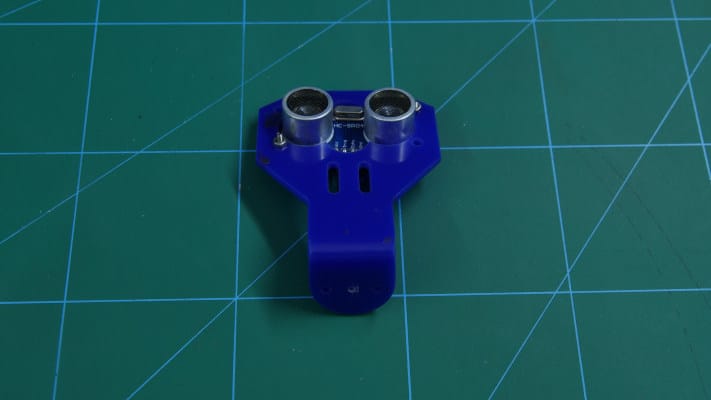
Once done, take a servo horn and fasten it to the sensor holder base using self-threading screws.
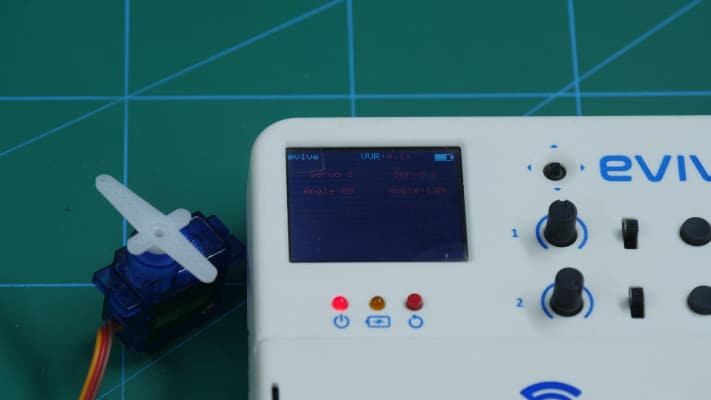
Now take the servo motor and connect it to evive’s servo channel 1. Then from the menu, navigate to Control > Servo Motor > Servo 1 and set the angle to 90 degrees using potentiometer 1.
Then, upon the Ultrasonic Holder glue the servo horn.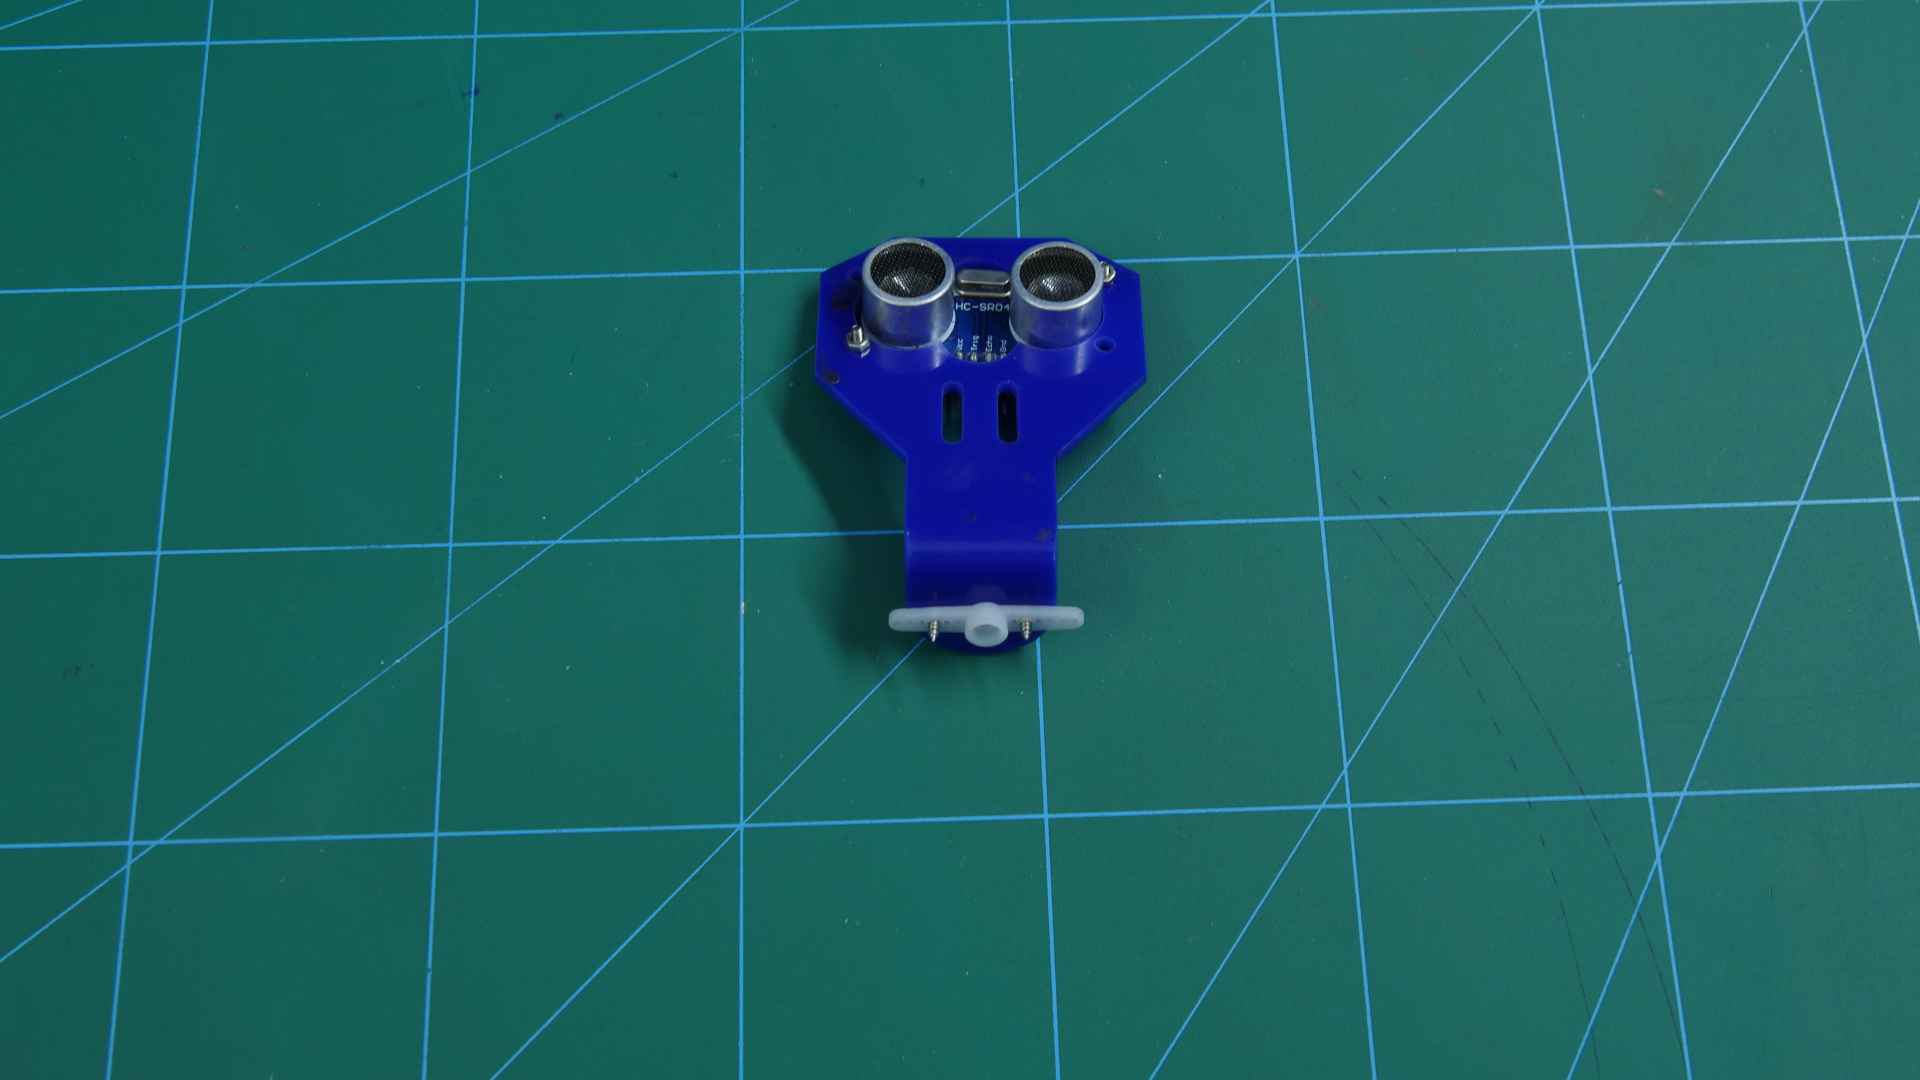
Finally, fasten the servo horn to the servo head at the base of the sensor holder.
Our assembly is now complete.
Make the connections and insert the code as given in the following steps.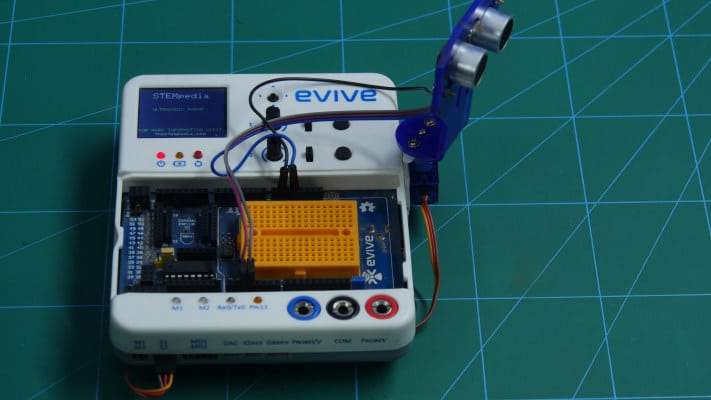
Connections
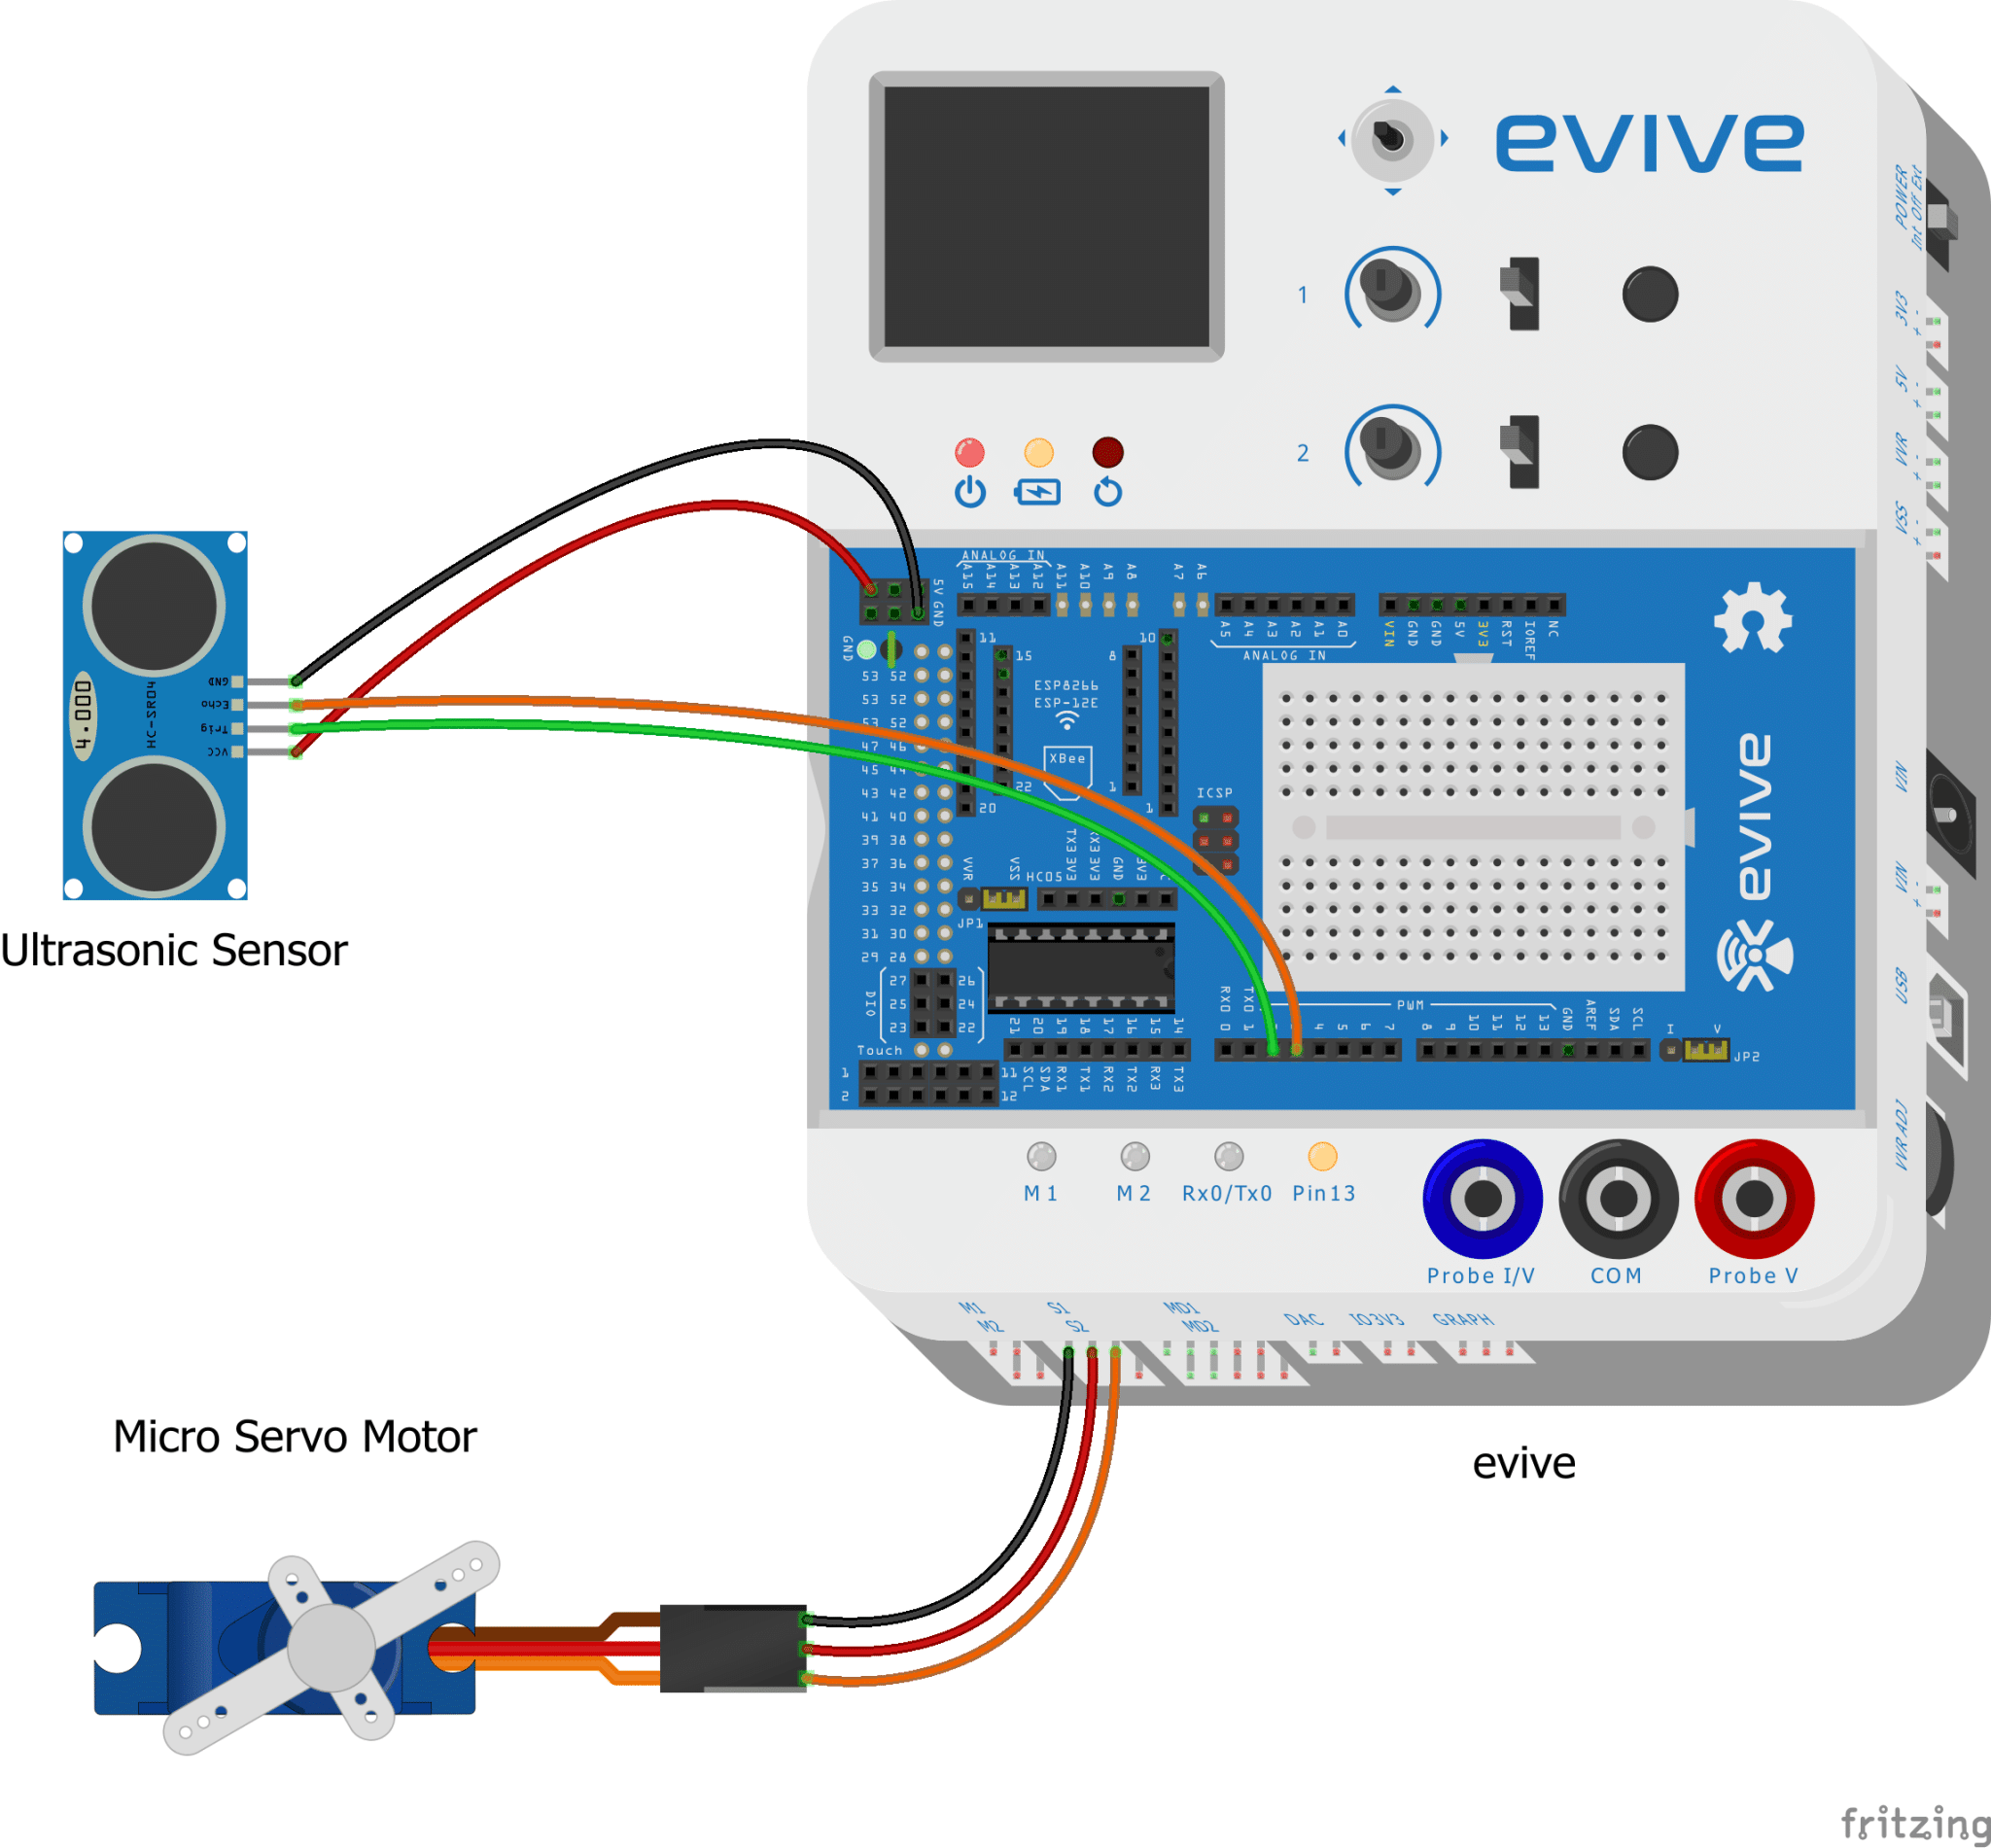
Make the Connections as shown:
- Servo – S1 of evive
- Ultrasonic Sensor
- VCC – +5 V of evive
- GND – GND of evive
- Trigger – Digital Pin 2
- Echo – Digital Pin 3
Code
Upload the following Arduino Code to evive:
To plot the graph on the screen, upload the processing code which will help you plot the graph on the screen.
Logic
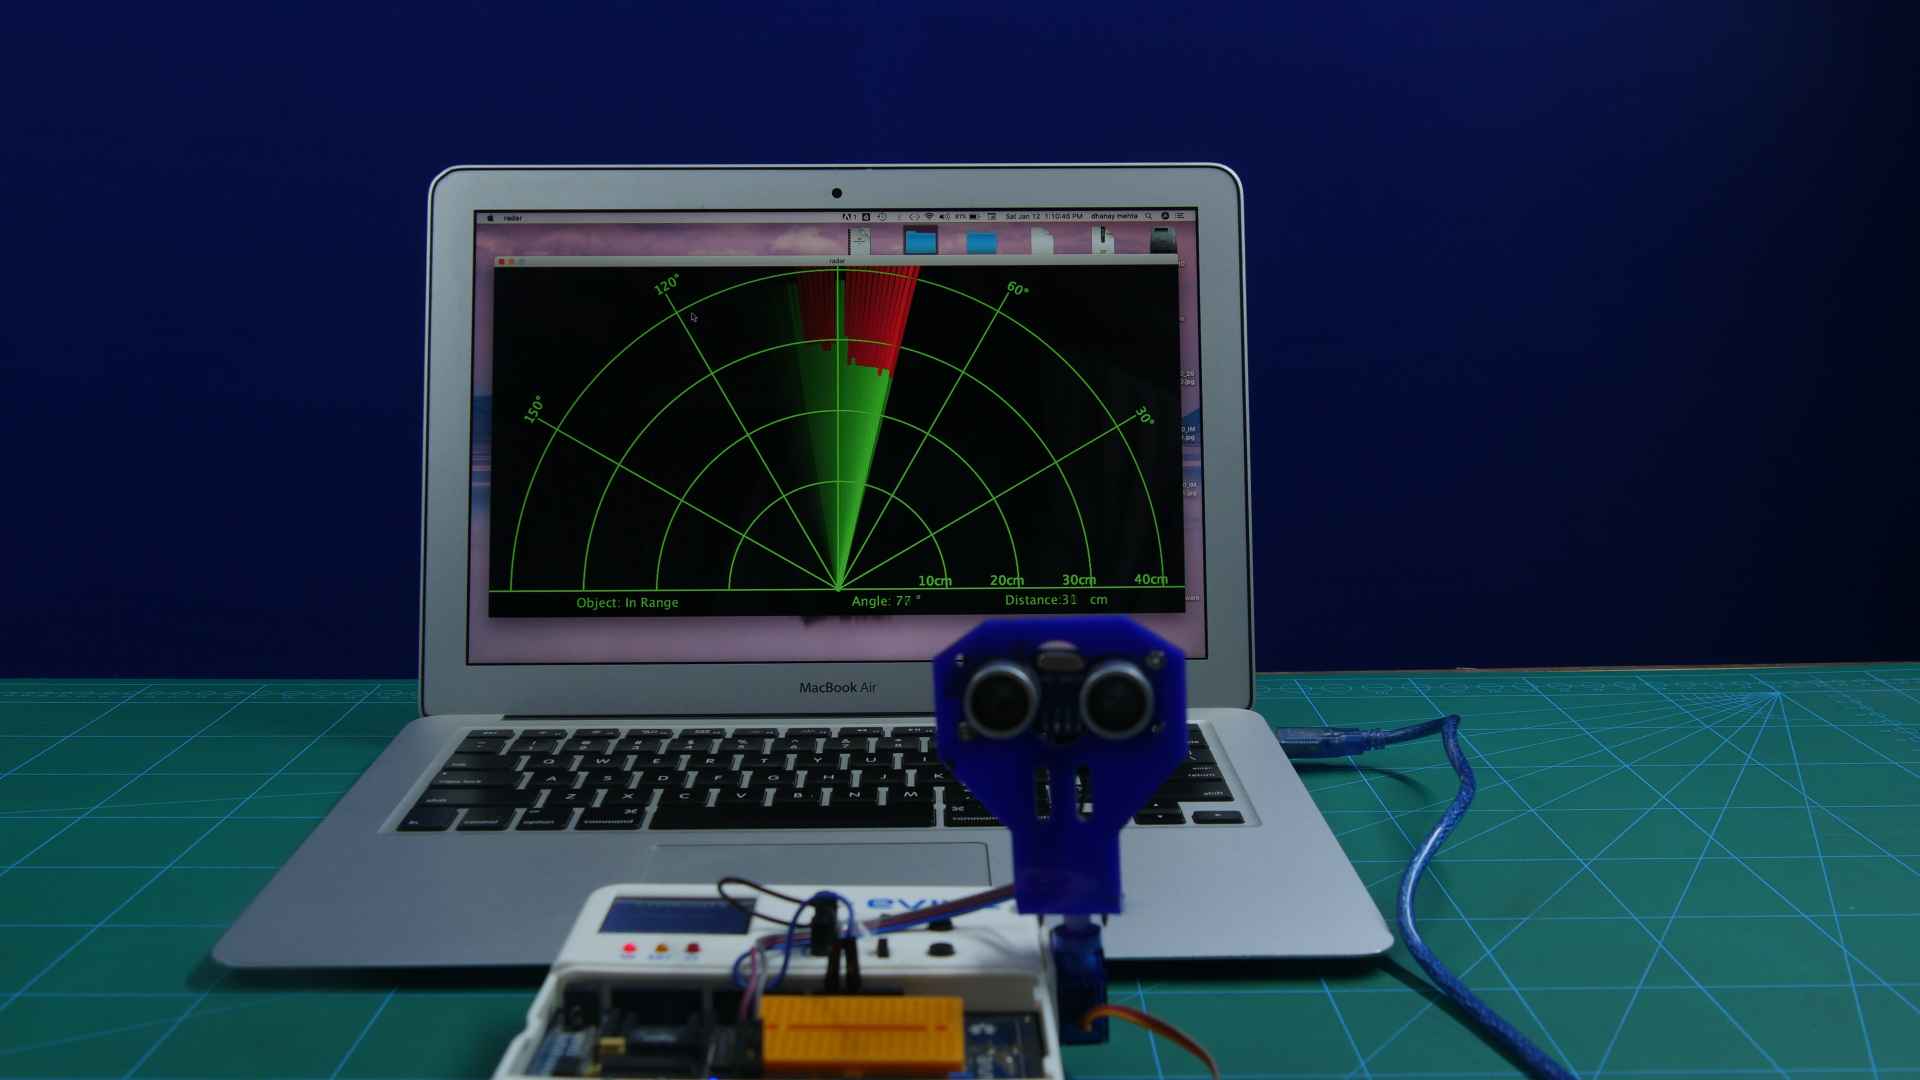
As we all know, the ultrasonic radar system senses the environment and sends the data to evive. This data is then plotted on the graph.
Whenever the sensor senses an object, it will send that data to evive.
This data is sent to the processing via Serial Monitor. The processing then calculates the data and accordingly plot the graph on the screen.
At some points, you may notice red lines on the graph. This indicates that the sensor has detected an object.
If there are just green lines, which indicates that there is no object present in this range.
Conclusion
With this, your ultrasonic radar is ready! Detect your enemy’s presence and save yourself from an ambush!


.mp4.00_00_00_00.Still001-c58cec4c")


