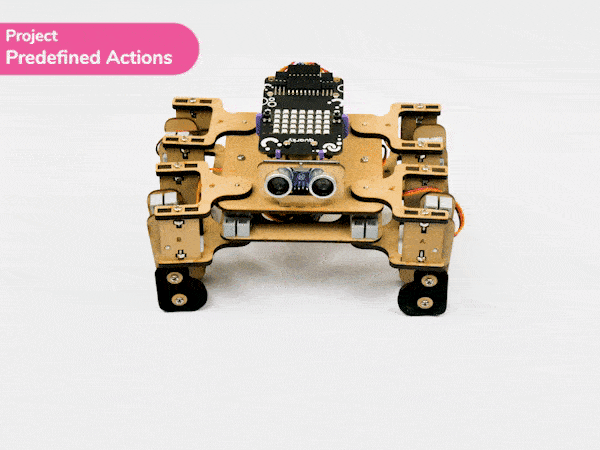
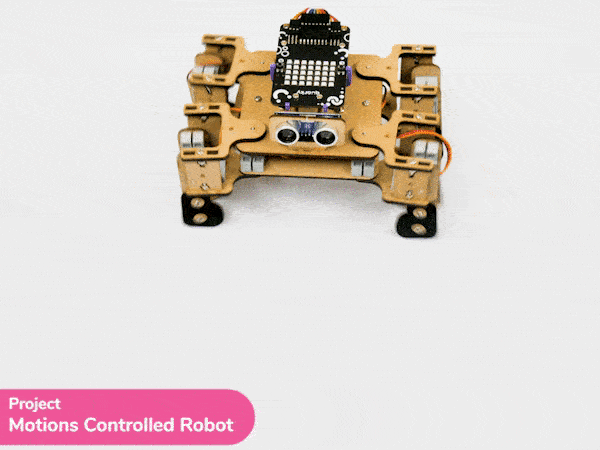
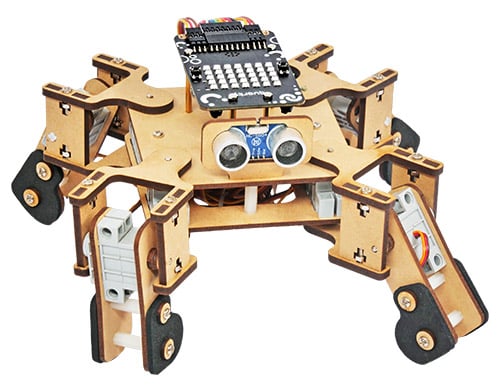
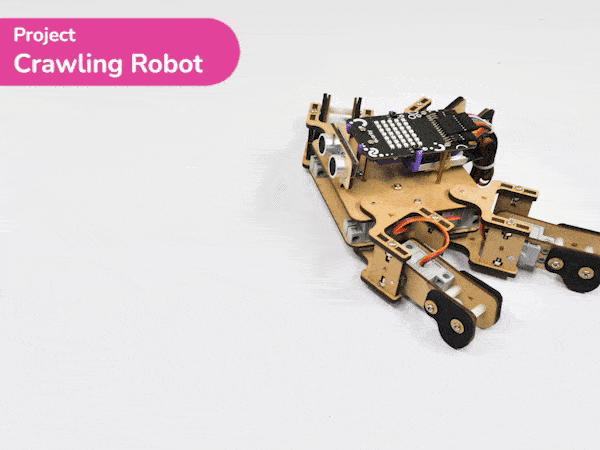
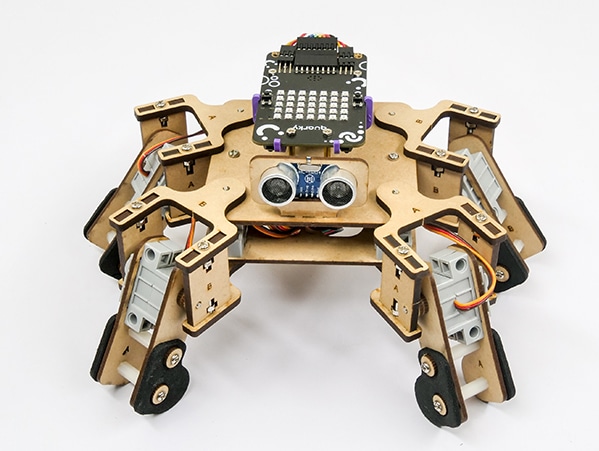
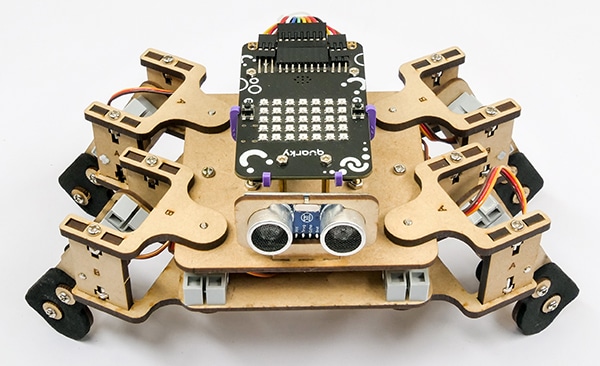
Introduction
In this example, you will understand how the oscillator concept is used to create smooth motions for the Quadruped robot. The oscillator is the primary component for making the smooth movements of Quarky Quadruped like walking or turning.

How does the Oscillator work?
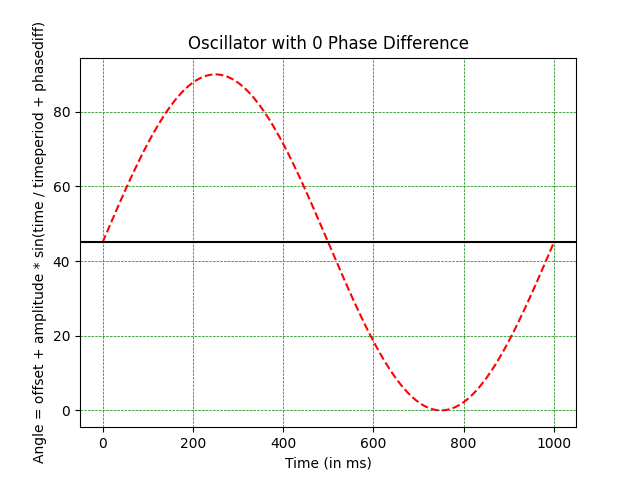
The purpose of the oscillator in the code is to generate a sinusoidal waveform that can be used to control the motion of a servo motor. The parameters of the oscillator are defined by the offset, amplitude, period, and phase difference.
- Offset: The offset is the starting angle of the servo motor (oscillator). It is the angle at which the servo motor starts moving.
- Amplitude: The amplitude of the servo motor (oscillator) is the maximum angle the servo motor can rotate.
- Period: The period is the total time taken by the oscillator to complete one full cycle.
- Phase Difference: The phase difference is the angular displacement of the oscillator from its starting point.
In mathematical terms, the servo angle is calculated using the following formula:
Angle = Offset + Amplitude * sin(Time / Timeperiod + Phasediff)
Single Servo Oscillation
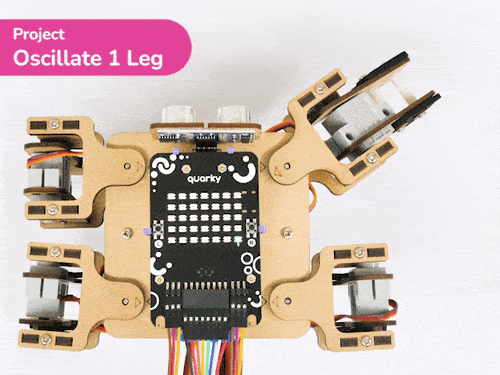
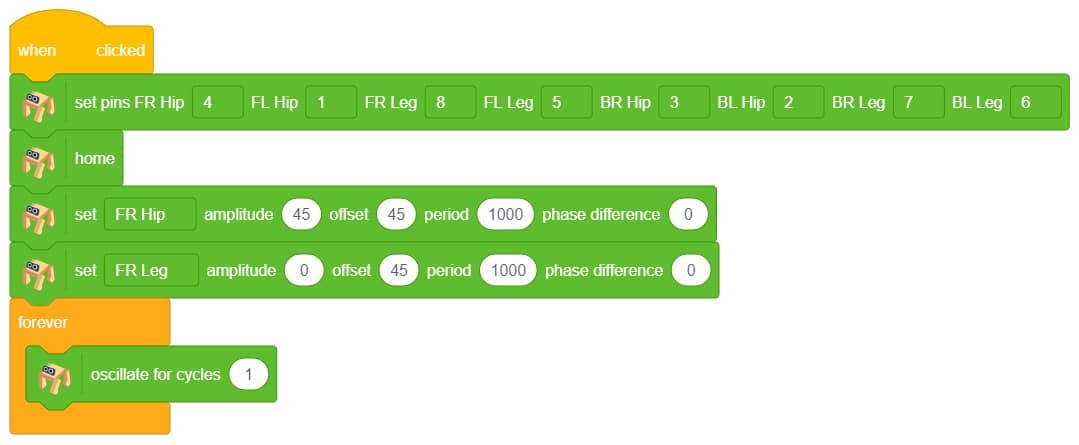
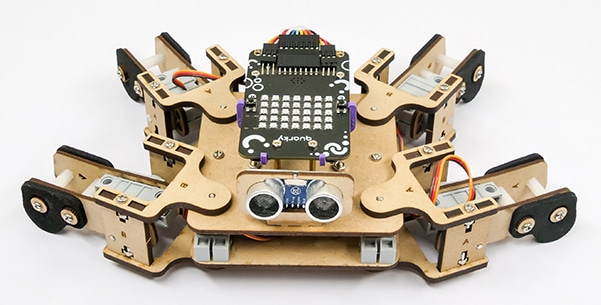
Let’s apply the concept of oscillation to the Quadruped. We want the front right hip servo to oscillate like this:
As you can observe, the following are the oscillator parameters that can be used to get the desired motion:
- Offset: 45 degrees
- Amplitude: 45 degrees
- Time period: 1000
- Phase Difference: 0 degrees
Look at the parameters carefully and see if you can understand how it works.
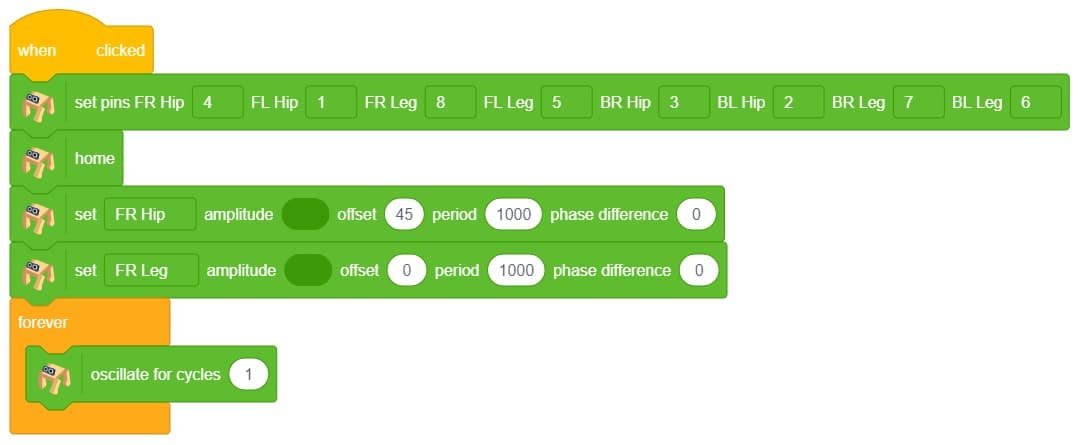
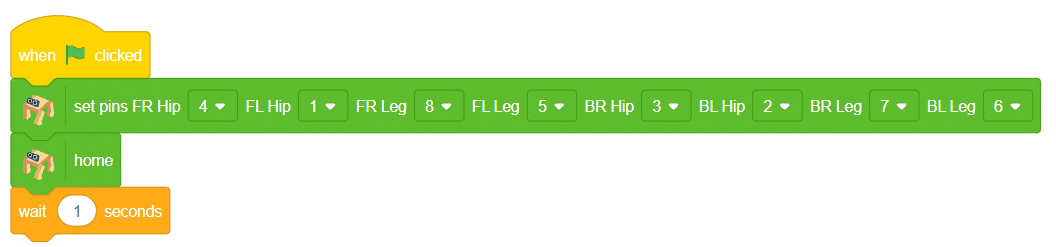
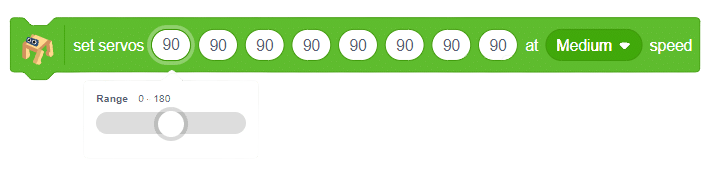
Now to execute the following on Quarky, we will the set () amplitude () offset () period () phase difference () which sets the oscillator parameters for the selected servo motor.

Next, we will use oscillate for cycles () block to execute the oscillator for the complete cycle for the specified cycle times.

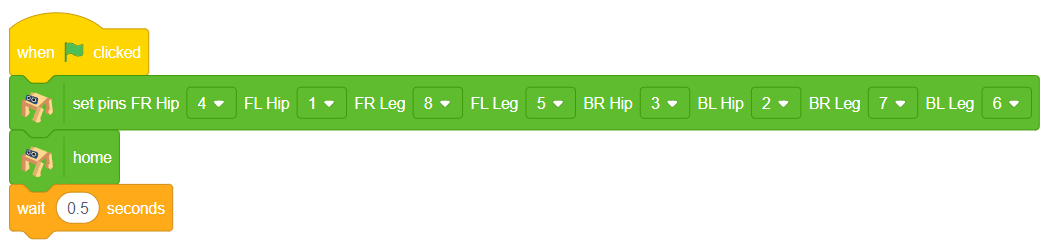
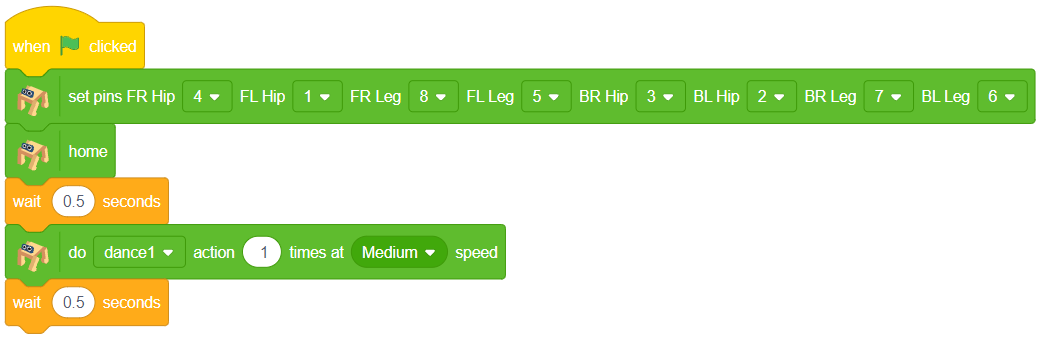
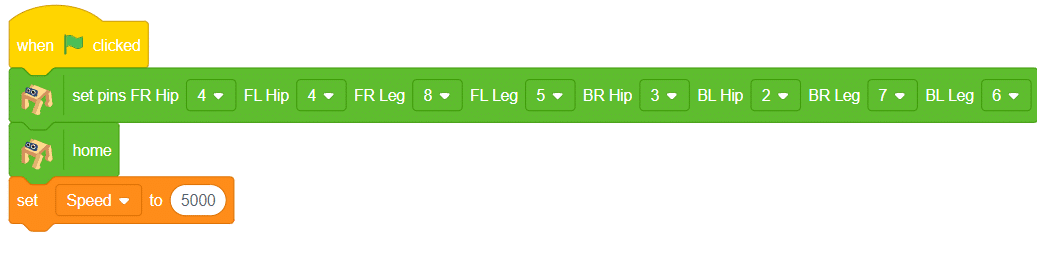
Create the following script:
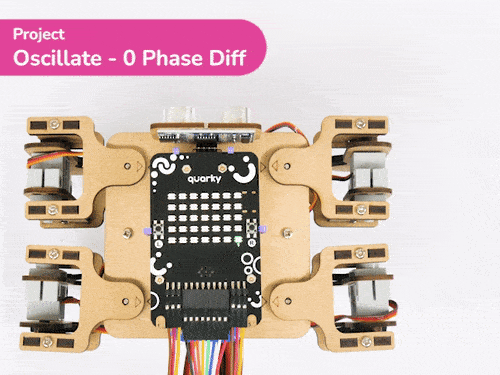
Click on the green flag to test the script:
As you can observe the servo motor start from 45 degrees and do 1 oscillation. You can observe the servo angle here:
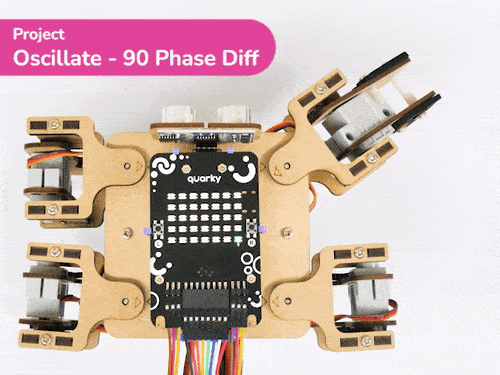
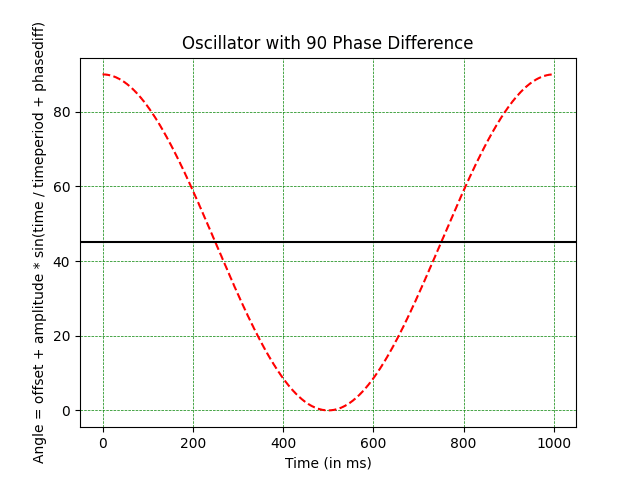
Single Servo Oscillation with Phase Difference
Let’s see how to use the Phase Difference to delay the move.
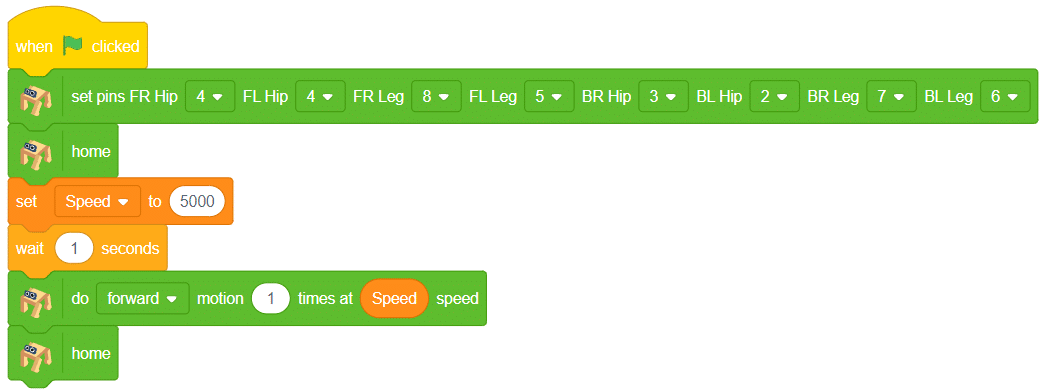
Create the following script:
Click on the green flag to test the script:
As you can observe the servo motor start from 90 degrees and do 1 oscillation. You can observe the servo angle here:
Hope you have understood the oscillator. Let’s change the difficulty level and try the oscillator on all servo motors.
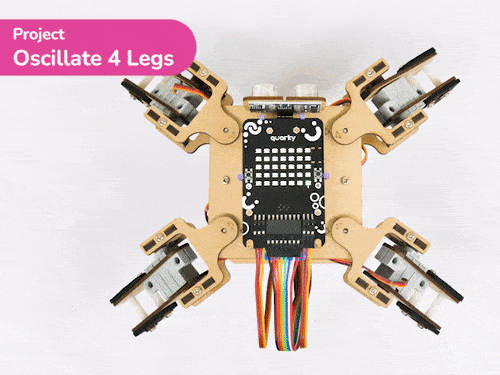
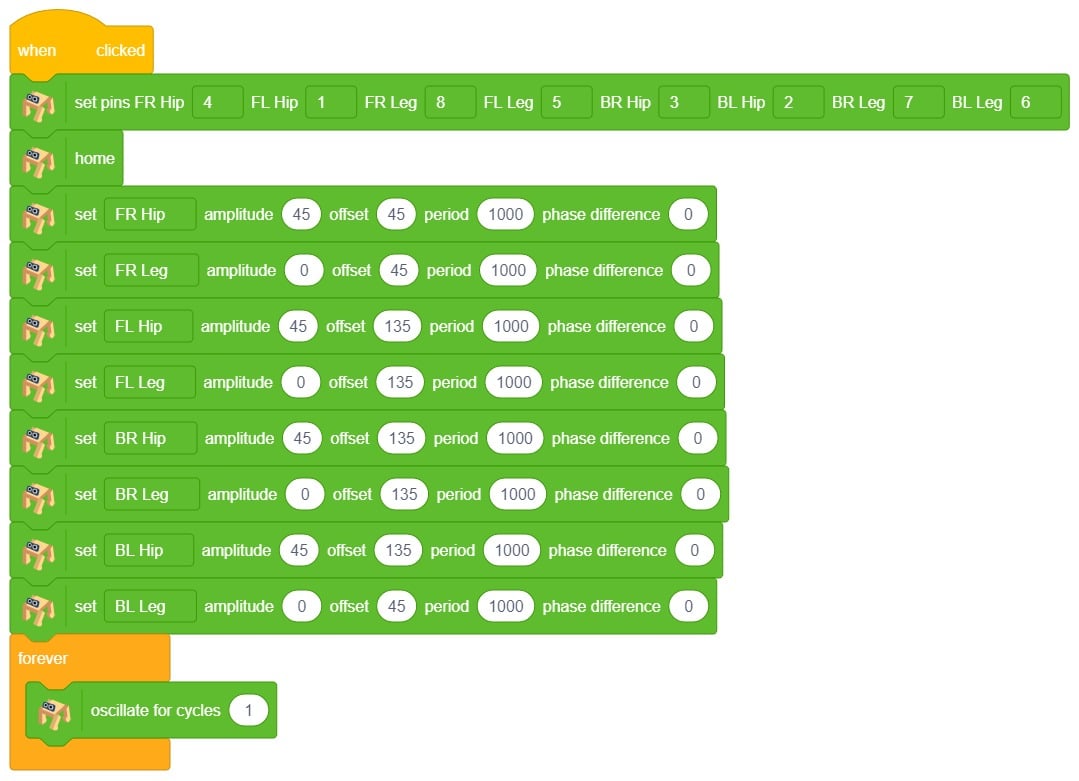
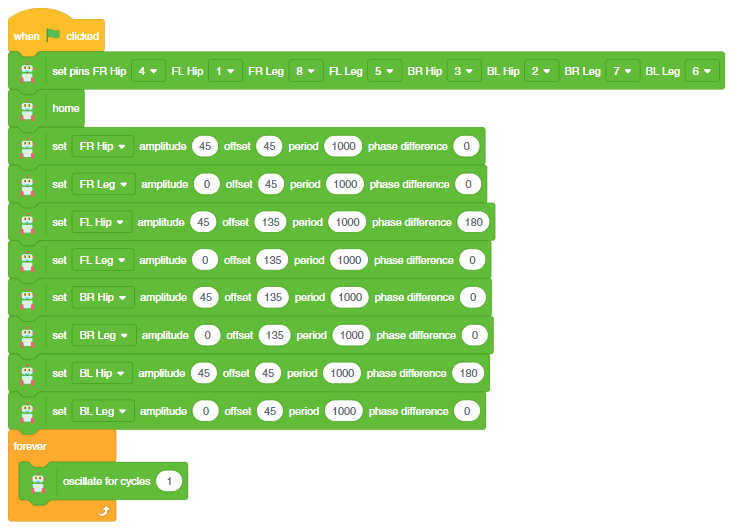
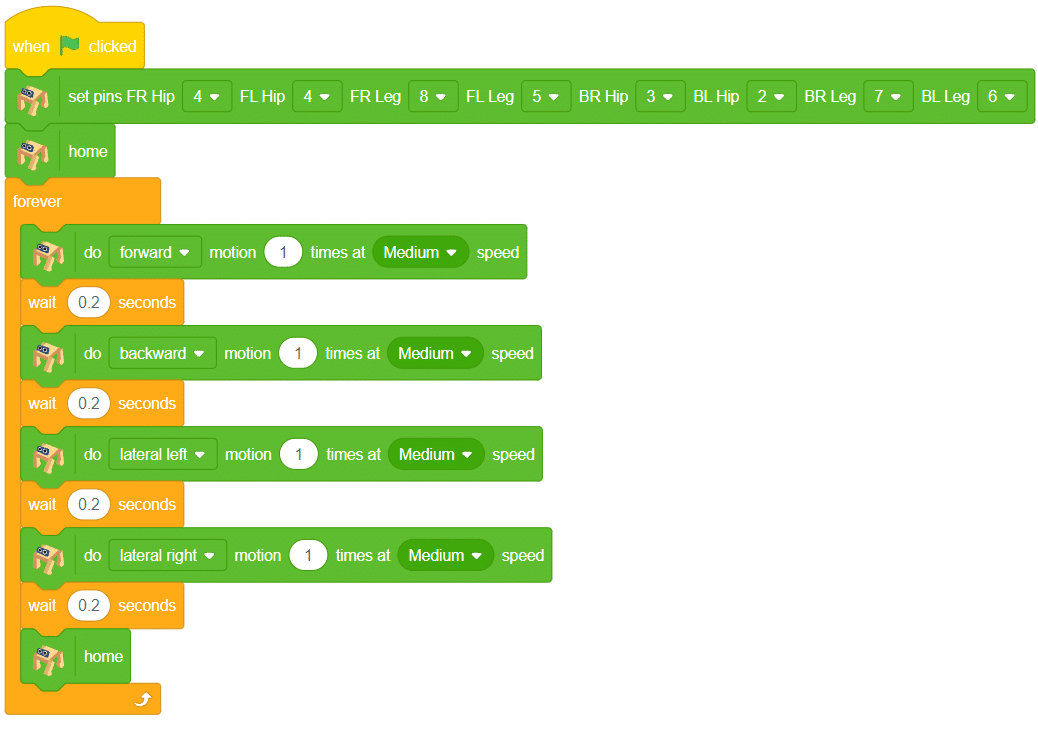
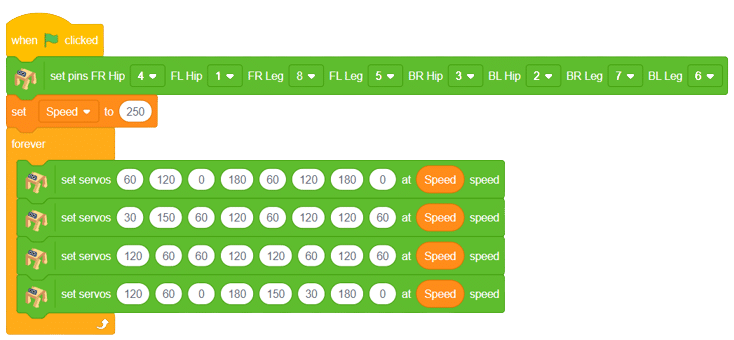
All Servo Oscillator
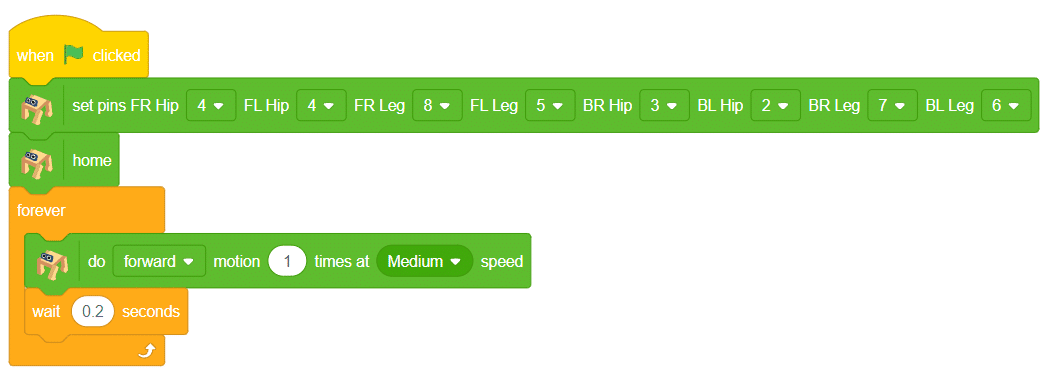
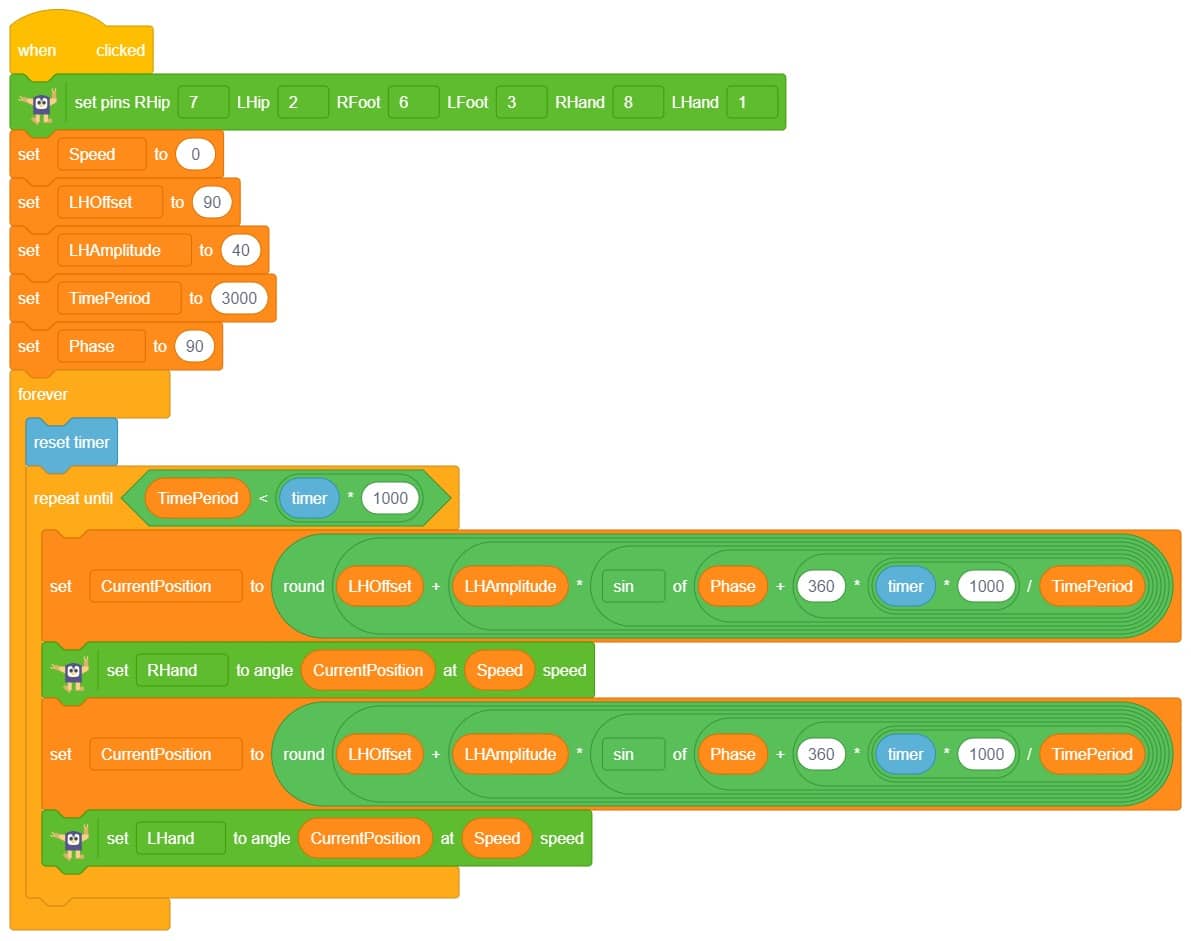
Create the script to make the left-right motion:
Let’s decode it. Let us play the motion while keeping the Quadruped in the air.
As you can observe the following movements: All the hip joints are starting from the 45-degree angles and then oscillate. The script of the following is here:
Run the green flag and test the code.
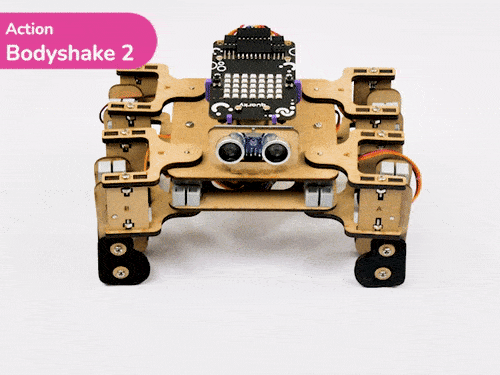
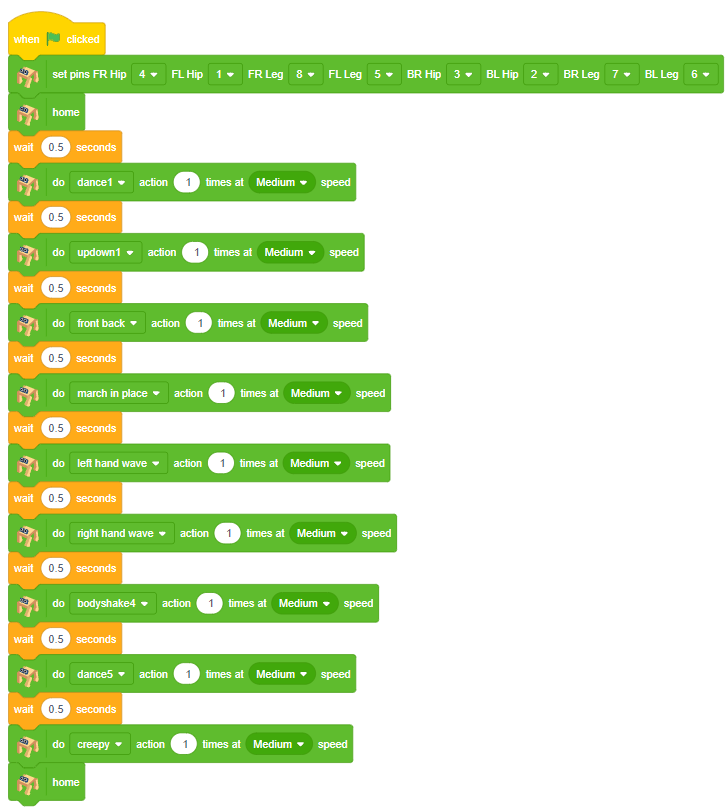
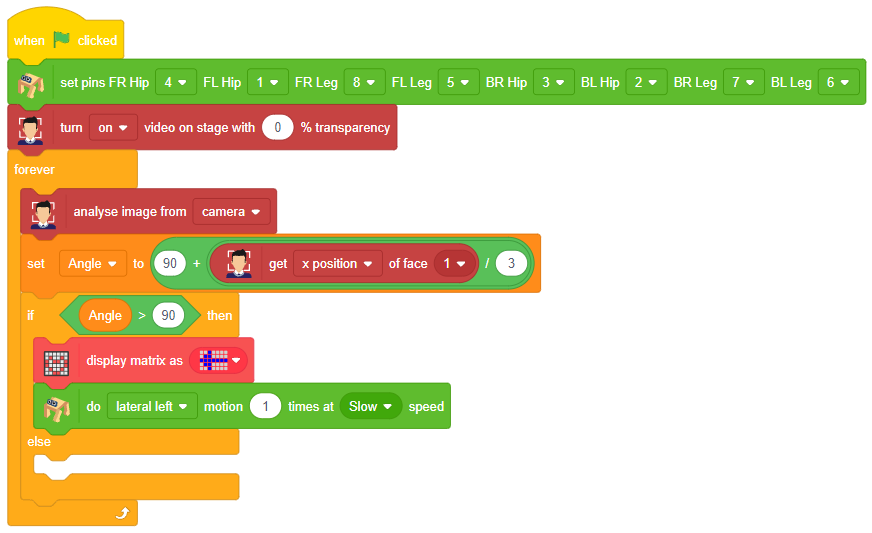
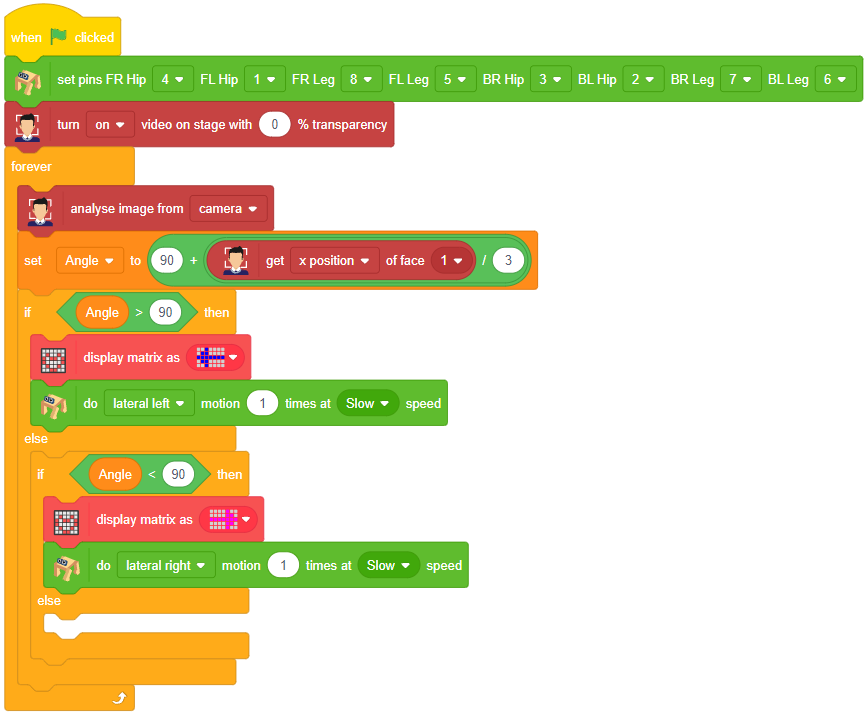
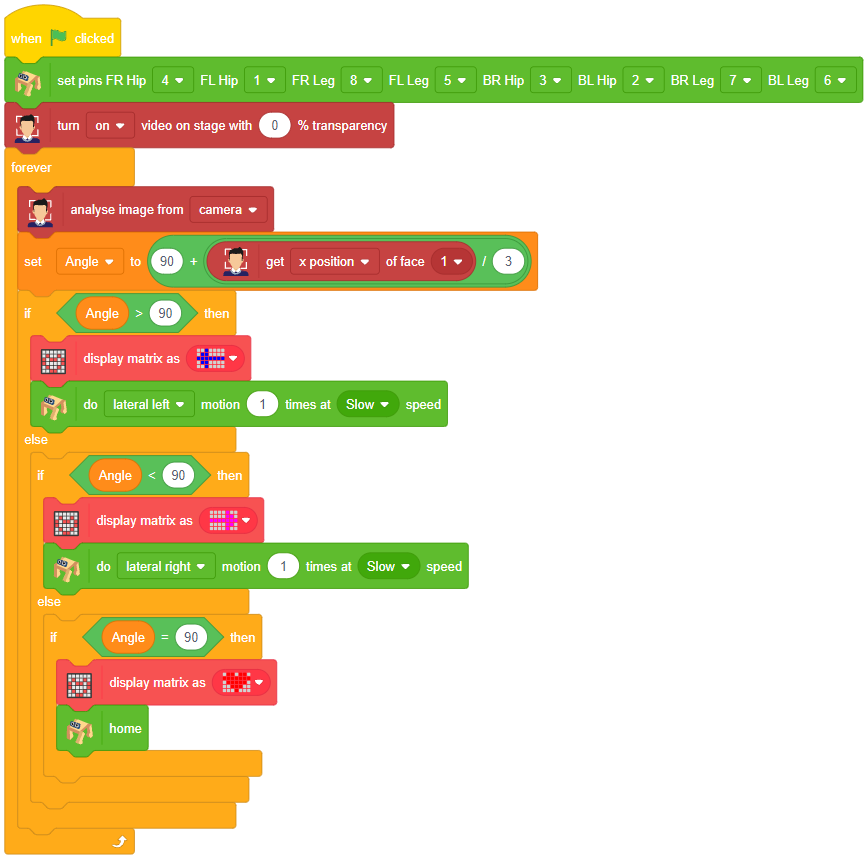
Try Other Oscillator Motions
- Code 1:
- Code 2:

Try to change the parameters and create your actions.


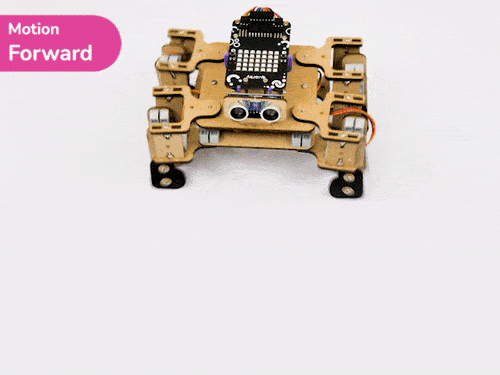
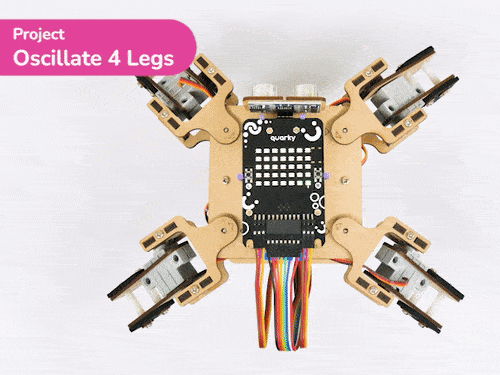
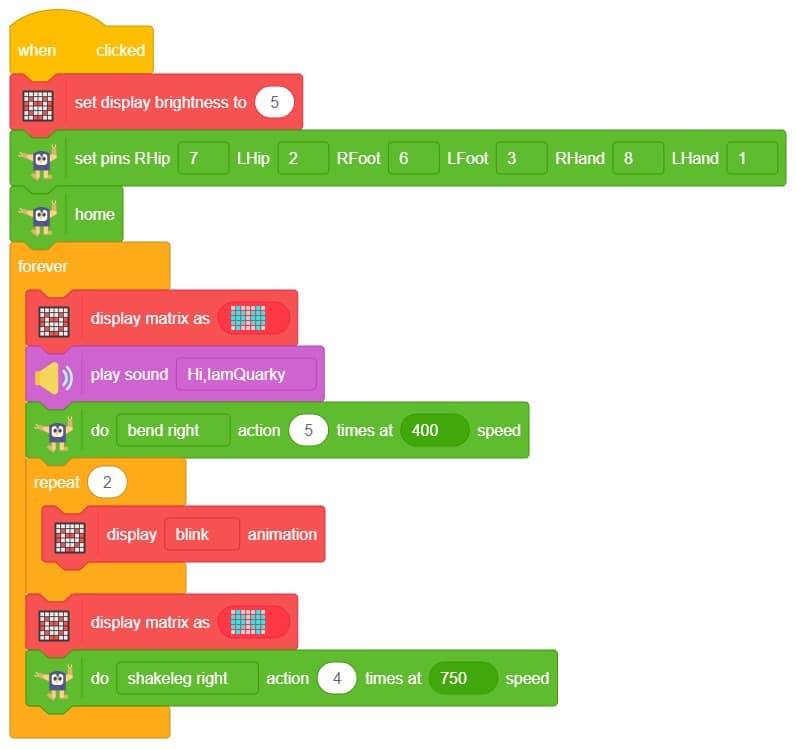
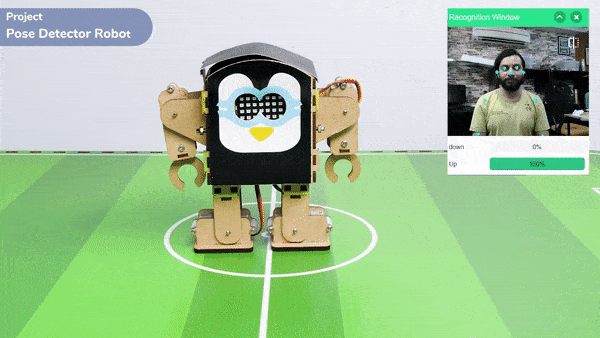
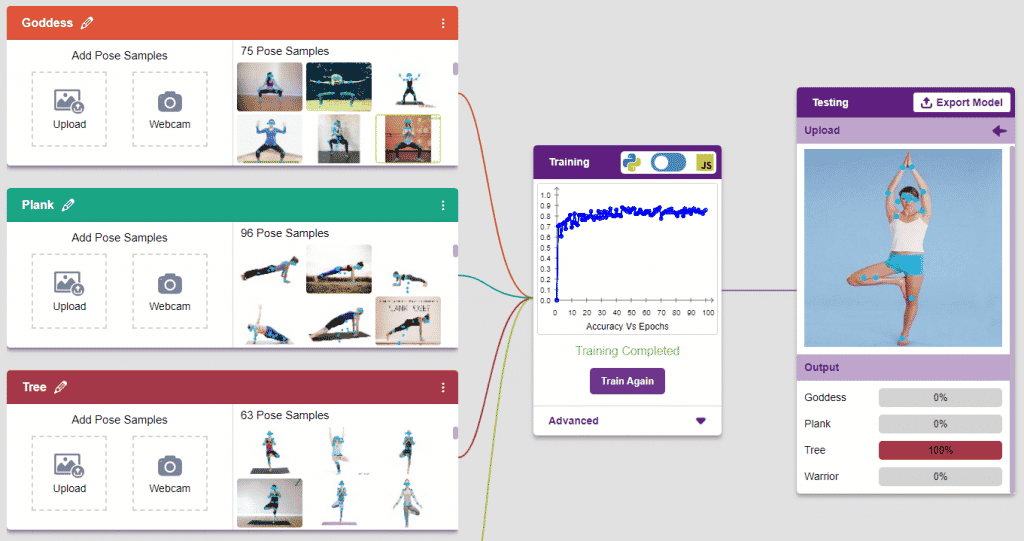
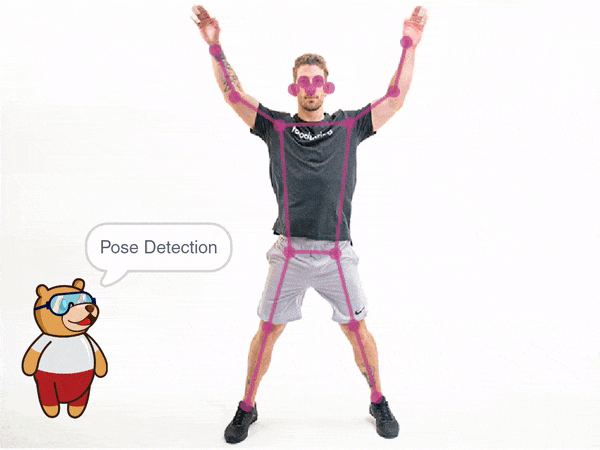
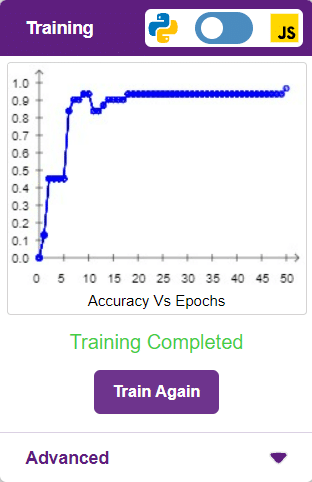
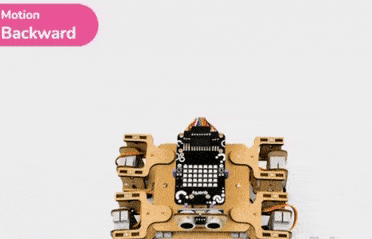
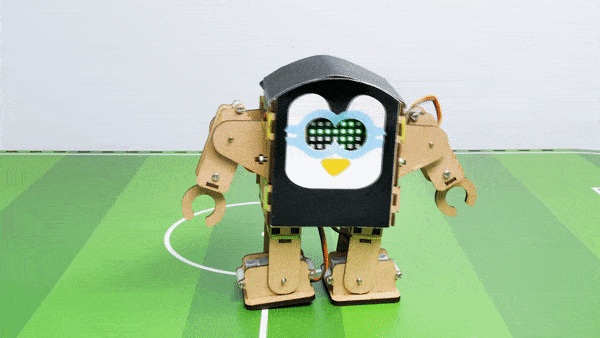
 Output
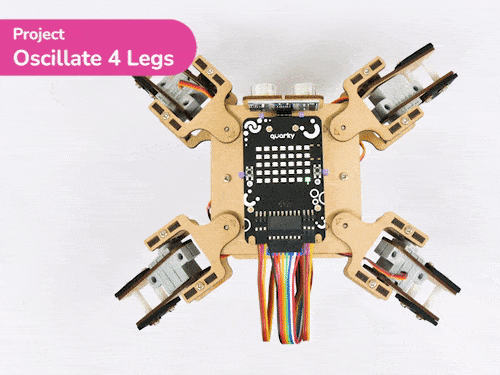
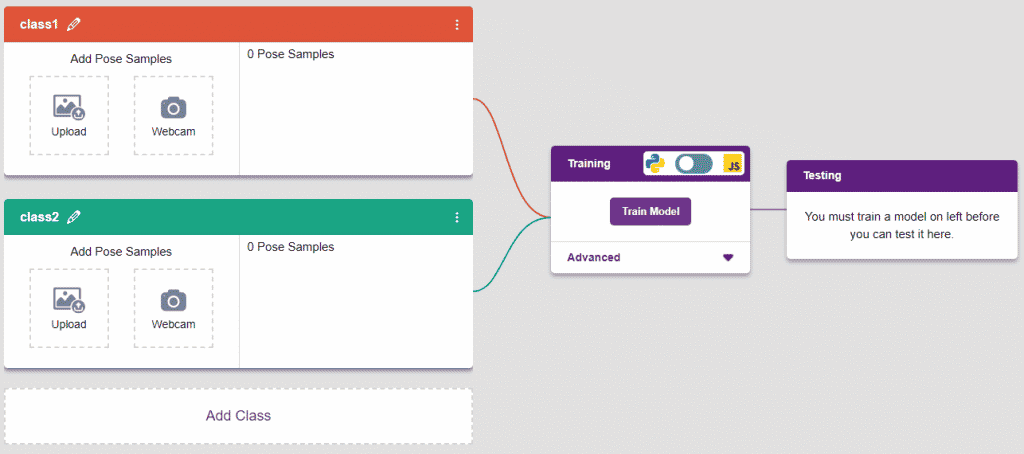
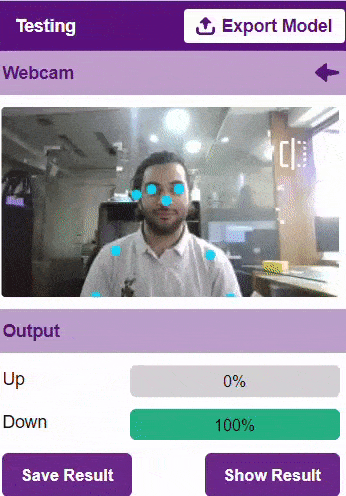


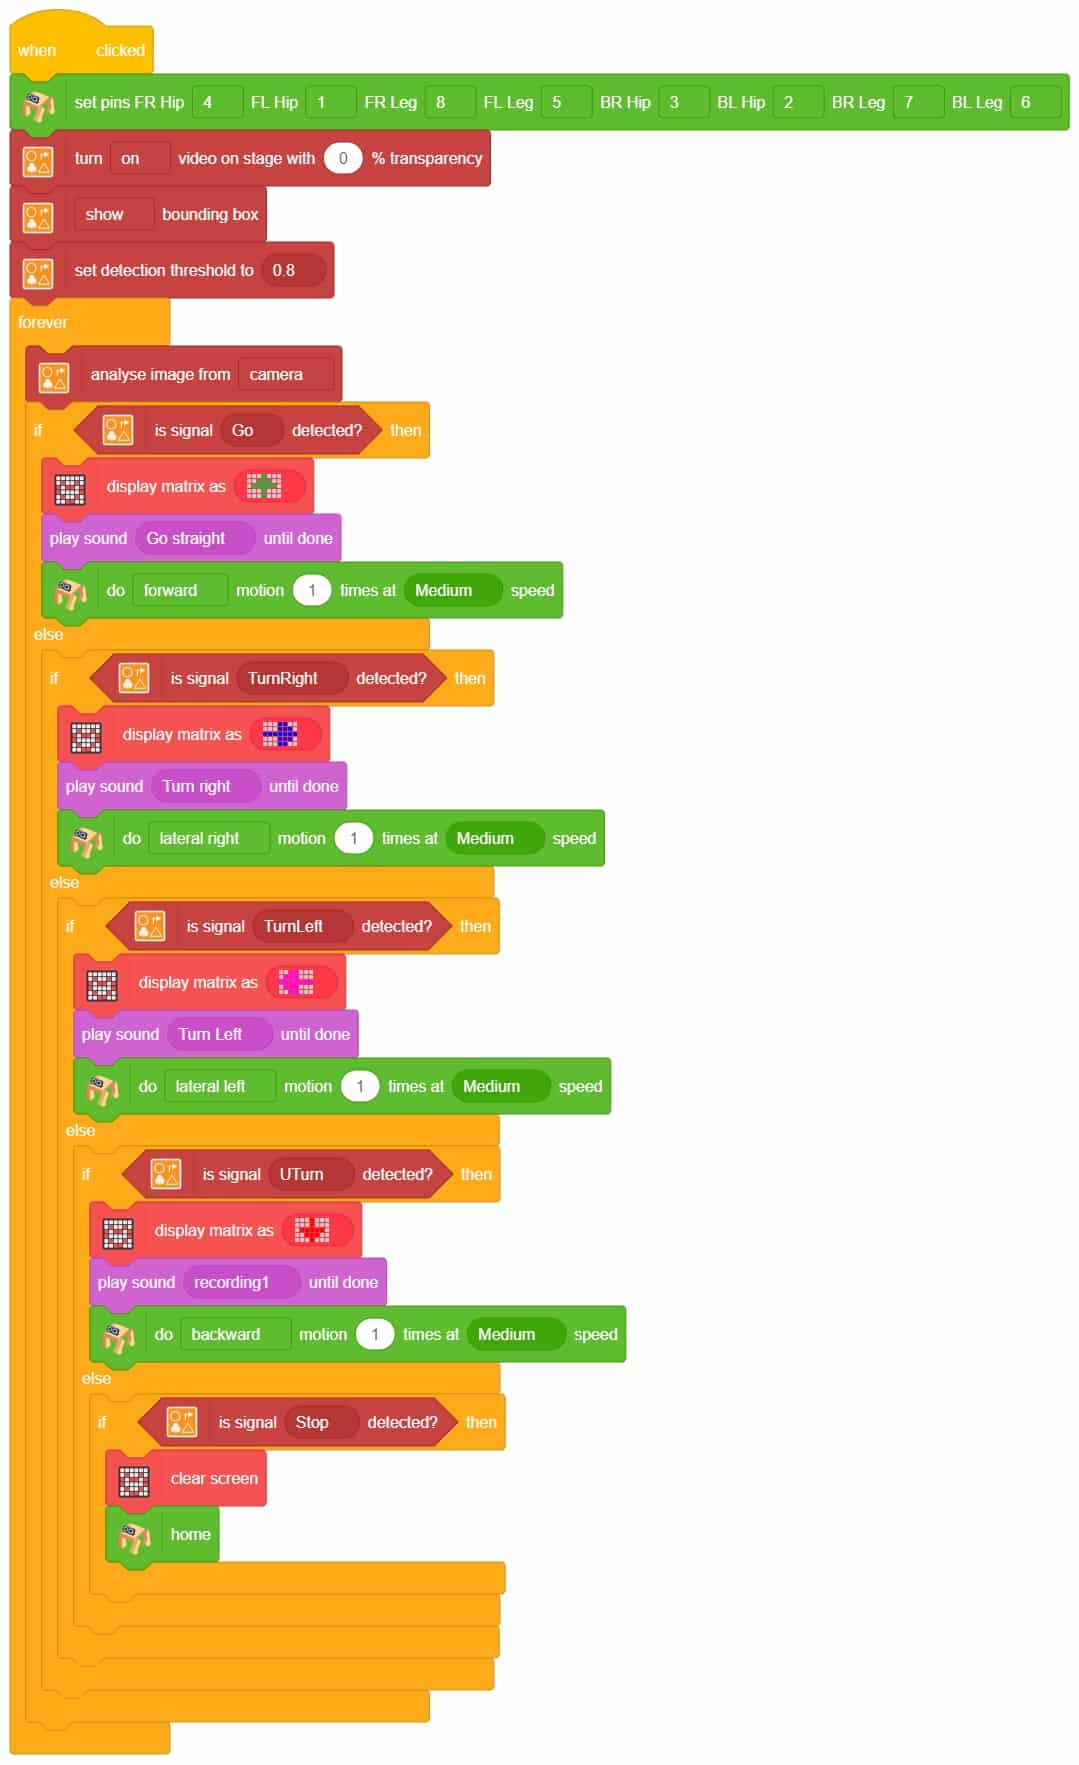


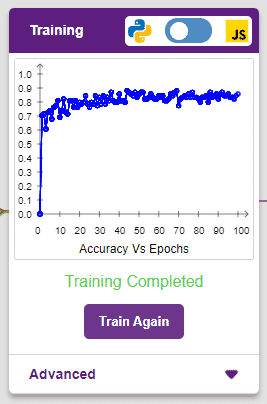
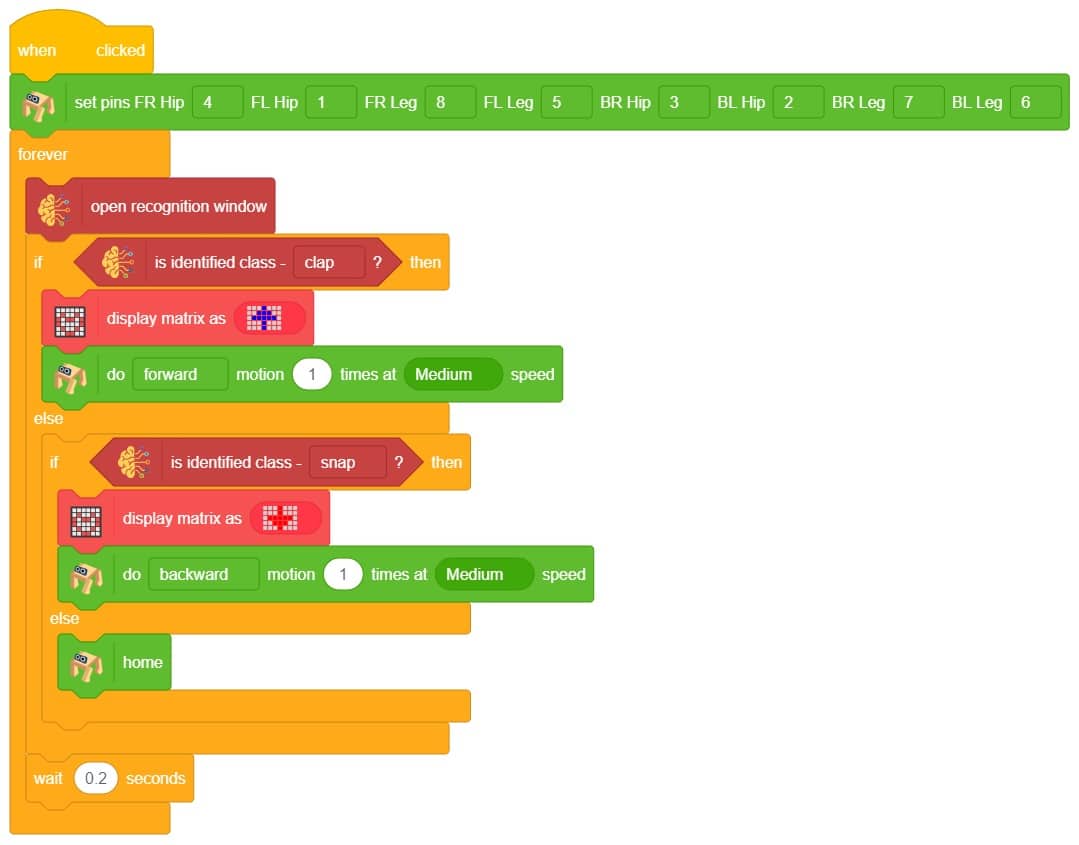
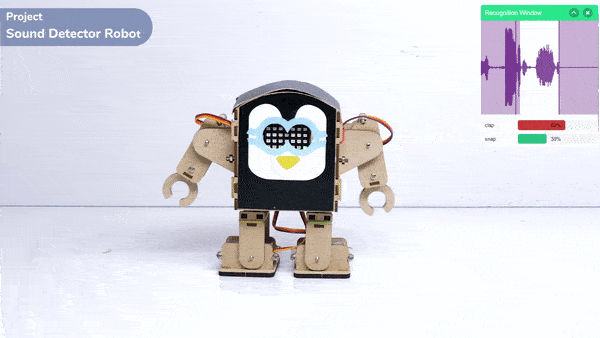
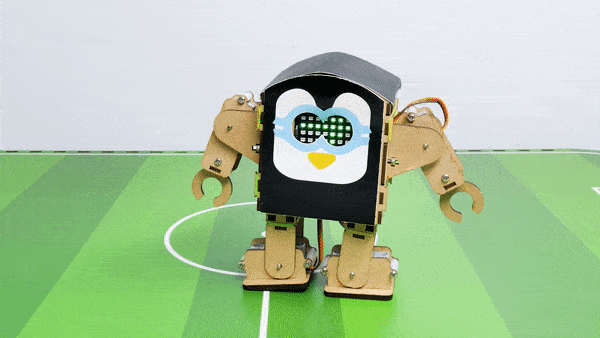
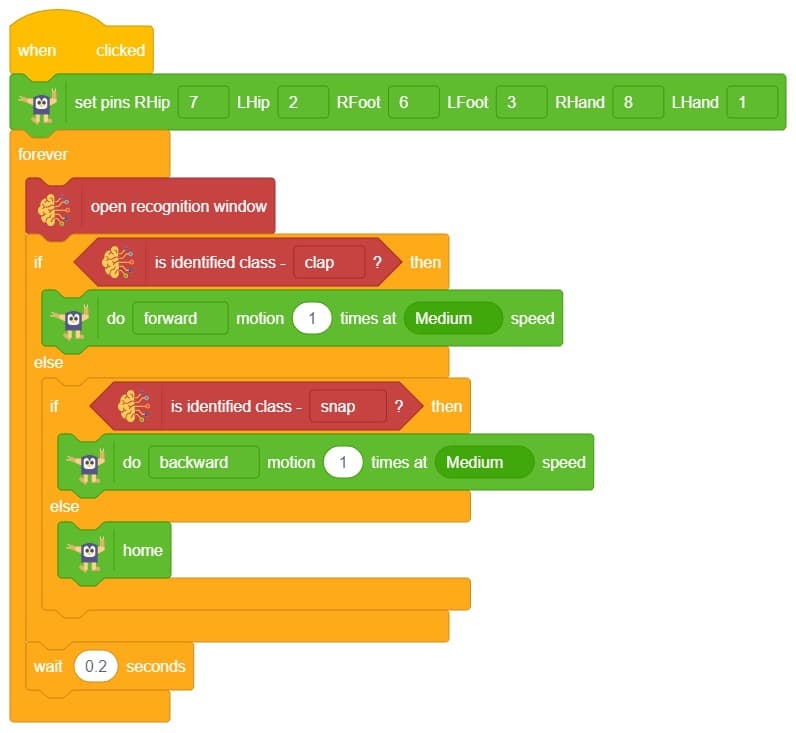
 Note: You can add even more classes with different types of differentiating sounds to customize your control. This is just a small example from which you can build your own Sound Based Controlled Humanoid in a very easy stepwise procedure.