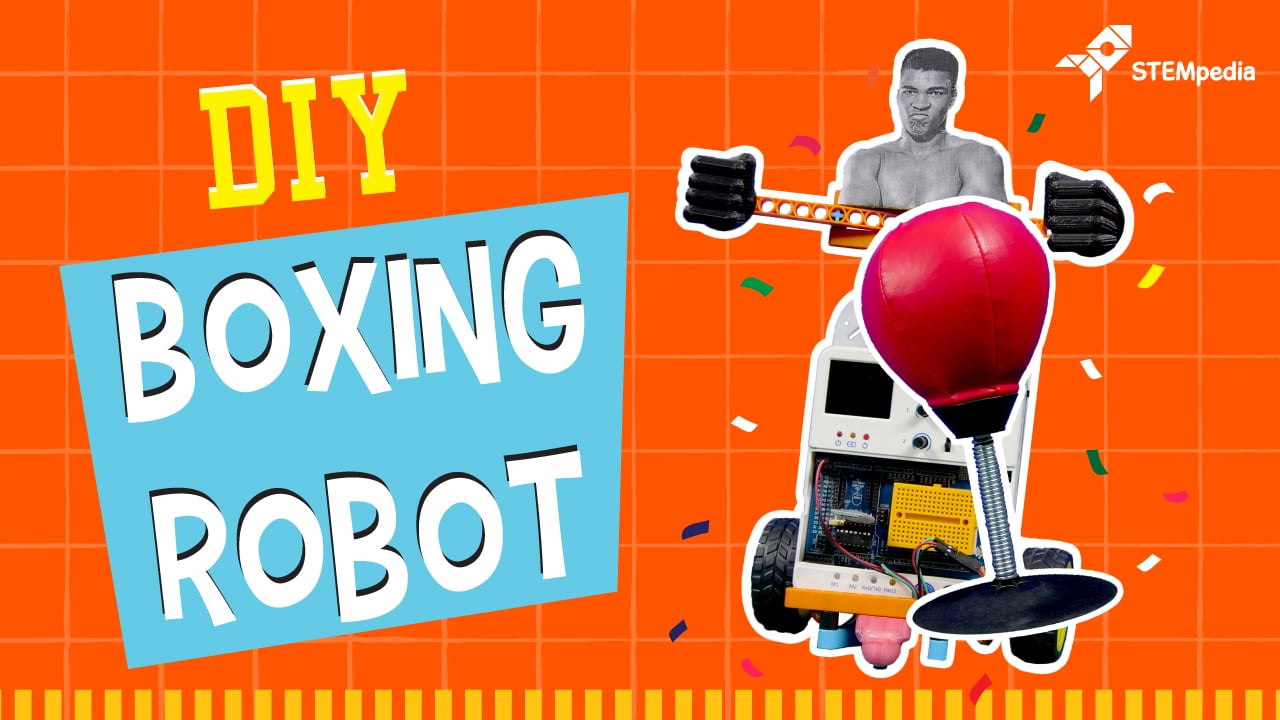

Introduction
Left hook, right hook, anchor punch, and knock down!
Not many of us may have had the opportunity to watch the legendary Muhammad Ali work his magic in the ring. But that ain’t gonna stop us from making our own DIY Boxing Robot who can throw a killer punch or two as well!
Get ready to take the game in your hands and claim ring with this easy-to-make Boxing Robot that can throw as light or as hard a punch you want it to.
Your opponents better brace themselves ‘cause you’re coming at’em!
Ready. Set. Box!
Making
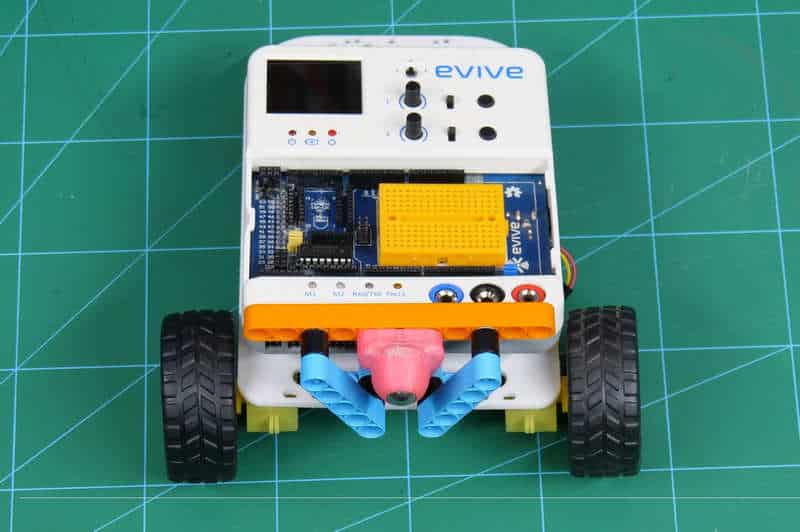
We need a base on which we are going to make the Boxing Robot. For that let’s make our normal Smartphone Controlled Robot.
- Take the chassis and to the back side of it, attach motor mount

- Now, to the motor mounts attach DC Motor. rs
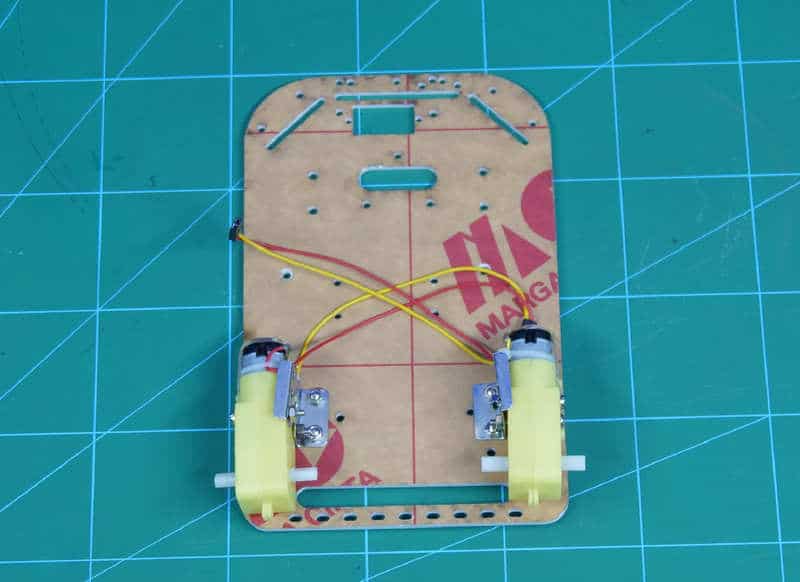
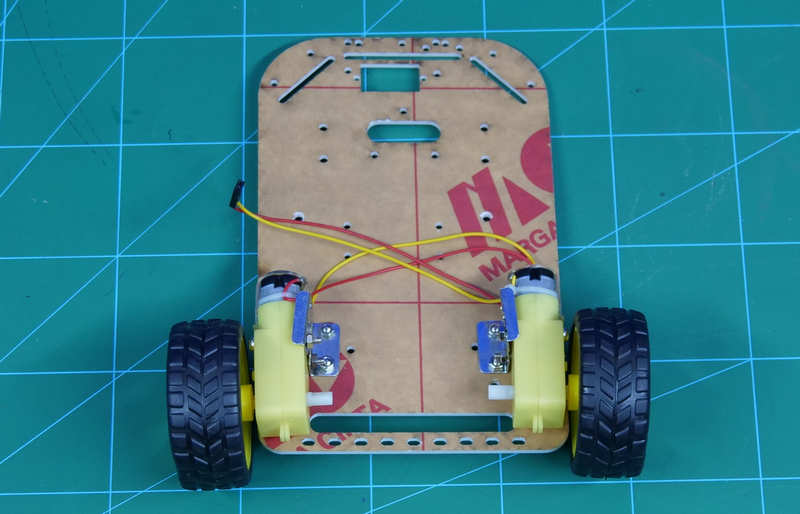
- Now, to the motors attach wheels.
- Now, at the front of the chassis attach evive with the help of M3 bolts of 12 mm length.

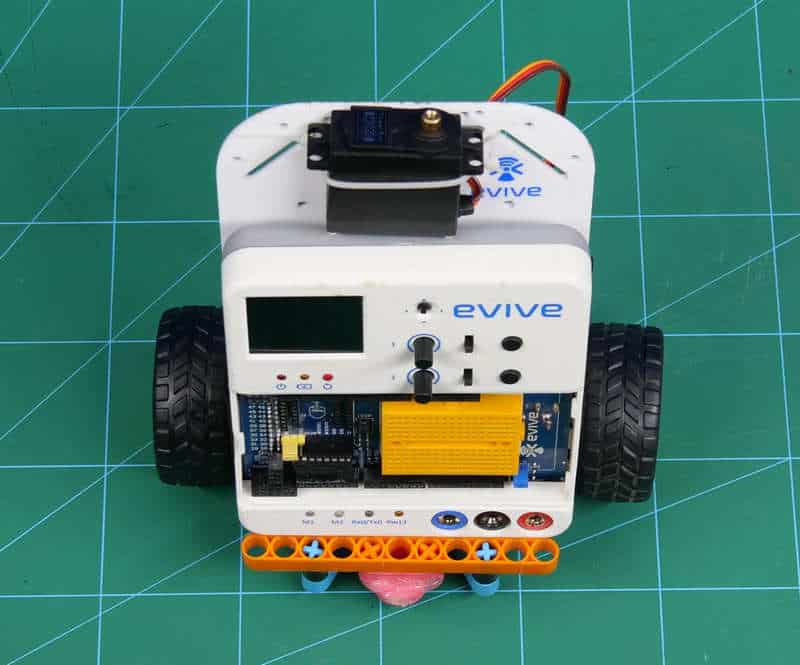
We need our Boxing Robot to be standing upright.
- Now, let’s try making it stand. Thus, we need to add the third wheel. We have 3D printed the castor wheel, you can even add the normal castor wheel.
- To attach this castor wheel to the chassis, we added Blix’s pieces.

- Now, to the chassis, we should add this assembly.
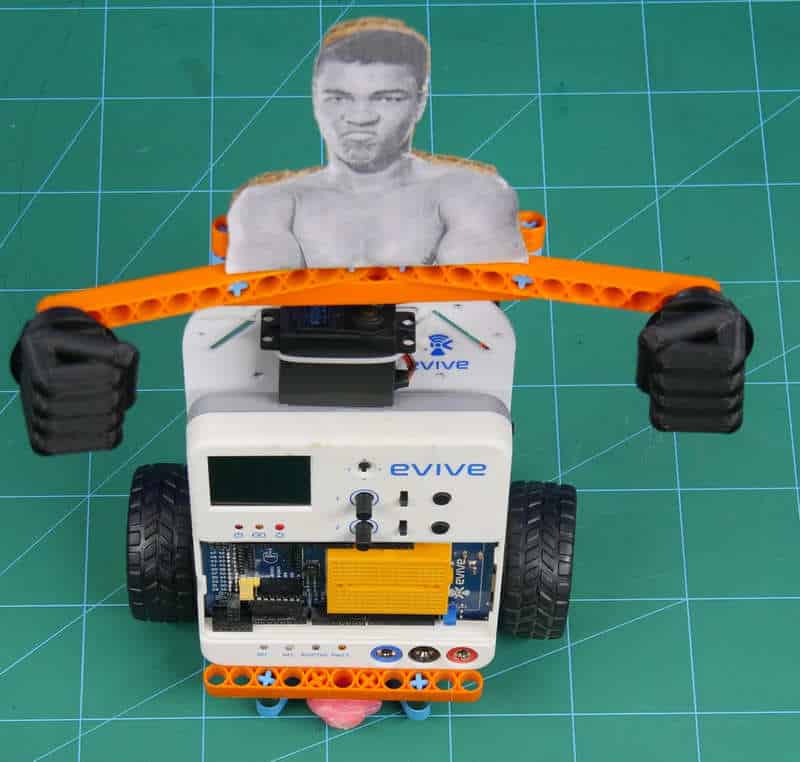
Thus, the base of the boxer is ready.
- Now, onto the top hole of evive, add the metal servo.
Now its time to add the boxer mechanism.
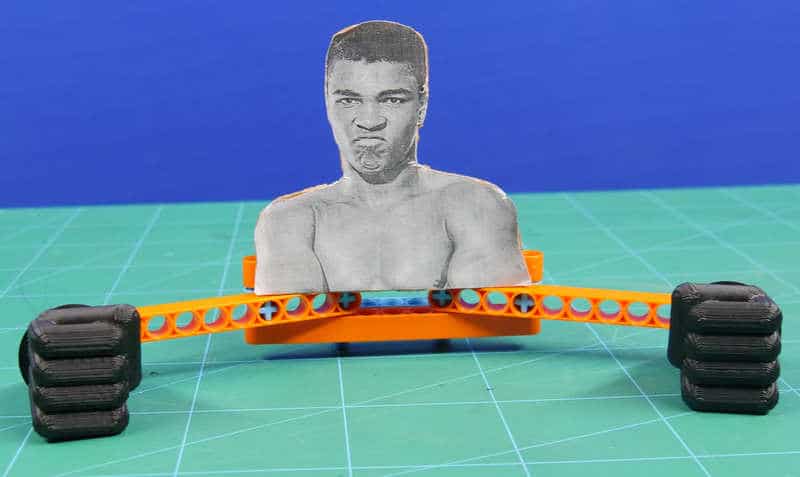
- We have taken the print out of the boxer image. Take the image cutout and attach it to the cardboard.
- We have made a 3D printed punches. Make an assembly using Blix assembly. Attach the 3D printed punches to this assembly.
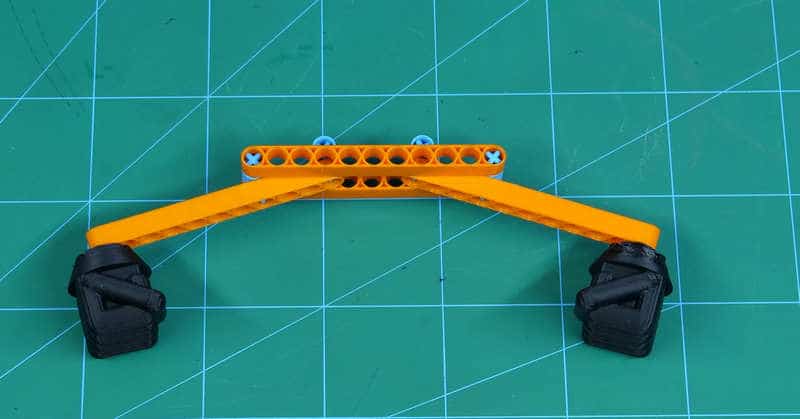
- And at the top of it attach the cardboard assembly of the boxer.
- Then, take a blix piece and attach a servo horn.
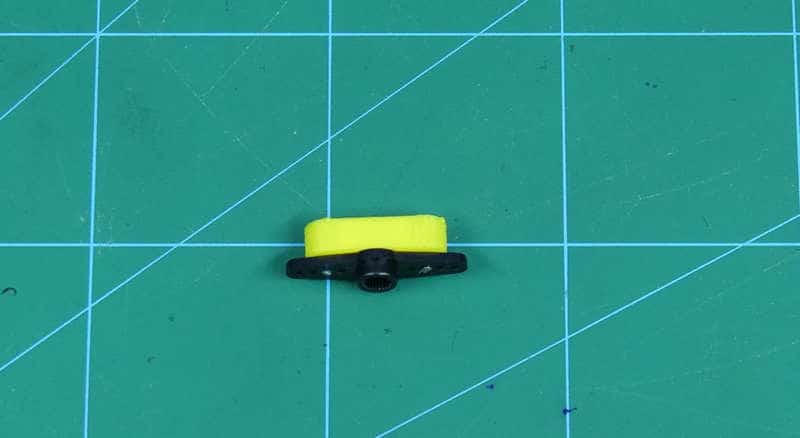
- Attach this piece to the Boxer assembly.

- Now, if you remember we have a servo head free attach the servo horn.
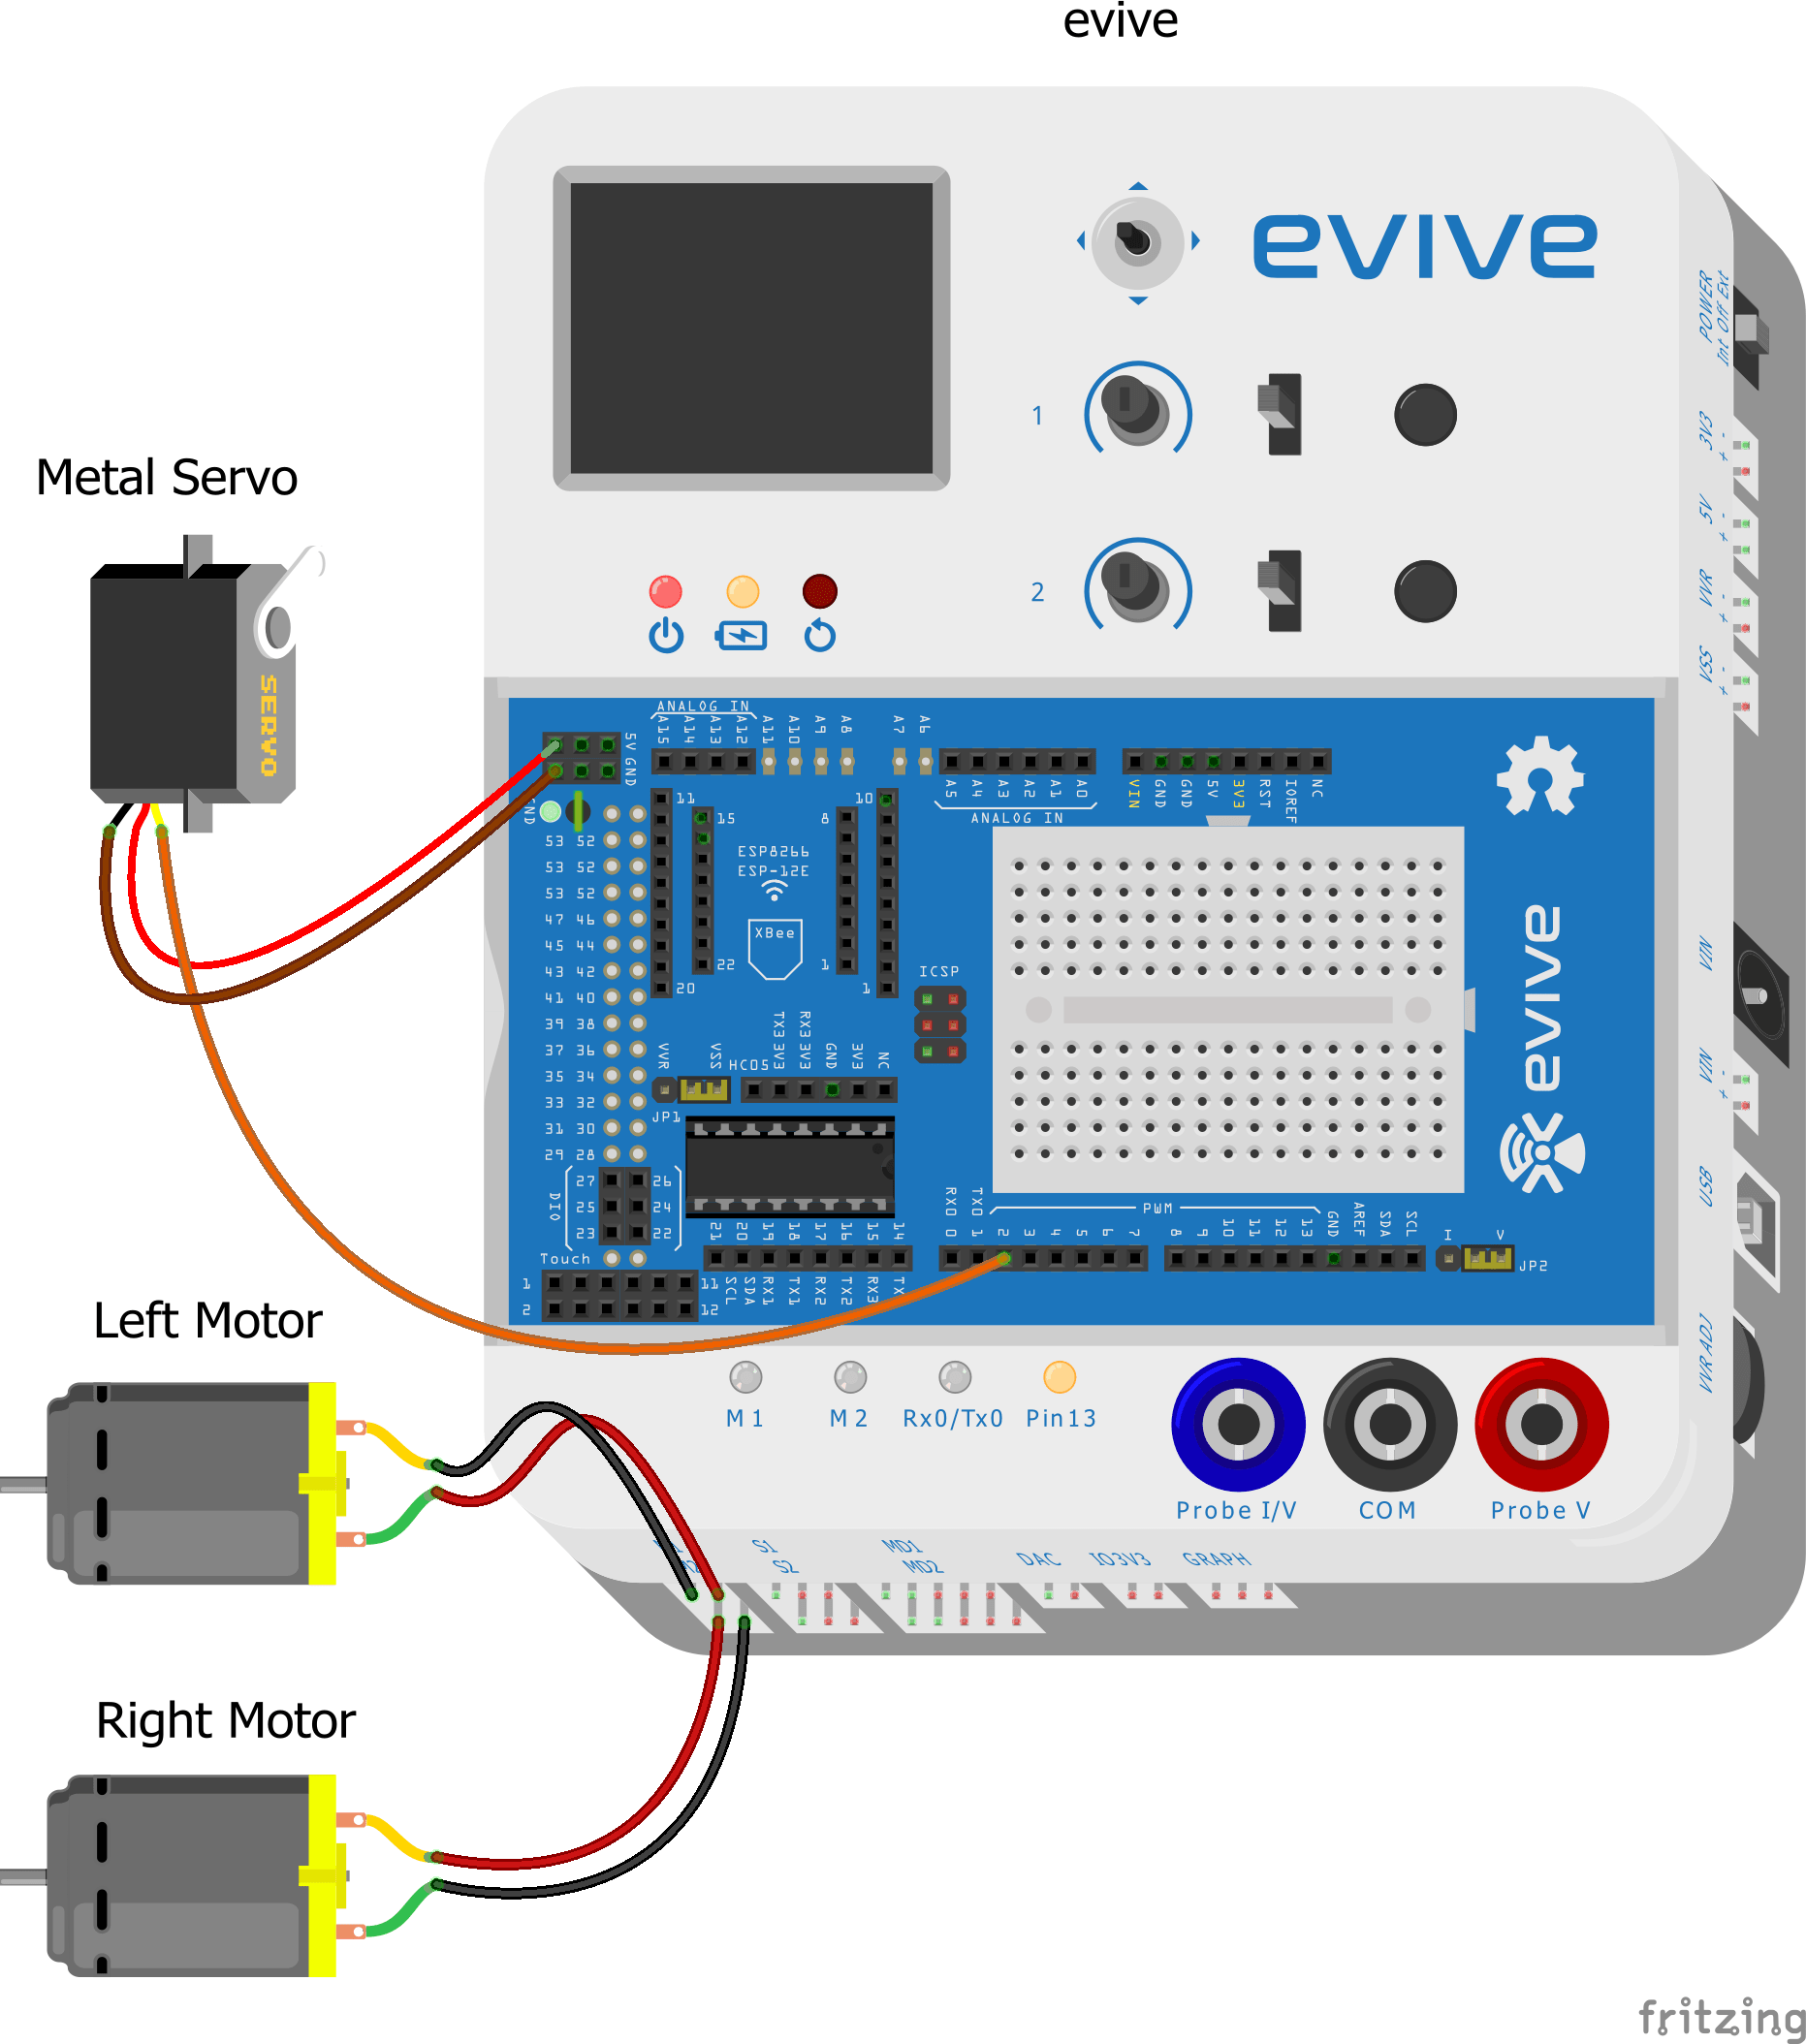
Attach the Bluetooth Module to evive and make the connection to evive as shown in schematics below.
Thus, with this, the assembly is completed.
Logic
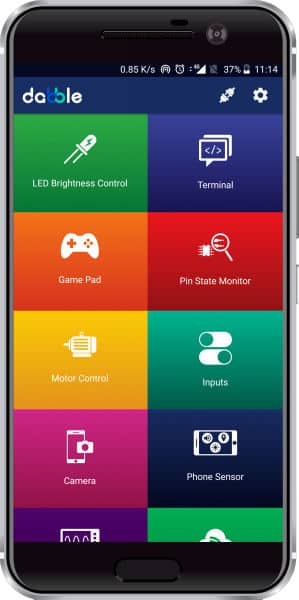
Now, as we know, the base of the boxing robot is our Smartphone Controlled Robot. We control it with the Gamepad module in Dabble, a project-making mobile application developed by STEMpedia. You can install it on your phone from Google Play.
To pair Dabble with the Bluetooth Module, follow the steps below:
-
Install the app and open it.
-
Then, pair it with the HC-05 Bluetooth module.
-
Open Gamepad. You can now control your robot using the keys of the GamePad.

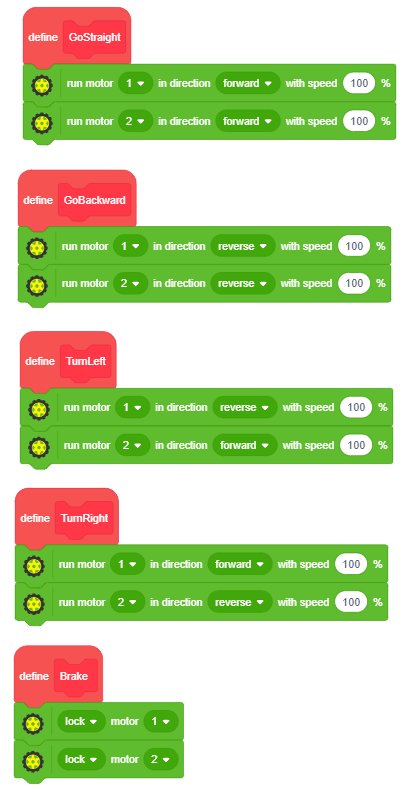
The left set of buttons is used for Motion of the boxer, which is forward, backward, left, and right. The right set of the buttons are used for the movement of the servo. The square is used to hit from the left turn, everytime you press the button, the servo turn by 5 degrees towards the aim. And with the circle, the right punch turns 5 degrees towards the aim.
Circuitry
Make the following connections:
Scratch Script
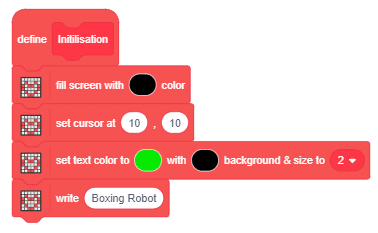
The following Images shows the Scratch Script of the Robot: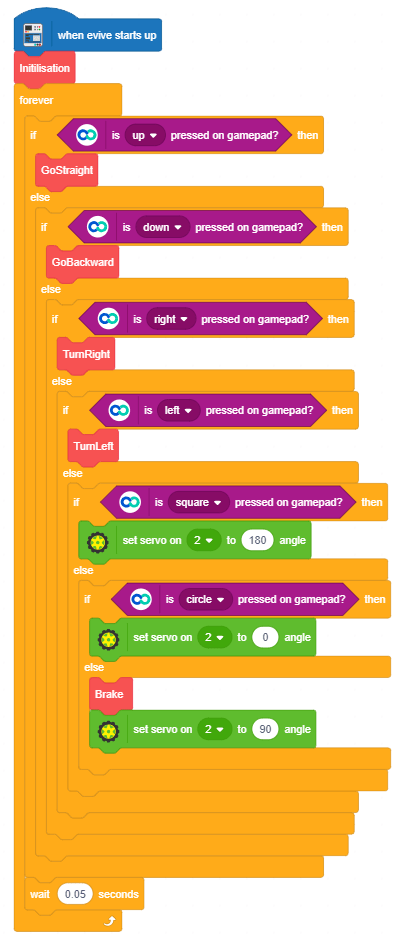
Conclusion
With this, your DIY Boxing Robot is ready to knock out its opponents! Box away!