Physical Computing for Kids – Level 2
Introduction
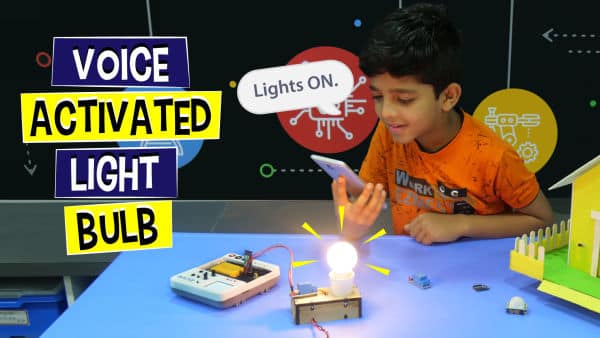
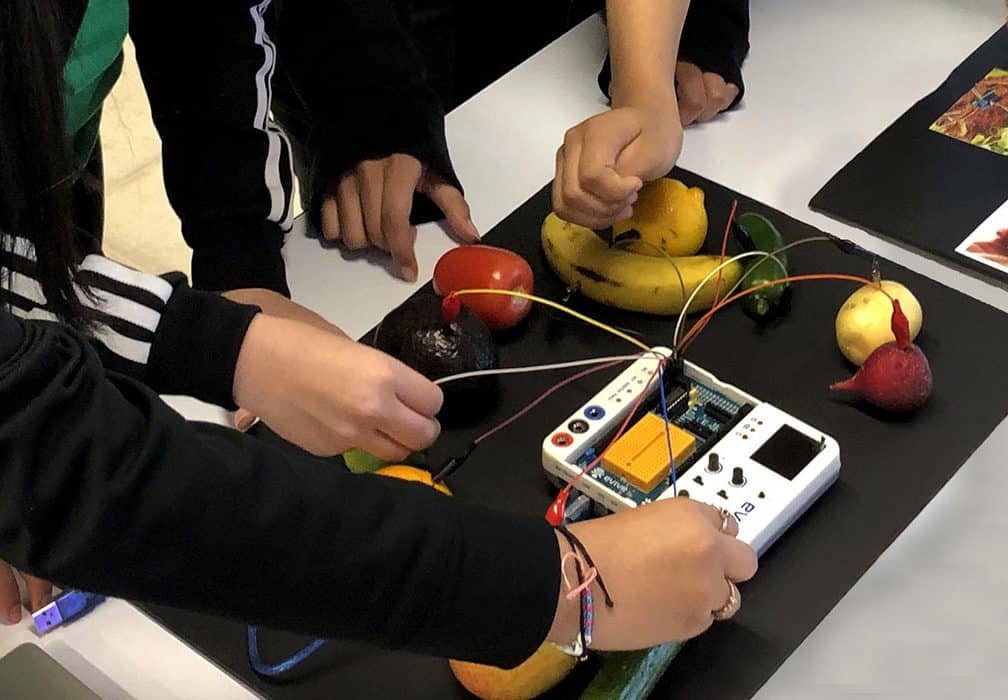
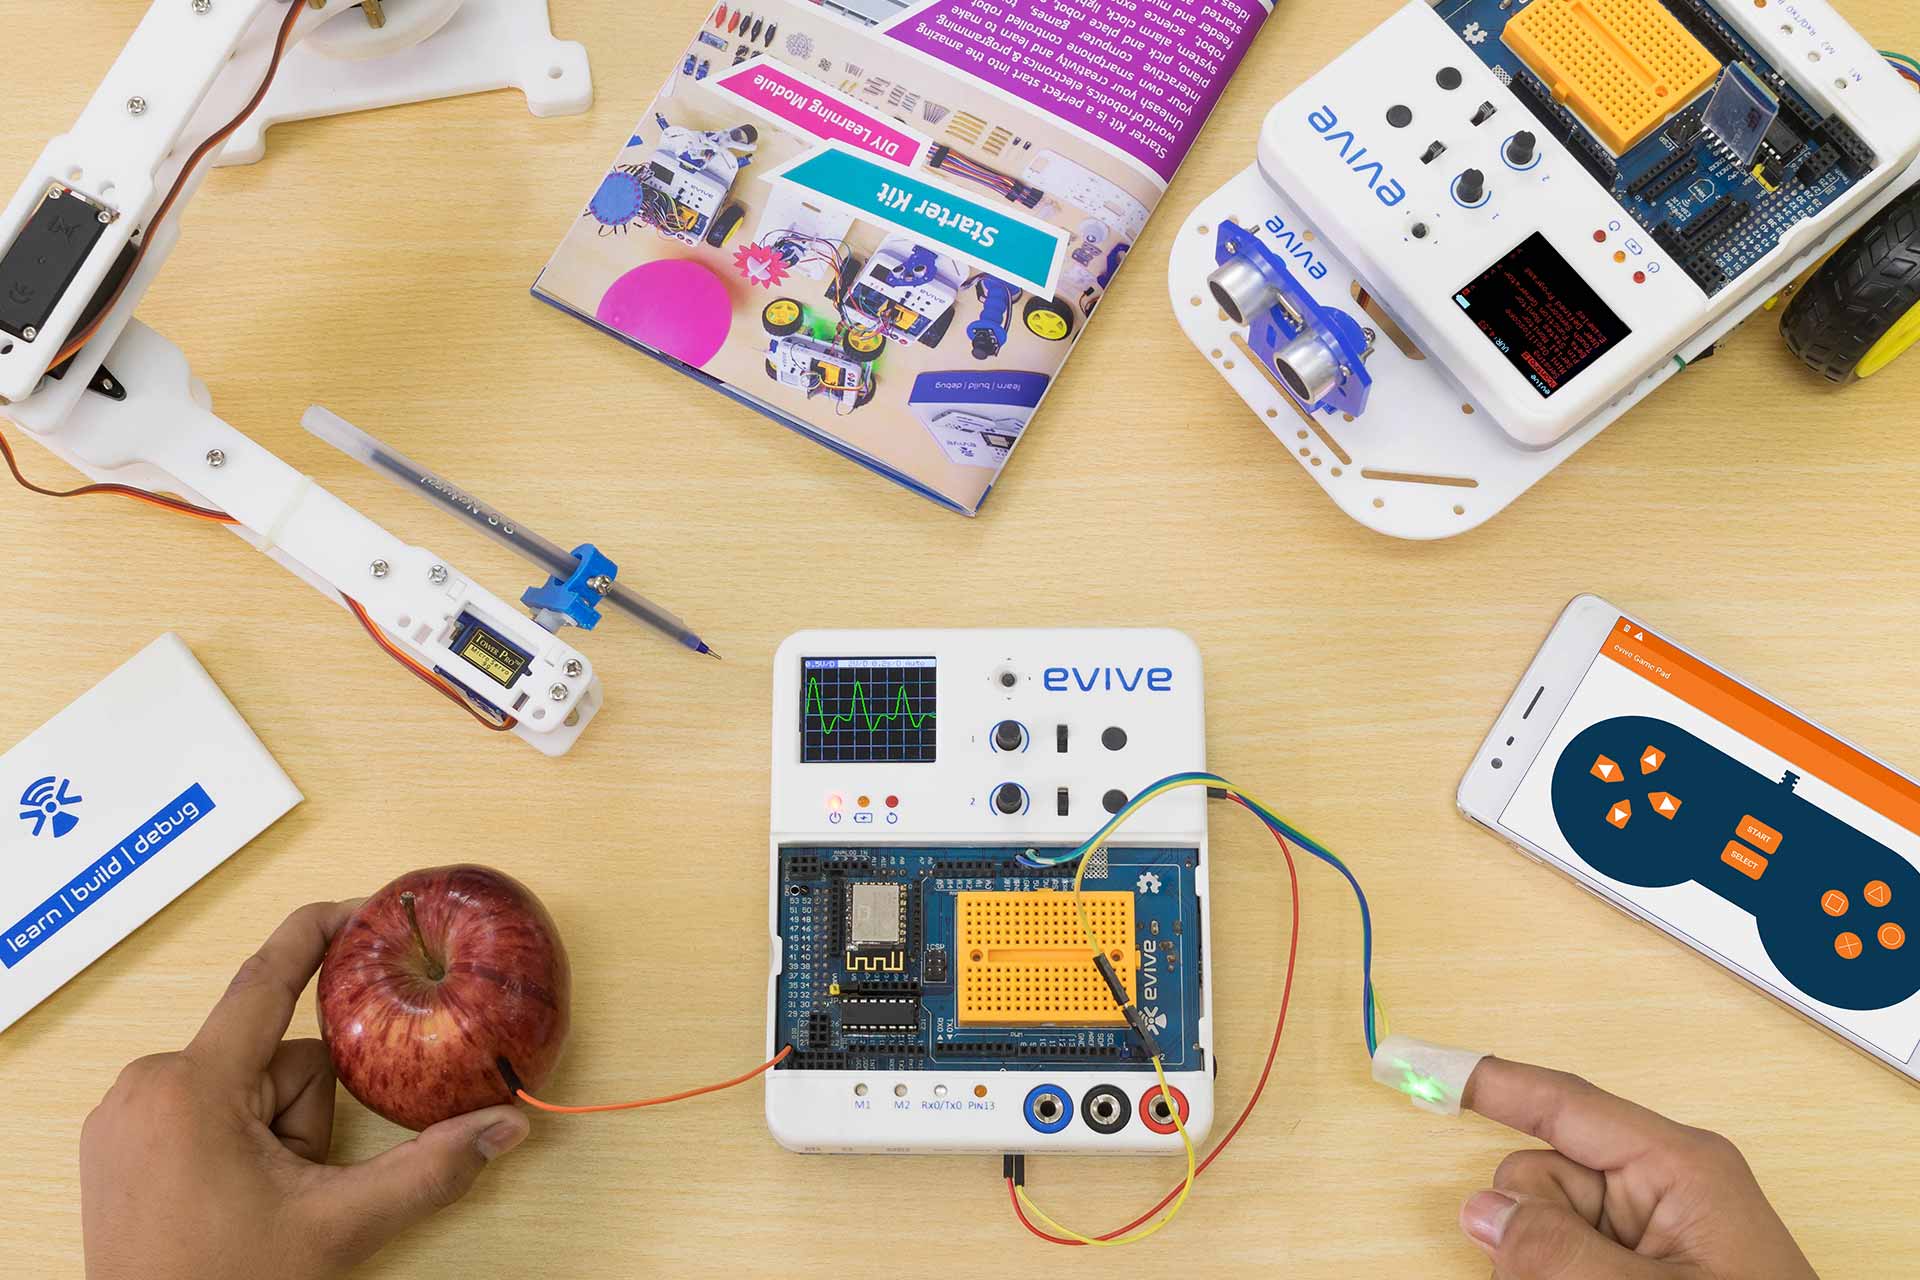
Physical Computing for Kids – Level 2 is a coding curriculum for a high school designed by curriculum experts for teaching physical computing activities such as making a DIY touch-based piano, controlling an LED with voice commands, etc. With its clear explanations and a variety of exciting coding activities for high school students, Physical Computing for Kids – Level 2 will help them dive deep into physical computing.
- Prerequisites: Completed Physical Computing for Kids – Level 1.
- Kits Required: Evive
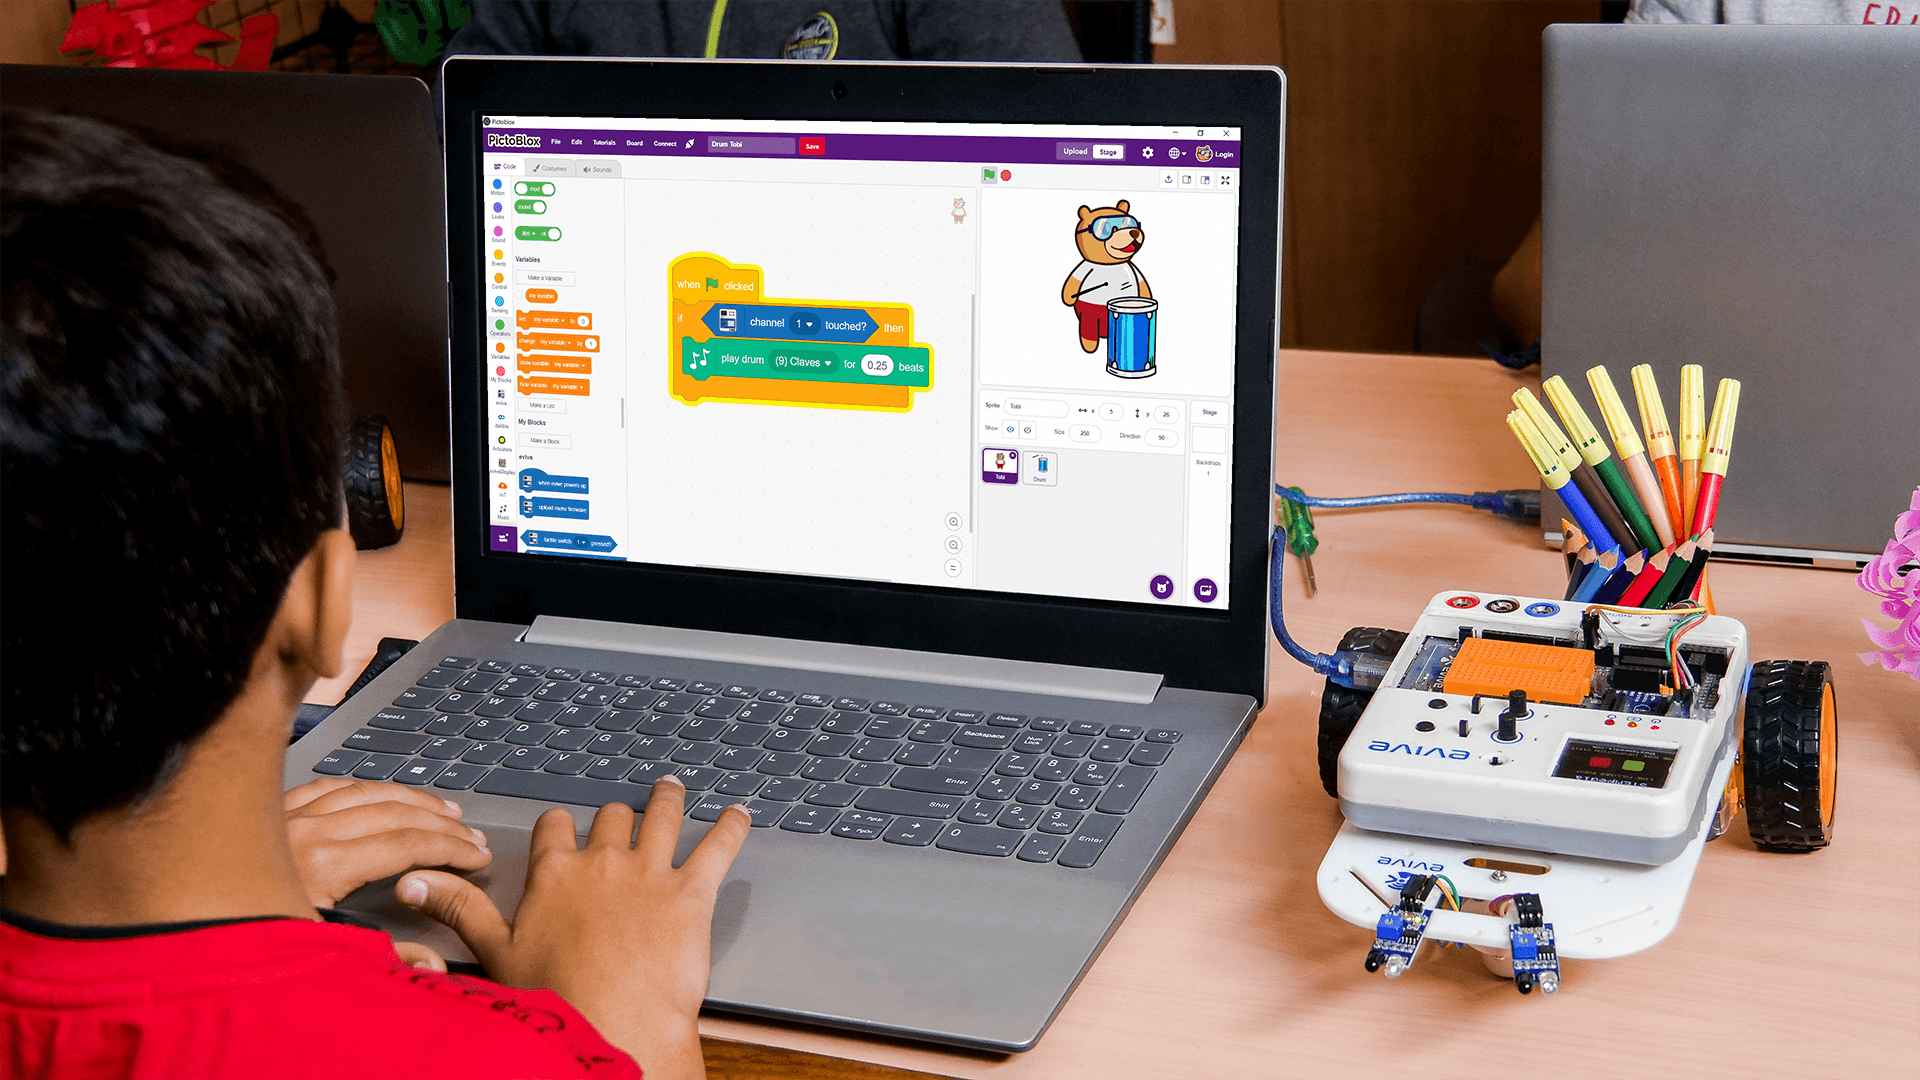
- Programming Software: PictoBlox (Block Coding)
Learning Outcomes
After completing Physical Computing for Kids – Level 2, students will better understand physical computing, gamification, algorithms, and logical reasoning with the help of a variety of coding activities.
Apart from the aforementioned learning outcomes, this STEM curriculum will also help them develop important skills such as problem-solving, attention to detail, abstract thinking, communication, and empathy.
Curriculum Lesson Plan
Module 1: Do-It-Yourself!
Students will get to further explore evive’s touch sensors and TFT screen by coding their own clock and a touch piano.

Lesson 1.1: Draw shapes on evive Display
- Objective: How to draw different shapes on evive TFT Display like rectangle, triangle, circle, lines, and ellipse. Assignment - Making a flag.
- Activity: Making a flag using shapes.
- Learning Outcome: How to draw the following shapes on evive TFT Display using evive Display extension blocks
- Mode: Practical
Lesson 1.2: Creating and Animating Shapes on evive Display
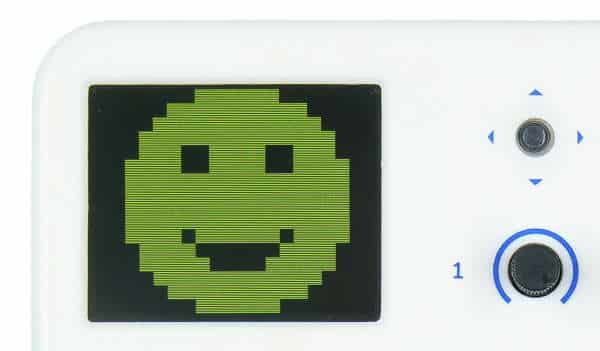
- Objective: How to draw characters of different size and color on evive Display and animating them to make a game.
- Activity : How to make a smiled face go up, down, left and right using keyboard keys.
- Learning Outcome: How to create and draw characters on evive display using evive Display extension. | Parameters for controlling what we are displaying on the TFT
- Mode: Practical
Lesson 1.3: Digital Clock using RTC
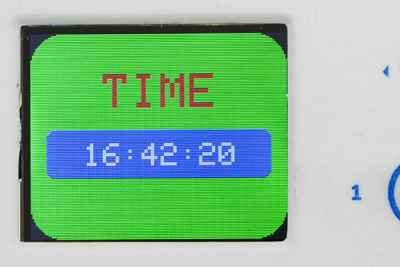
- Objective: How to make a digital clock using the Real-Time Clock (RTC) and evive Display.
- Activity: Making a digital clock displaying the time.
- Learning Outcome: What is Real-Time Clock or RTC? | How to configure the RTC to set the time and date in PictoBlox?
- Mode: Practical
Lesson 1.4: Touch Based Piano
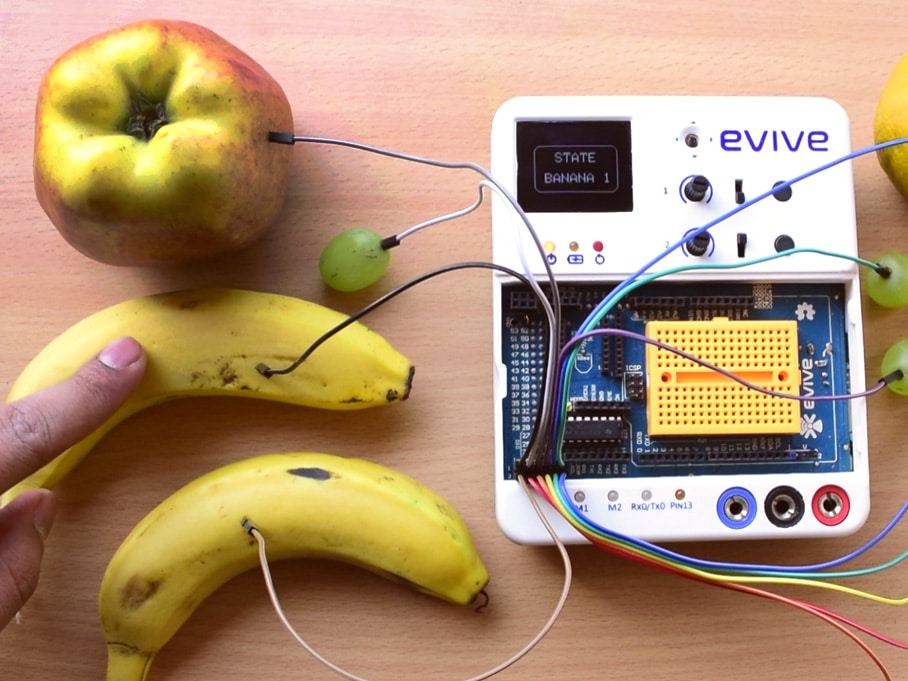
- Objective: Make a touch-based piano using evive capacitive touch channels of evive and programming it in PictoBlox.
- Activity : Making a touch piano and programming it in PictoBlox.
- Learning Outcome: How to detect a touch on the capacitive touch channel of evive and program it in PictoBlox?
- Mode: Practical
Module 2: Ready. Set. Play!
In this section, students will code three advanced games on their own in PictoBlox and play them using evive.
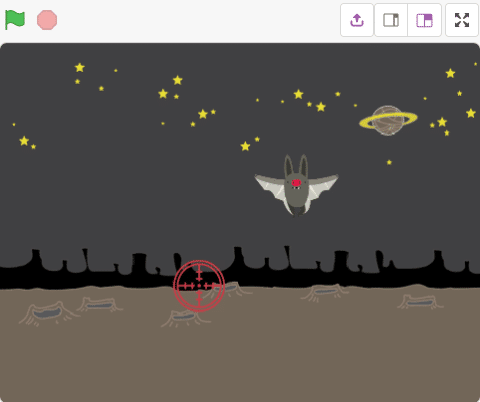
Lesson 2.1: Shoot the Bat – Game
- Objective: Learn game theory concepts like animation, randomness, score and time constraint in PictoBlox by making this game.
- Activity: Making a bat shooting game
- Learning Outcome: Students will make Shoot the Bat game, in which you must aim at the bat, appearing randomly anywhere on the screen, using a Joystick.
- Mode: Practical
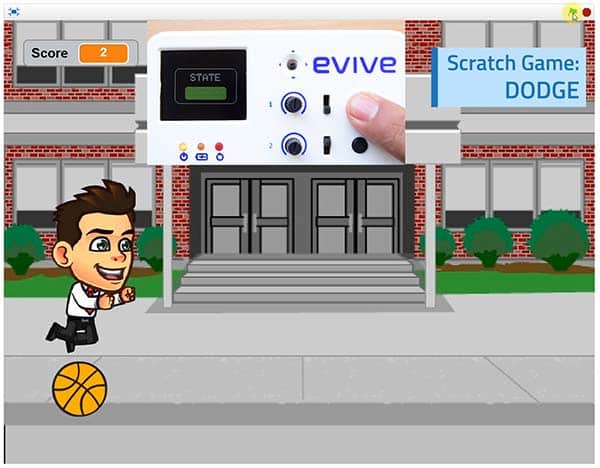
Lesson 2.2: Dodge Game
- Objective: Make a game where the kid jumps and slides to dodge the obstacles coming in his way
- Activity : Dodge Game
- Learning Outcome: Students will make a game – Dodge. The aim of the game is to control the kid and dodge the objects coming his way for as long as possible. The kid will jump and slide in the game using evive tactile switch 1 and 2.
- Mode: Practical
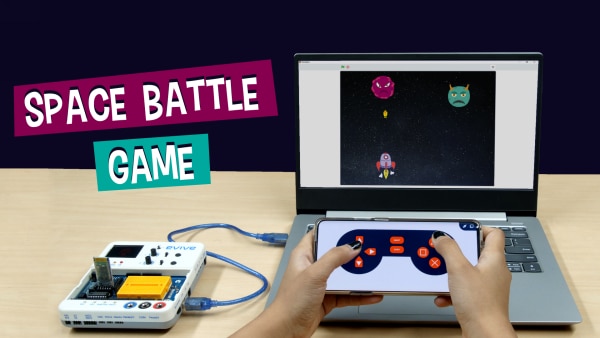
Lesson 2.3: Space Battle Game
- Objective: Make a game to control the rocket using a Smartphone and shoot the enemy coming.
- Activity: Making a Space Battle Game
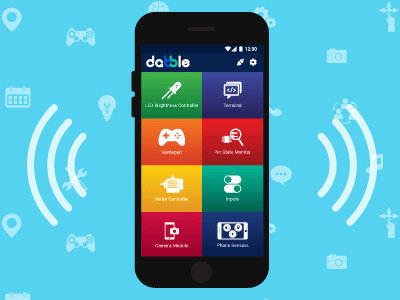
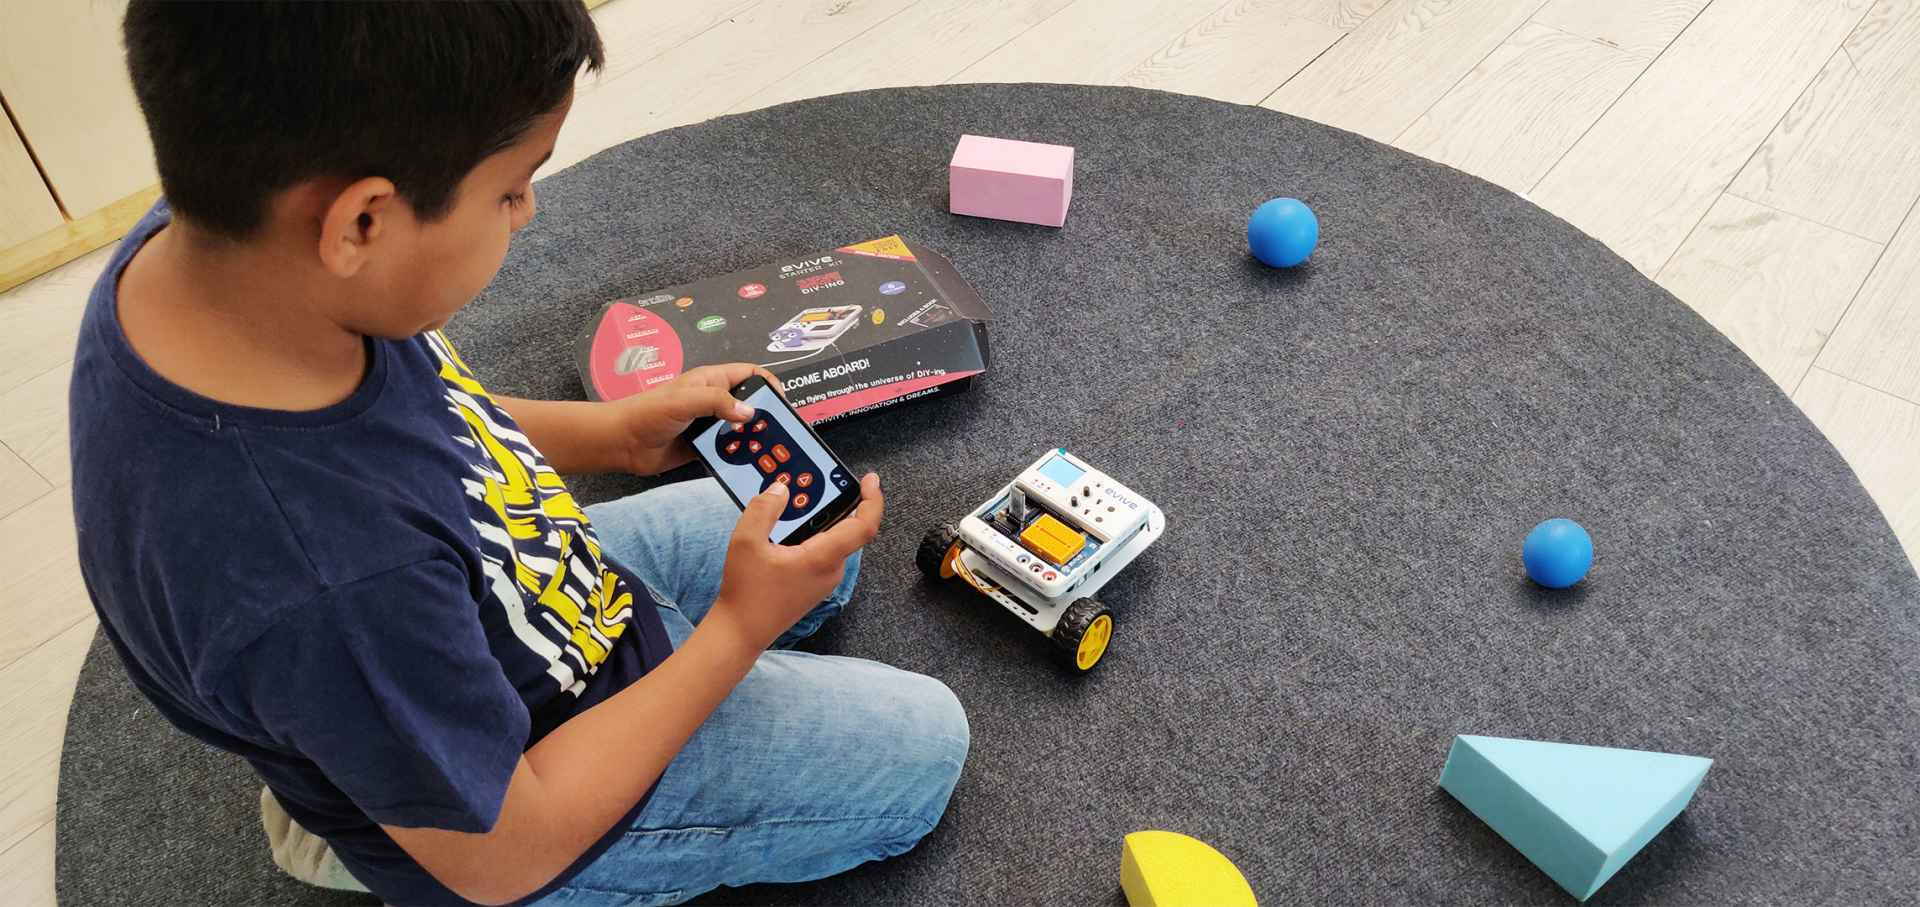
- Learning Outcome: Students will make a game to control the rocket using a Smartphone (Using the gamepad module in Dabble App) and shoot the enemy coming.
- Mode: Practical
Module 2: Do-It-Yourself with a Smartphone!
Students will get to make an exciting Smartphone controlled music reactive RGB LED lamp that changes color as the music changes.
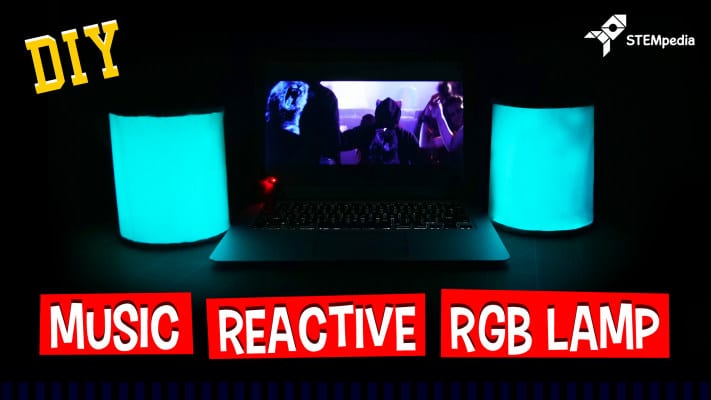
Lesson 3.1: Music Reactive RGB LED Strip
- Objective: Make a music reactive RGB LED strip which will change the color according to the sound meter of the Smartphone.
- Activity : Make music reactive RGB lamp
- Learning Outcome: In this project, students will make a music reactive RGB LED strip which will change the color according to the sound meter from Dabble app.
- Mode: Practical
Capstone Project
The final lesson of the Physical Computing for Kids – Level 2 curriculum for schools is where students get to apply all the concepts they have learned in the previous sections to make a project to solve a real-world problem of their choice.
What will you need to Conduct this Curriculum?
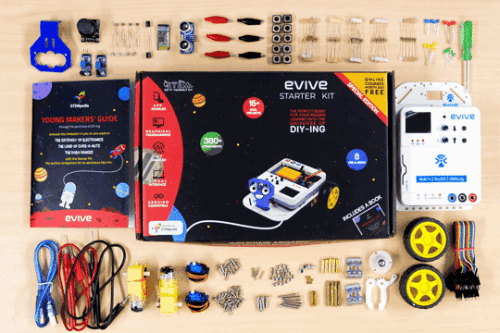
STEM Classroom Bundle
The perfect Starter Package for schools to implement STEM, electronics, and robotics education.
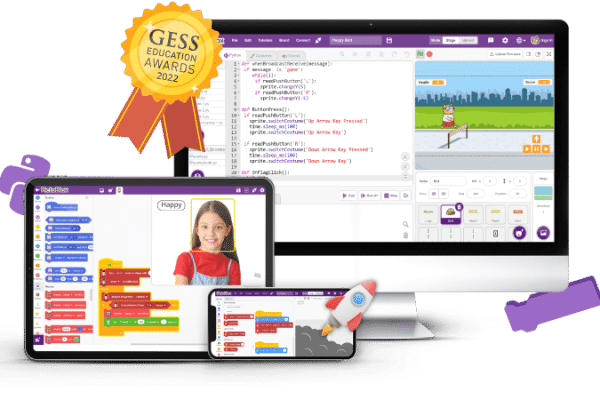
PictoBlox Software
Graphical Programming Software for kids to make games, animation, and program robots.
Contact Us
Implement this curriculum at your School / Activity Center!

