The block makes the robot move in the specified direction at the specified speed.
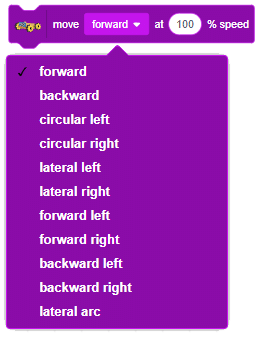
The robot will not stop until the motors are stopped with the stop mecanum robot block.

The block makes the robot move in the specified direction at the specified speed.

The robot will not stop until the motors are stopped with the stop mecanum robot block.
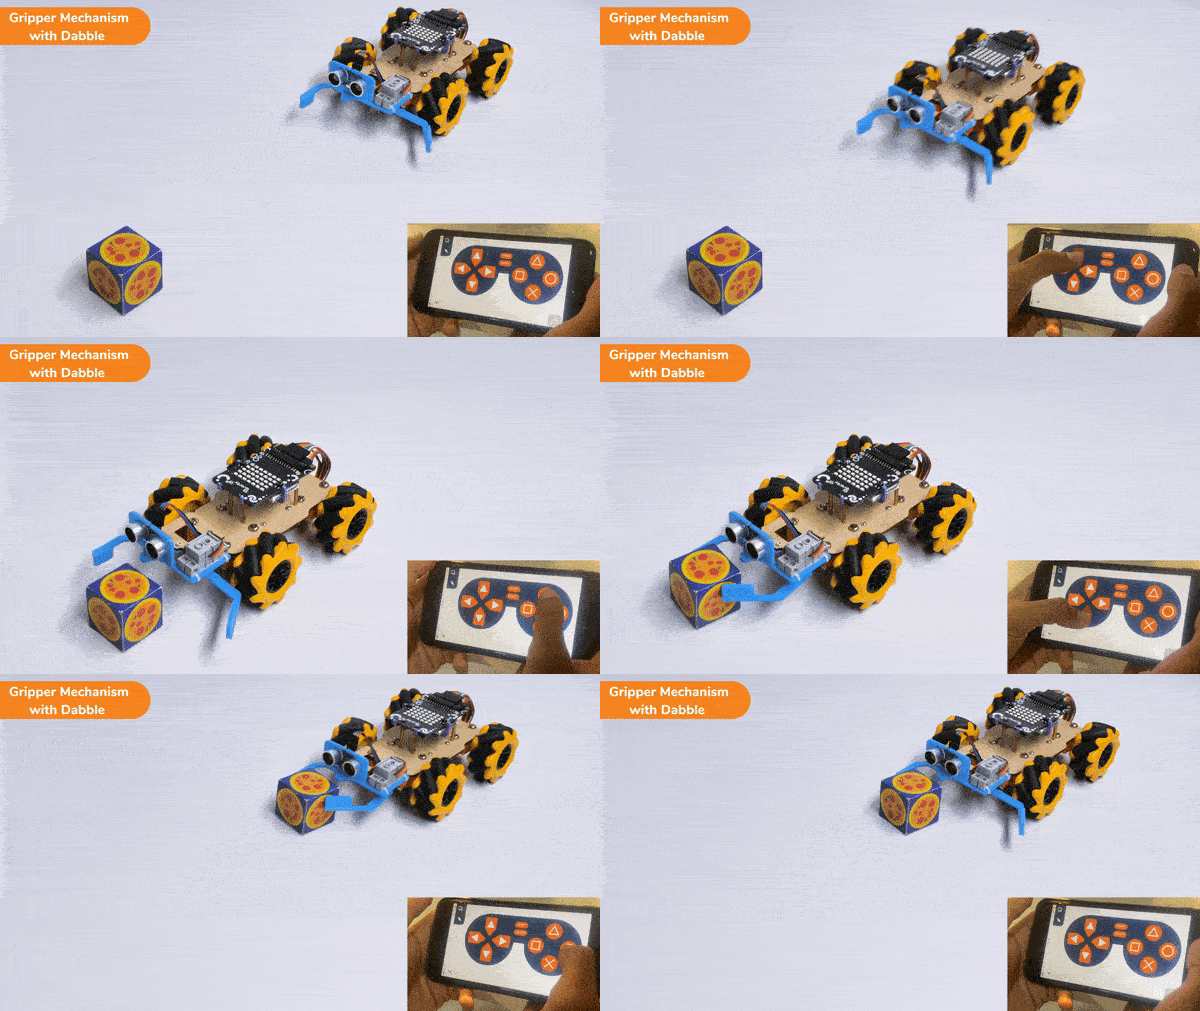
In this activity, we will control the Mecanum Gripper according to our needs using the Dabble application on our own Devices.
We will first understand how to operate Dabble and how to modify our code according to the requirements. The following image is the front page of the Dabble Application.
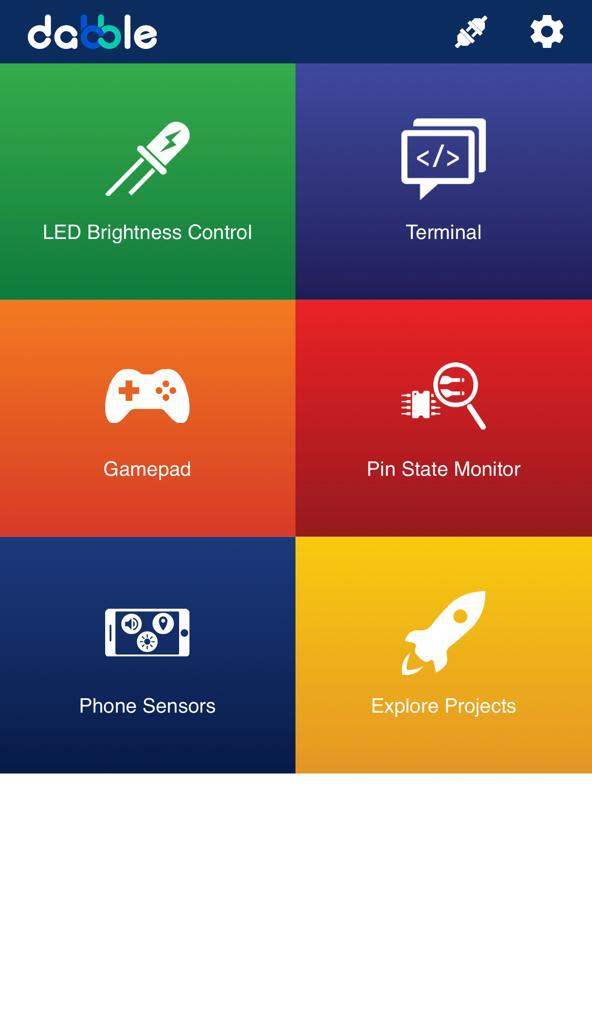
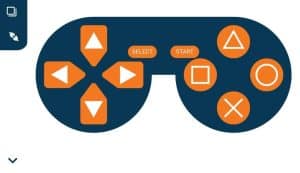
Select the Gamepad option from the Home Screen and we will then use the same gamepad to control our Mecanum Gripper.
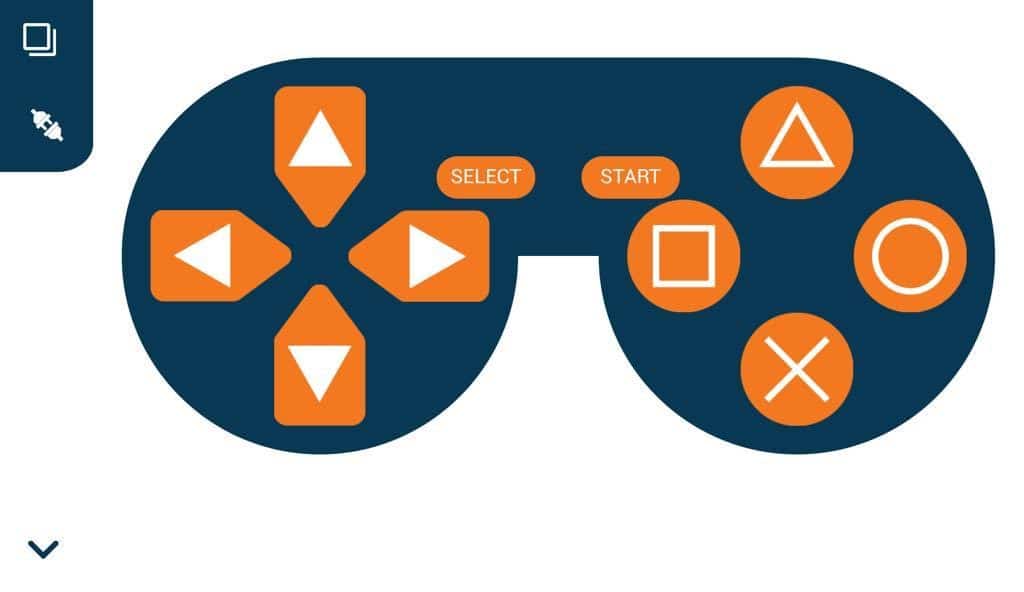
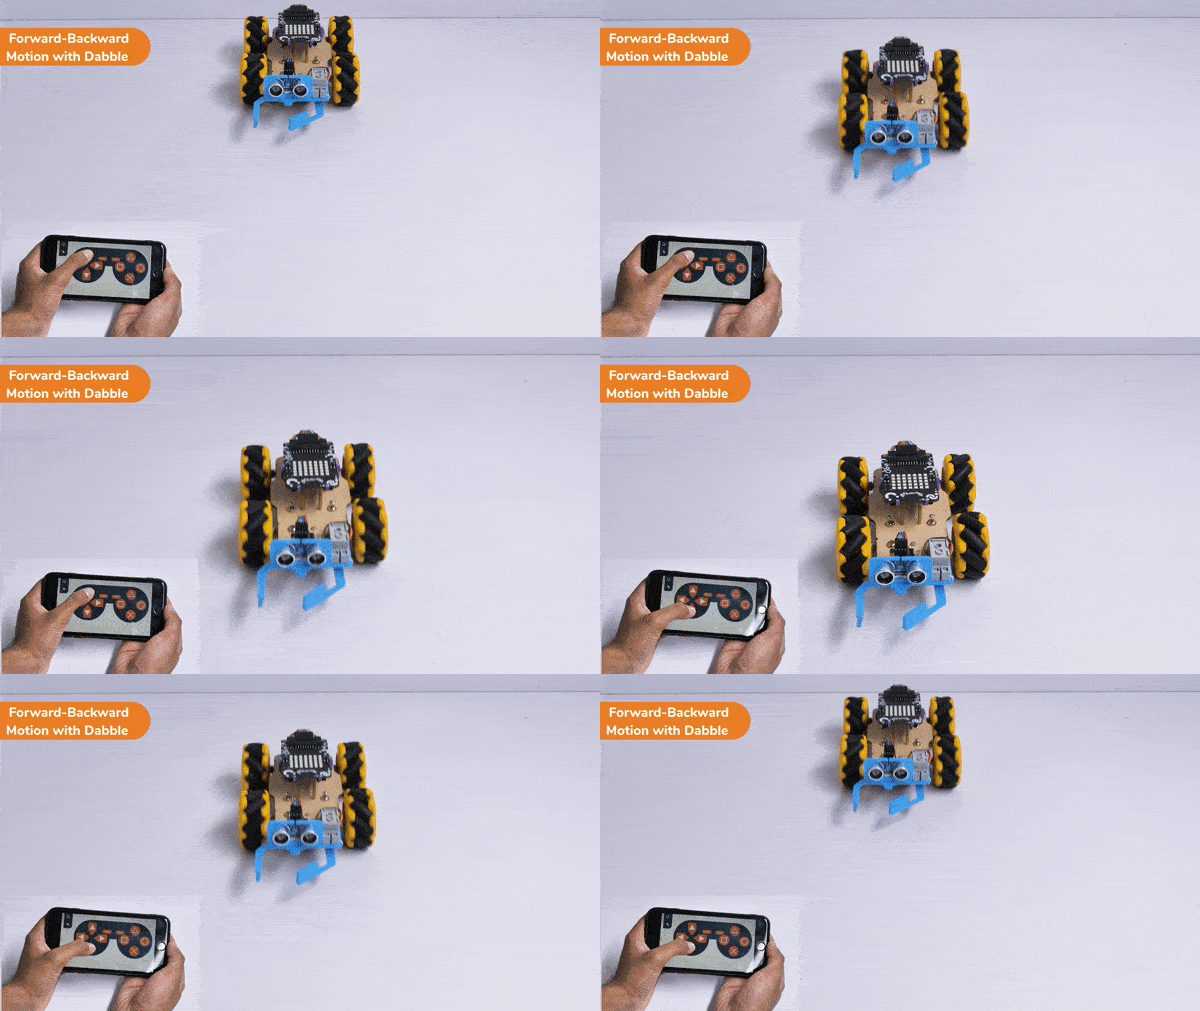
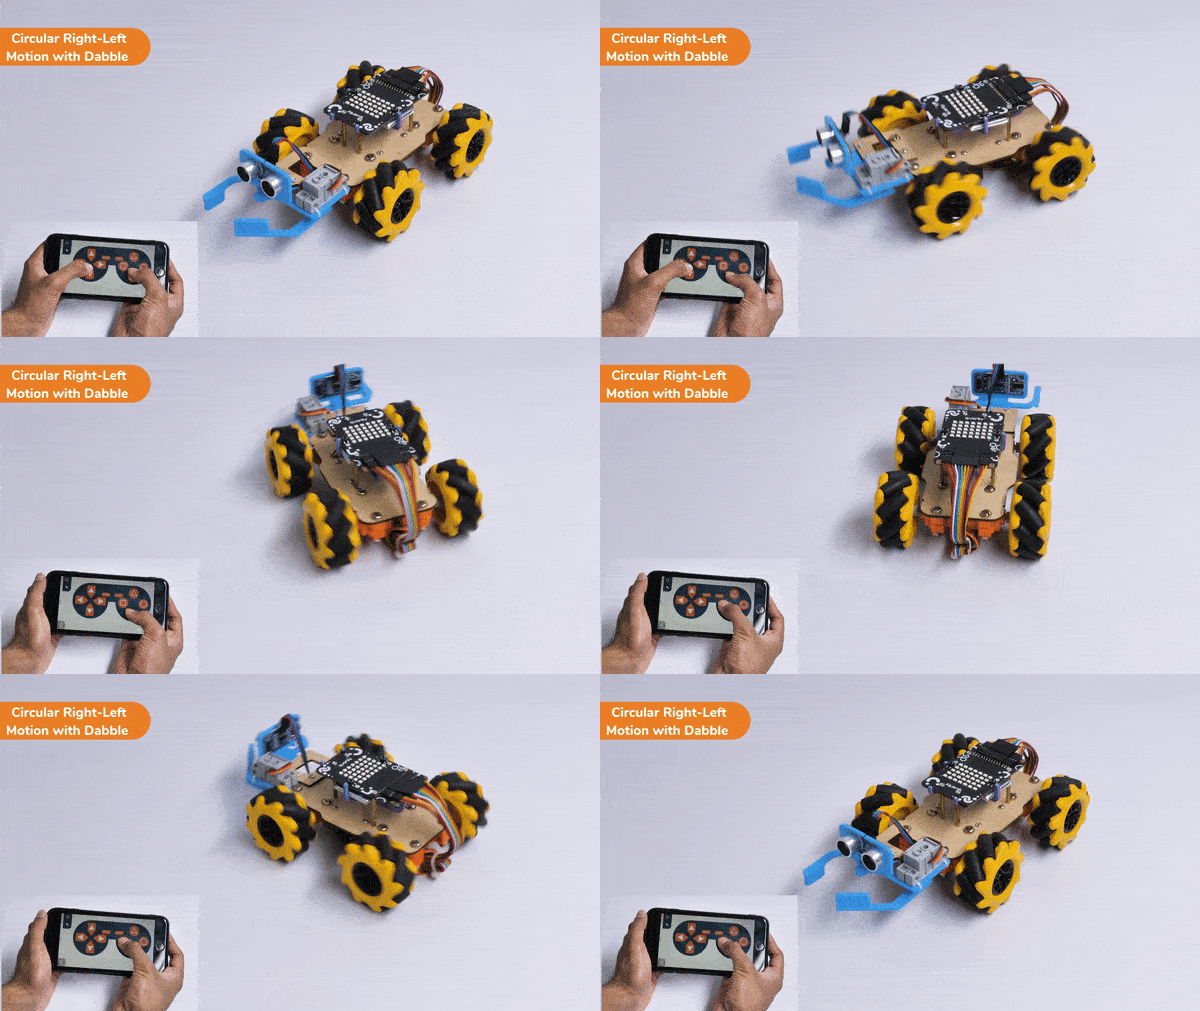
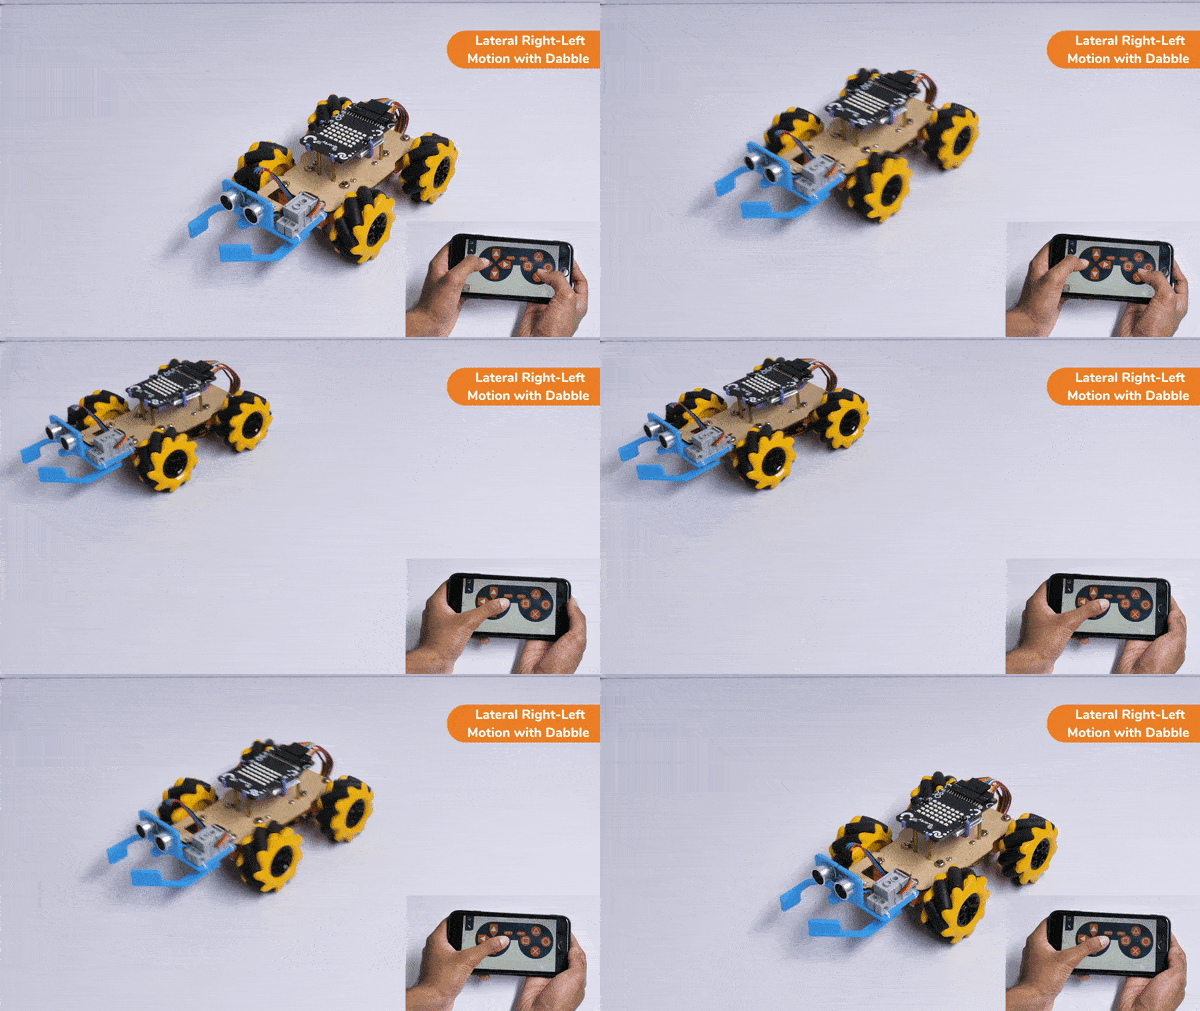
The following blocks represent the different functions that are created to control the Mecanum Gripper for different types of motions. We will use the arrow buttons to control the basic movements.( Forward, Backward, Lateral Left, Lateral Right ). We will use custom functions to control the gripper actions. We will use the Triangle button to close the gripper arms and the Circle button to open the gripper arms. We will use the Cross button to rotate to the right direction and we will use the Square button to rotate to the left direction. We can use the Select button to stop the Mecanum whenever possible.
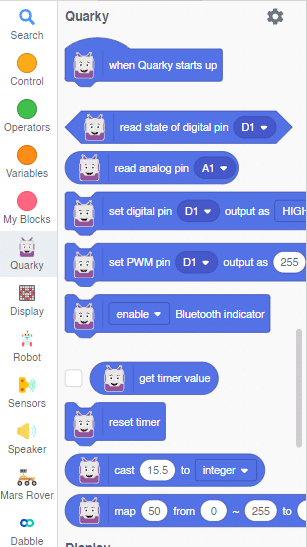
Note: You can always customize each and every function and button, and make your own activities easily. You will have to add the extensions of Mecanum and also of Dabble to access the blocks. To access the basic extensions required, make sure to select the Board as Quarky first.
Initialization
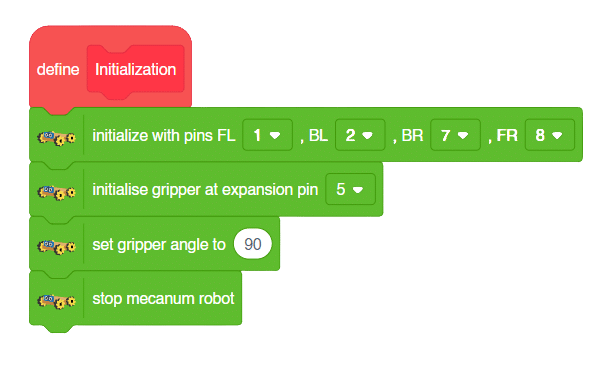
Main Code
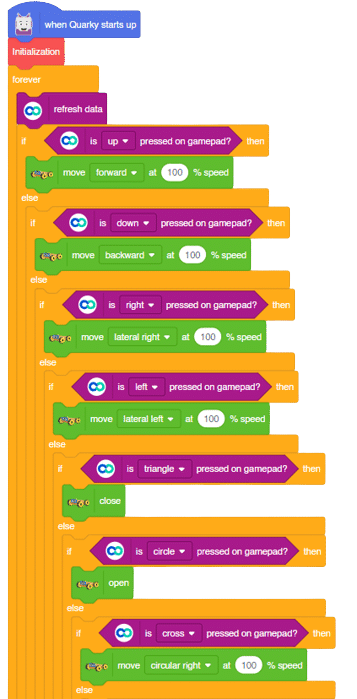
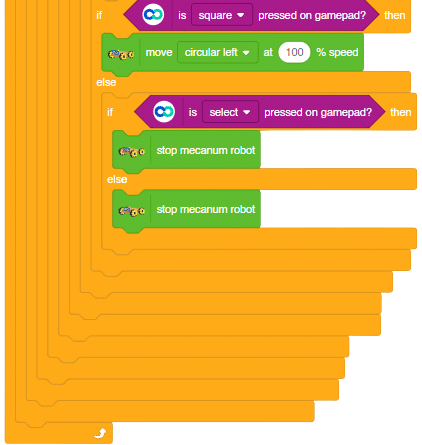
You will have to connect the Quarky with the Dabble Application on your device. Make sure Bluetooth is enabled on the device before connecting. Connect the Mecanum to the Dabble application after uploading the code. You will be able to connect by clicking on the plug option in the Dabble Application as seen below. Select that plug option and you will find your Quarky device. Connect by clicking on the respective Quarky.

Forward-Backward Motion:
Circular Right-Left Motion:
Lateral Right-Left Motion:
Gripper Mechanism:


Copyright 2025 – Agilo Research Pvt. Ltd. All rights reserved – Terms & Condition | Privacy Policy
