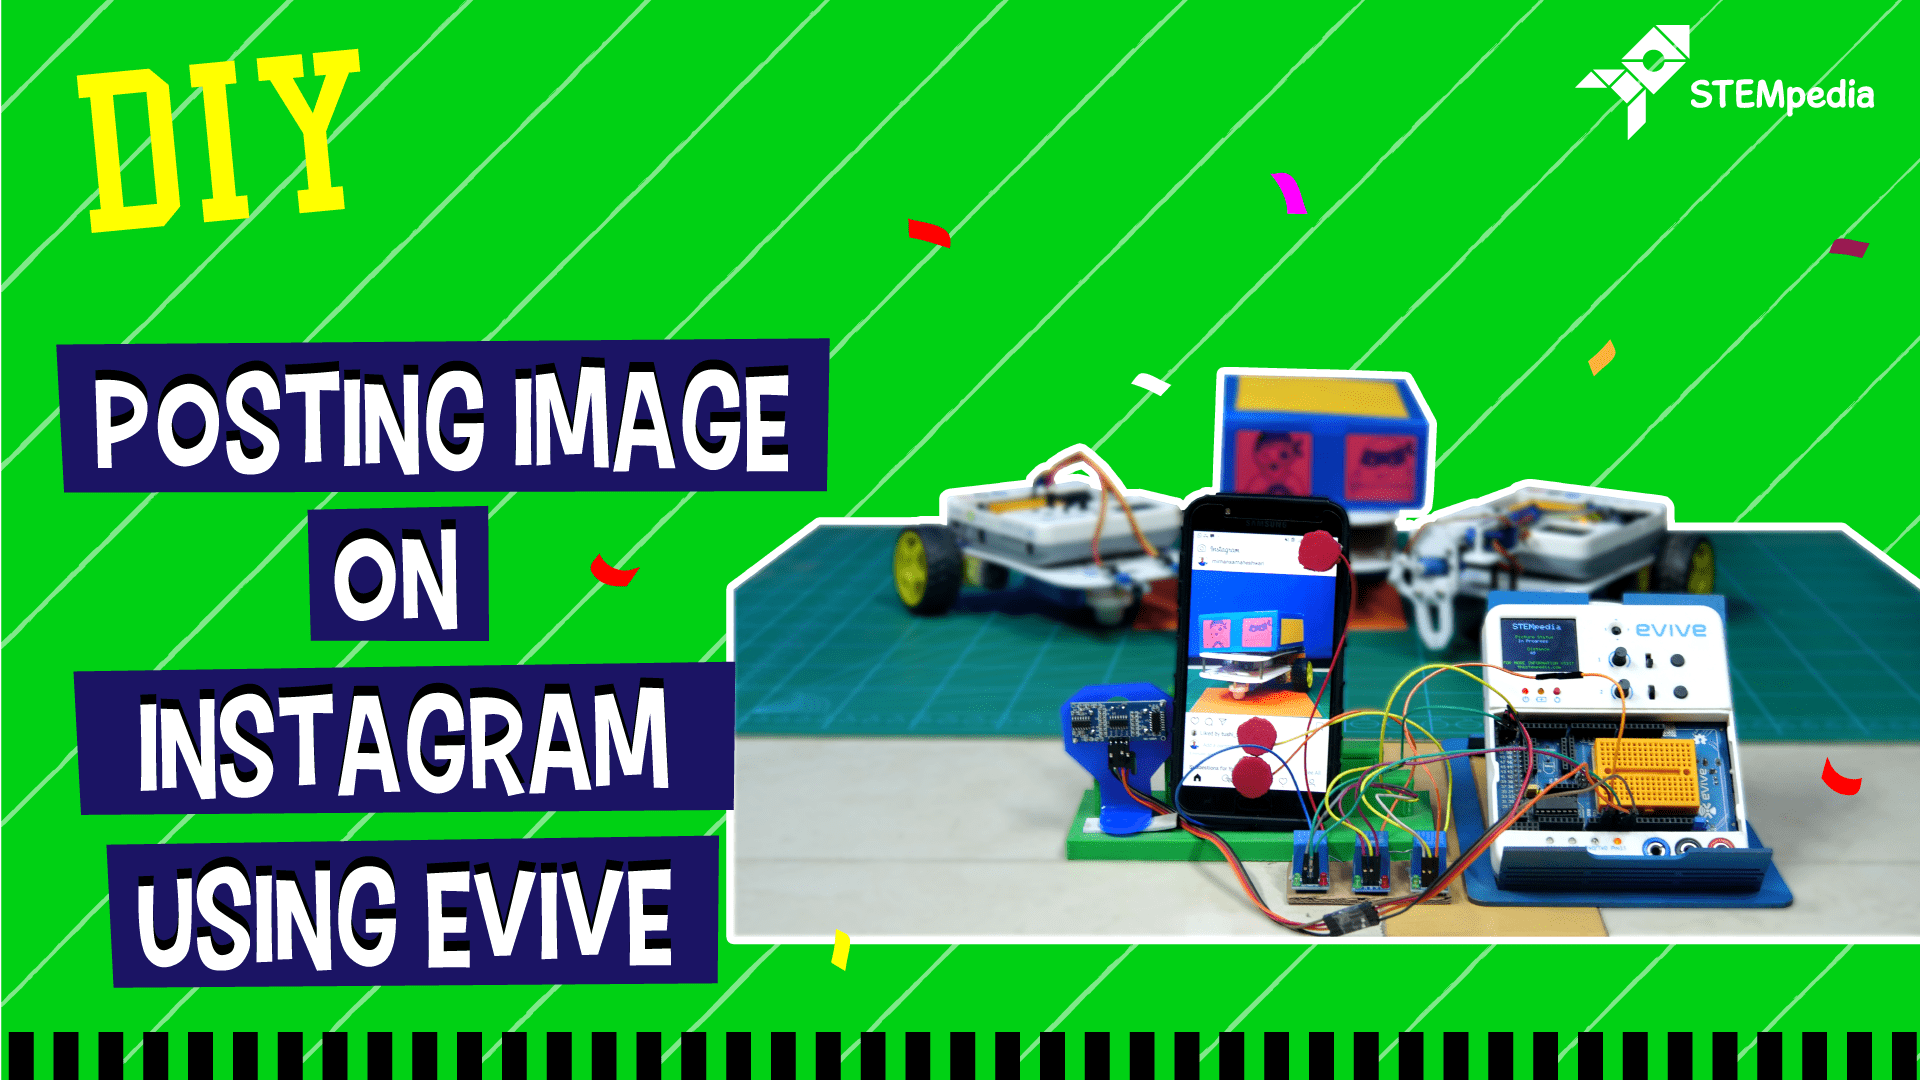

Introduction
Post photos on Instagram as you have them clicked automatically not by a friend or a stranger but by an easy-to-make assembly comprising of a few relays, an ultrasonic distance sensor, and evive – a state-of-the-art, all-in-one prototyping platform. But how to make the assembly work the way you want it to? By writing code in PictoBlox, a Scratch 3.0-based graphical programming software that makes learning to code a fun-filled hands-on learning experience!
You can download PictoBlox from HERE.
Beginning in 3, 2, 1… now!
Making
Posting a photo on Instagram normally takes three taps.
One to open the option from where we can click the photo, second to click on the button to capture the image and the third on the top right corner to post.
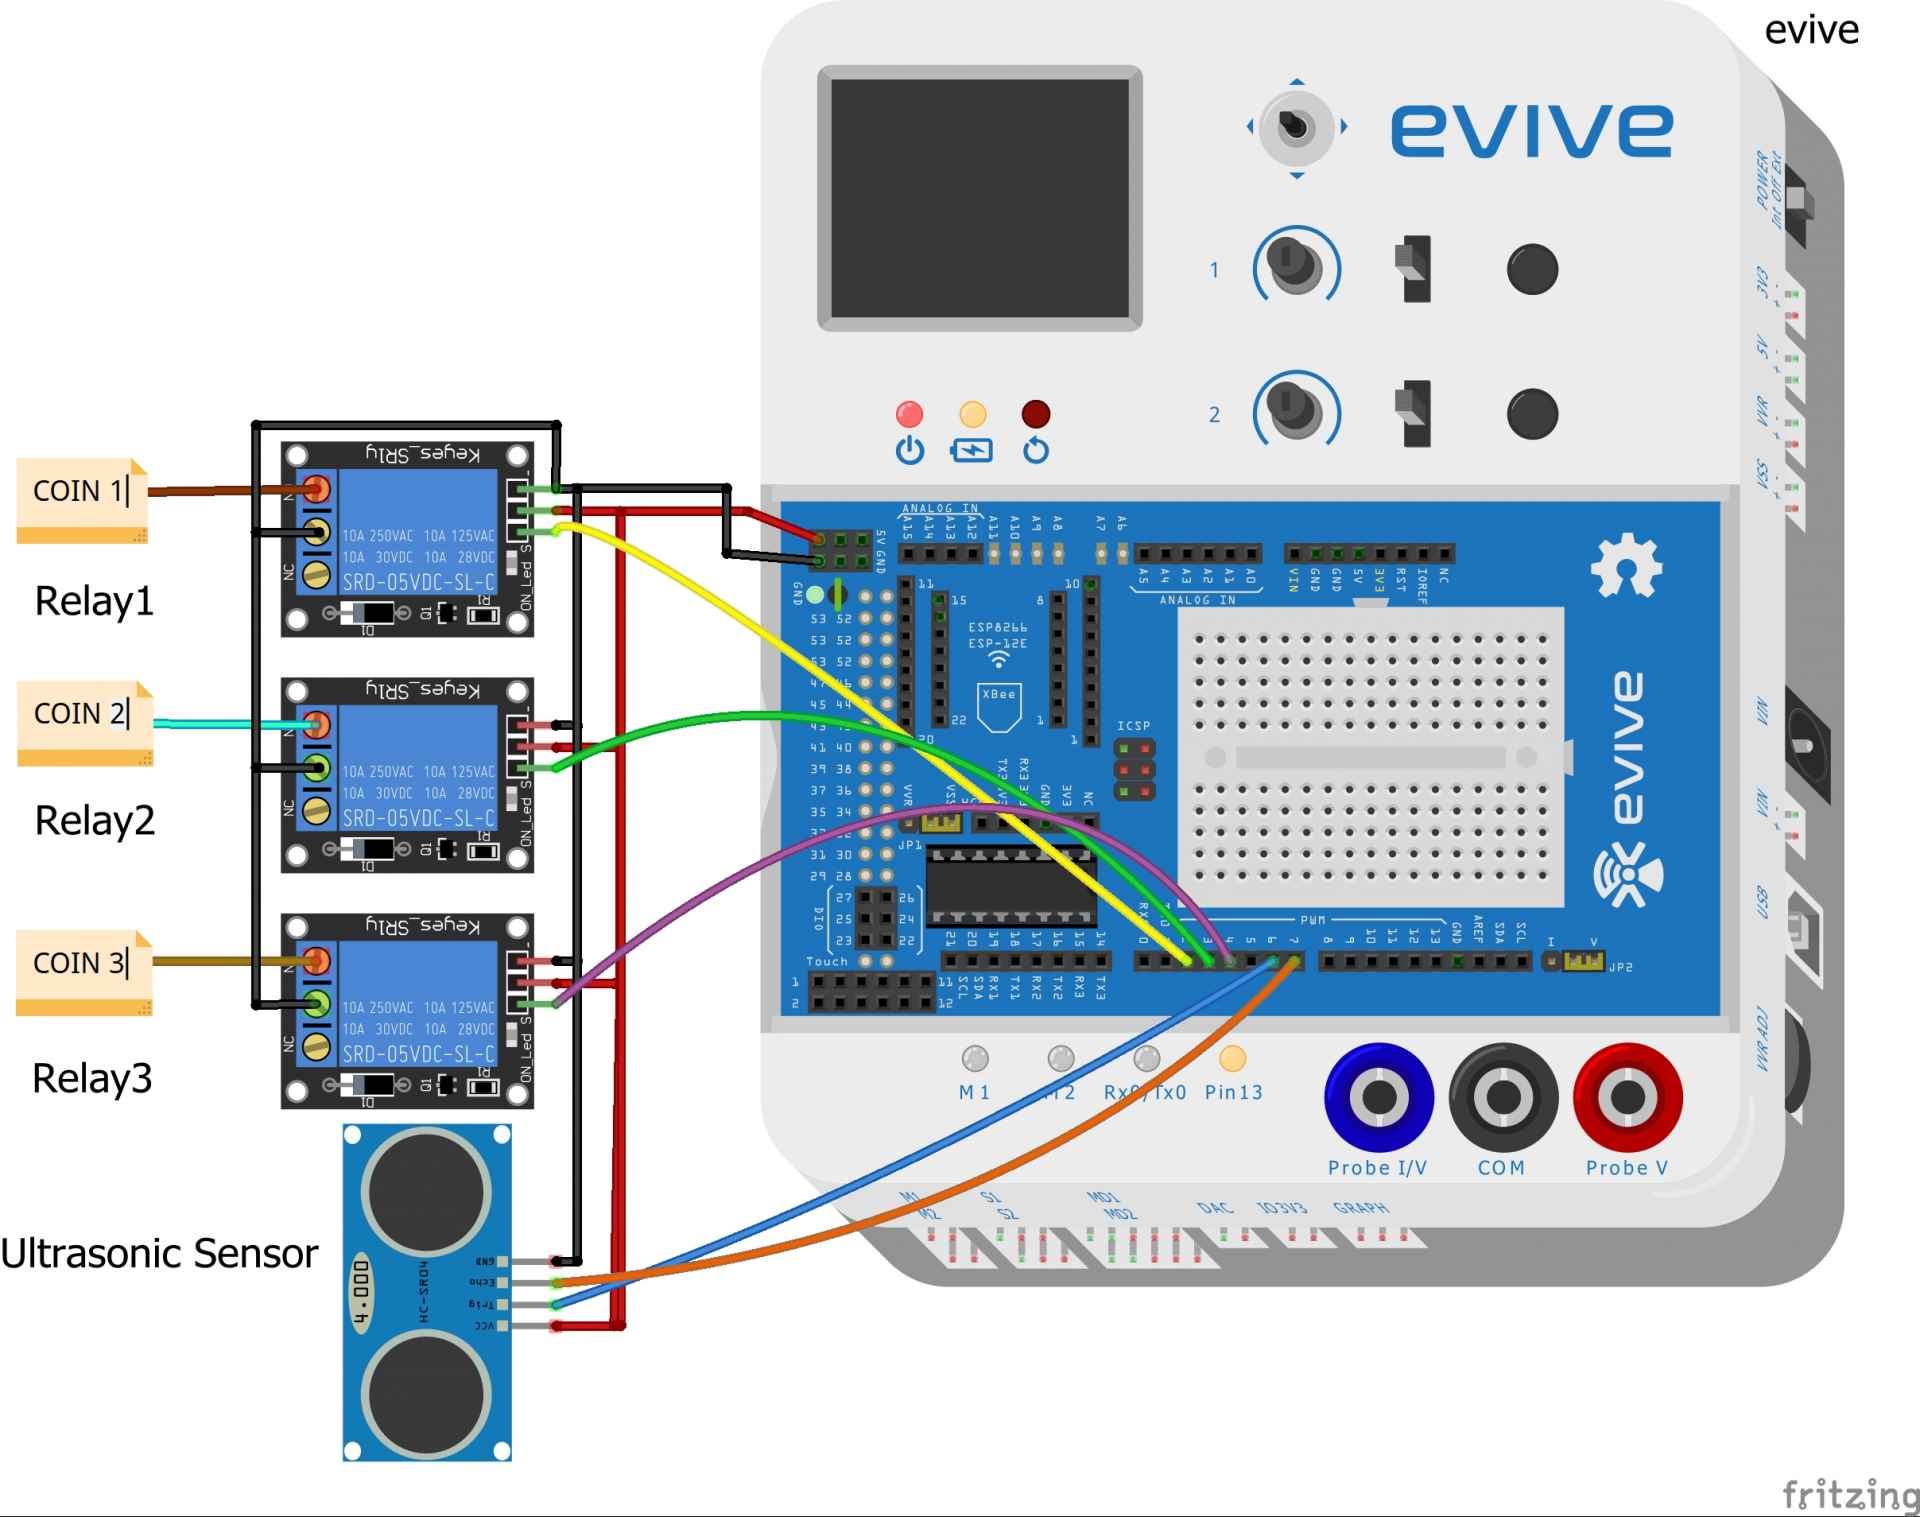
Thus, we will be using 3 Relays. Take the relay modules and make the ground common.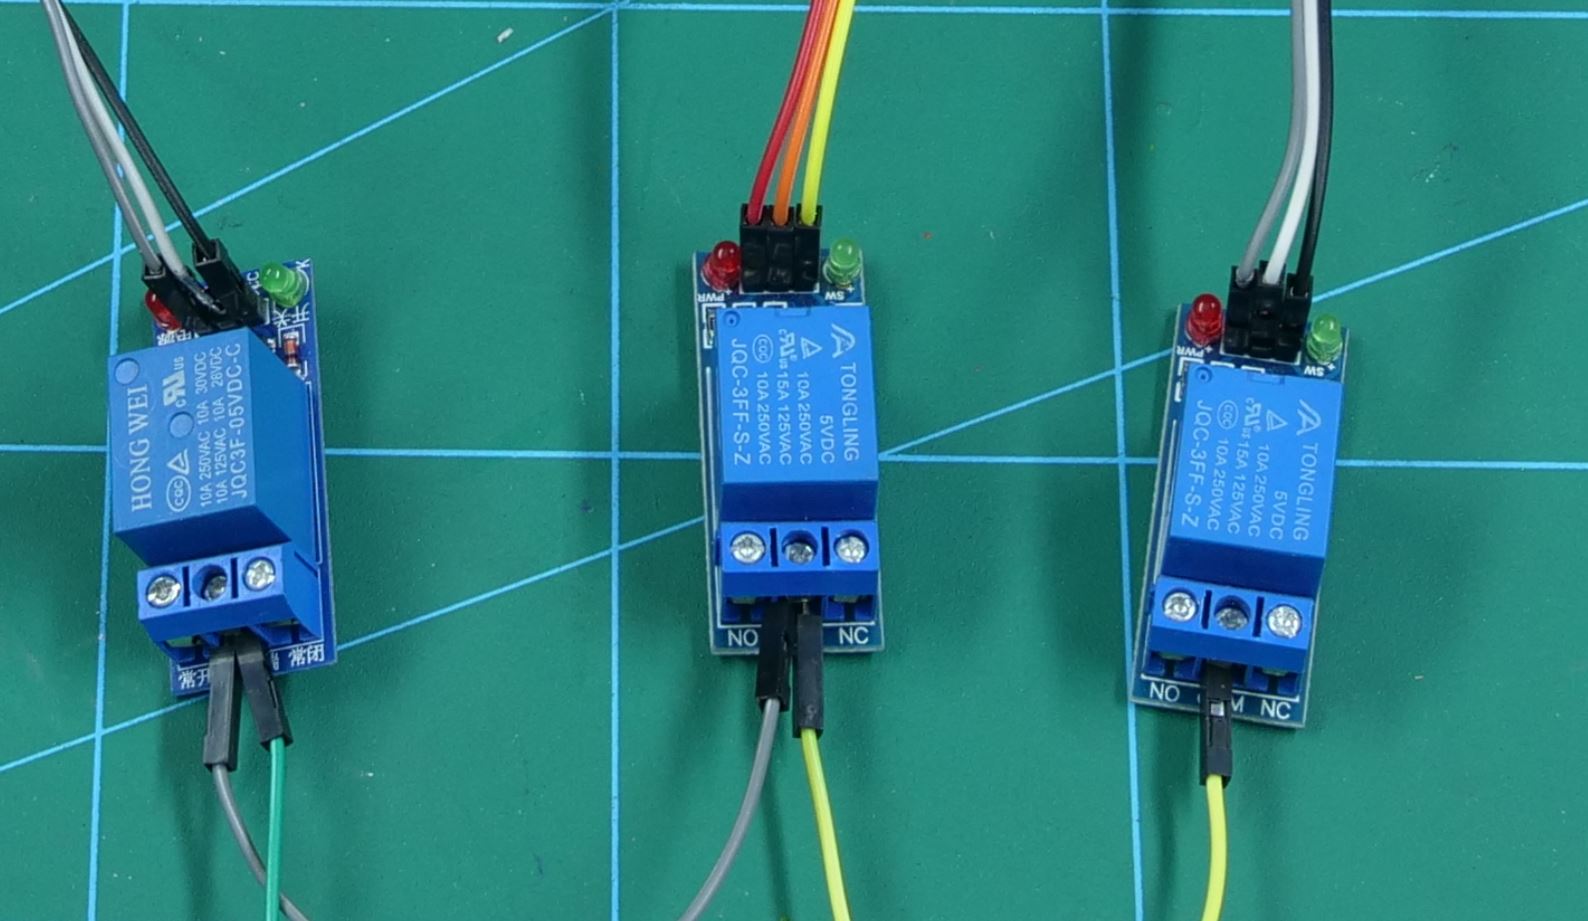
We need to generate the touch on the screen of your Smartphone. Thus we will be using coins for clicking on the screen.
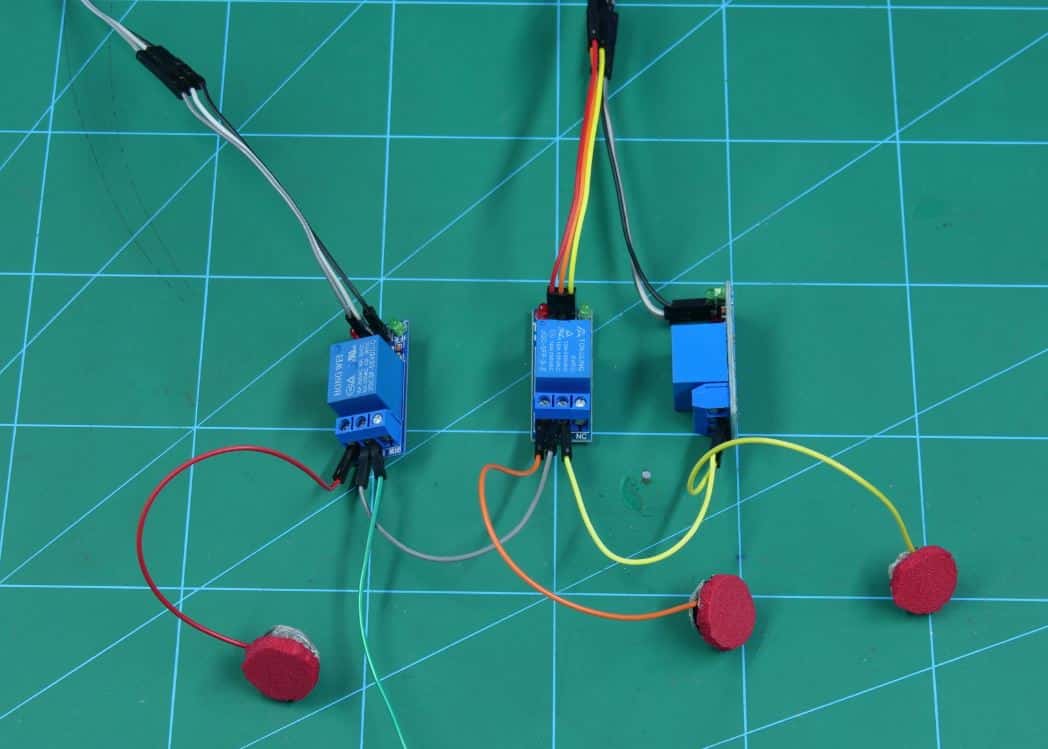
Solder one end of the jumper wire to the coin and connect the other end to the Normally Open pin of the relay.
You can cover the coin if you want; we have covered it using a small piece of the foam sheet.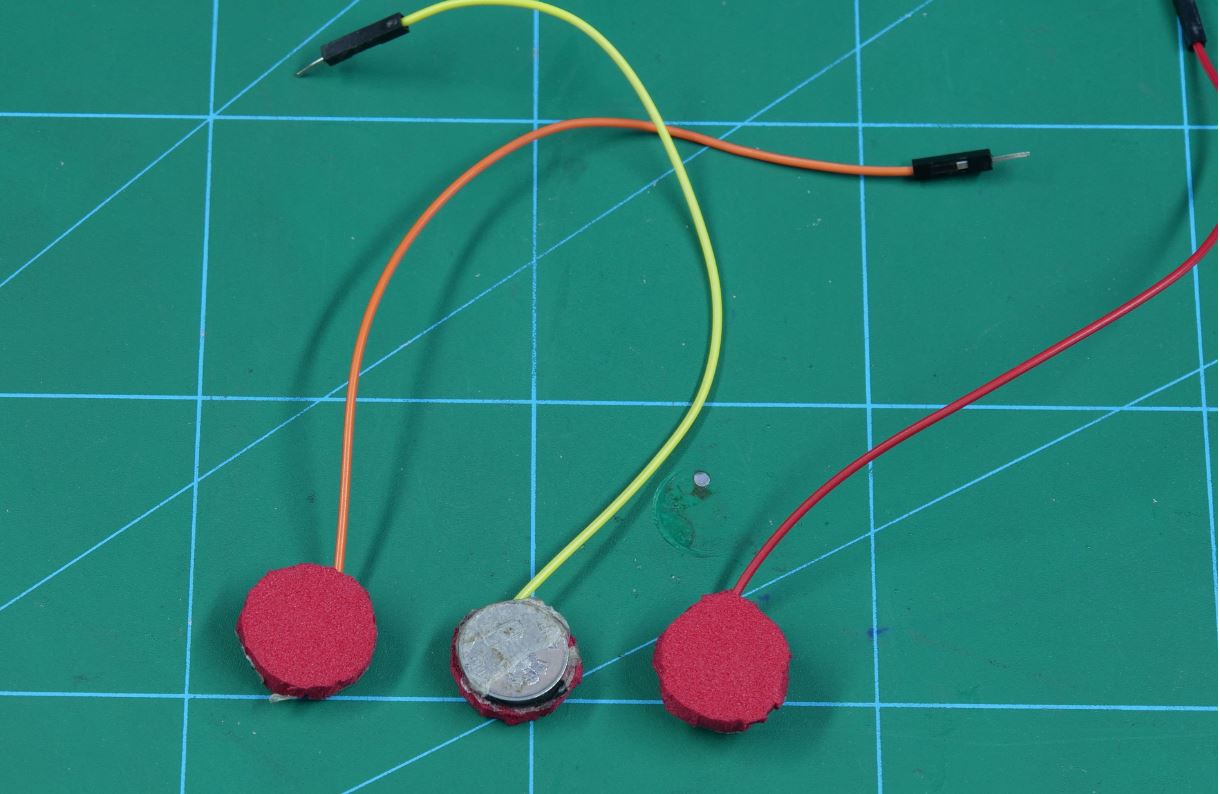
The basic assembly is complete. Now, we need to give the relays the signal to tap on the screen. For that, we will be using the ultrasonic sensor. Take an ultrasonic holder and fasten the ultrasonic sensor to it using screws.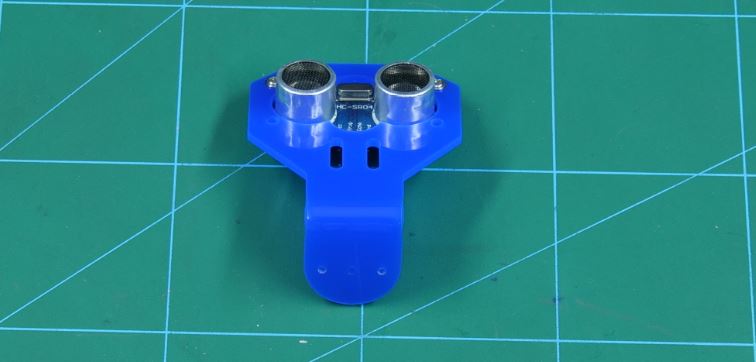
Stick the coins on your Smartphone’s screen using double-sided tape. Finally, organize the complete assembly as shown in the figure.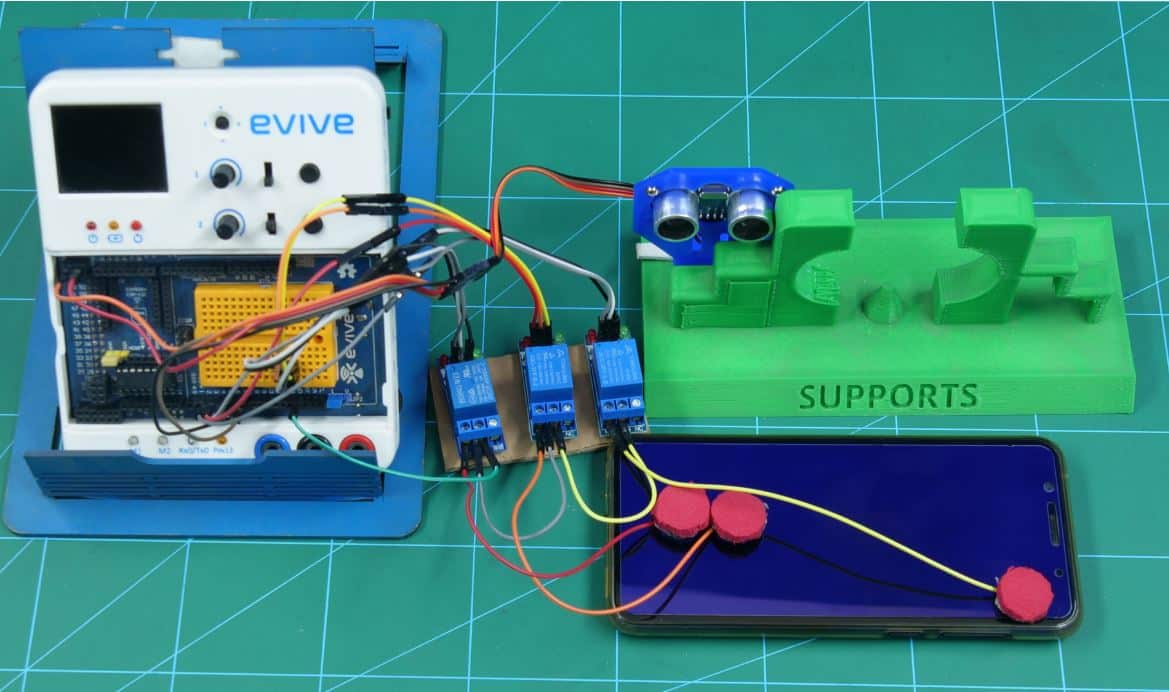
Connection
Connect the jumper cables attached to the coin to the Normally Open pin of the relay.
Make the GND pin of all the relays common and attach it to GND pin of evive.
Connect the VCC pin of all the relays to the +5V pin of evive.
Connect the signal pin according to the connections below:
- Relay 1 – Digital pin 2 of evive
- Relay 2 – Digital pin 3 of evive
- Relay 3 – Digital pin 4 of evive.
Connect the pins of the ultrasonic sensor according to the connections below:
- GND – GND of evive
- VCC – +5V of evive
- Trigger – Digital pin 6 of evive
- Echo – Digital Pin 7 of evive.

Logic
The ultrasonic sensor is used to trigger the entire event. When the object is detected within the given range of the sensor, which we have set as 50cm, it sends a signal to evive. The first click is then triggered and then after predefined delays, the relays select and post the photo.
Code
PictoBlox is a graphical programming software based on Scratch 3.0 that makes learning how to code easy and fun. It allows you to interface and control evive with your computer and even uploads code to it.
You can download PictoBlox from here.
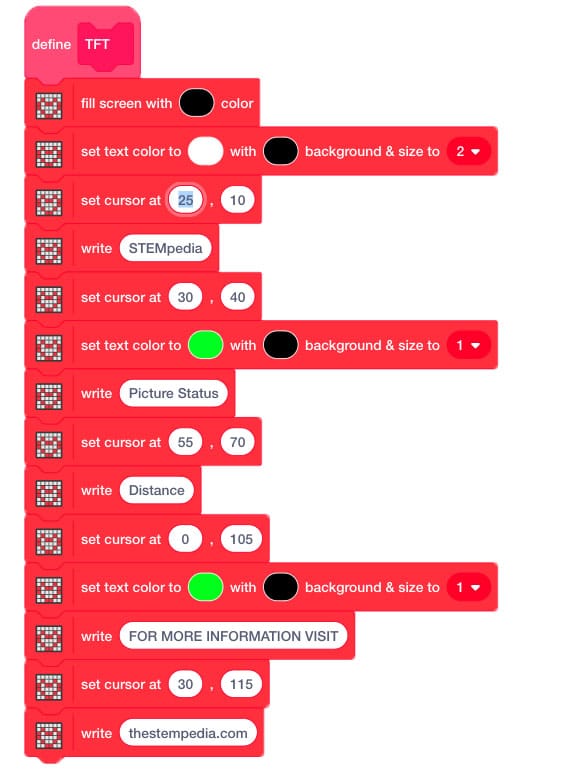
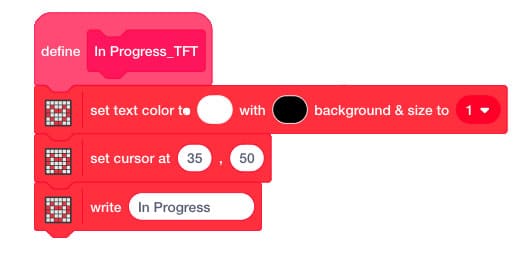
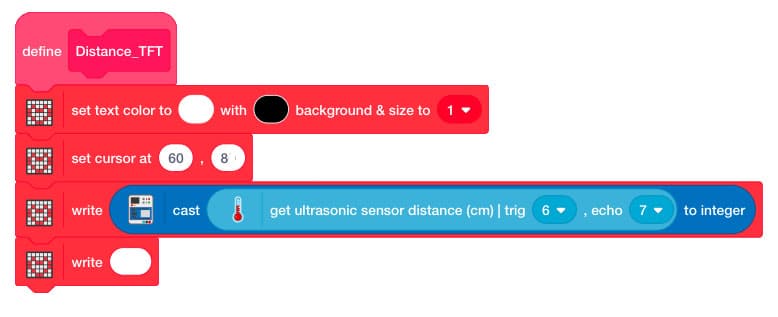
We are going to make a TFT block to display STEMpedia, the status of the picture, and the website on TFT Screen.
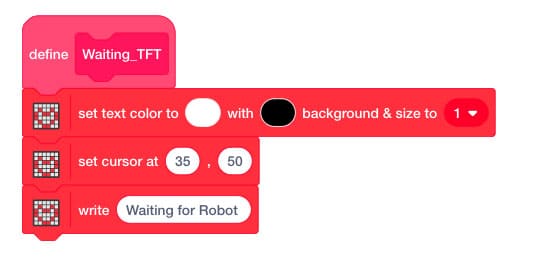
Upload the following code to evive:


Conclusion
With this, you are now equipped with everything you need to free yourself from having to click and post photos!
Our campaign’s been going wonderful and we’ve raised almost 160% of our fixed goal! This shows that people love us! Why don’t have a look at it and find out for yourself what it is all about? Visit HERE to check out our campaign!


 1-18 screenshot")


