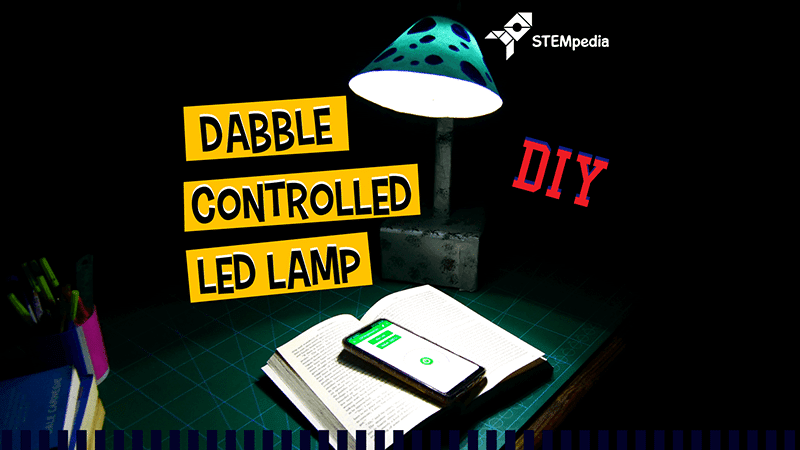

Introduction
In our lives, all of us has had a phase where they’ve kept their shoulder to the wheel, be it while studying, meeting deadlines, or finishing an important project; and we’ve struggled with the working conditions as well during those times, especially light. But not anymore! With this easy-to-make DIY Dabble controlled LED lamp, you don’t have to worry about unchangeable lighting conditions anymore. All you need is some power LEDs, some chart paper, some DIYing, and evive of course! With Dabble, our project-making mobile application, you can easily control the brightness of the lamp and set it to as much you want and give your best! We’re proud of you!
If you don’t already have Dabble, download it from here!
Making
You will need thick cardboard to make the lamp.
First things first, we will be making a box, underneath we will be keeping evive and will also provide a good amount of height to your lamp.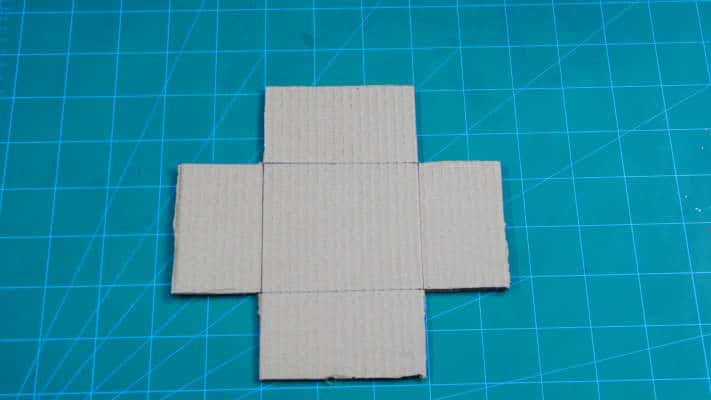
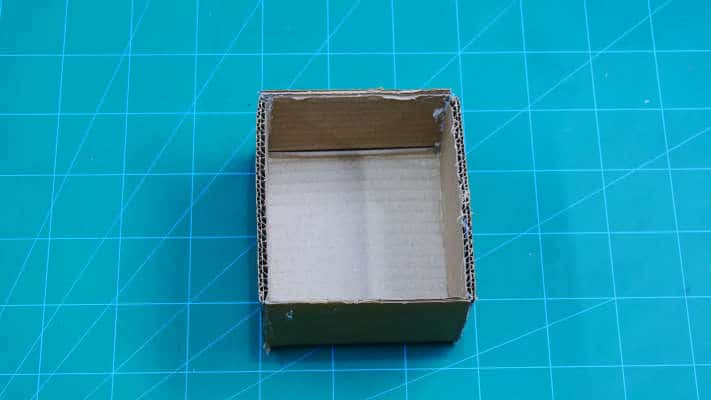
Make sure that the box is of the height of evive.
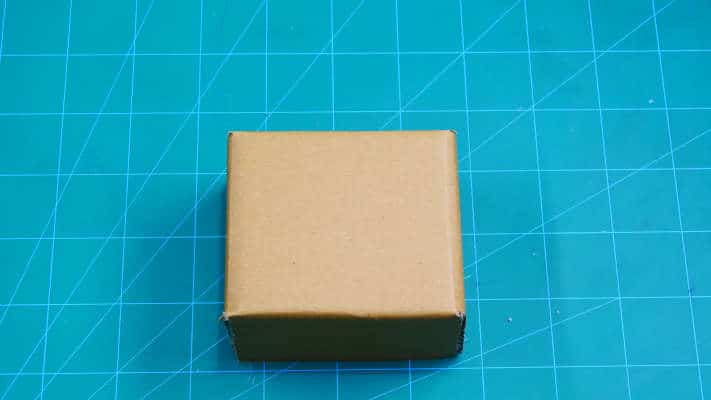
To make it more beautiful, color the box. We have kept an opening from where we can insert our evive.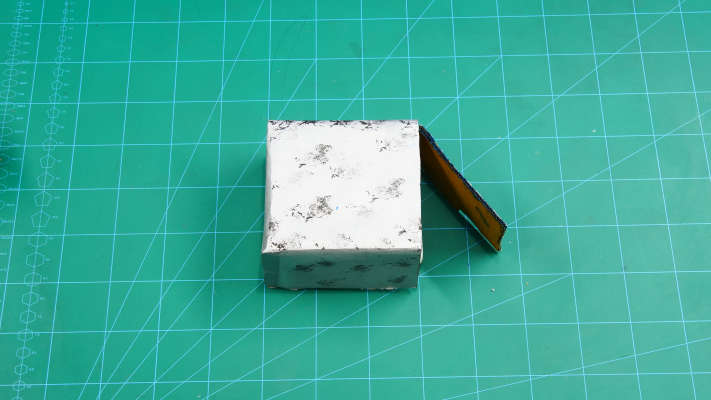
Next is to make the column. You will be making the column into two parts.
The first will be a long one and the other will be one on which the lampshade will be fitted.
All of these will be made using the help of cardboard.
Take a long piece of cardboard and fold it to make a hollow long rectangle.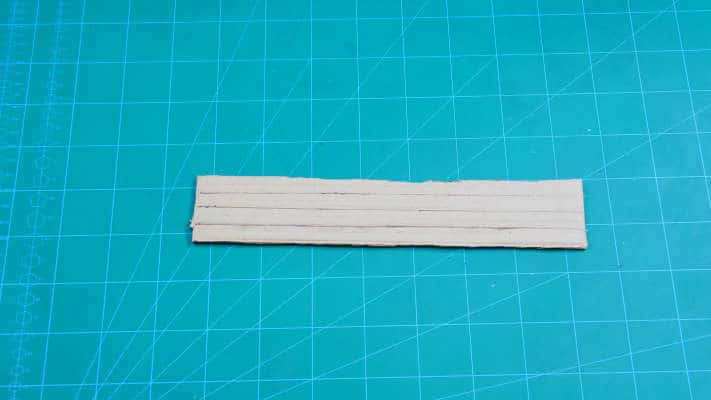
The height of the cardboard can be varied according to your need.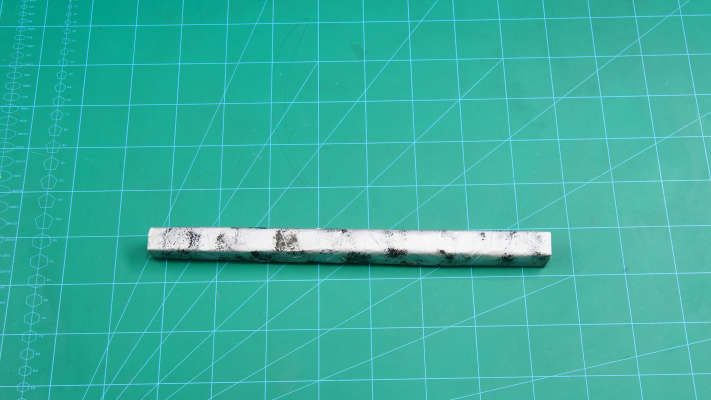
Next is making a small part of the column which will be attached horizontally.
On this part of the column, we will be attaching the lamp shade.
You will be needing a color paper to make the lamp shade. Take a paper and take the cutouts as follows.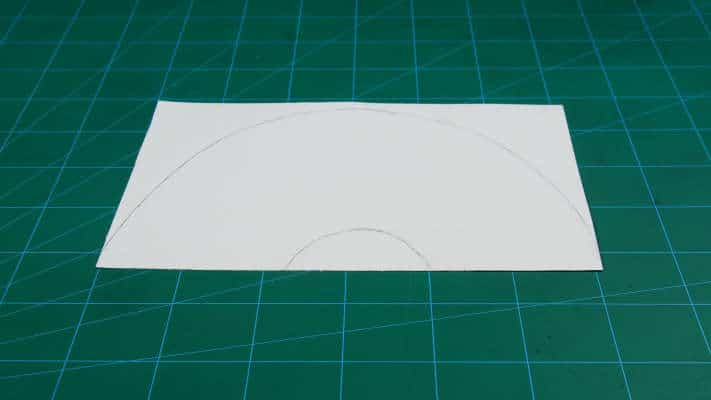
Fold the lamp and glue the ends to make the shade.
Next, take a small piece of cardboard and take the cutout of the circle.
Make small square holes in this piece. This is where you will fix your Power LEDs. The holes will be of the size Power LEDs.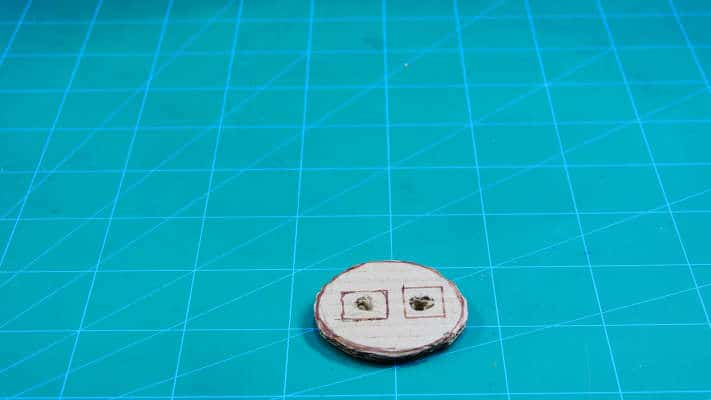
Fix the LEDs into the cutout. Fix these LEDs into the lamp fitting,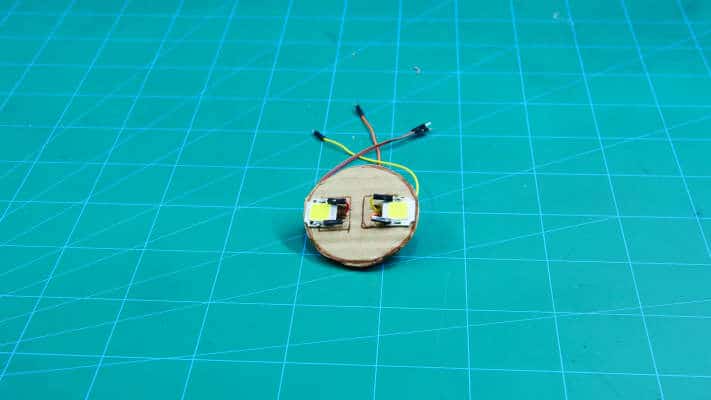
Finally, assemble all the parts. To fix the column in the base, we will make a small hole on the base. The wires will be passed from the column through this hole to evive.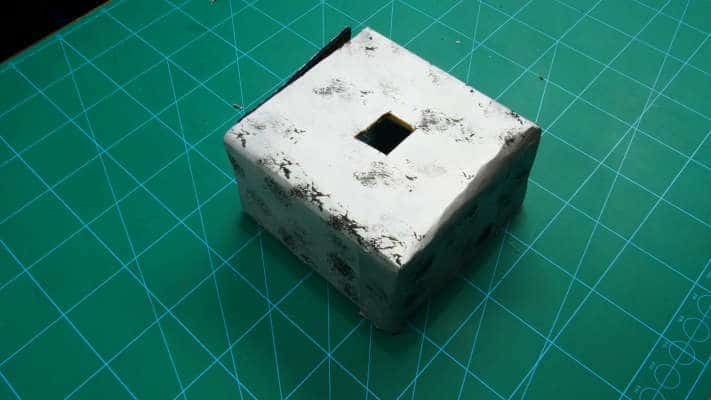
Fix horizontal part of the column on the main column. On this fix the lamp shade.
Connection
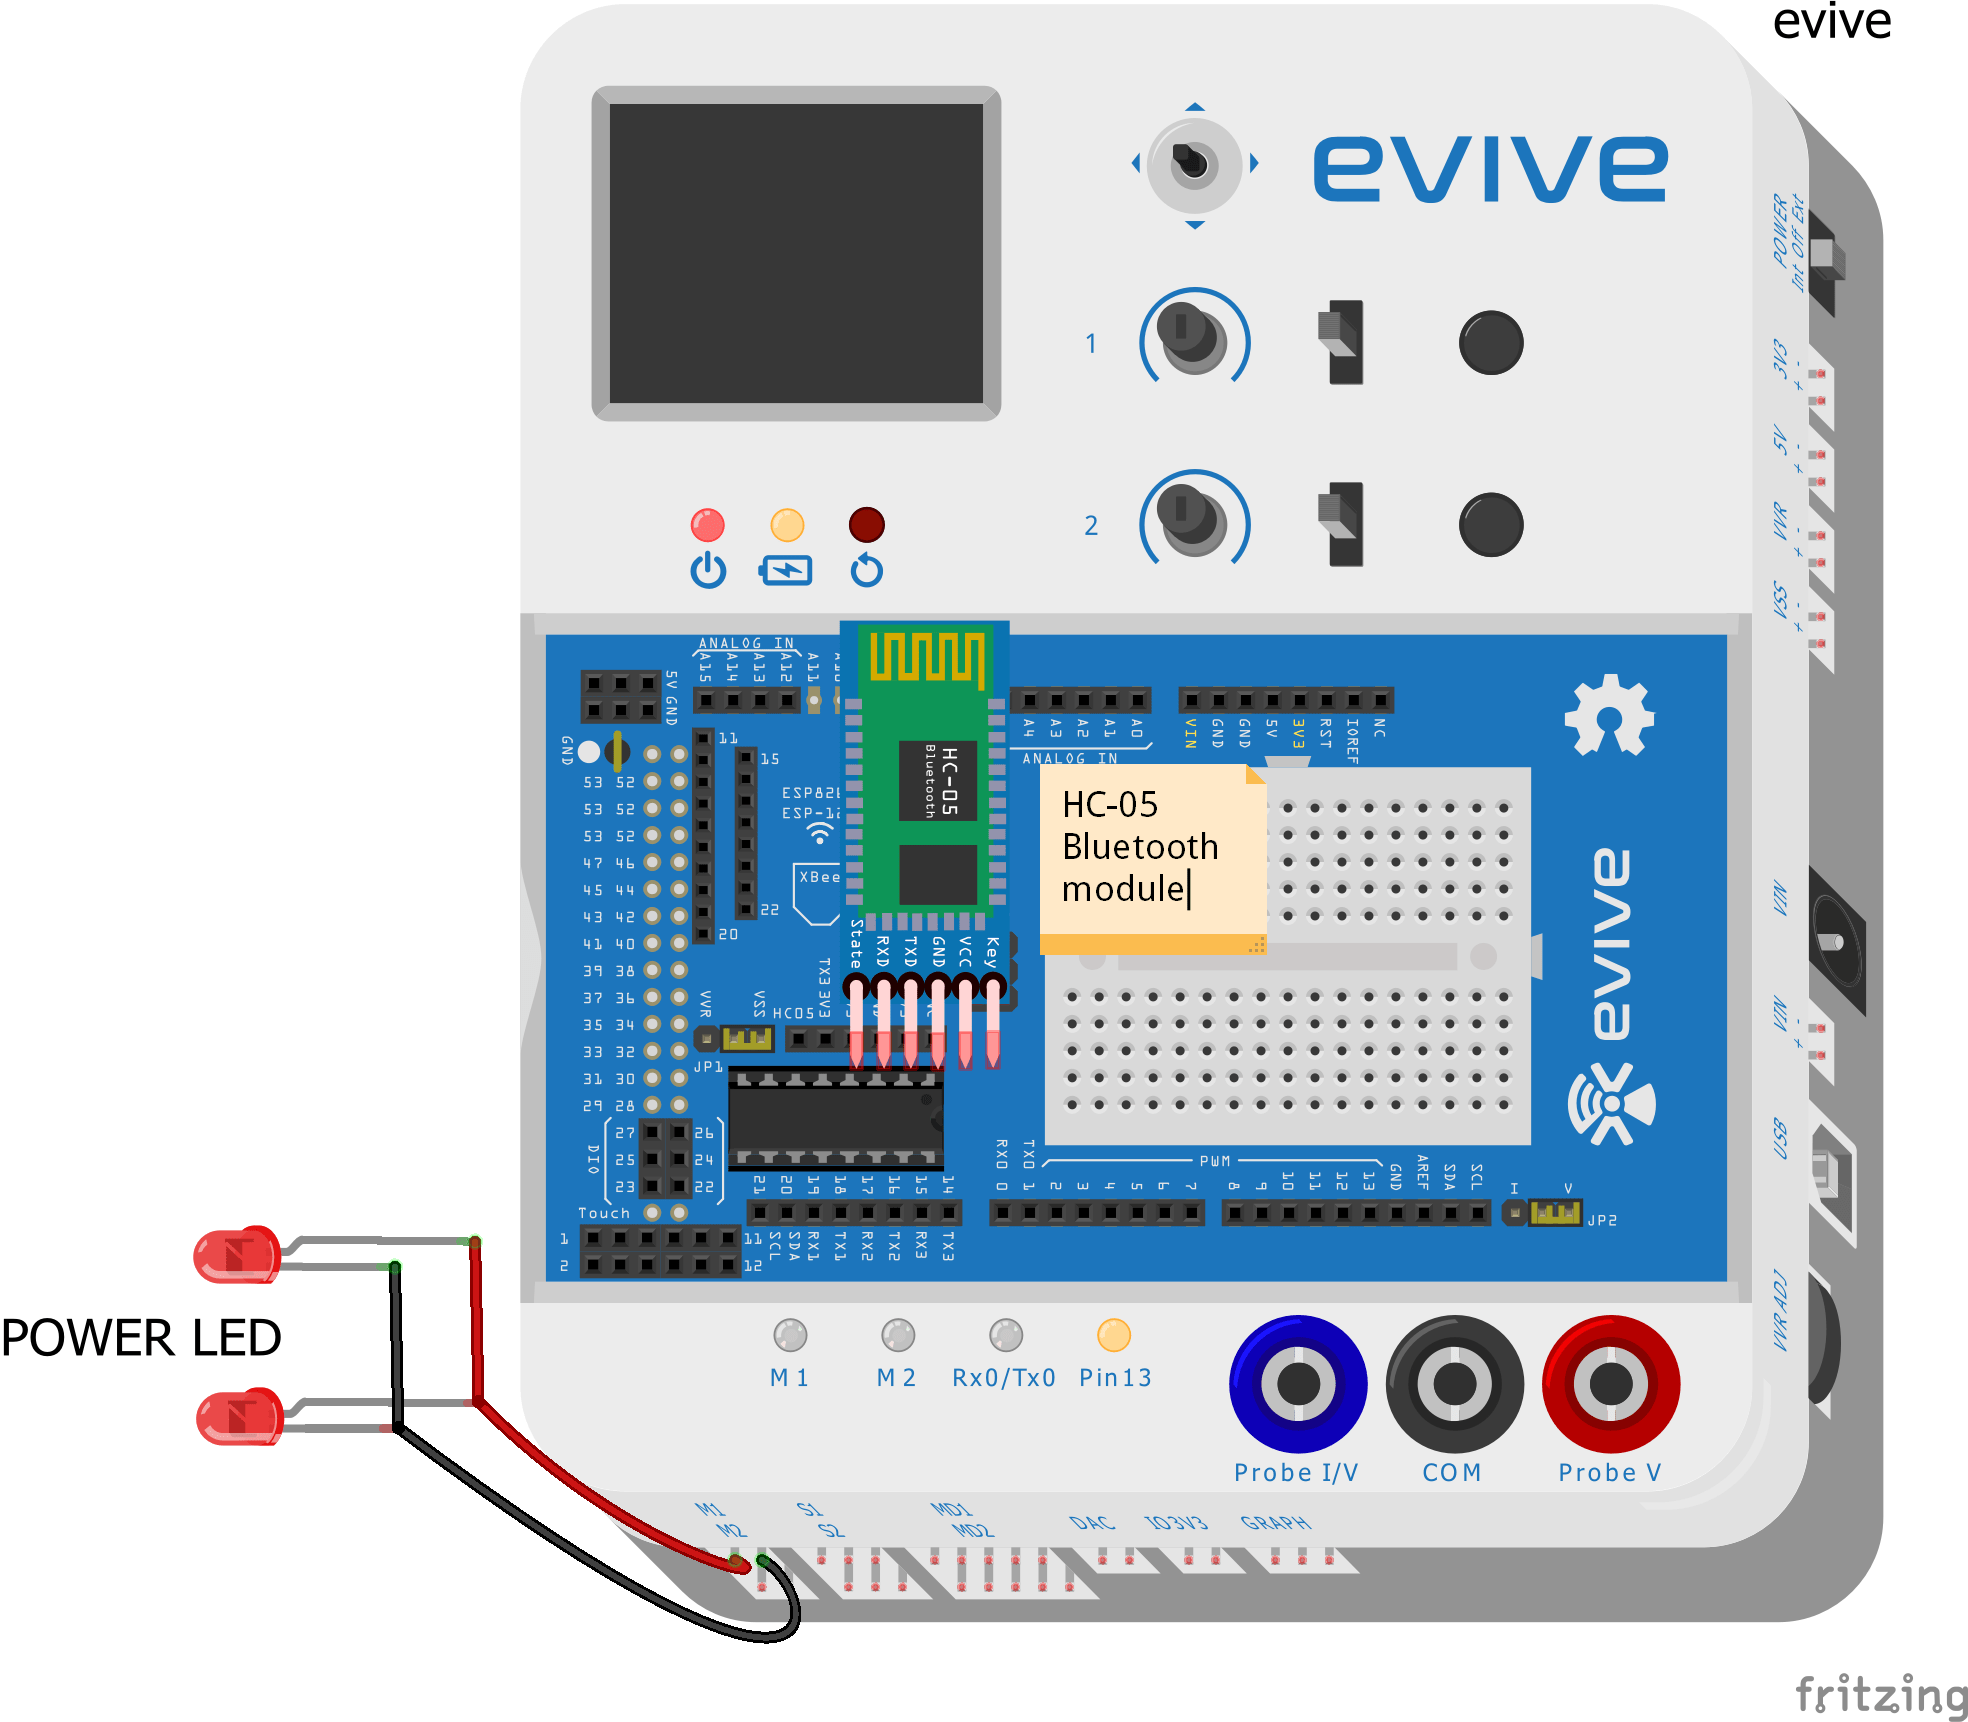
Make the connections as shown below:
Power LEDs need12V which can be provided by connecting evive to an external connection. And this external power can be obtained by connecting the LEDs to the Motor Channel.
Connect the LEDs in the parallel.
Logic
We will be controlling the Lamp using your Smartphone, thus we need a superhero that does this. Install DABBLE. With this app, you can even control the brightness of the LED which we will be doing.
Once you install the app you will find the following home screen. Connect the Bluetooth Module that you have installed on evive.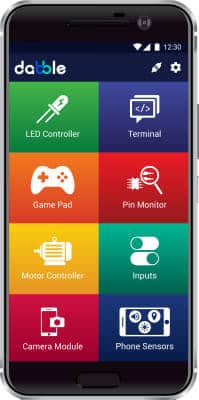
Choose LED Brightness Control option from the menu.
Lastly, select the pin on which you have connected the LEDs to. In our case, you have to select pin 44.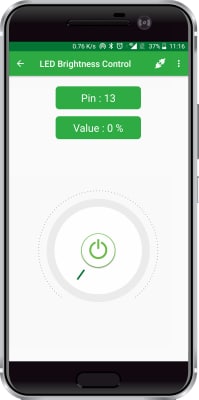
The Power LEDs are the brighter ones. Thus we have used two power LEDs which can easily replace your normal bulb.
Code
Upload the following code:
Connection
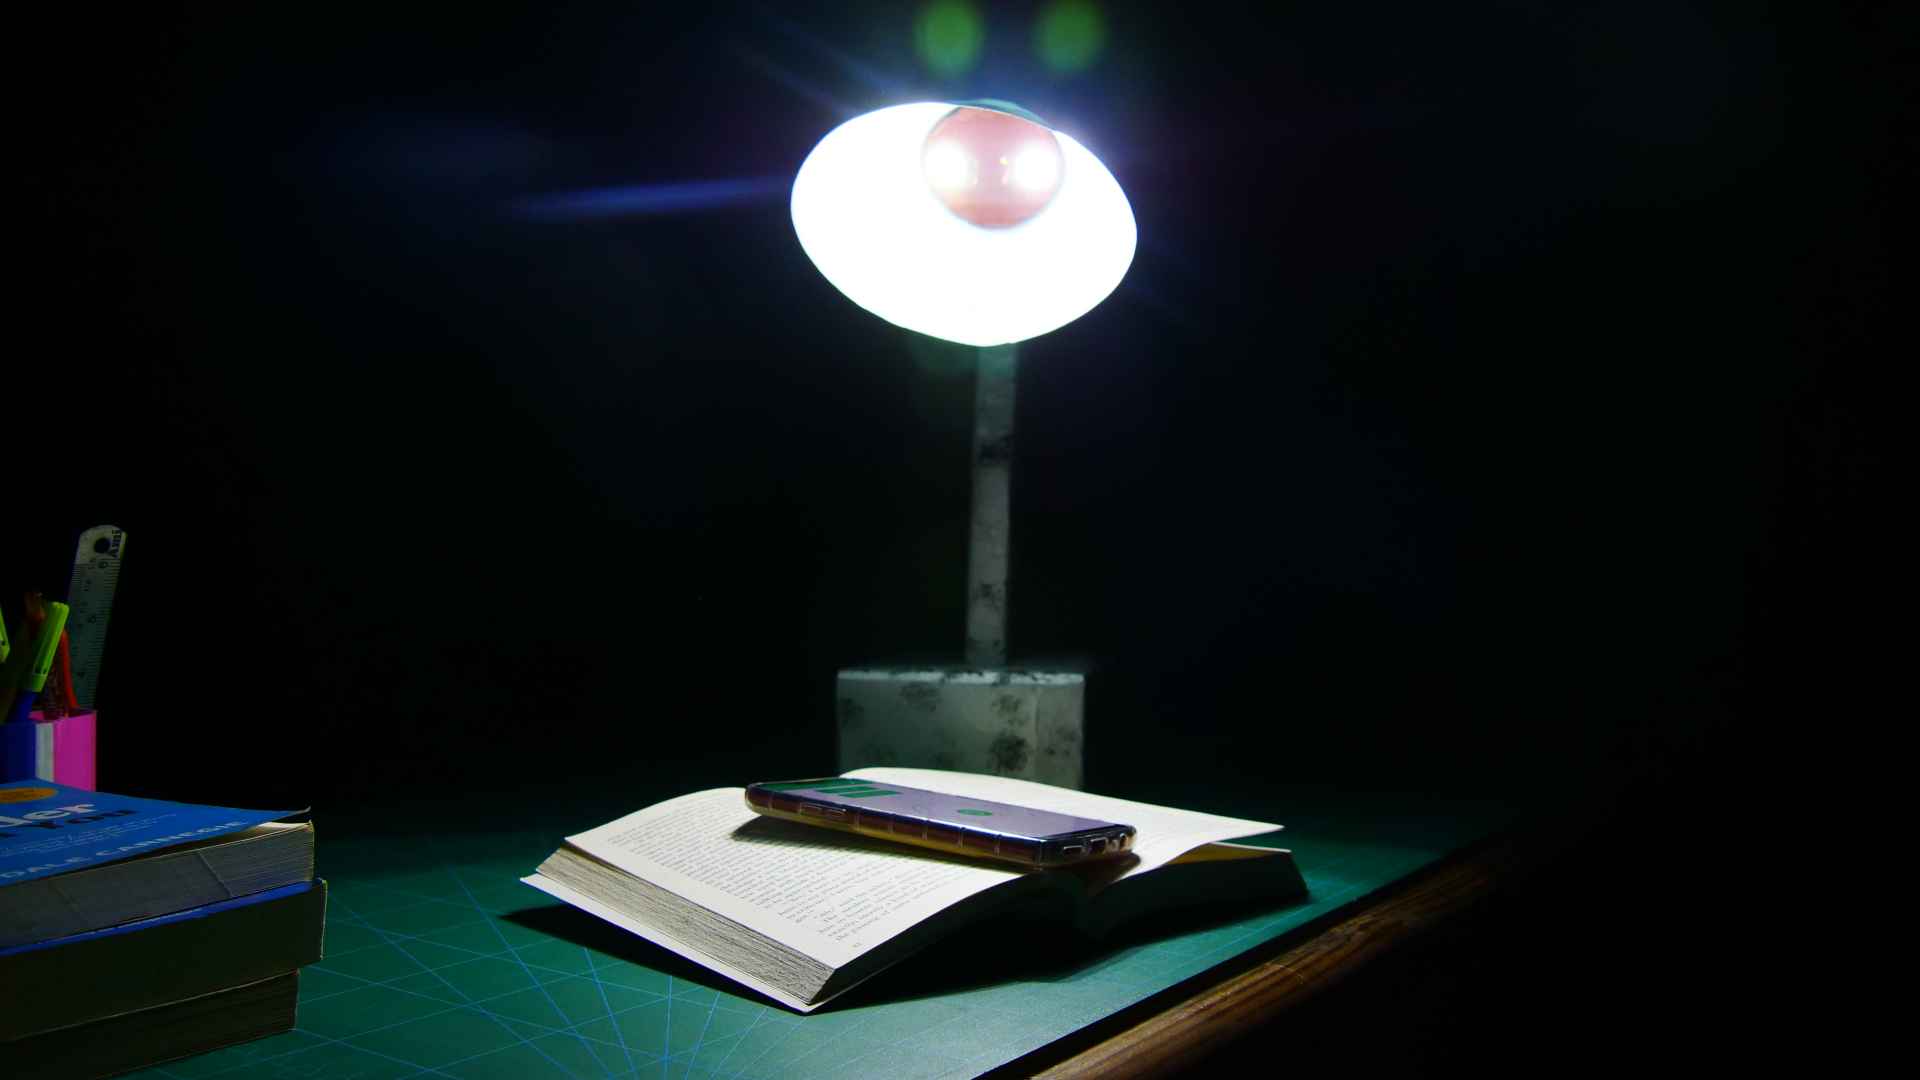
With this, your DIY Dabble controlled LED lamp is ready! Grind and shine, just like the LED of your lamp!


![AMVR[Automatic Medicine Vending Robot] Codeavour 2022 5-16 screenshot](https://ai.thestempedia.com/wp-content/uploads/elementor/thumbs/AMVRAutomatic-Medicine-Vending-Robot-Codeavour-2022-5-16-screenshot-q7ykr1no5g1yvl5vfn0l1ip1q8heee7h86glt3s38g.png "AMVR[Automatic Medicine Vending Robot] Codeavour 2022 5-16 screenshot")

