

Introduction
As much as festivities, decoration, and food are the essence of Christmas, so is the Christmas tree; how else would Santa know where to keep the gifts?
This Christmas, how ‘bout giving Santa a little surprise? Instead of the same Christmas tree and the same decorations that we put up every year, how about going DIY all the way and build a unique e-Christmas tree from scratch? All you need are some acrylic pieces, an RGB LED strip, and some programming; your DIY unique Christmas Tree will be standing tall and shining bright and make Christmas special for Santa as well!
So, what are you waiting for?! Go make the tree and show Santa how much good you’ve been this Christmas!
Making of the Christmas Tree
In this project along with making the Christmas Decor Objects, we are also going to make our very own tree.
Let’s start by making the tree first.
We have used Acrylic Pieces for making it. The Acrylic Piece provides rigidity and strength to our tree.
Below image can be used for the reference for laser cutting.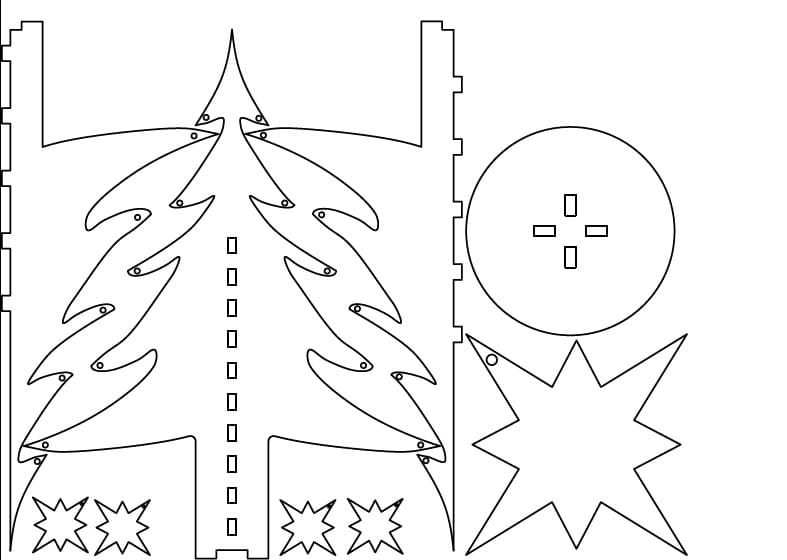
You can resize the image as per your requirements.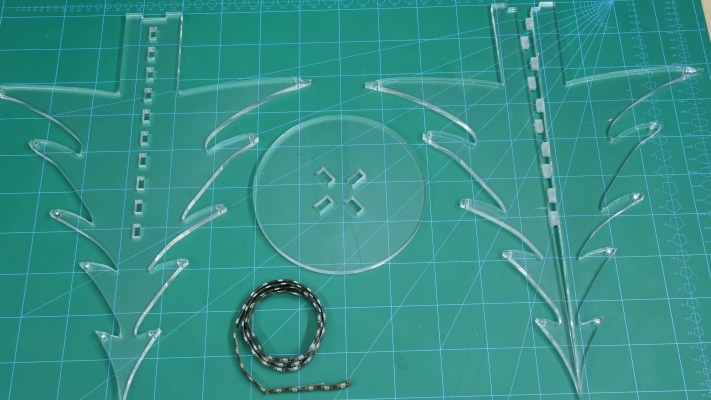
You will have the following cutouts in your hand. Assemble them together by fixing them in their respective spaces.
Christmas Tree without lights? Bad idea.
Here, we will be using RGB Strip to make our Christmas Tree glow.
Solder the jumper cables to the end of the RGB Strip as shown below: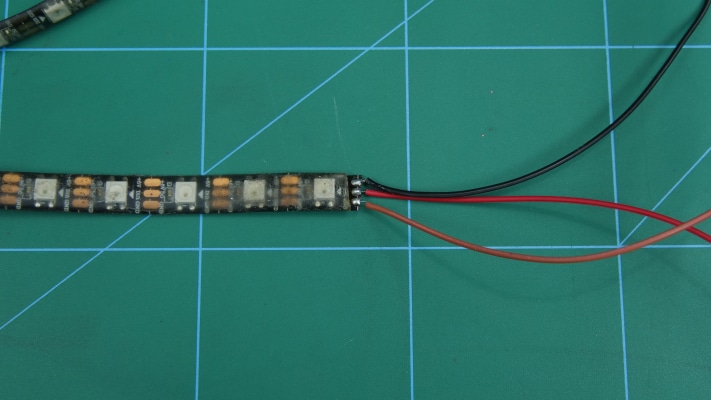
Tape the RGB Strips at the outer surface of the Tree. Make sure to use small pieces of tape.
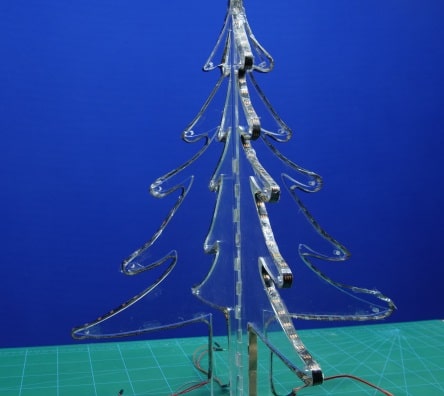
Once done you will notice small holes at the end of each branch. Pass a strong thread or woolen thread through them. We will be mounting our decor items upon these strings.
Keep the tree aside.
Making of the Decor
We are going to make cute little decor things on our own. We will be using very basic elements to make the objects.
Let’s start by making the most loved Snow Man.
We have used White and Orange for the making. Roll the white clay into two spheres, one comparatively bigger one.
Place the small one above the bigger one. And we have rolled the clay in the shape of the carrot. Fix this on the smaller sphere. Make eyes using markers.
Thus, we have made our cute little snowman.
With the component i.e. clay, make small spheres and roll them in glitter to give them the decorative look, we want for our Christmas Tree.
Into this sphere, fix the straight end of the hook.
You can make a number of such glittery spheres.
We have also used quilling for making the star.
Let’s start by making a single blade.
Take a string of paper and a comb.
Start wrapping the paper onto the comb from the third teeth. Glue the end part.
Again wrap the paper but from the fourth teeth and glue the end. Continue doing this until you reach the end of the paper.
Once done, take the paper out and press it firmly. Start pushing the non-glued part out thus making the edges pointing.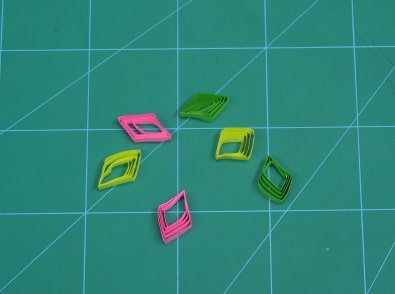
We have made a star of 6 blades. Take the blades together and glue them together.
Also, you can take the cutouts of Merry Christmas written that you can hang onto the tree.
Combining the Assembly
Once done with creating the decor items. It’s time to take the Christmas Tree and decorate it.
Hang the spheres onto the string we added onto the Christmas tree.
The paper star and Merry Christmas can be hung using small tiny clips.
We have placed the whole assembly onto the turntable, to five the charismatic look.

Connect and code the RGB Strip according to the following steps given.
Connection
The RGB Strips are connected in the parallel circuit.
Connect the RGB Strip to evive as shown in the below figure: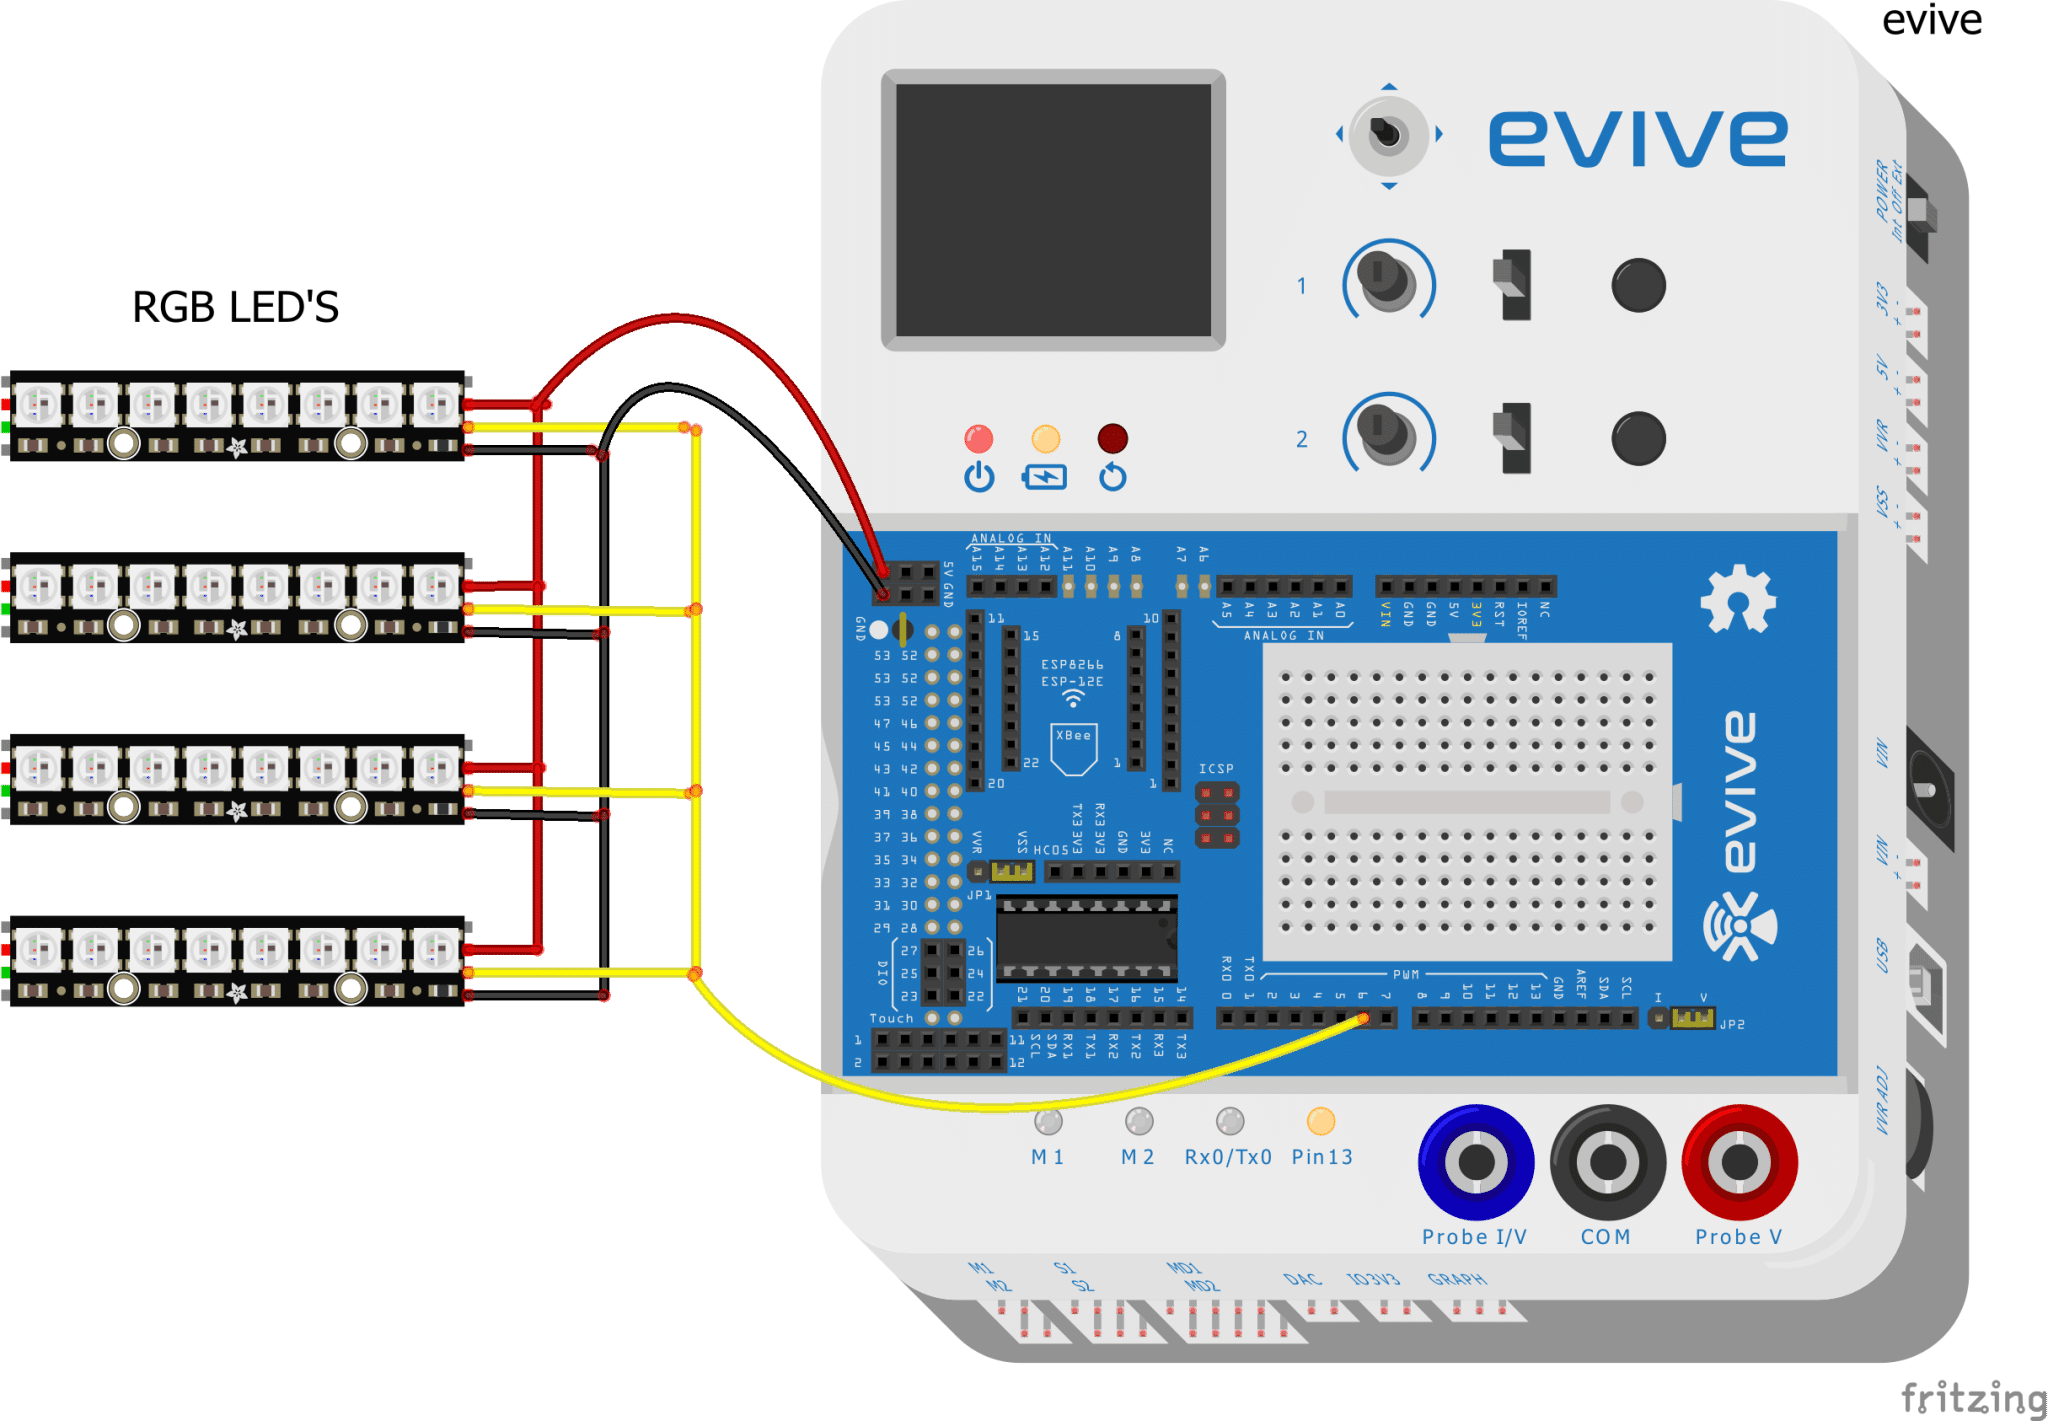
Code
We have mainly used the pattern with color green. But, you can have as many patterns as you want. Also, in our Christmas Tree, we have coded in a way such that the pattern changes upon changing the directions of Slide Switch.
Also, you need to add the RGB strip extension.
To add the extension, click on Extension from the menu bar, browse for the extension as a zip file from the menu by clicking Add the Extention.
You can download the zip file from the code section below.
Upload the following Scratch Code for creating a similar effect.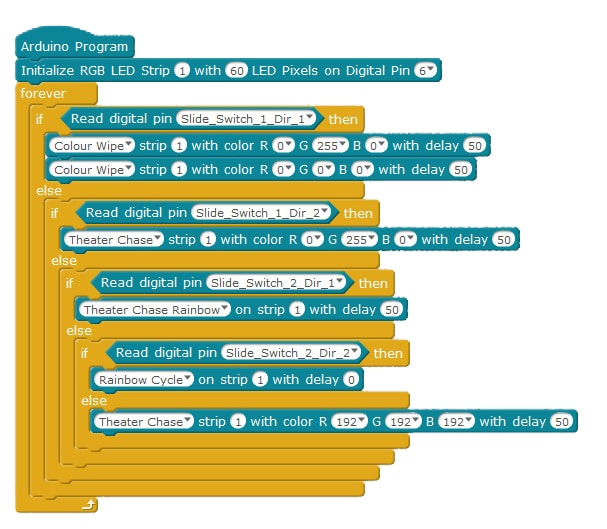
Conclusion
With this, your DIY unique Christmas Tree is ready! Make this Christmas exceptional for everyone; even dear Santa!


