
Introduction
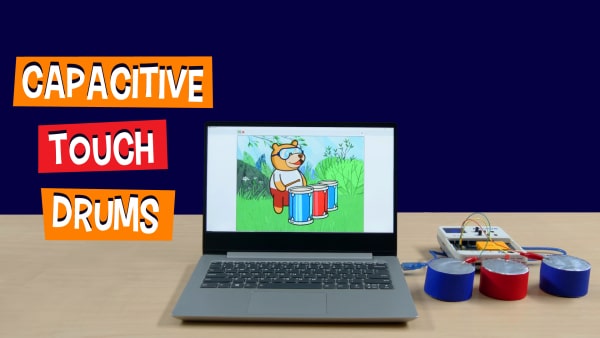
You can play drums with sticks. But can you play them with code? Well, now you can! Presenting to the DIY Capacitive Drum Machine – drums, when played, generates the music from your computer. They’re easy to make, easy to code, and super fun to play! All you need is evive, few alligator pins, some jumper cables, PictoBlox – a graphical programming software based on Scratch – and loads of DIY-ing.
You can download PictoBlox from HERE.
Ready for some air drumming? Let’s go!
Taking the Cutouts for the Drum
Before we start making the drums, we will first take the cutouts, thus making the entire process simple and easy to complete.
Top and Bottom Side
- We are going to use a cardboard/ plastic sheet for the top and bottom side of the drums. You can make as many drums as you want.
- We are going to make three drums and we need two circles for each drum, thus we will be designing 6 circles on the sheet.
- The radius of our drum is 3.5cm. Thus, measure 3.5cm on your compass using a ruler and draw 6 circles. Also, you can vary the size of the drums if you want to make it look attractive.
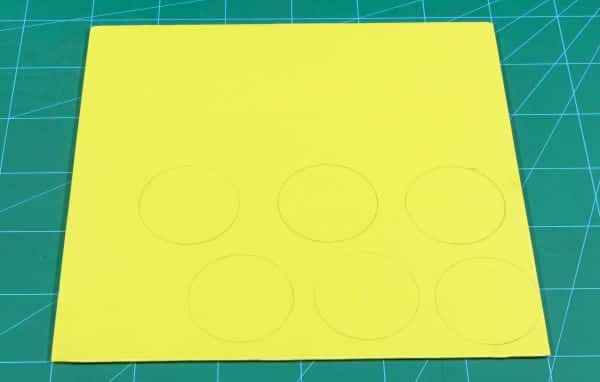
 The change in size won’t affect the sound of the drums.
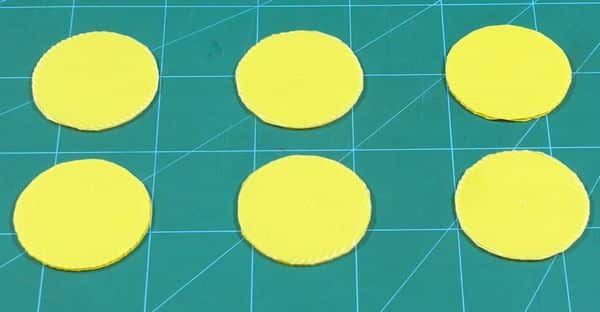
 - Once done, cut the circles out using scissors.
The Drum Shell
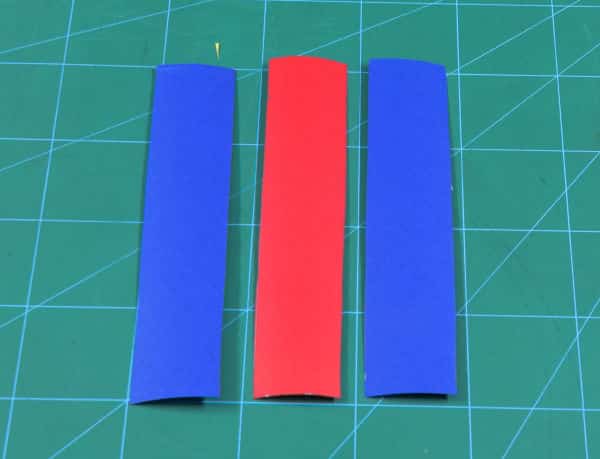
- The drum shell is nothing but the side covering or the periphery of the drum. We are going to use the colored chart paper for the same.
- Take your favorite colored chart paper and cut out a strip whose length is 20cm and width is 4cm. Make sure that the shell is not entirely covered, some space should be left between the start and the end of the shell (Whose reason will be discussed in the latter part of the project).
- The length of the strip will depend on the size of the drum. You can change the width if you want.
Again, the height will not affect the sound of the drum. - Once done, keep the cutouts aside.
Making the top Conductive
We want Tobi the sprite in PictoBlox, reflect our actions on the screen and play the sound accordingly.
How will it detect our touch on the drum? Well if we make it conductive, it will send the signal whenever the drum is being touched.
- Thus, take a square piece of aluminum foil and cover the top circles of all the drums using it.
- Make sure that the outer side remains smooth.
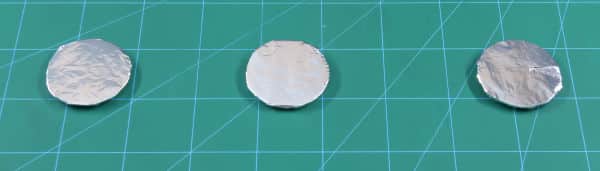
Once done, keep them all aside.
Completing the Drum Machine
Once, we have all the parts or components of the drum ready, its time to assemble the drum.
- Take one strip, one conductive top circle, and one base circle.
- Wrap the shell to the top and the bottom side using the Hot Glue.
- Repeat the above step for all the other drums.
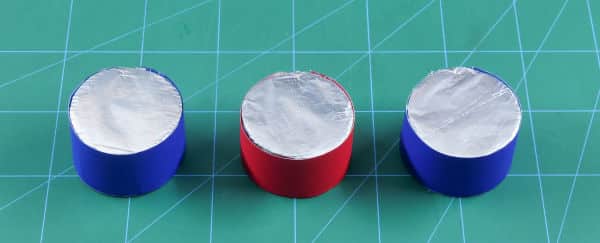
With this, your drums are ready. Now, all we need to do is connect it to the brain.
Connecting drums to evive
- Take three alligator clips one for each drum and remove the outer insulations.
- Take one male-to-male jumper cable and attach it to the alligator clip using solder iron and the solder wire.
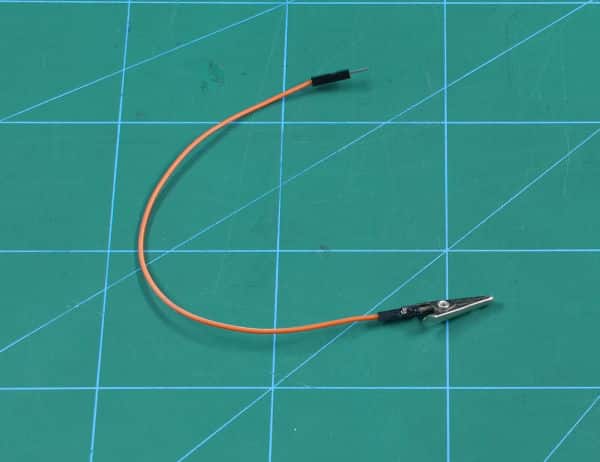
- Again put back the insulation onto the clips.
- Repeat the above step for all the alligator clips.
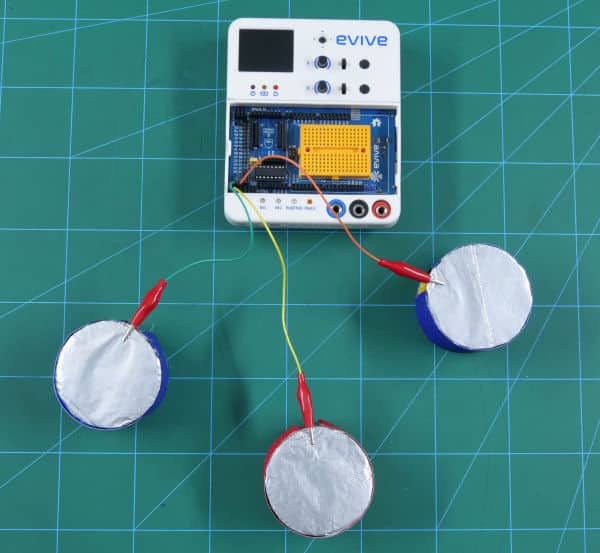
- Next, bring the drums back into the picture. Now, if you remember, we have left a small space into the shell, it was to attach the alligator clip to the drum.
- Attach the alligator clips to all the drums.

- Now, its to bring in the brain, evive.
- As we need to detect the touch, we will be attaching the drums to the touch pins of evive.
- Connect the male ends of the jumper cables to the Touch Pin 1, 2, and 3 respectively on evive.
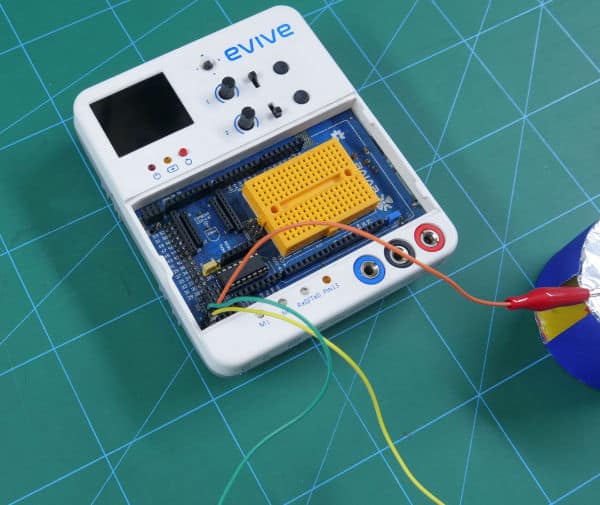
Testing the Drums
Before we begin with the coding part, let’s first test the drums.

Thus, switch evive ON, go to the firmware, select Touch Sensors. Once the menu has been selected, as soon as you touch the drums, evive buzzers start to play, corresponding to the pin connected. We also can see the number of the pin touched on evive’s TFT display.
Making the Code Play the Tune
Now, to work within real-time, we need to connect evive to PictoBlox either using a USB cable or by directly installing Bluetooth module on evive and connecting it.
You need different costumes of Tobi so that it looks like he is playing the drums. You need to tinker the main costumes and create the sub costumes. You can edit them by clicking on the costume button and directly edit them. The stick in the sprite’s hand is been taken from the drum sprite.![]()
Once done, make the sprites of drum too. We have edited the sprite and colored it blue.
Once done, write the following code in PictoBlox.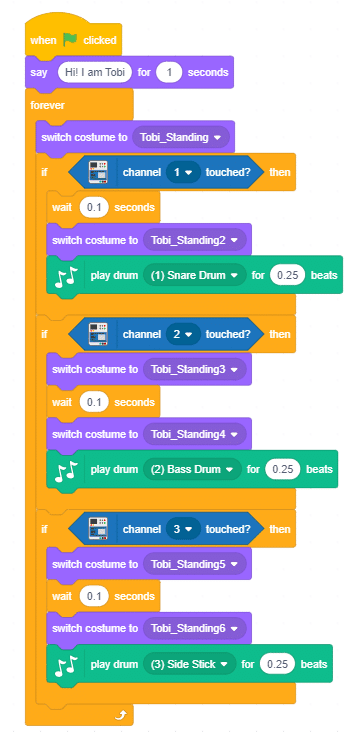
Now, as we are going to interact with the sprite we do not need to upload the code, directly click on the green flag and start playing.
Conclusion
With this, your DIY air drums are ready! Happy Badum Tss-ing!


