
Introduction
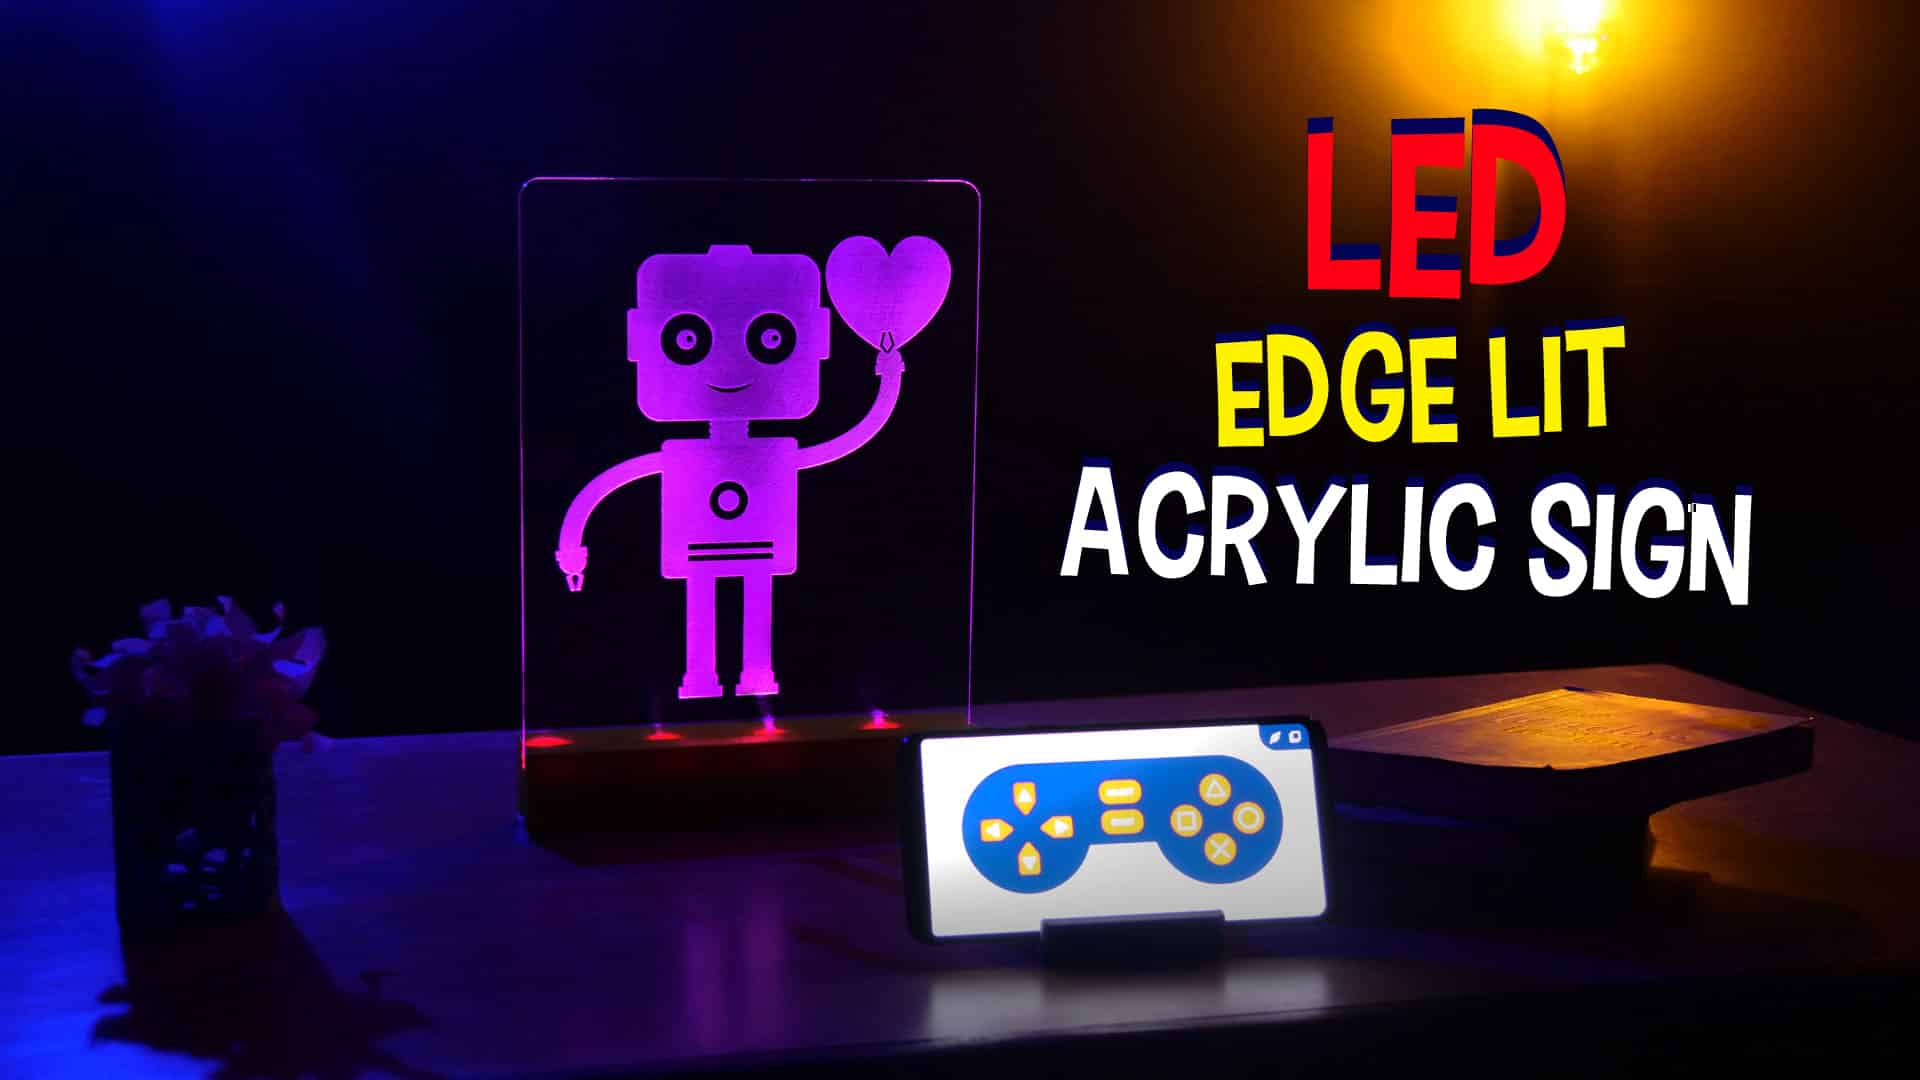
We’re back with another supercool DIY gifting idea that is beautifully unique and comes with a personal touch. Presenting to you the DIY Smartphone-controlled LED edge-lit acrylic sign – simple yet meaningful creation that can serve both as wonderful gift with a personalized message and simply as an innovatively unique home decor item with a personal touch. To make the sign, you’ll need an acrylic sheet, a stand to hold it, a prototyping board such as the Arduino Nano, a Smartphone with Dabble installed in it, and, as always, a lot of fun-filled DIYing!
Let’s begin!
P.S Download the app NOW from Google Play to make the project!
Making
We will use a 3D printed case to hold the entire assembly as well as to fix the acrylic sheet.
Take the case and the RGB LED strip.
Fix the RGB LED strip in the space given in the case.
Place Arduino Nano in the space given at the bottom of the case.
Make the connections and upload the Arduino code to Nano as given in the steps below.
To power up the nano add a battery to it.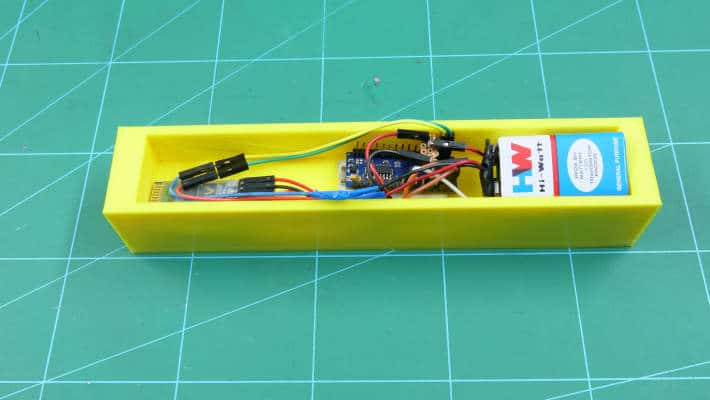
Fix the acrylic sheet on which you have engraved the image in the case.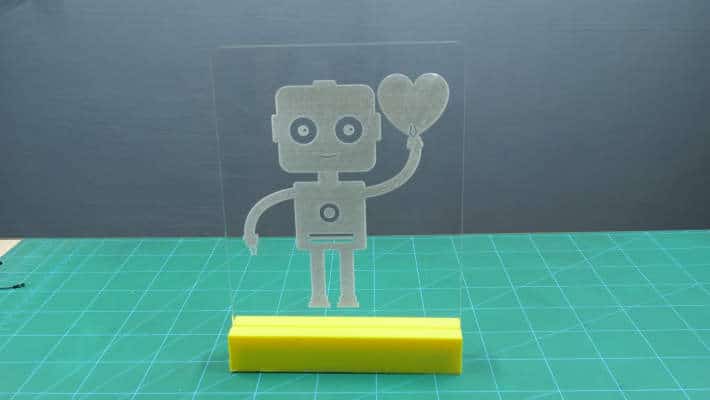
Connection
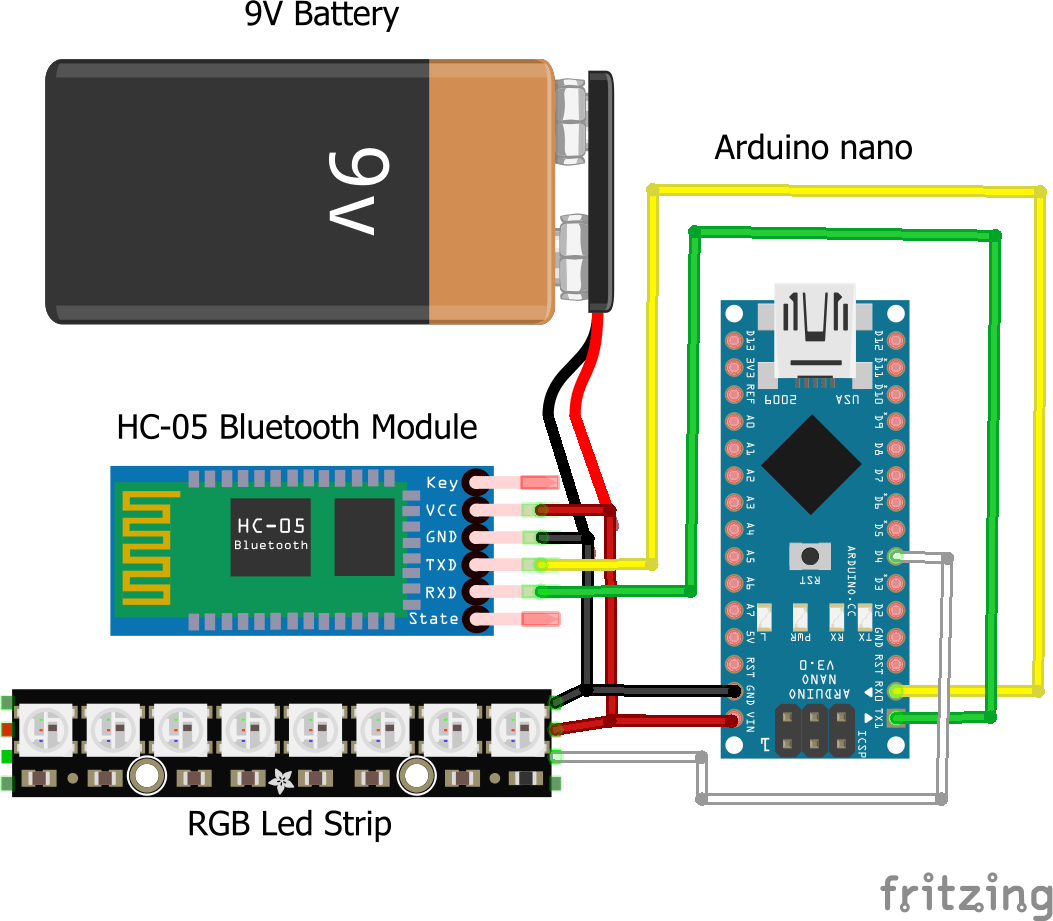
Connect the Bluetooth Module and RGB LED Strip as given below:
Bluetooth:
- 5V: 5v of Nano
- GND: GND of Nano
- Tx: Rx of Nano
- Rx: Tx of Nano
RGB strip:
- Vcc: D5 of Nano
- Din: D6 of Nano
- GND: GND of Nano
Battery:
- Positive: Vin of Nano
- Negative: GND of Nano

Logic
Due to the transparency of the acrylic sheet, the light from the RGB strip will be scattered, thus giving it the holographic effect.
You can control the colors or patterns of the RGB strip using your Smartphone. How? Follow the steps below:
- Install Dabble in your Smartphone.
- Open the app.
- Pair it with Nano.
- Choose Gamepad module.
The following characteristics have been assigned to the different buttons of the Gamepad module.
- Left Button: All the colors or pattern in this set follow the Color Wipe effect.
- UP: Red
- Down: Green
- Left: Blue
- Right: Rainbow
- Right Buttons: All the colors or pattern in this set will follow theTheater Chase effect.
- Triangle: Purple
- Cross: Pink
- Square: White
- Circle: Rainbow

You can also try controlling the Brightness of the Strip by choosing the LED Brightness Control Module.
Arduino Code
Upload the following Arduino Code to Nano:
Conlusion
With this, your DIY Smartphone-controlled LED edge-lit acrylic sign is ready to light up your life!