Introduction
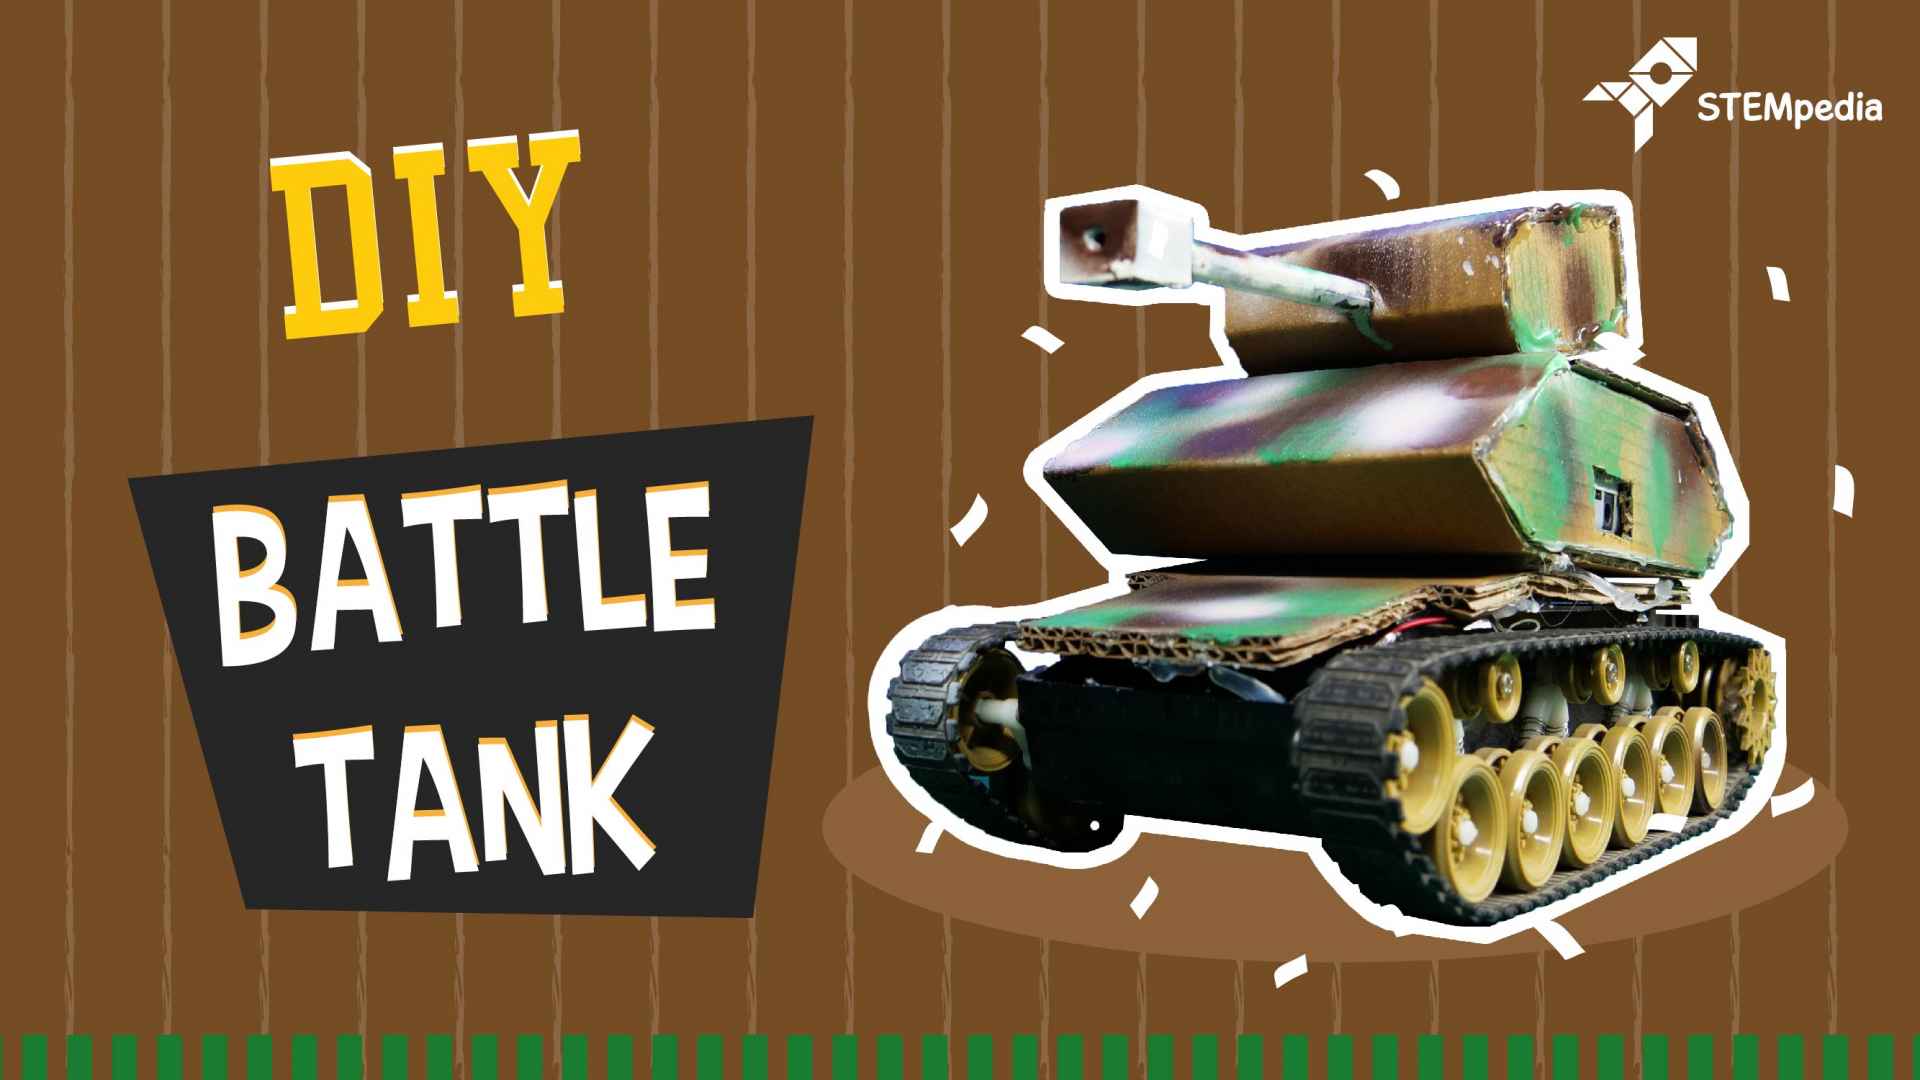
Enemies trying to pull you down and obstruct your journey to success? Well, they don’t stand a chance against you, now that you have the DIY All Terrain Robot Tank on your side that can travel across every type of topography, be it rocky or smooth, and even cross water. It will hunt them down and leave them with only two choices: surrender or brace themselves for attack!
So, what are you waiting for?
Ready. Set. Attack!
Assembly Overview
Our Battle Tank like all the others has three parts:
- The Base
- The Control Room
- The Canon Holder
Making the Base
The Base will hold the part such as Motors and Battery.
We have the base ready with us, You can buy the same base from the link given here. Also, if wanted you can make one all by yourself.
The tank base we have already have inbuilt motors, all we need to do is, add the battery.
We are using Lithium Polymer Battery.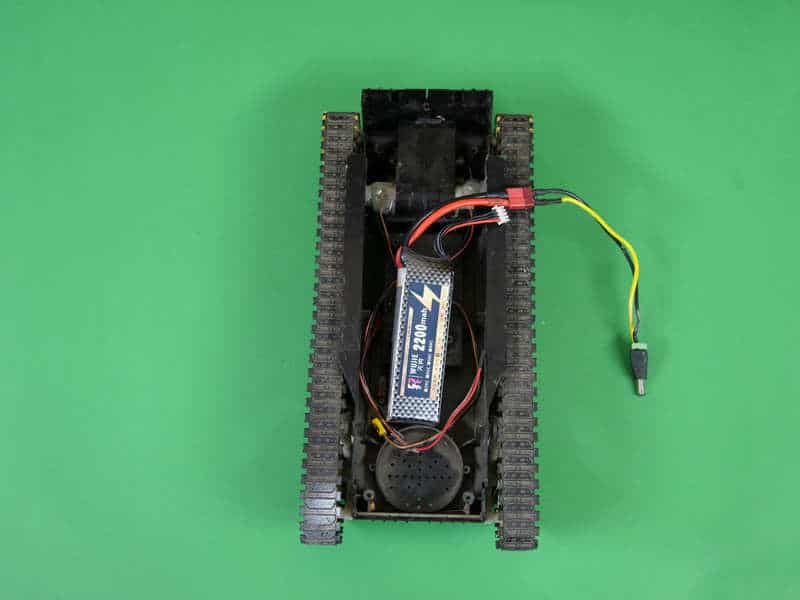
Making the Control Room
Time to make the control room.
- For that first, we need to cover up the base.
- Take the cut out of the following dimensions or take the cardboard of the size of your base and glue it using Glue Gun.
- But make sure, you make a hole in the middle for the wires of battery and motors to pass through.

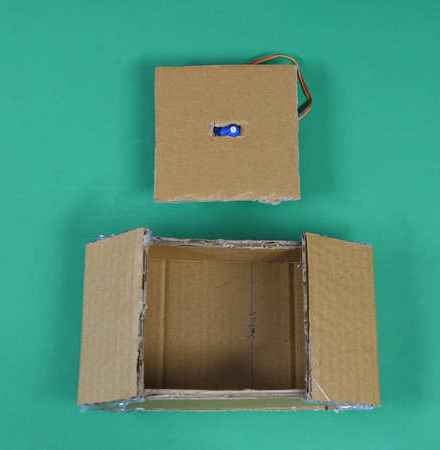
- Next, we will make a box, that will work as a control room. The control room will be the home for the brain of the project, evive.
- Cut the cardboard as the dimensions given below.

- You have to make a hole in the bottom layer of the control room for the wires.
- Glue it to the cover of the base.
- Leave the upper layer open, to place the evive later on.
- Take a square piece of cardboard and make a hole in the center.
- Insert Servo in this hole.


The Final Step of Assembly
The final layer: The Canon Holder.
- Make the canon holder box with the help of the dimensions given below or simply as the one the fits your design.
- This canon holder needs to be rotated, thus we are going to use the servo to do the task.
- Attach a servo horn at the base of the canon holder using glue.


Time to add the Canon.
- We have used paper to make the canon, you can even use cardboard.
- Roll the paper and make the barrel of the canon. We have created the cube out of the paper that will act as the main gun.
- Fix the servo horn on top of the servo attached to the top of the control room section.
- We have glued both these parts to the canon holder.
- Place the square cutout on the top of the control room.


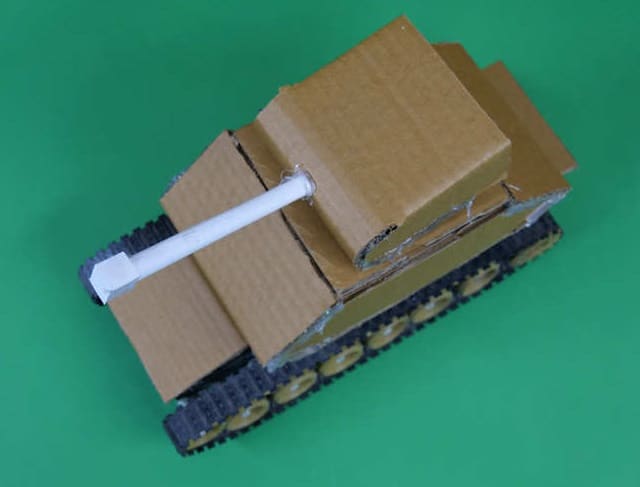
Thus, our assembly is now complete.
You can even color the tank if you want.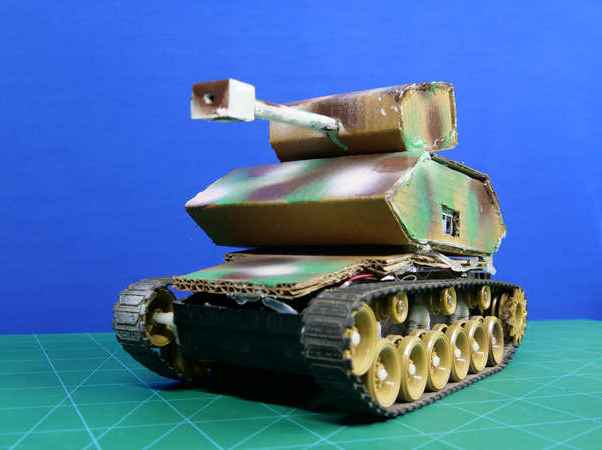
Logic
via Bluetooth using Dabble, a project-making mobile application developed by STEMpedia. You can install it on your phone from Google Play.
To pair Dabble with the Bluetooth Module, follow the steps below:
-
Install the app and open it.

-
Open Gamepad. You can now control your robot using the keys of the GamePad.

The left set of buttons control it:
- Up: Tank moves forward
- Down: Tank moves backwards
- Left: Tank turn left
- Right: Tank turns right
For the right set of buttons:
- Up: the servo turns 90 degrees.
- Right: the servo turns to 45 degrees.
- Left: turns servo to 135 degrees.
Extras:
- With Select, the servo turns extreme right (180)
- With Pause, the servo turns extreme left (0)
Circuitry of the Tank
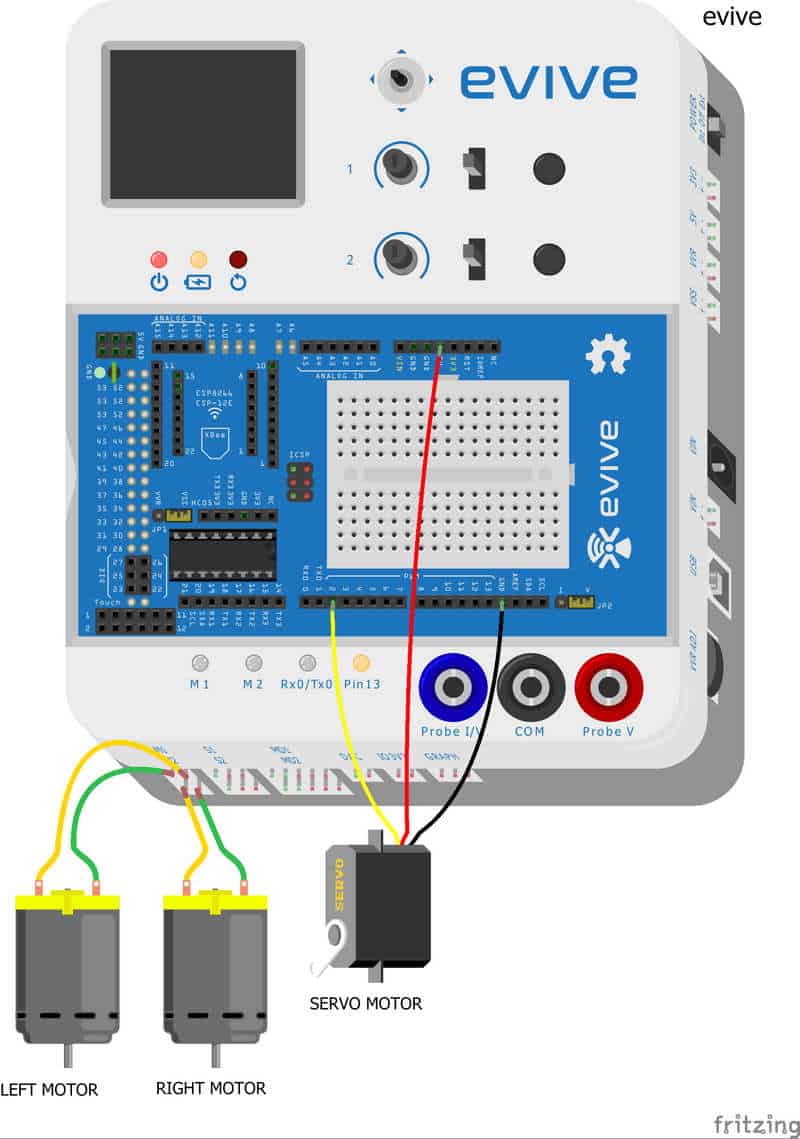
The following figure shows how to connect motors and servo to evive.

Code
We will be uploading the scratch script to evive and see our tank do wonders.
Conclusion
With this, your DIY All Terrain Robot is ready for battle! Good luck kicking down your enemies with it!

