
Introduction
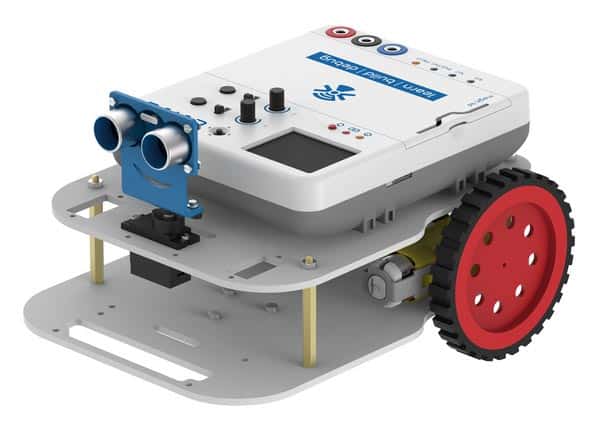
The obstacle avoiding robot will be able to avoid every obstacle in its path. It will use an ultrasonic distance sensor and a servo motor in addition to the basic robot. The robot will check how far the nearest obstacle is (in every direction) and then decide upon the actions to be taken. The servo controls the direction in which the distance sensor faces and if the robot is hindered by an obstacle, the servo will rotate the sensor in different directions. Once the robot is convinced that a certain direction is clear of any obstacles, it will turn the robot in that particular direction and then move in a straight line along that direction till the next obstacle is found. If there is no way to go ahead the robot executes a full 180° turn.
Assembly of the Robot
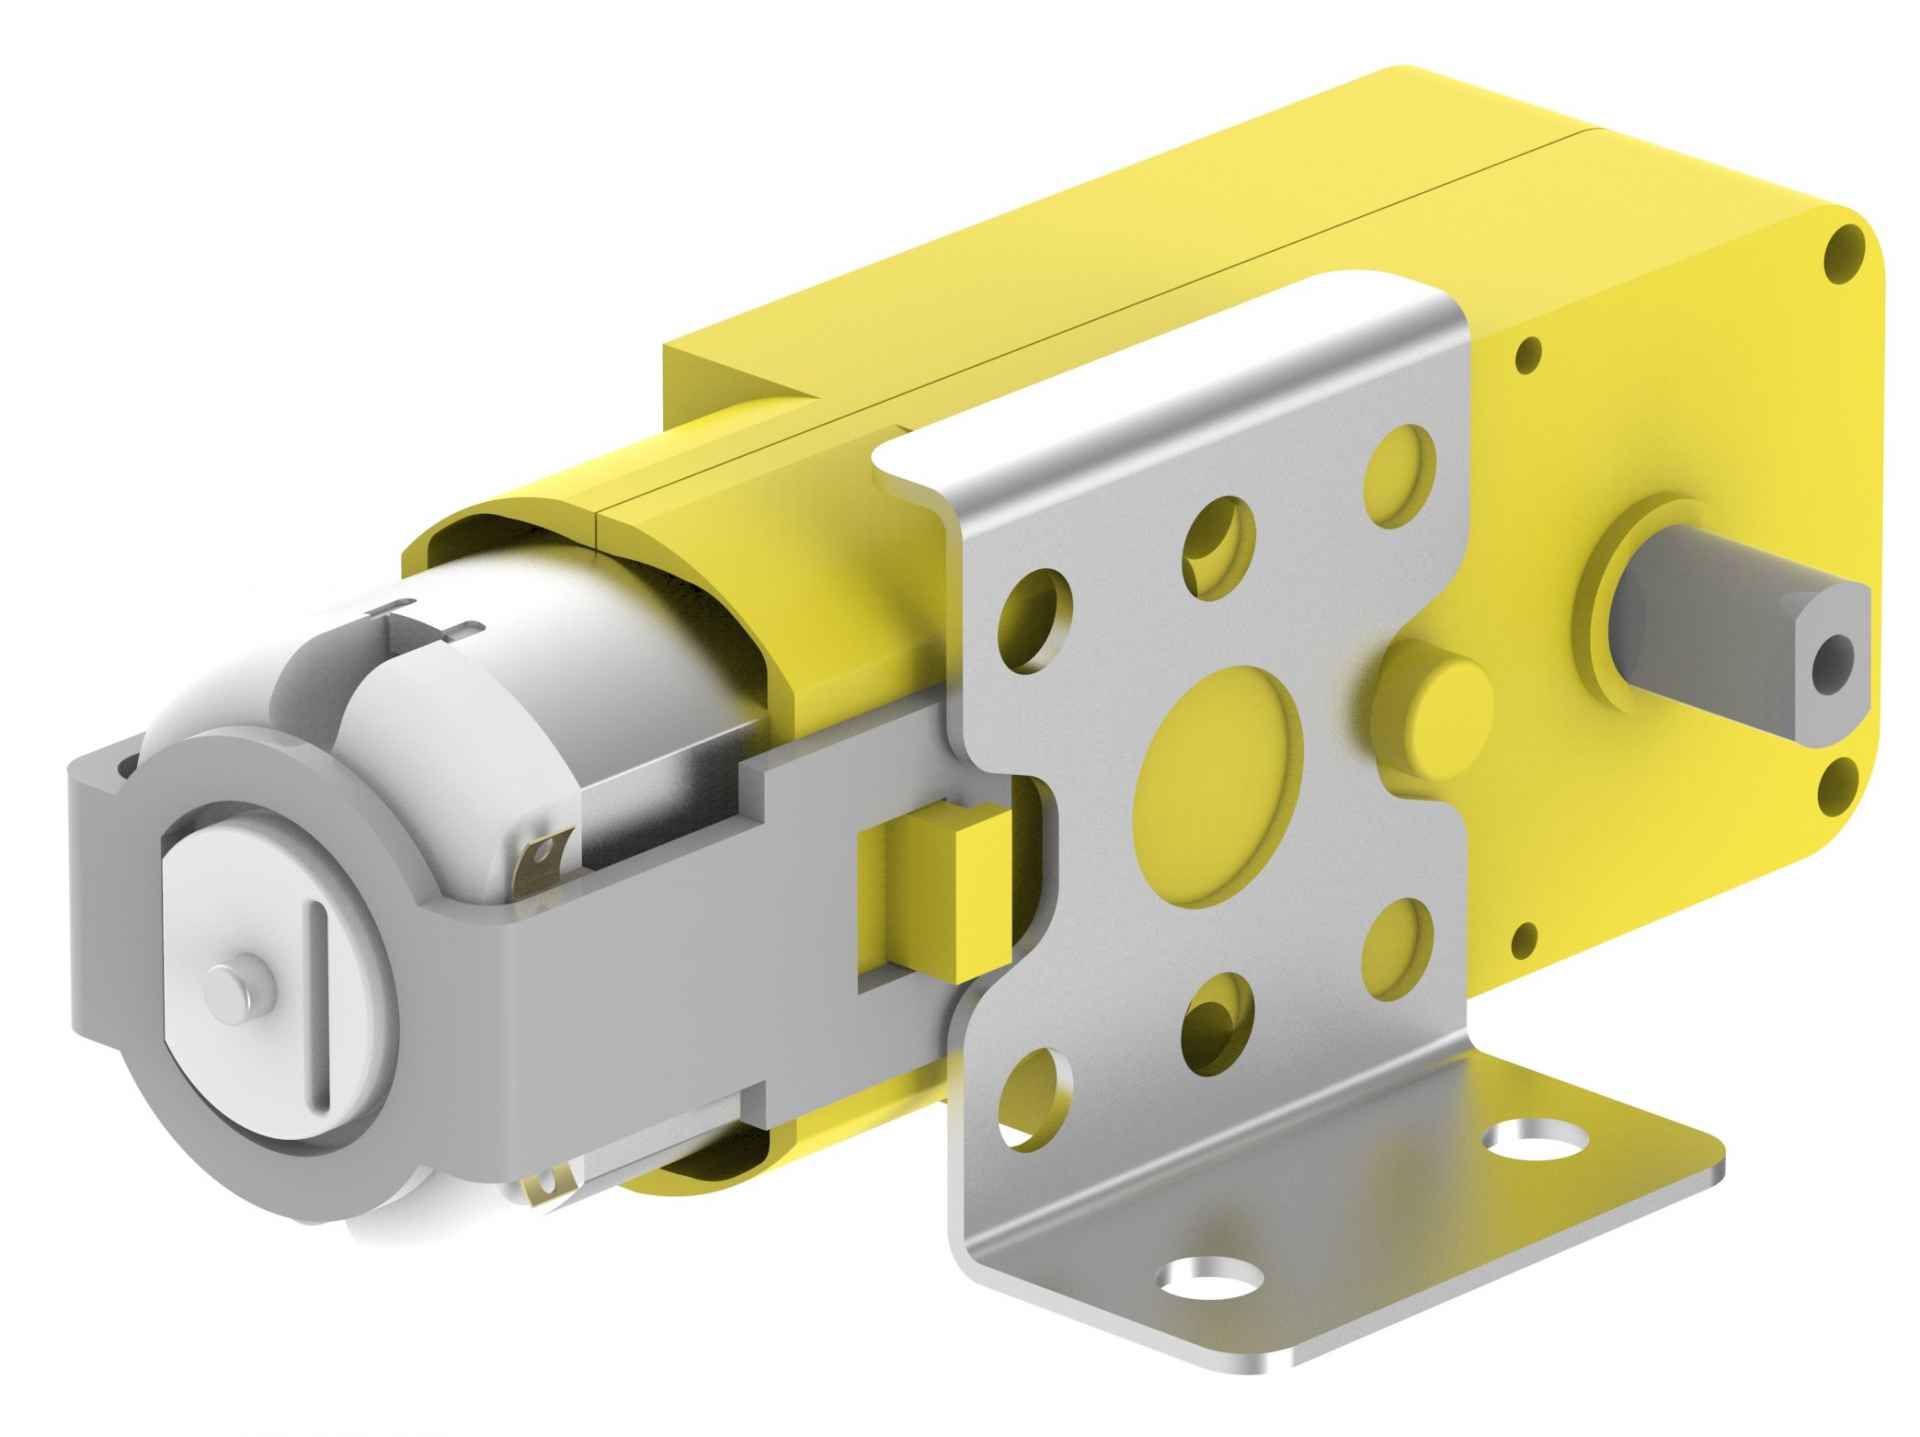
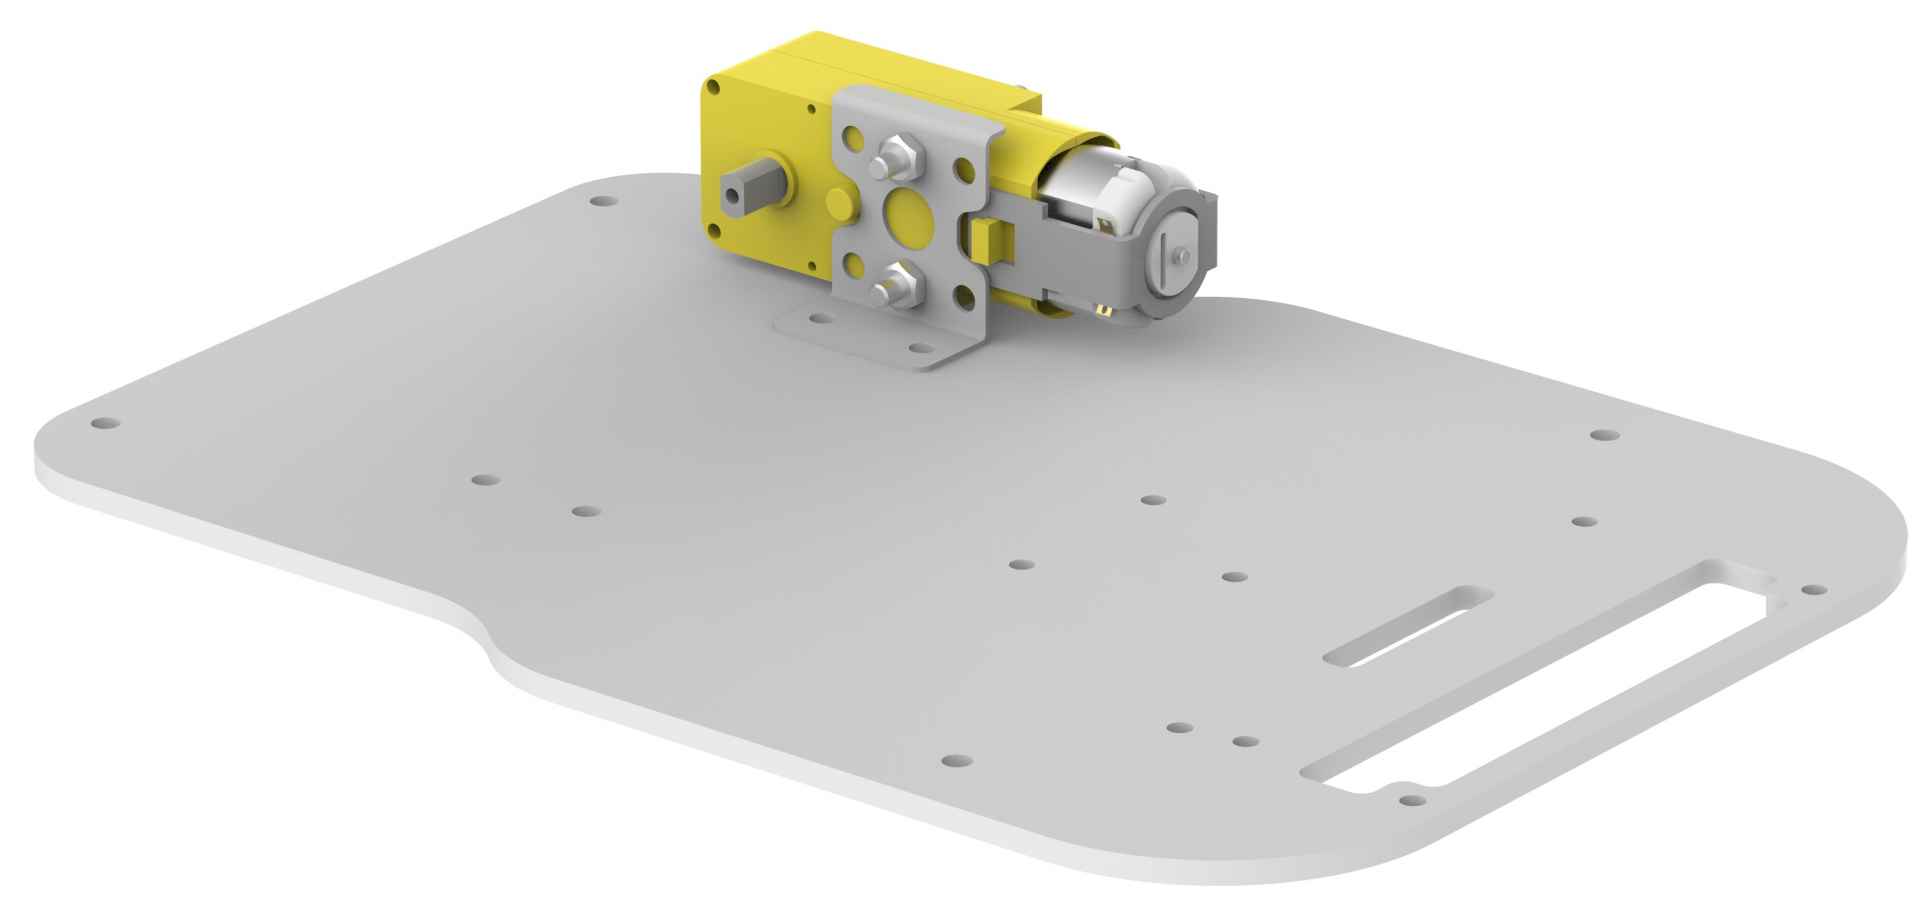
- Place an angle bracket on the motor as shown in the figure. Note that the racket should be placed on that side of a motor which has a circular extrusion coming out of the yellow body (white plastic body if you have a white motor). If you are preparing a right hand side motor, then your assembly should look like as shown in the figure, otherwise you have to mount the bracket in the upside-down position (for left motor).
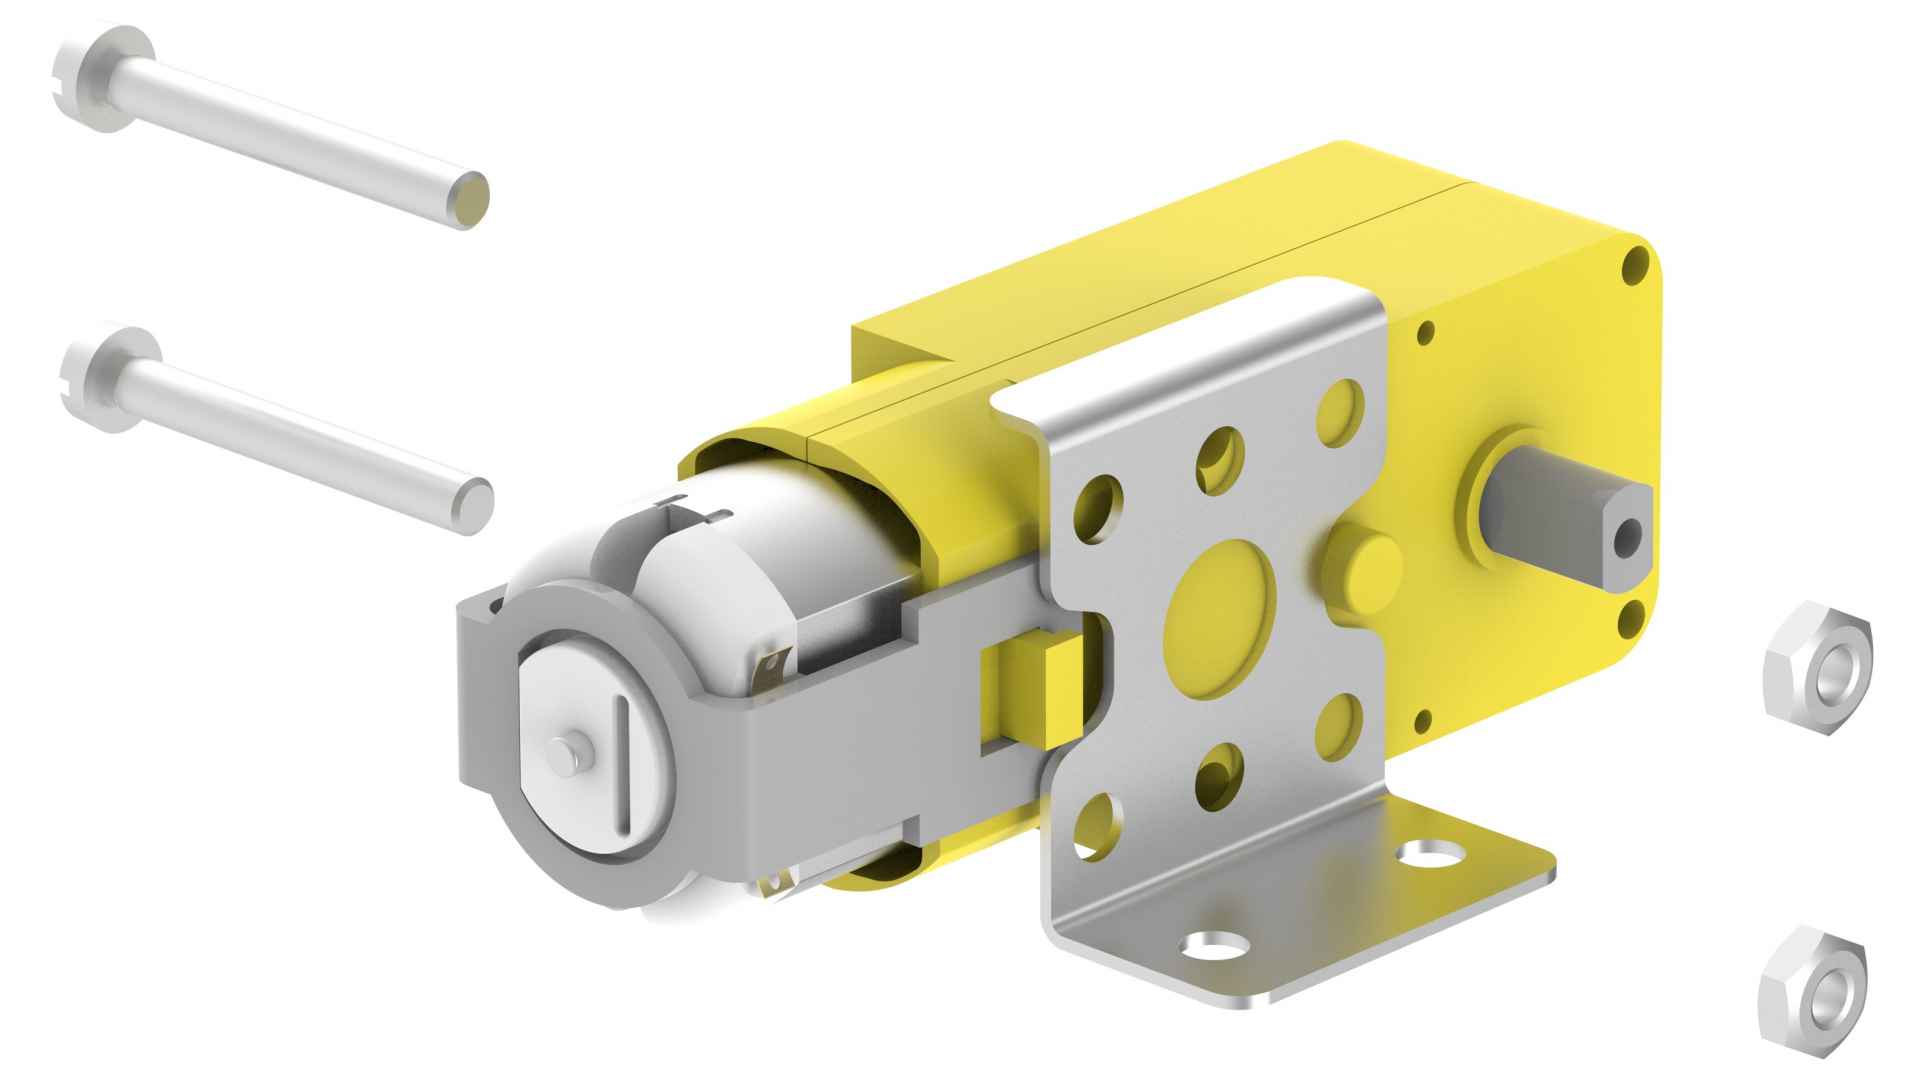
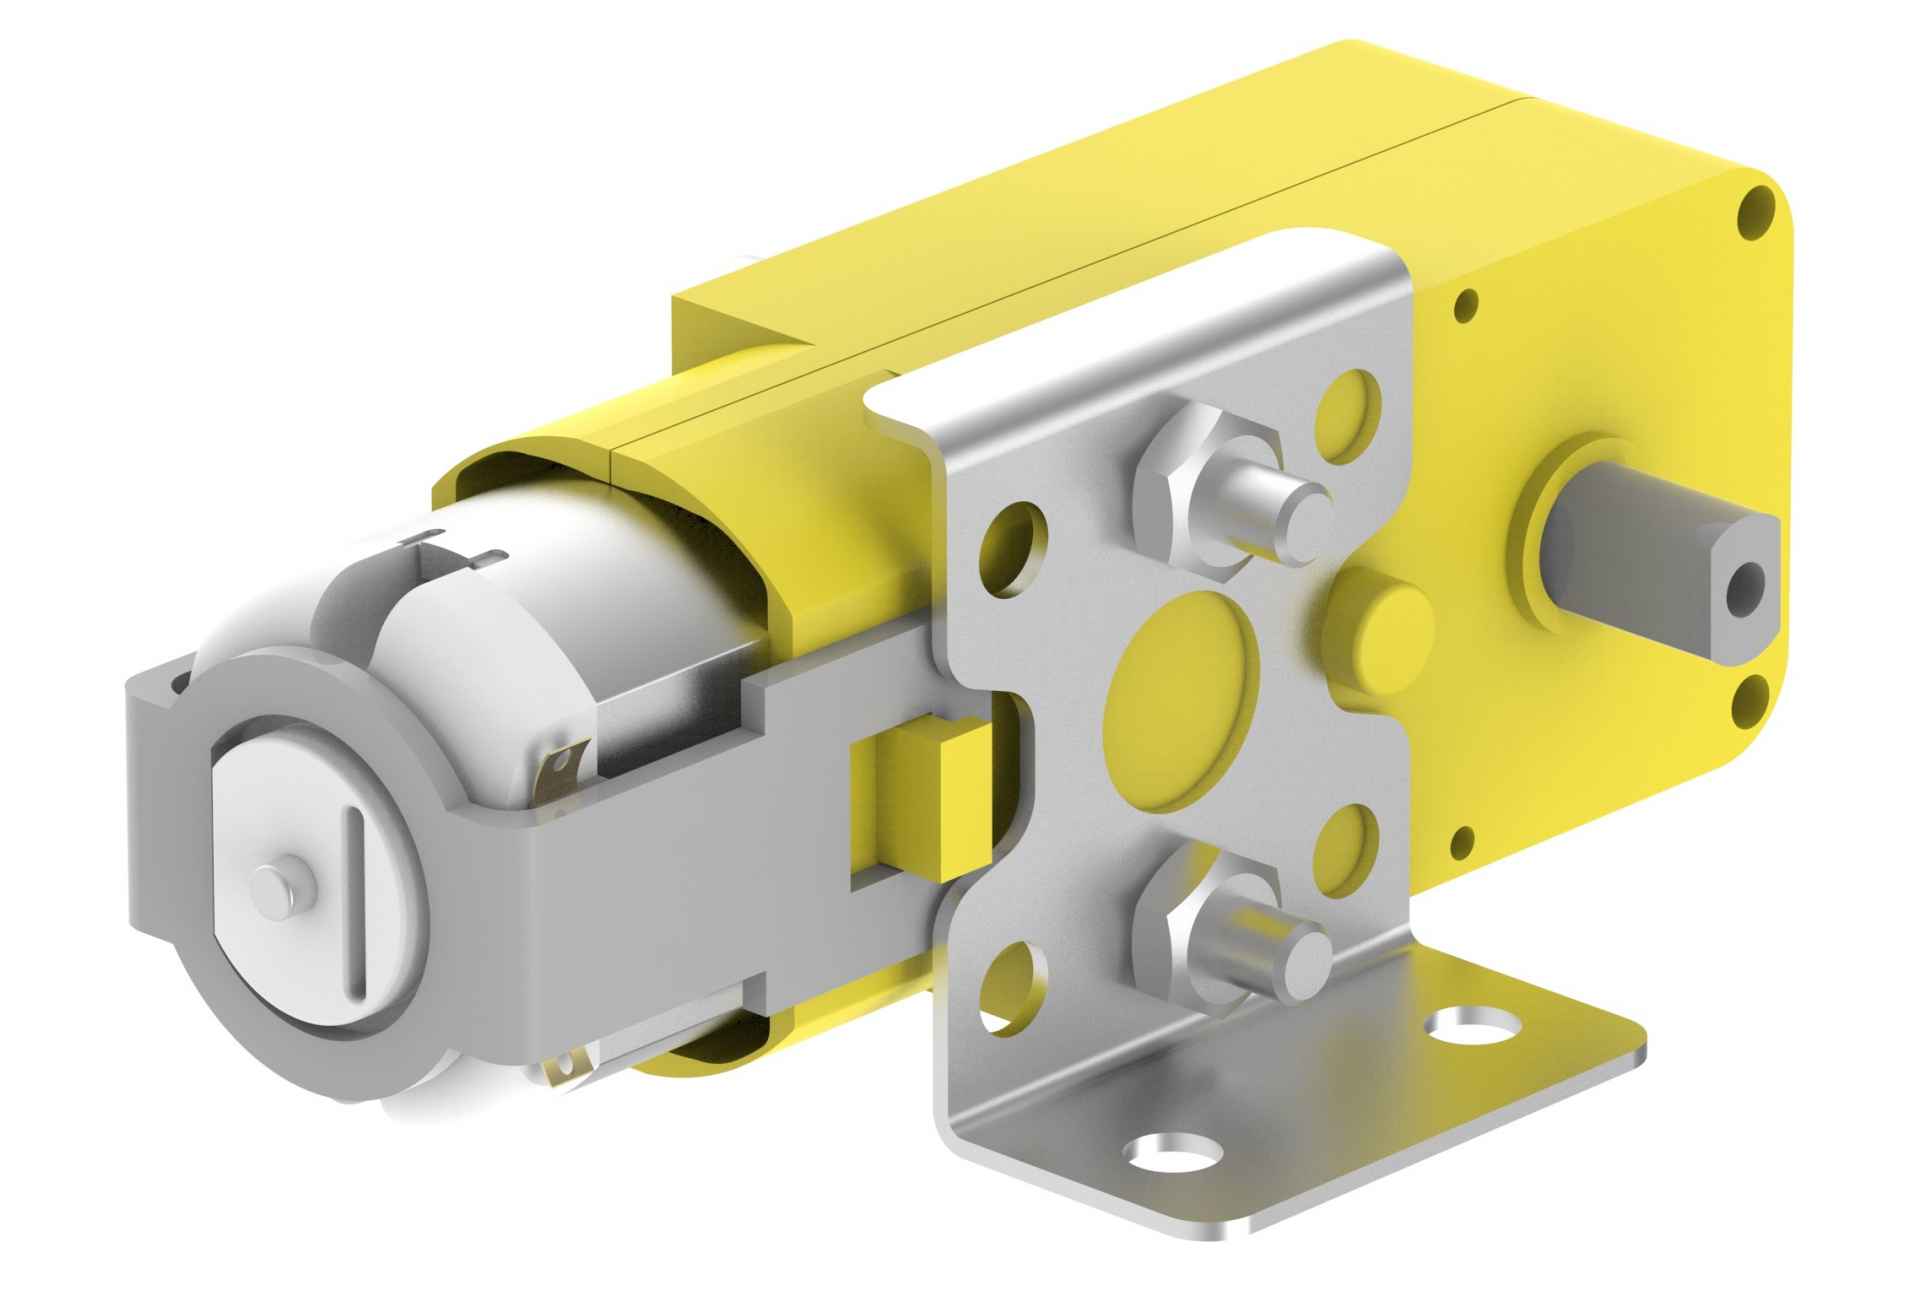
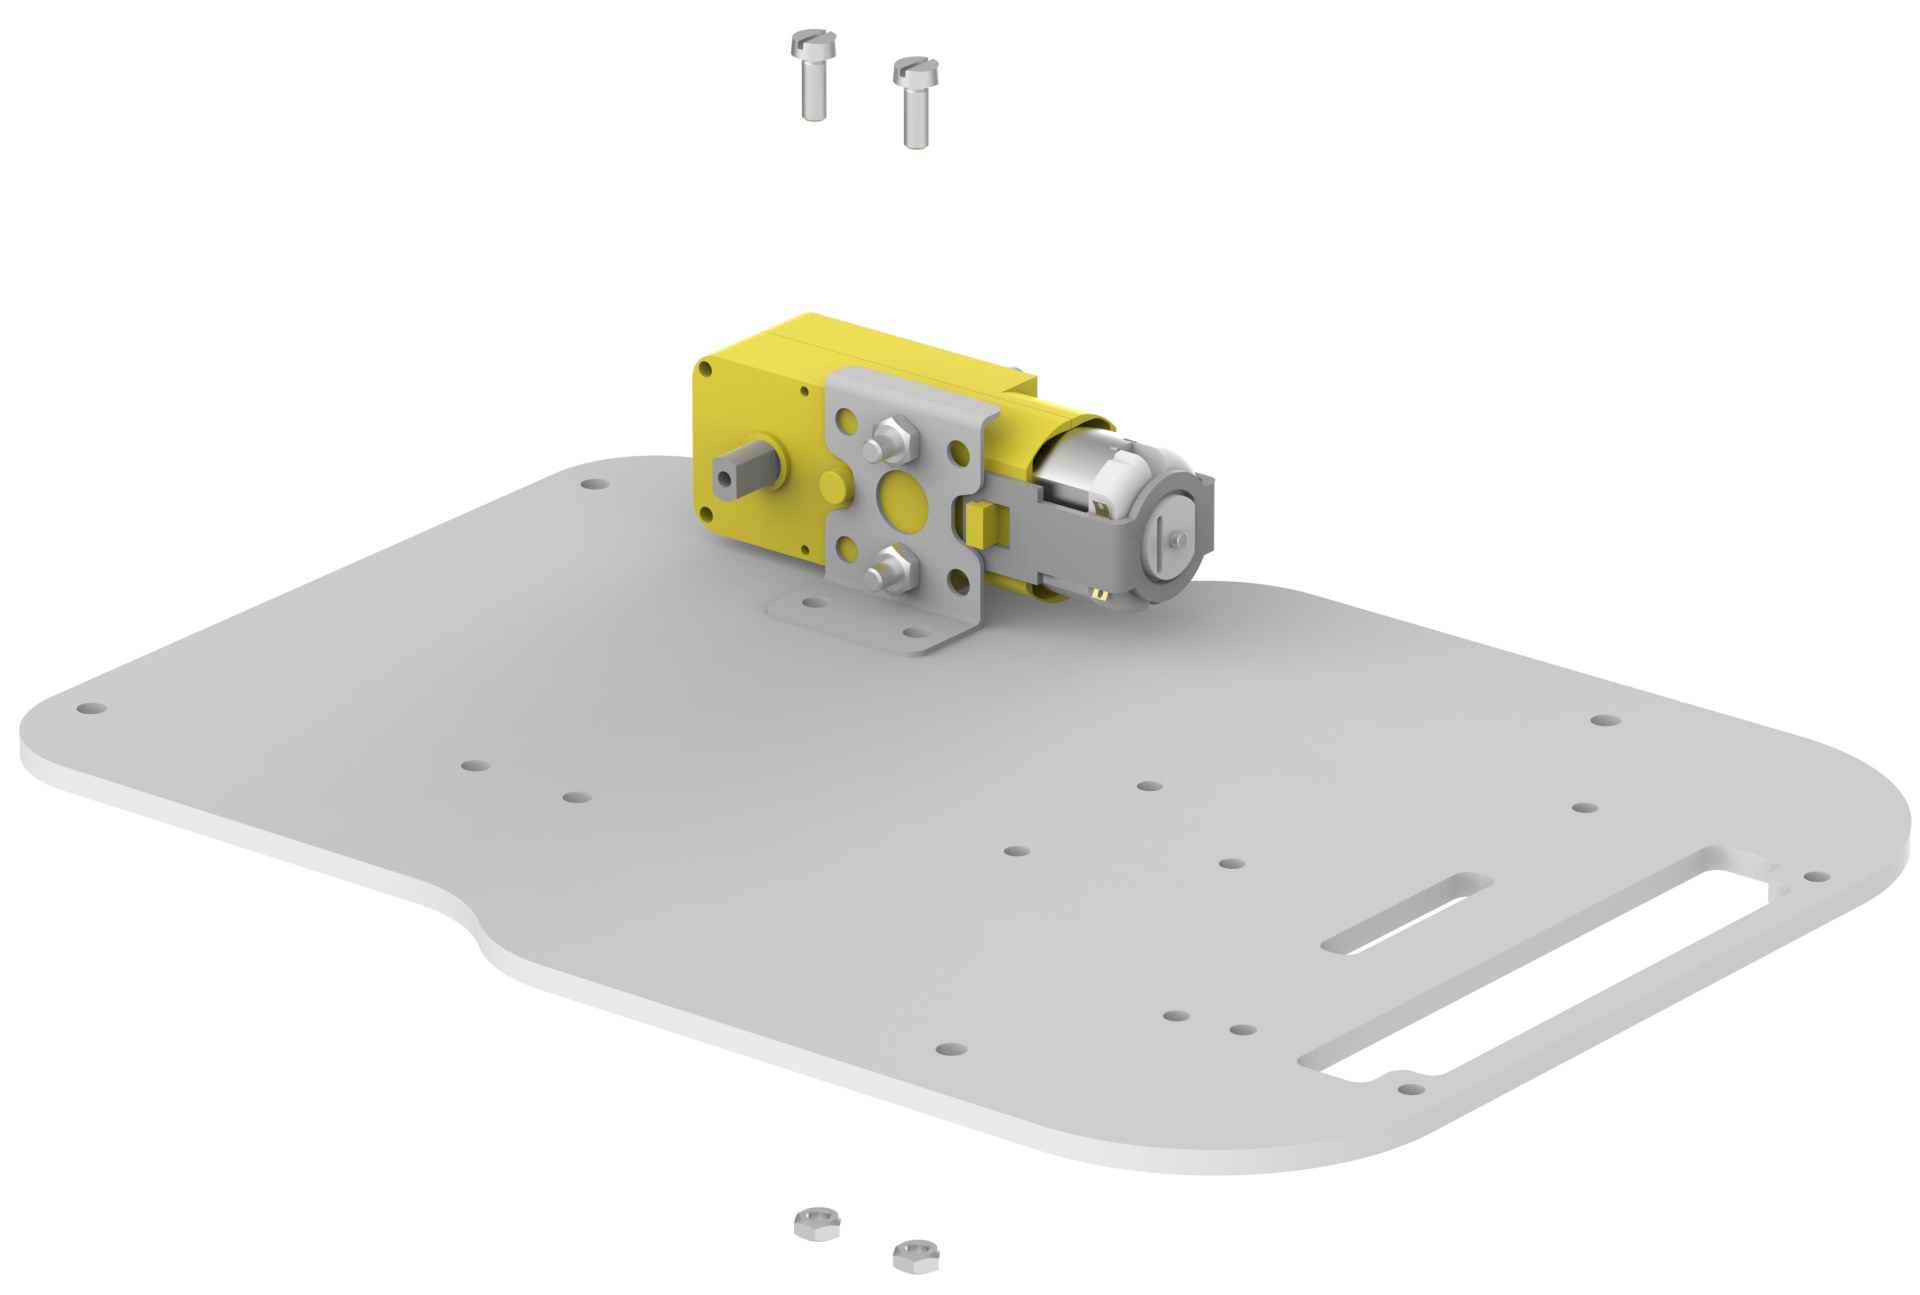
- Using two 12mm M3 bolts and two M3 nuts, fasten the motor and brackets.
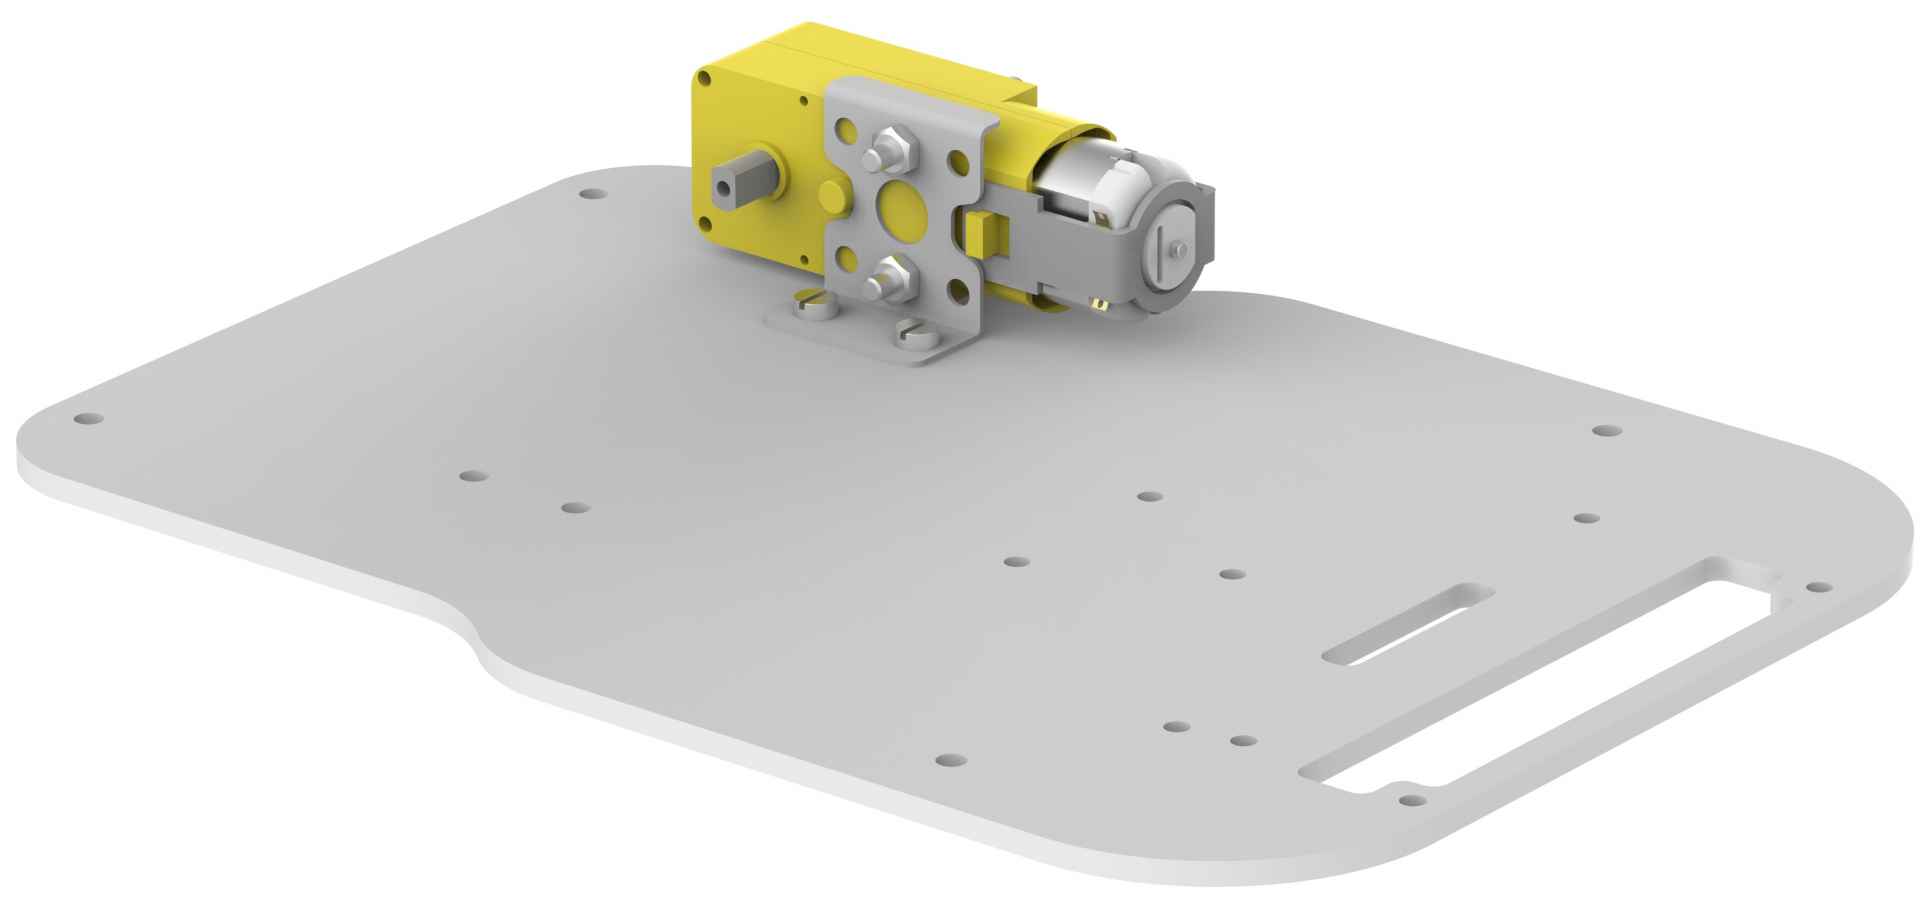
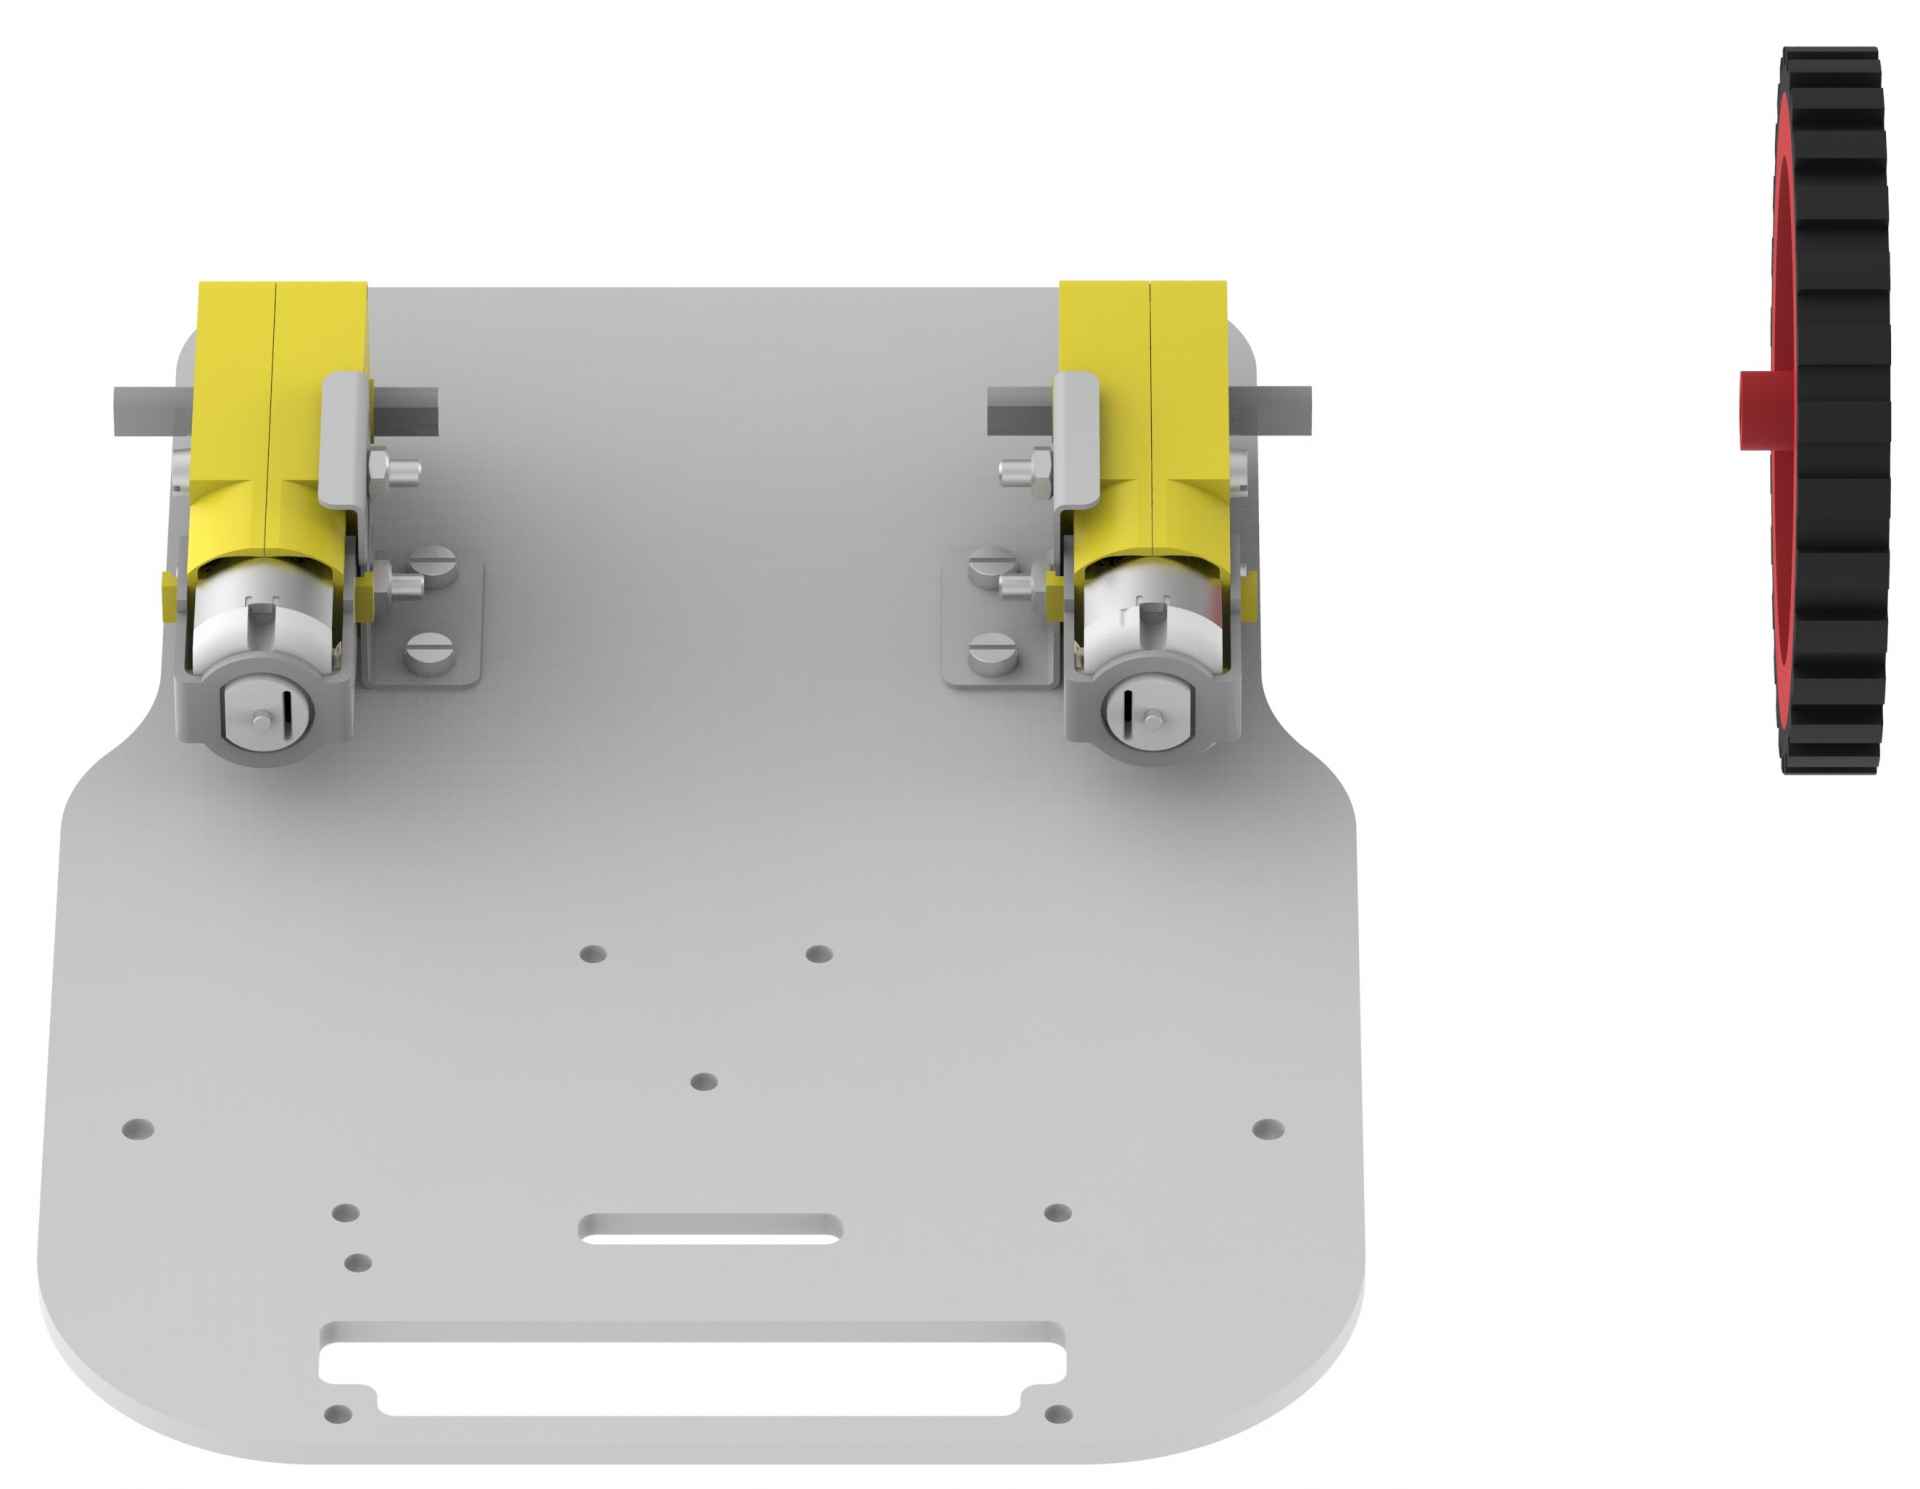
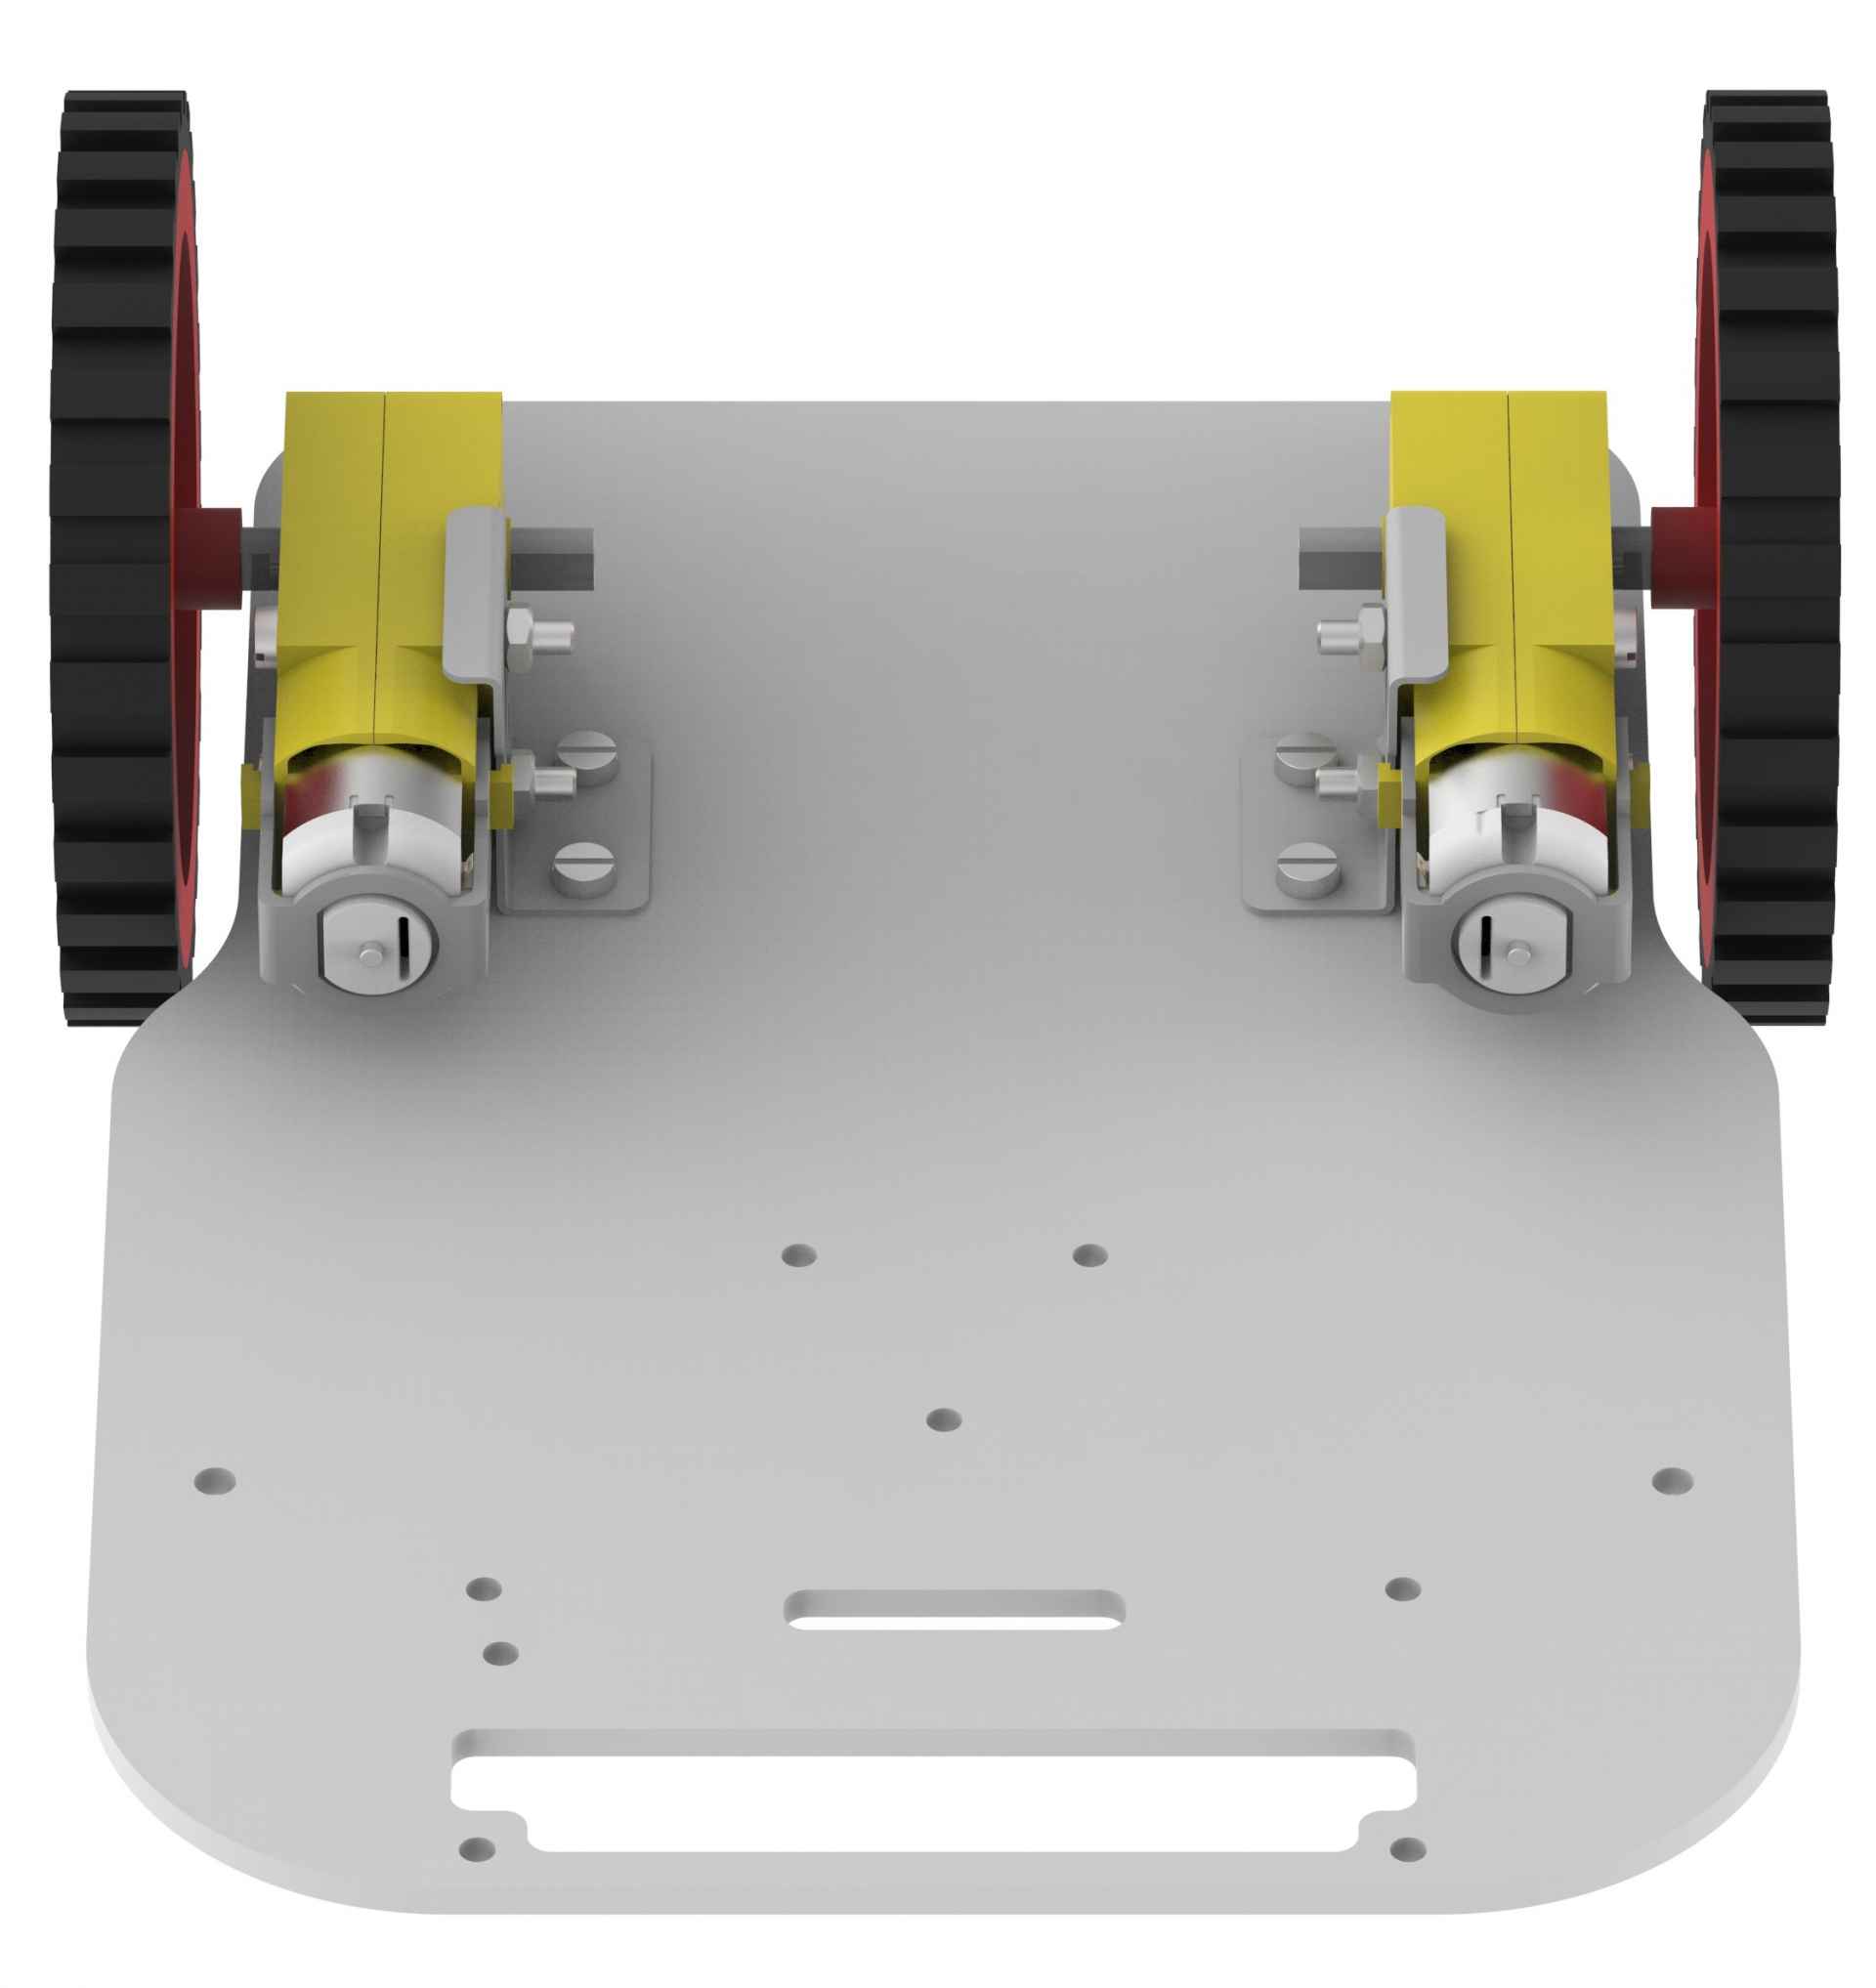
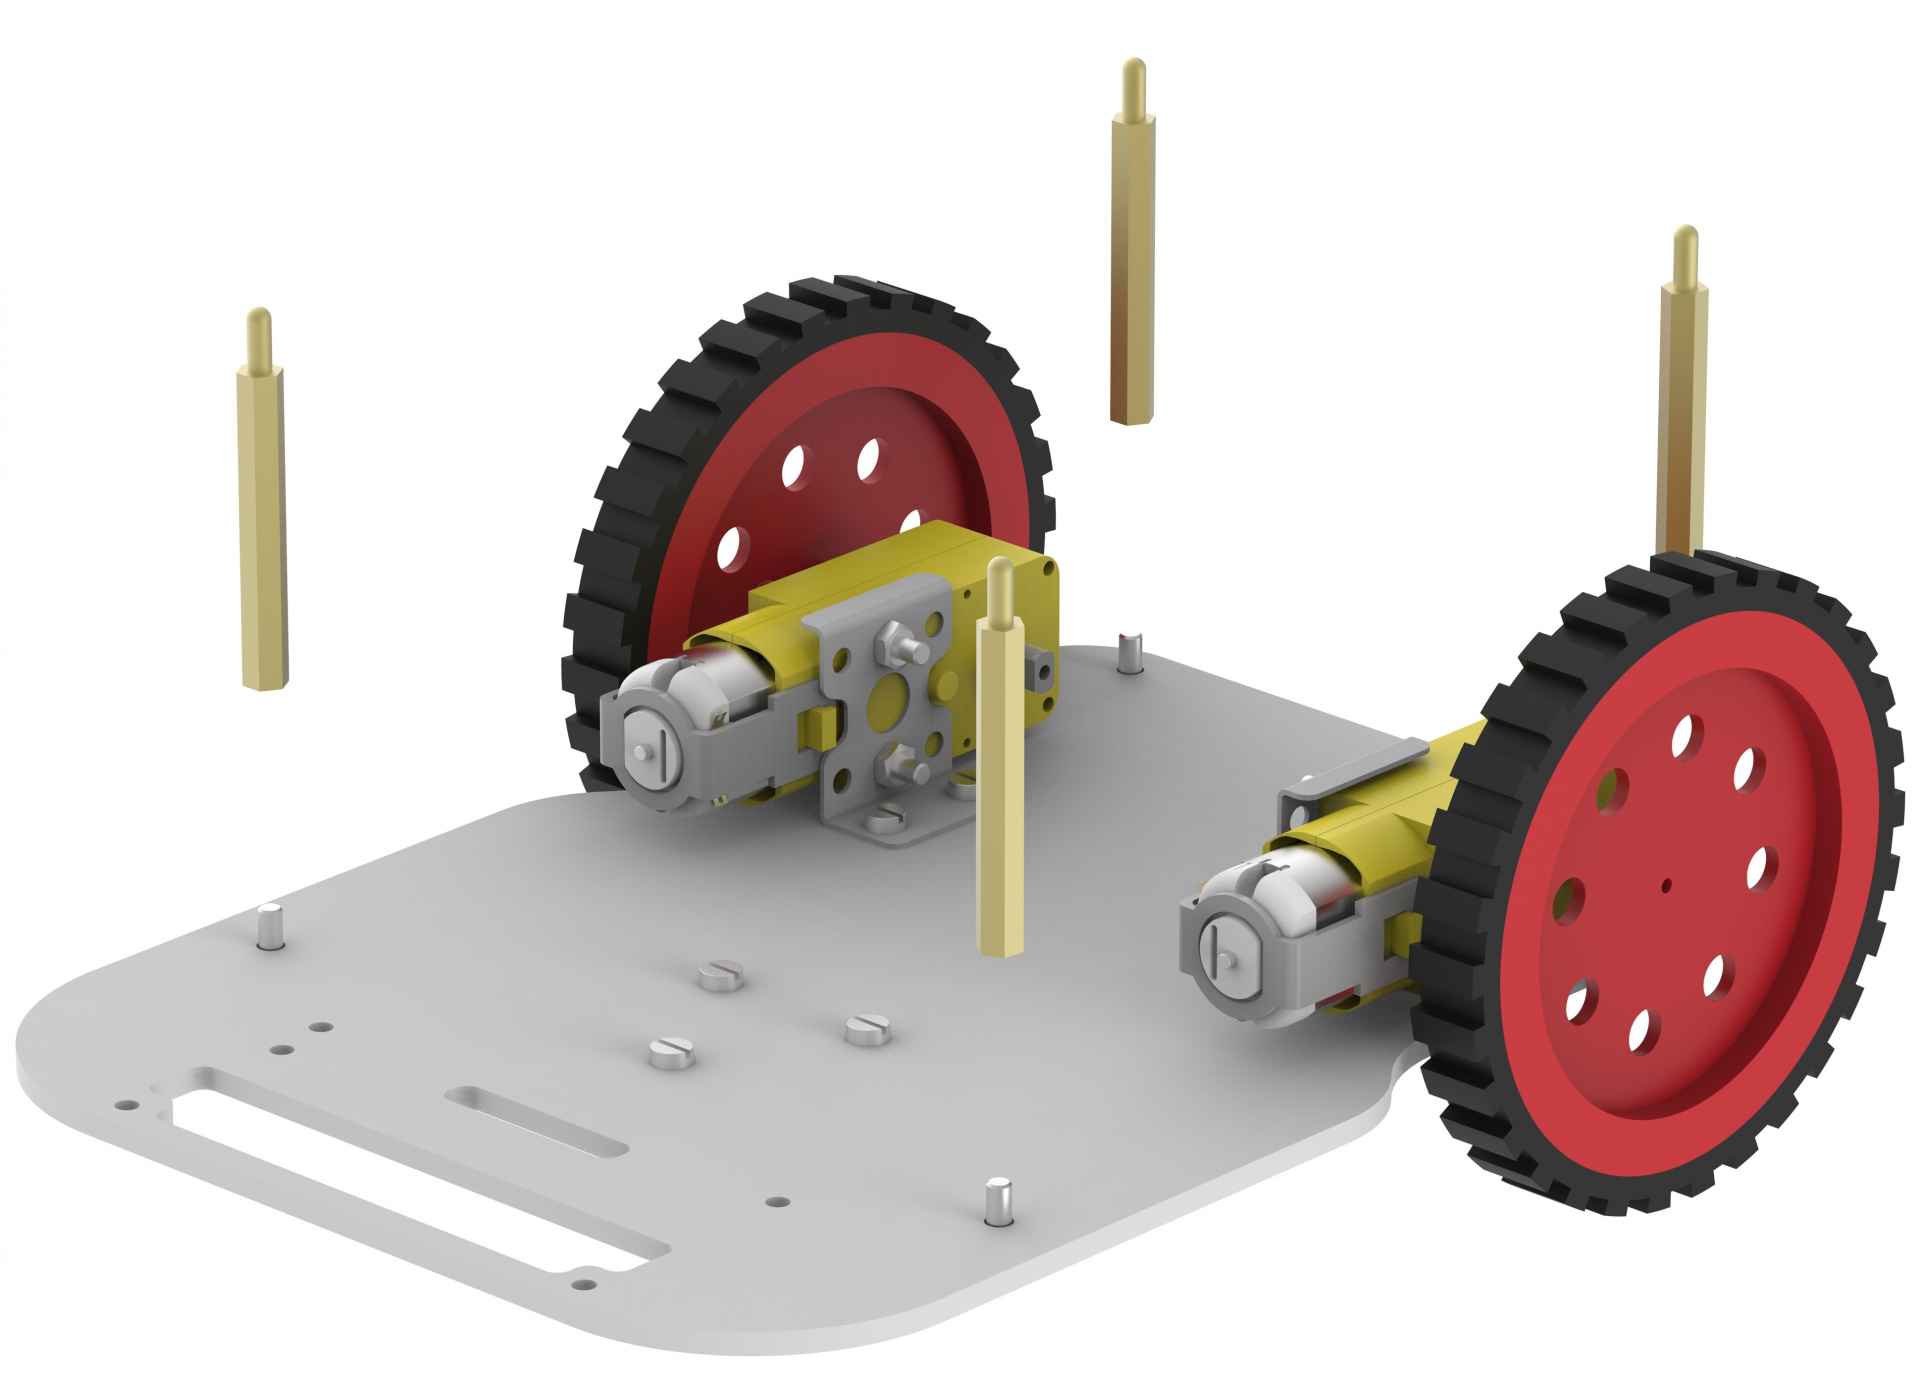
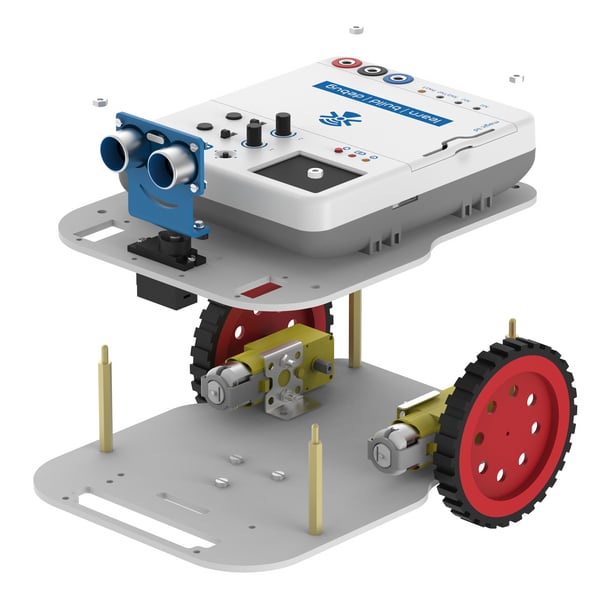
- Place the left motor bracket assembly on the lower base plate in the mounting holes provided.

Note that, as the base plate is symmetric, you should keep in mind which motor is for right side and which one for left before mounting them.
- Fasten the motor using two 8mm M3 bolts and two M3 nuts.
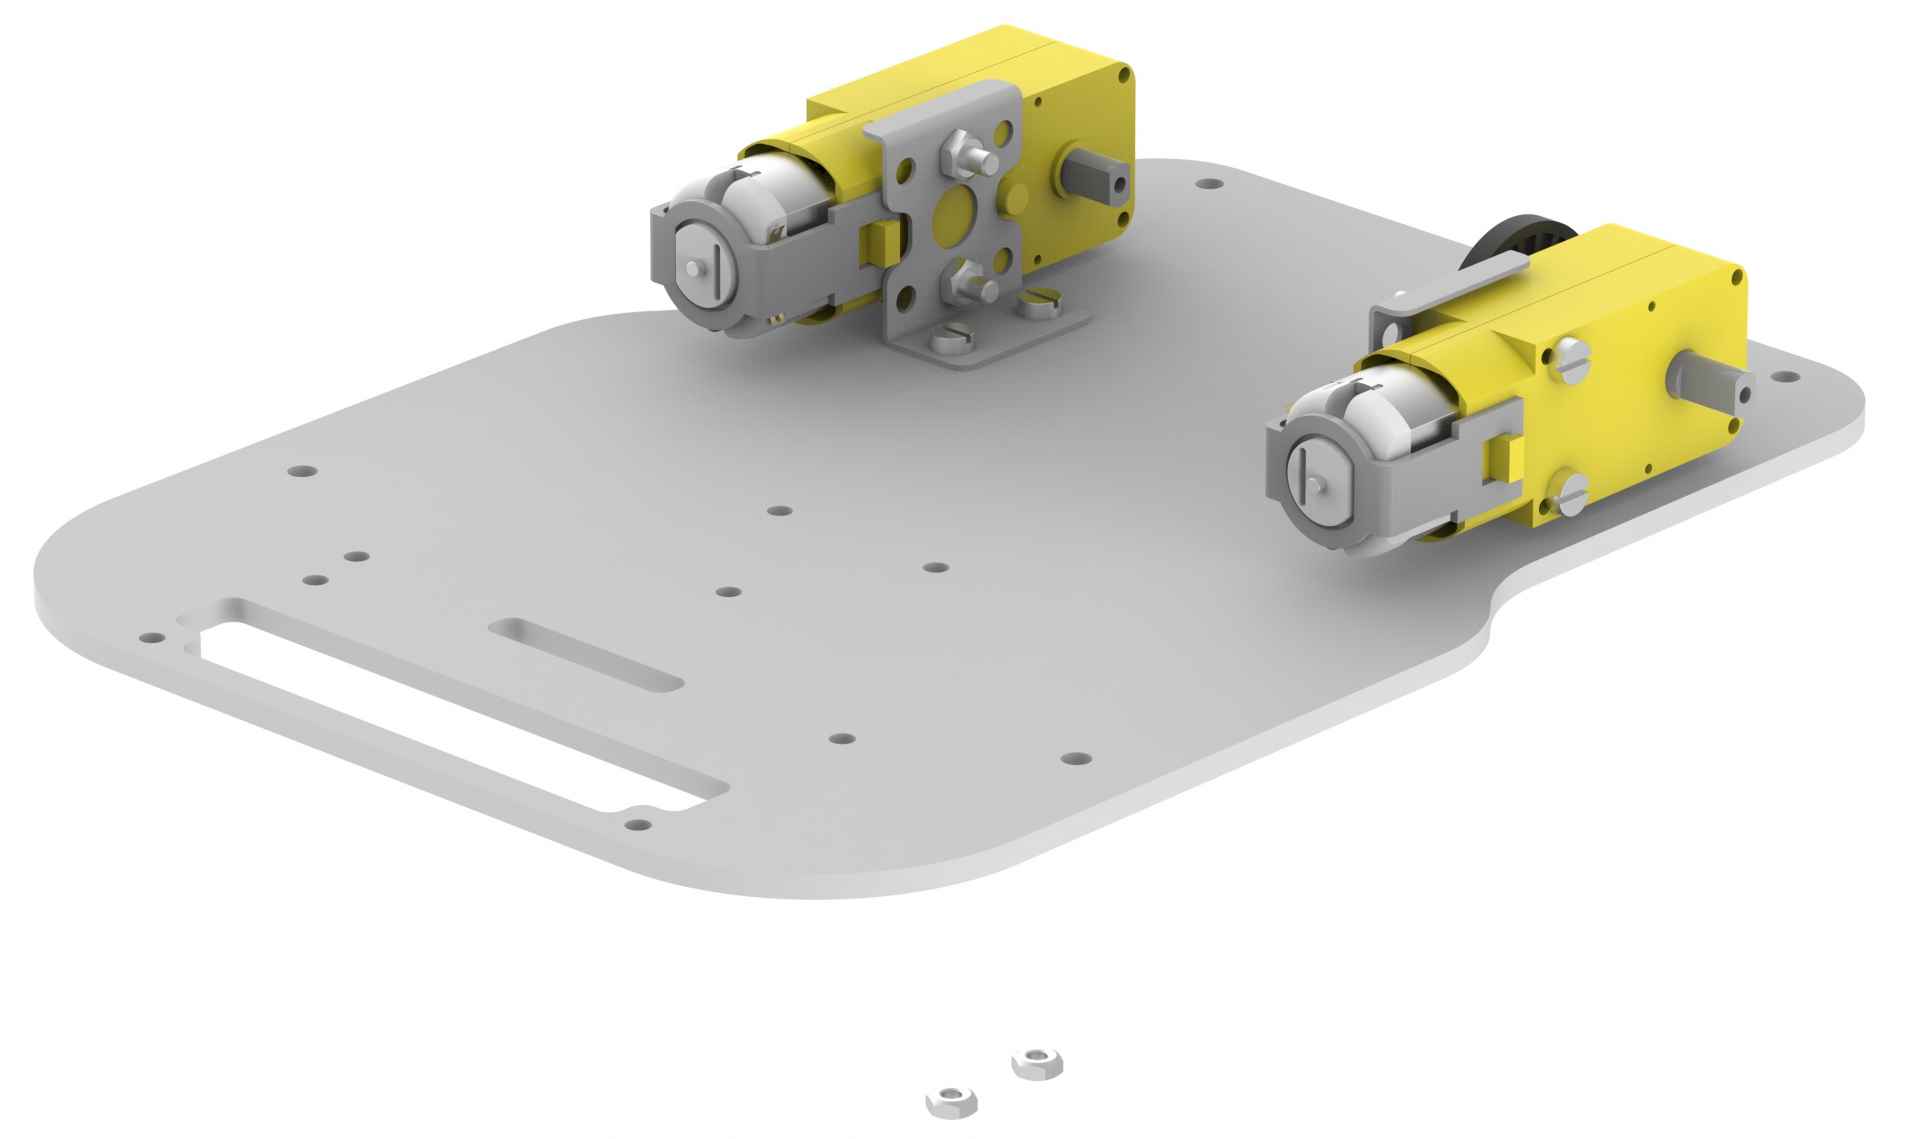
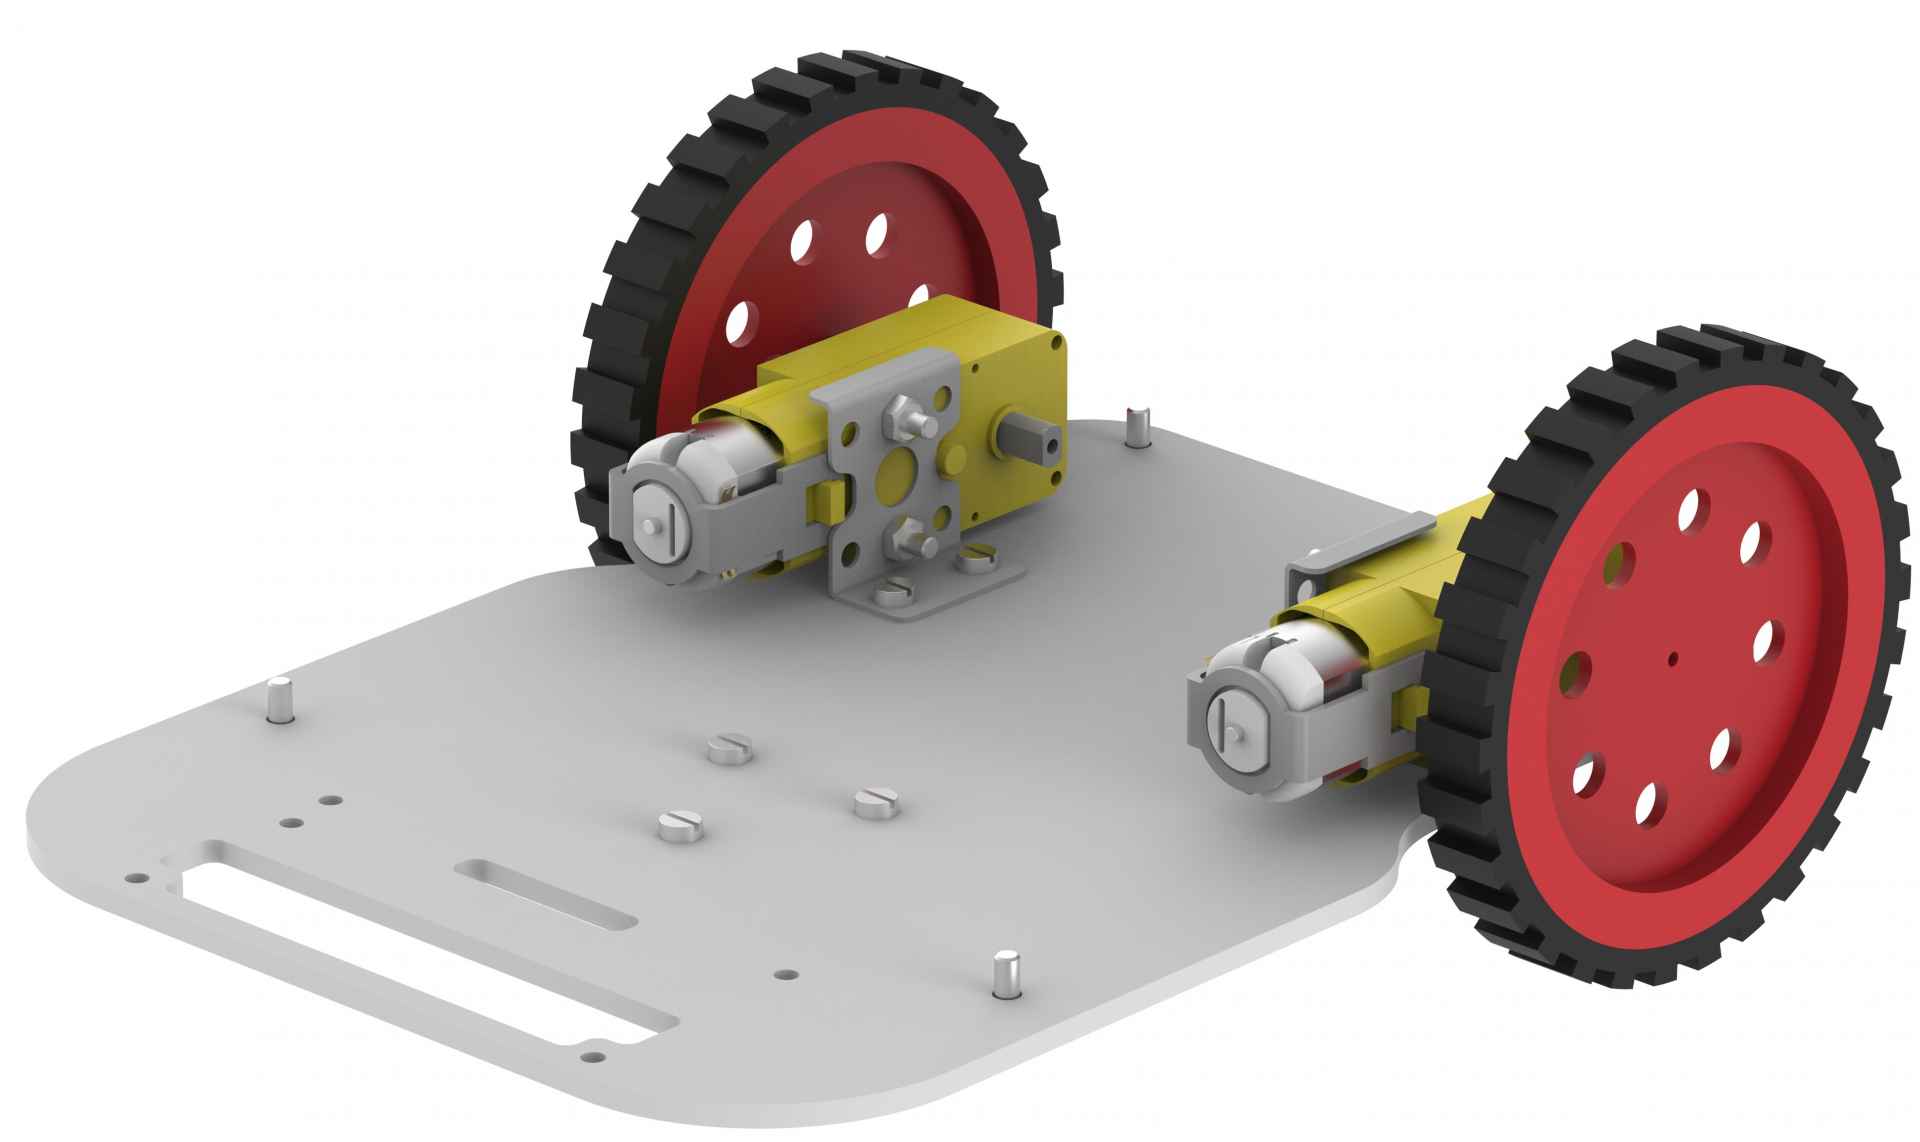
- Similarly mount the right motor using nuts and bolts. Ensure that you have mounted the motors in the exact way as shown in the figure.
- Then, gently attach wheels on the motor shaft as shown in the figure.

- Turn the lower base plate upside down and mount the castor wheel on the mounting holes provided on the base plate. Using three 12mm M3 bolts and three M3 nuts to fasten the castor wheel.

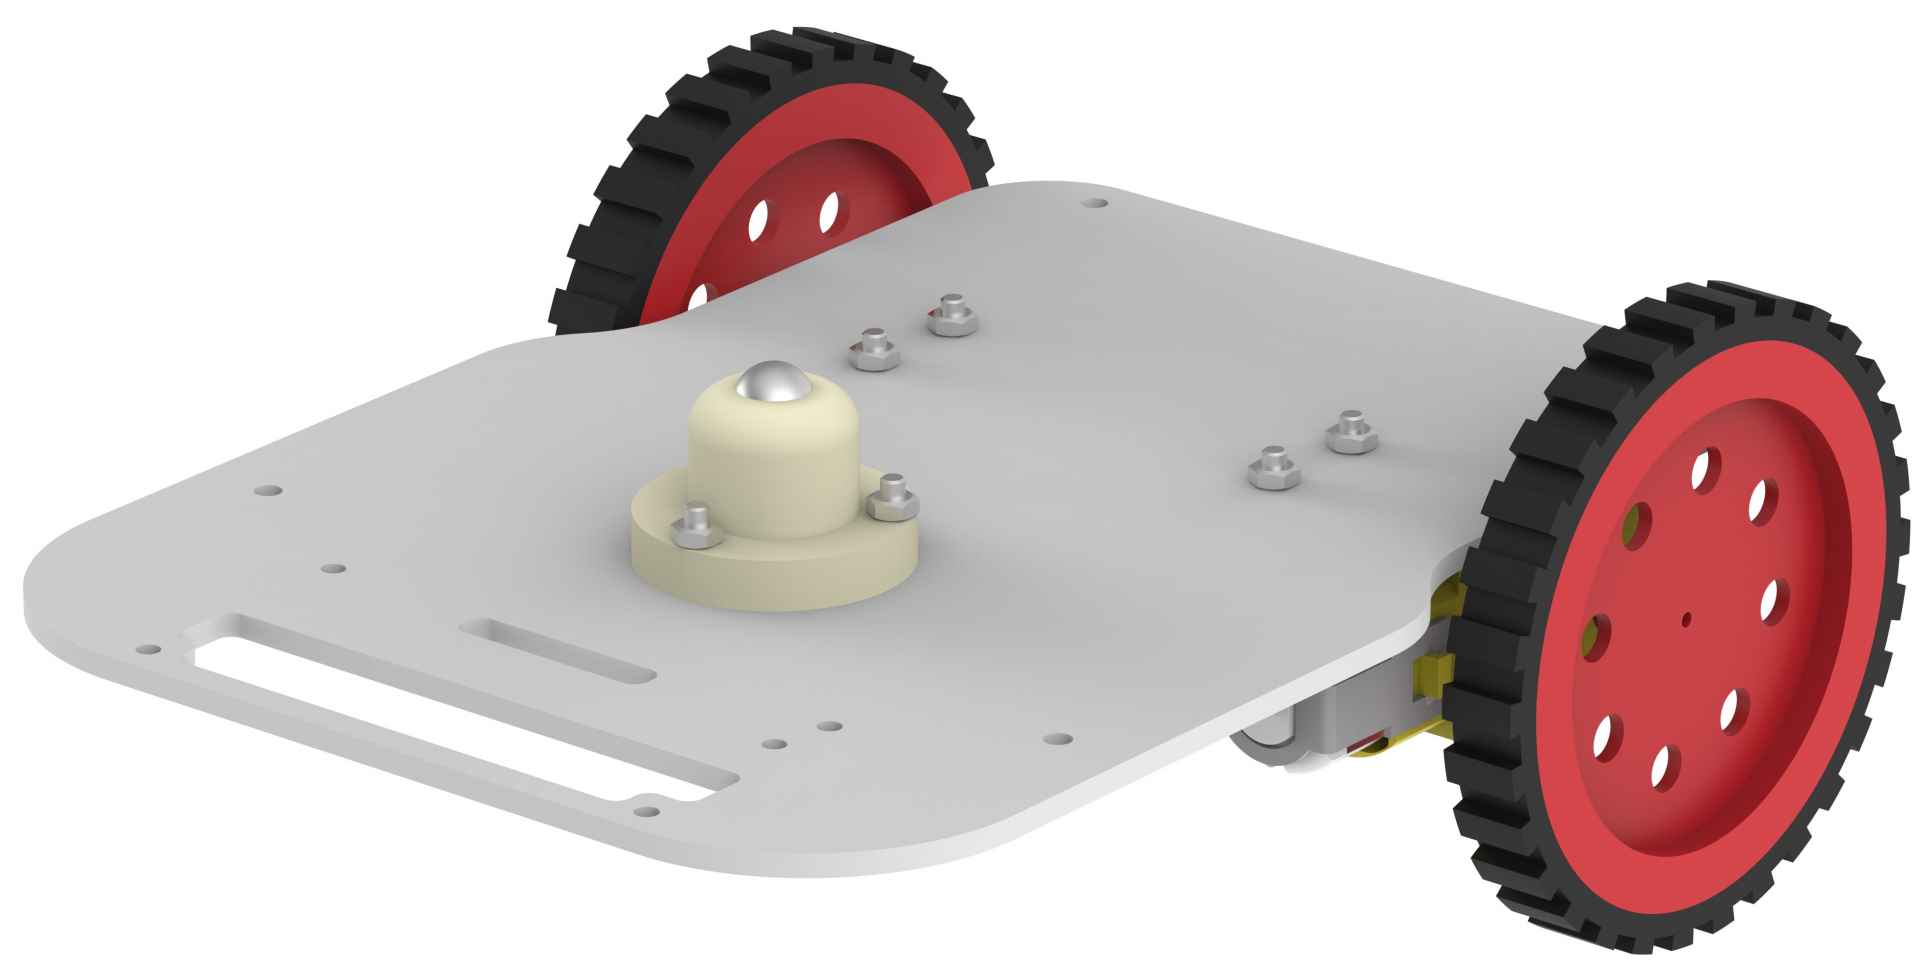
- Turn the lower base plate back to initial orientation.
- Now, using 8mm M3 bolts, mount four 40mm standoffs on the holes provided on the base plate.
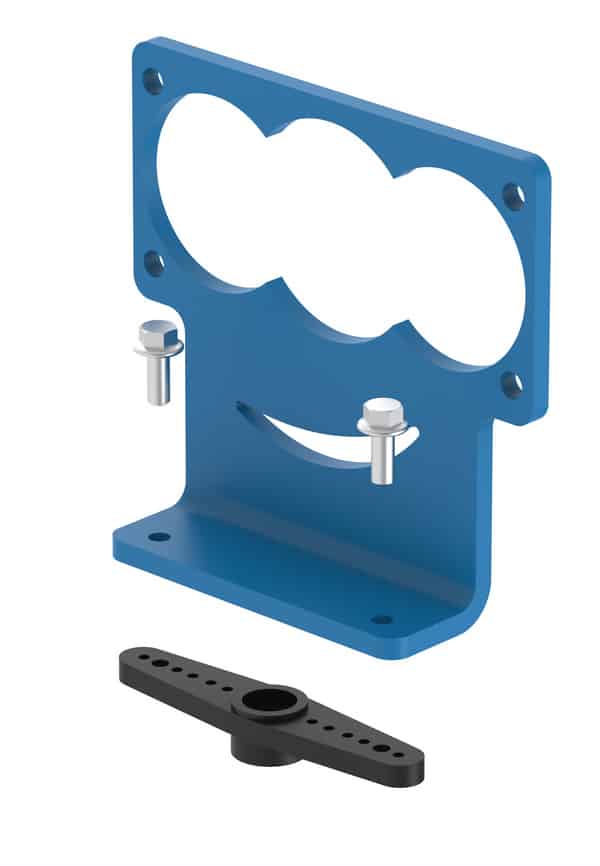
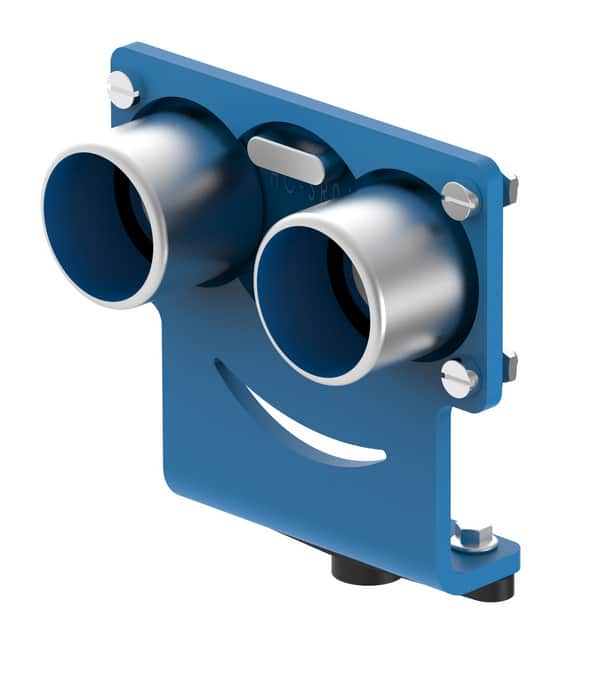
- Take the ultrasonic holder and mount it on the servo horn as shown in the figure. Use the flanged screws provided with the servo motor.
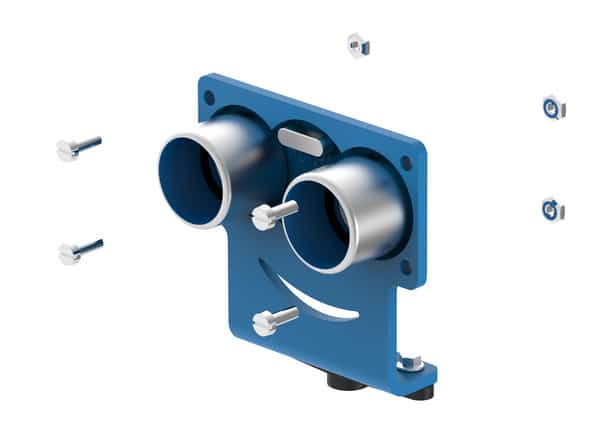
- Then, mount the ultrasonic sensor on the ultrasonic holder as shown in the figure. Use four 8mm M2 bolts and four M2 nuts for the same.
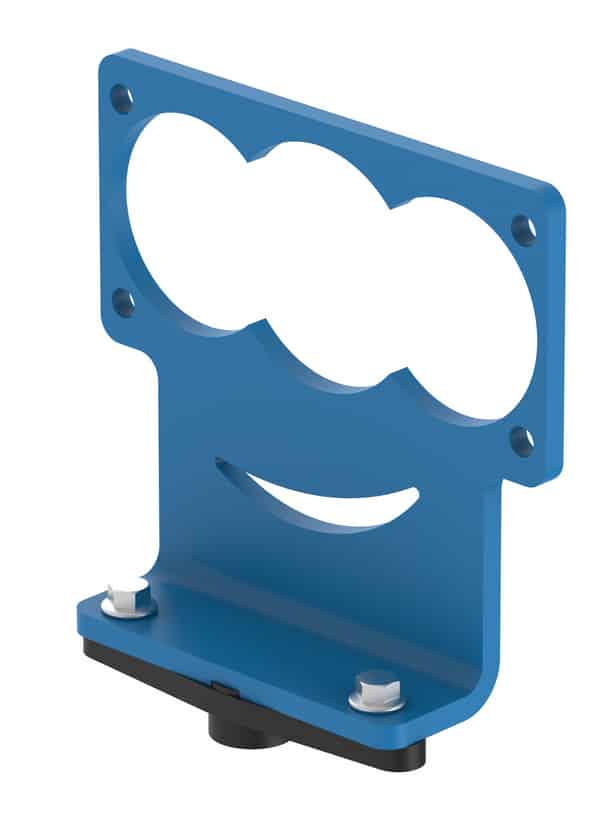
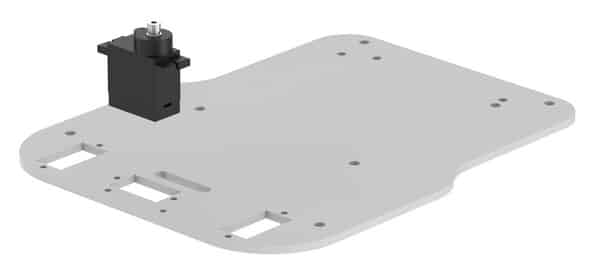
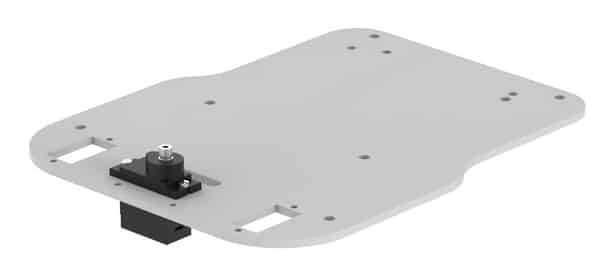
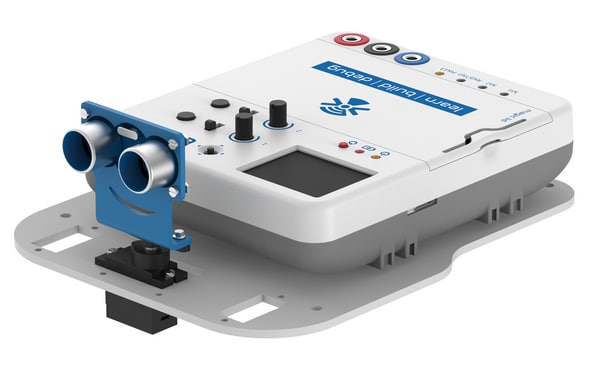
- Now take the upper base plate and mount the mini servo motor as shown in the figure. Use two 12mm M2 bolts and two M2 nuts to secure the servo motor in place.
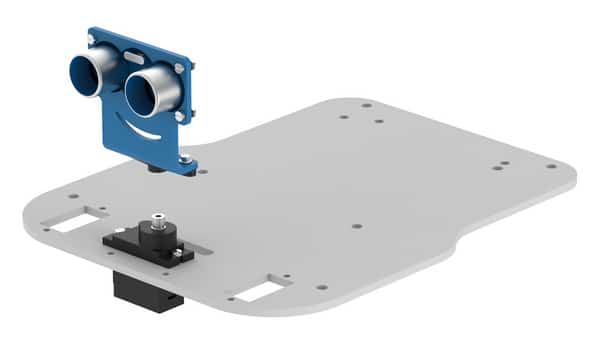
- Now mount the ultrasonic holder on the servo motor.
- Mount evive on the upper base plate using 12mm M3 bolts. Note that if you are not using encoders, then you can mount evive with all four bolts.
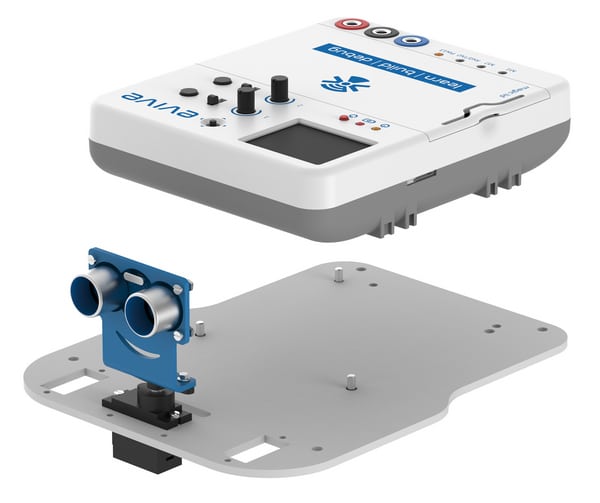
- Finally place the upper base plate on the standoffs of lower base plate.

- If you want to increase the height at which the upper base plate is mounted, then you can do it, by attaching another 10mm standoffs on the 40mm standoffs.

Circuit Diagram of the Robot
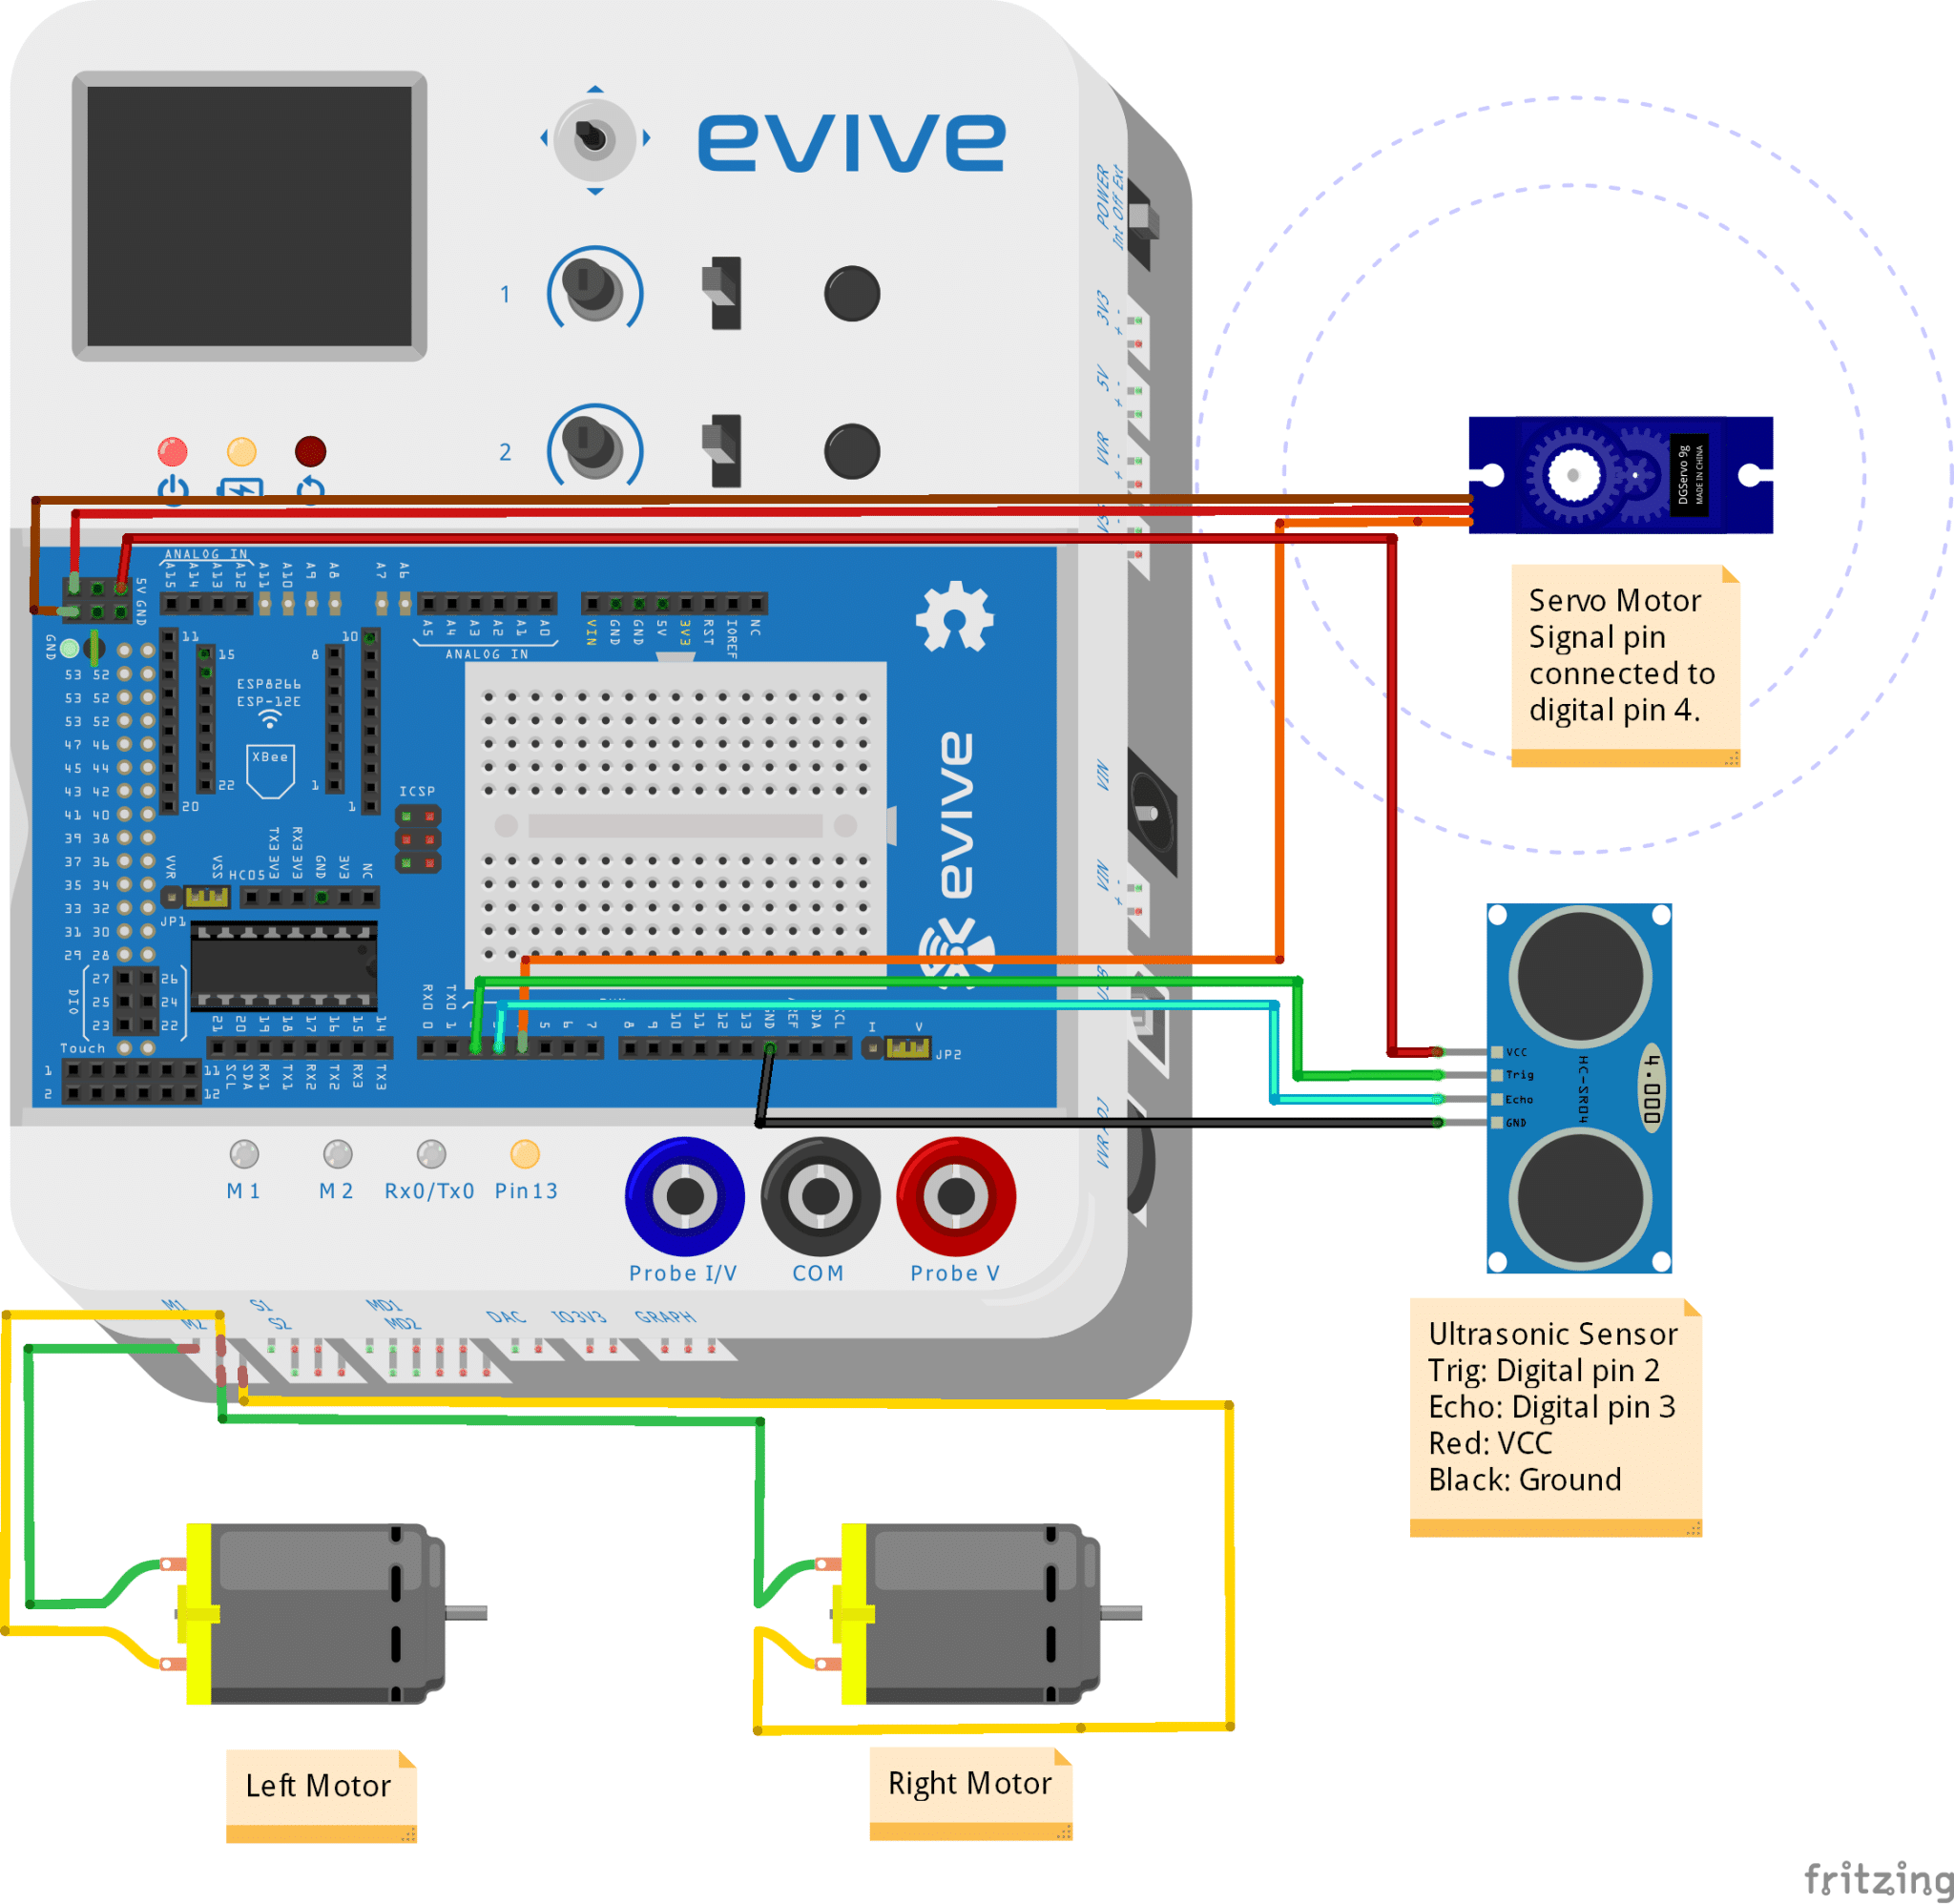
Do the following connection as shown in the figure:
- Left Motor: evive Motor Channel 1
- Right Motor: evive Motor Channel 2
- Servo Motor: Signal Pin connected to digital pin 4
- Ultrasonic Sensor:
- Tigger Pin: Digital Pin 2
- Echo Pin: Digital Pin 3


 0-1 screenshot")


