Introduction
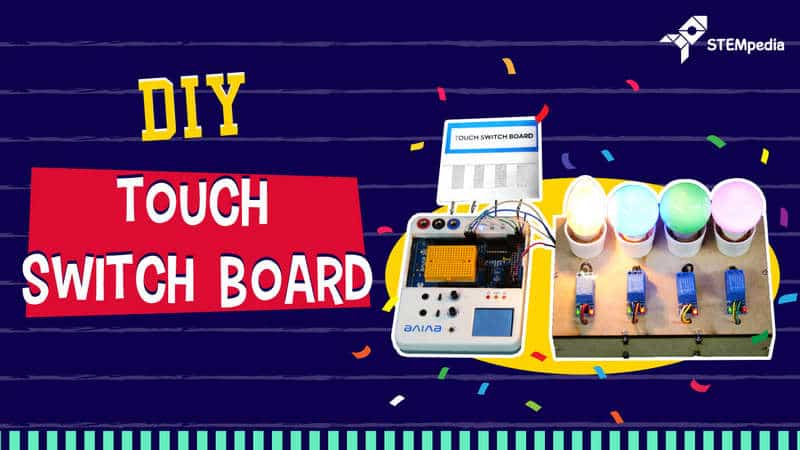
We’ve seen touch-based mobile phones, touch-based laptops, and television screens. Everything’s becoming touch-based; so why should our dear ol’ switches be left behind? Come in: DIY touch-based switchboard! No more worrying about stuck or broken switches. What is more, it is easy and fun to make!
So, ready for some DIY electric fun? Let’s begin!
Assembly
Making of Switchboard.
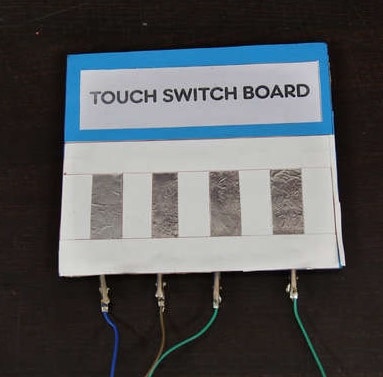
- To make the Switchboard take the cardboard and mark the number of switches you want to make and of what size. We have made the switchboard of 4 switches.
- Next, take the Aluminum Foil or the Tin Foil at the places you marked.
- Cover the remaining cardboard with the colored chart paper.
- On the other hand, solder the jumper cables to each of the crocodile pins. Finally, attach the pins to each switch.
- Thus, your switchboard is ready.
Making of Light Box:
We have laser cut the MDF sheets with the following dimensions. You can use either thick cardboard or even add layers of cardboard for stability.
- Take the base plate and attach the side plates with the help of M3 bolts of 12 mm length and M3 nuts.


- Take the Upper Plate and in the holes made, insert the Bulb holder.


- Take the Electric wire and cut it in small parts.
- Take the relays and similar small 8 electric wire pieces.
- Connect them to the COM terminals and Normally OPEN terminals of each relay.

- Attach 4 relays on the upper plate using a glue gun.

- Then, take the wire connected to the Normally OPEN to corresponding to each bulb holder’s one of the terminals of the bulb.

- Take the wire connected to the COM terminal and connect it together and finally connect it to the remaining terminal of the plug.

- Take the 4 such pieces and attach each one to them to each terminal of the bulb holder.
- Next, connect all these 4 wires to one and connect them it to one of the terminals of the plug.

- Connect the jumper cables to the VCC, GND and SIGNAL terminals of the relays.
- Connect all the VCC in one and GND in another.

- Finally, insert bulbs in the bulb holder.
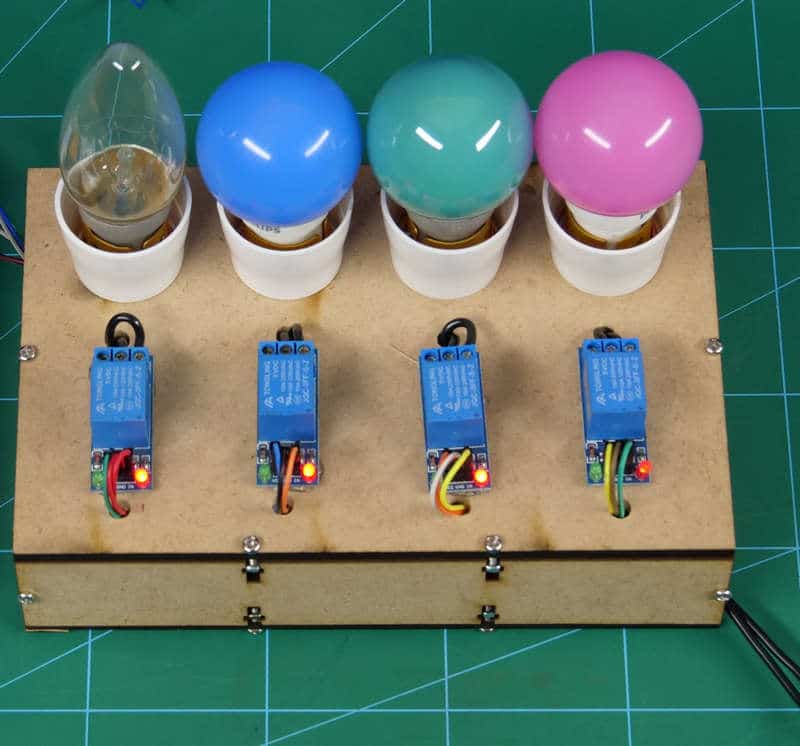
Thus, your assembly is finally ready.
Logic:
Relays are electro-mechanical switches, use to open and close circuits. We can switch on the relay using a tiny current, but the relay can turn the appliances which use high current. The reason we used relays is that Arduino can’t be given 230 Volts.
We are using capacitive touch sensors which can detect a change in charge. Hence, whenever we touch the crocodile pin, charge corresponding to that sensor will change and gets detected.
Thus, to make our touch detect over the entire switch, we use the foil. So, even if we don’t touch the pins, our the touch is being recorded.

Now, once we touch the switch, Digital Pin of the corresponding relay is then set to LOW( because relay used is low triggered ) and thus the relay is then activated which in turns, turn the bulb ON.
Now, if the same switch is touched again, the status of the pin is now set to HIGH, which turns the bulb OFF.
This implies that whenever we touch the pin the status of the pin varies from HIGH to LOW and LOW to HIGH.
Circuitry:
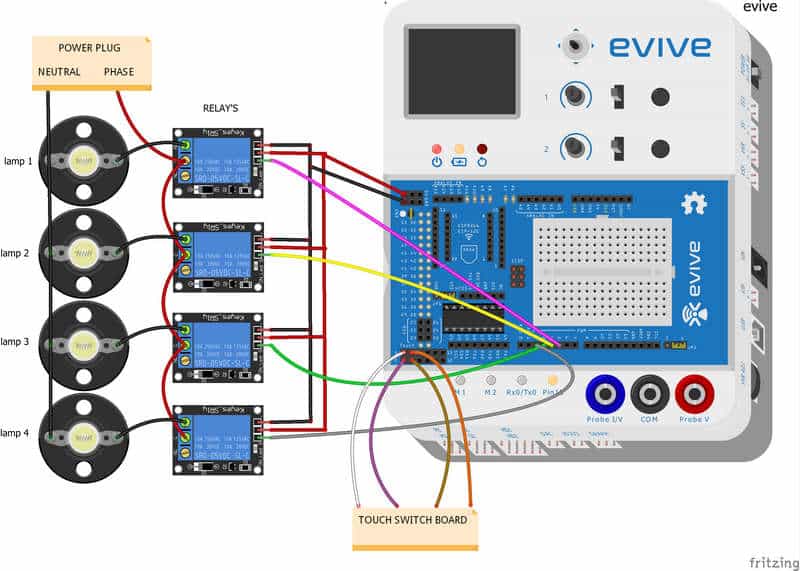
The pins are connected as follows:
Code:
The Arduino code for the working of the Switch Board is given below:
Conclusion:
With this, your DIY touch-based switchboard is ready! Now you can light up your life with vivid colors with something as simple as a touch. Happy lighting!

