
Introduction
Have you ever wondered how Tesla, the self-driving car decides the route? Today, we are going to make something similar but in PictoBlox. We are going to make our own self-driving car in PictoBlox, which will detect the sign cards and accordingly. We are going to use the Recognition Card Extension of PictoBlox for this.
Let’s begin by understanding what Recognition Card Extension is.
What is Recognition Card Extension?
Recognition Card Extension is one of the latest extensions added in the latest version of PictoBlox, v.4.1.0.
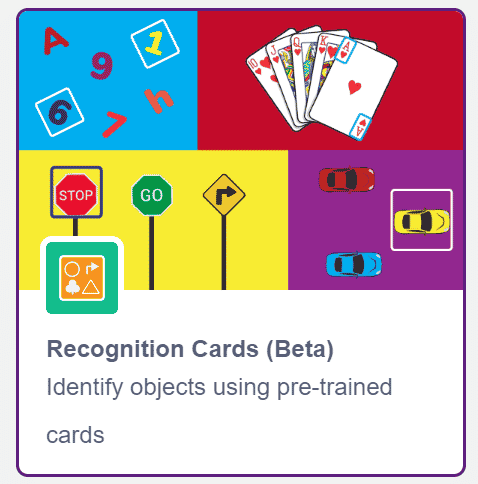
This extension is our very own take on a pre-trained classifier. We can recognize Numbers, Human-like Hazel and John, Traffic Signals, Card Suit, and other random cards like pizza, hospital, etc.
Along with the NLP Extension, there are a lot of new features added to the latest version of PictoBlox. You may need to download PictoBlox or update it to use the latest features.
Setting the Stage to make track for Self-Driving Car
First, we will set up our stage. We will make our stage look like the street. We already have designed one, you can download it from the link given below or you can design one for yourself.
- Open PictoBlox.
- Upload the backdrop.
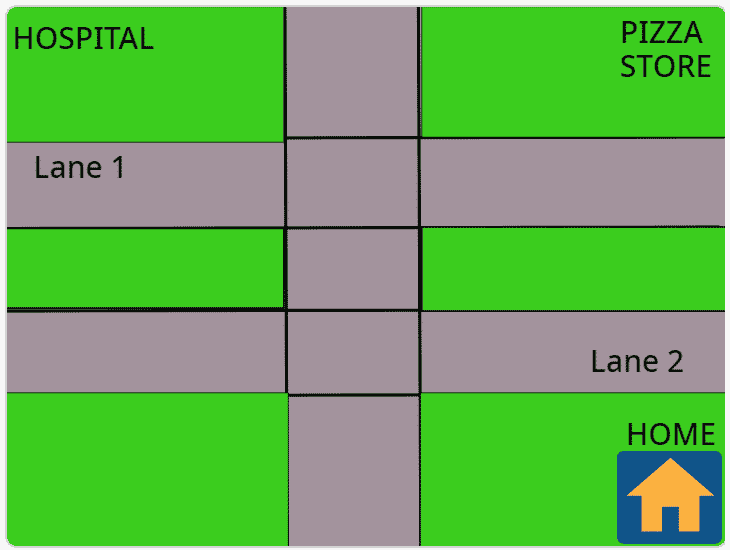
- Let’s first understand the elements of the backdrop.
- There will be two lanes, on which we will select by showing the number cards.
- Next are the three points, home, pizza store, and hospital. Once the lane is selected, the car will recognize the next card and move on to reach that particular location.
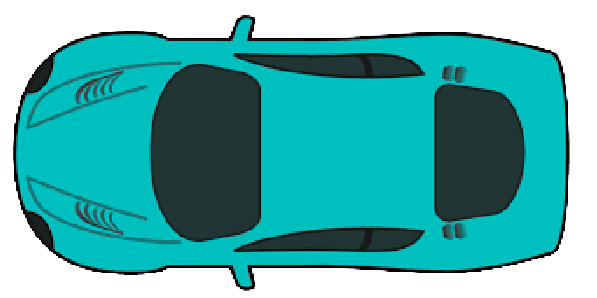
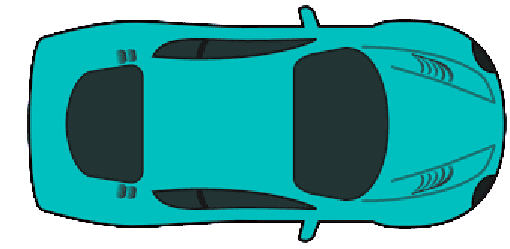
- It’s time to add the Sprites. But before we add the sprite, we need to say bye to Tobi. Upload the car sprite from the computer, which you can download from here.
- Next, choose John’s sprite from the sprite library. Here, John is the instructor that will command us to perform certain tasks and the car will be following our commands.

- If you may have noticed, that the lanes are in opposite directions, we need one car to face the other side. Thus, duplicate the car sprite, go to the costume palette, select car and click on flip horizontally.
With this, our stage and sprite’s setup is complete.
Making John the Instructor
Script to Make John Instruct the User
Choose John Sprite. We will begin by writing the script for our narrator, John.
- Place, when flag clicked hat block from the Events palette.
- Next, let’s add the recognition card extension. Click on Add extension button and then select the Recognition Card Extension.

- Place turn () video onstage with 0% transparency block from the recognition card palette and select off from the drop-down.
- Next, we need to switch the backdrop to a clear one, thus, from the Looks palette, drag and drop switch backdrop to () block and select backdrop1 from the drop-down.
- Set John on the stage using the go to x() y() block from the Motion Palette. Write 21 in the first space given and -112 in the second space.
- Next, from the Looks palette, place the show block.

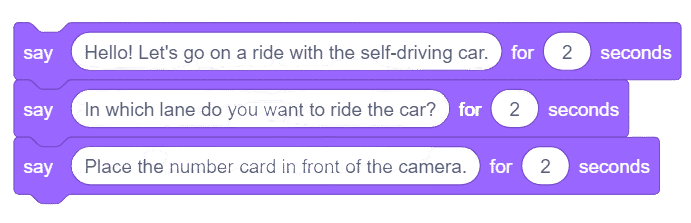
- Next, we need John to instruct the user to show the number card to select the lane. Thus, place a say () block from the Looks palette, to make John speak. Write. “Hello, Let’s go on a ride with the self-driving car“.
- Duplicate the say block and write, “In which lane do you want to drive the car?” in the space given.
- Duplicate the say () block again and replace the text with: “Place the number card in front of the camera.“
With this the instructional part of John is complete. Next, we need the camera to open up to analyze the number card and choose the actions for car accordingly.
Script to Analyze the Lane Number
- Next, after instructing this much, we need to hide John, so that the cars can perform their actions. Thus, from the Looks palette, place a hide block.
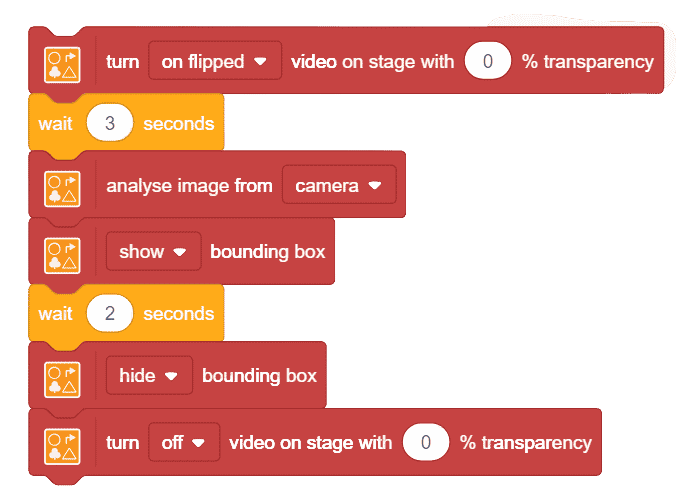
- Now, to recognize the number card, we need to turn the camera on. Thus, place turn () video onstage with 0% transparency block from the recognition card palette and select on-flipped from the drop-down.
- We need to make John wait for a few seconds till PictoBlox analyzes the card. Thus, from the controls, palette, add wait () seconds block and write 3 in the space given.
- Place analyze image from camera block from the Recognition card palette.
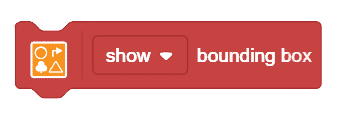
- To make sure that the cards are recognized perfectly, we will a bounding box around them. Thus, place the show bounding box block.
- Once, analyzed, we need to hide the bounding box. Thus, add a wait () seconds blocks and write 2 seconds and place the show bounding box block again, but select hide from the drop-down.
- Also, let’s turn off the camera, thus, place turn () video onstage with 0% transparency block and select off from the drop-down.
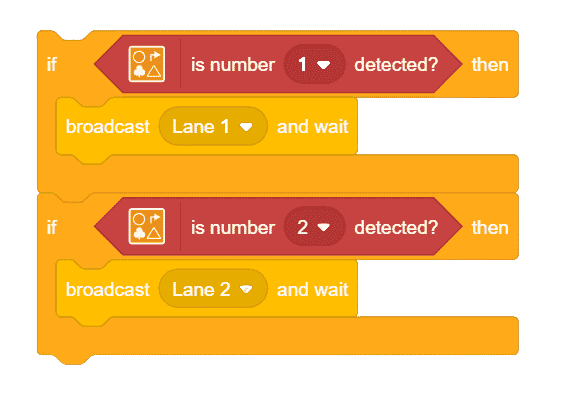
- Now, we need the cars to perform the actions once lanes are recognized. Thus, Place an if () block from the Controls palette.
- Place is number () detected reporter block from the Recognition Card palette and select 1 from the drop-down.

- To make the Right direction car to do the next steps, we will send the right car sprite the message. From the Events palette, place broadcast () and wait block, and in the new message write Lane-One.
- Duplicate the previous two steps. Choose 2 from the drop-down of the if block and write a new message ‘Lane-Two’.
With this, the script for our John is complete. Let’s move on to write the scripts for the car.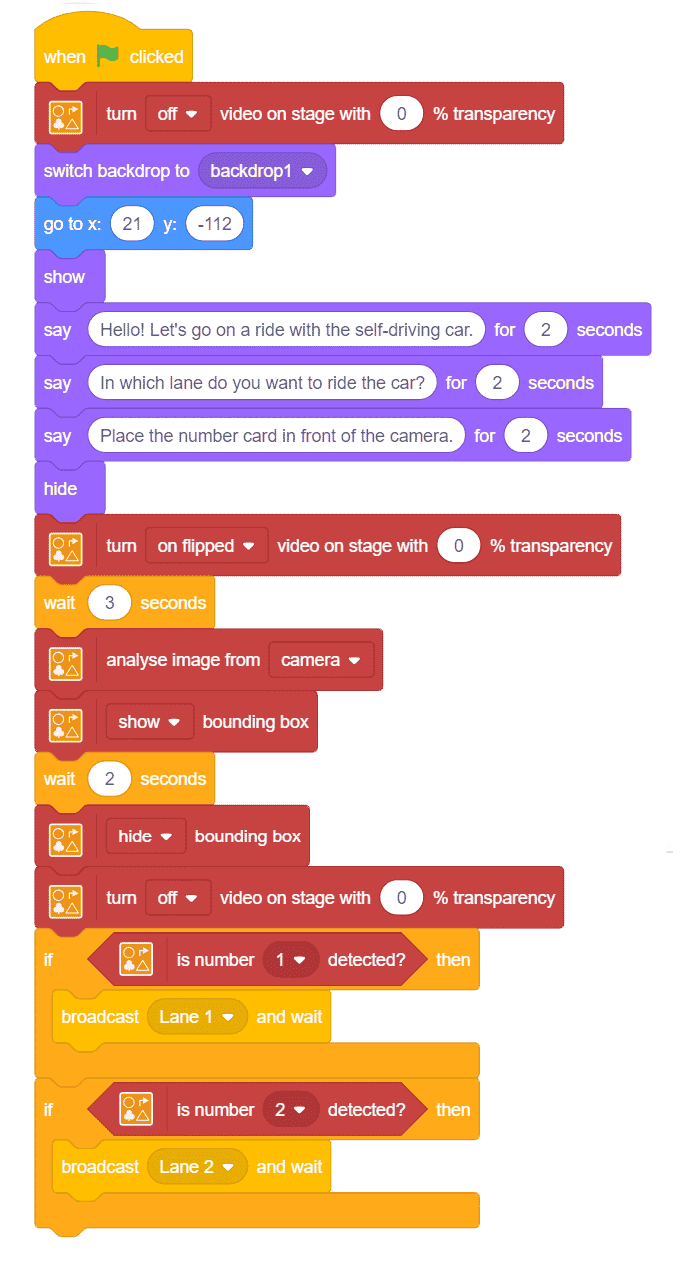
Making the Self-Driving Car Move from Lane-One
- Select the right car.
- At first, the car should not be visible. Place, when flag clicked hat block from the Events palette. Next, from the Looks palette, place a hide block.

Fixing the Car’s Initial Position
- Now, let’s write the script on what happens when you send the Lane-One message.

- Next, we need to switch the backdrop to Street, thus, drag and drop switch backdrop to () block and select Street backdrop from the drop-down.
- We need the car to come to the initial position and point in the right direction. Thus, place point in direction () block from the Motion palette and write 90. Drop go to x() y() block and write 242 in first and 62 in second space respectively.
- Now, the stage and the position of the car are set, it’s time to show it, place show block from the Looks palette.

- Now, the car is in Lane-One we need it to come a little further till the intersection. Thus, place glide () seconds to x() y() block from the Motion palette and write, 1, 47, and 62 in first, second, and third places respectively.
 With this, the car has reached the place where it has to ask the user to show the location card.
Analyzing the Location Card
- Thus, place a say () block and write “You need to choose whether you want to go to Pizza store, Home, or Hospital.”
- Place another say () block and write “Thus place the location card in front of the camera.”

- As we want to on the camera for a while, we will hide the car, thus, place the hide block.

- Now, to recognize the location card, similar to the number card, we need to turn the camera on. Thus, place turn () video onstage with 0% transparency block from the recognition card palette and select on-flipped from the drop-down.
- Add wait () seconds block and write 3 in the space given.
- Place analyze image from camera block from the Recognition card palette.
- Place the show bounding box block.
- Add a wait of 2 seconds and place the () bounding box block again, but select hide from the drop-down.
- Also, let’s off the camera, thus, place turn () video onstage with 0% transparency block and select off from the drop-down.
- Now, that the location card is analyzed, let’s bring the car back on to make it move. Place the show block.


Moving in the Analyzed Direction
- Now, if Pizza is located we need the car to head towards the pizza store. Place an if block. Place is Pizza detected reporting block from the recognition card palette.

- Next, into the if arm we will write a couple of commands to move the car.
- To make it move forward, place glide () seconds to x() y () block and write 0.4, 9 and 16 respectively.
- To make it turn upward. Place point in direction () block and write 180 in it.
- Now to make it move forward and then turn right, duplicate the glide and point in direction block and write 0.6, 6, 119 in the glide () seconds to x() y () block and -90 in the point in direction () block.
- To make it reach the Pizza store, place another glide () seconds to x() y () block and write 0.5, 109 and 127 respectively.

With this, your car has reached the pizza store from lane one. Make sure to change the numbers in the glide and the point-in-direction blocks if you have planned out the backdrop of your choice.
- Similar to the make it reaches the Pizza Store, we will write the code to make the car move to home and hospital from lane one.
- Duplicate the if arm and make the changes according to the path to the home and hospital from lane one respectively.


With this, your script for the car if moving in lane one is complete.
Making the Self-Driving Car Move from Lane-Two
Make the changes to move the self-driving car from lane two to Pizza Store, Home, and Hospital respectively.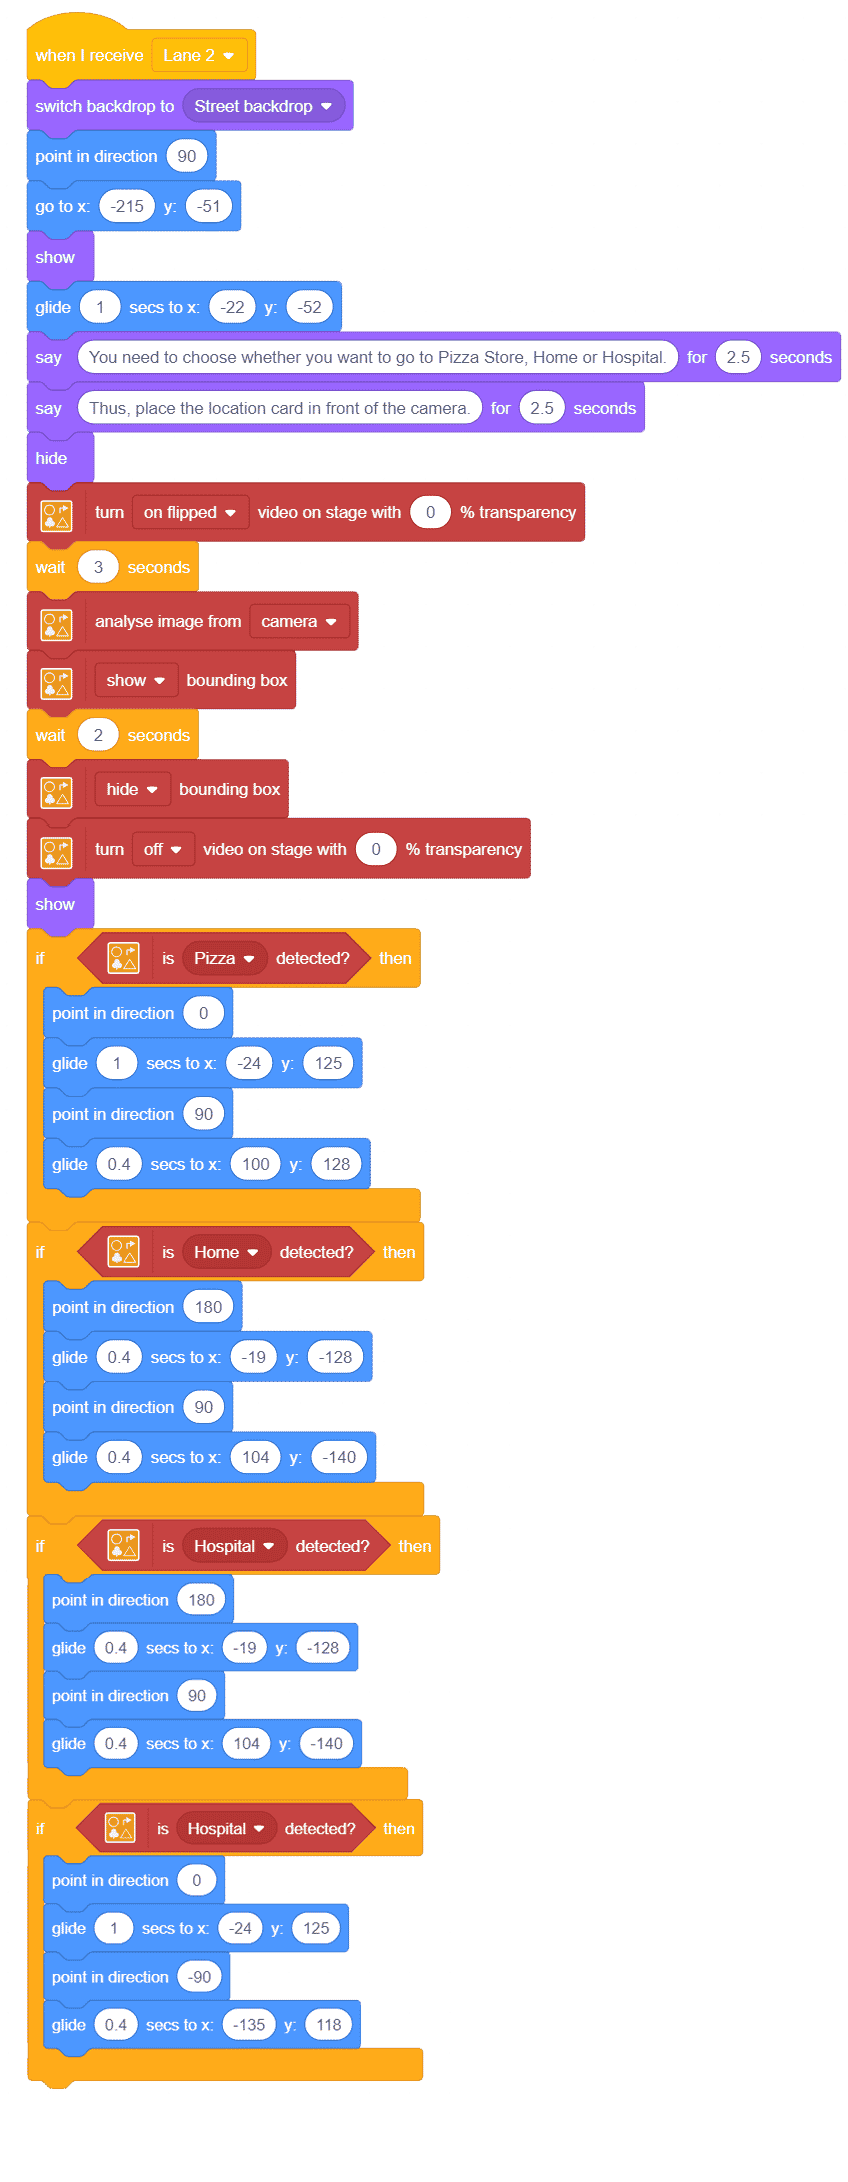
Conclusion
In conclusion, we learned how to make a self-driving car in PictoBlox, using Recognition Card Extension. We first set the stage and made John the instructor, the narrator. We then wrote the code for the car to recognize the number cards and act accordingly. We also wrote scripts for moving in both lanes, to places like Pizza store, Home, and Hospital. We learned how to use the Recognition card Extension of PictoBlox. You can also make changes to the script and make this project more complex.


![[CODEAVOUR 2021] project demonstration video 4-12 screenshot](https://ai.thestempedia.com/wp-content/uploads/elementor/thumbs/CODEAVOUR-2021-project-demonstration-video-4-12-screenshot-q7ynxvlwjfsgj74xjev4cqopqur232if4hglkl3itk.png "[CODEAVOUR 2021] project demonstration video 4-12 screenshot")


