
Introduction
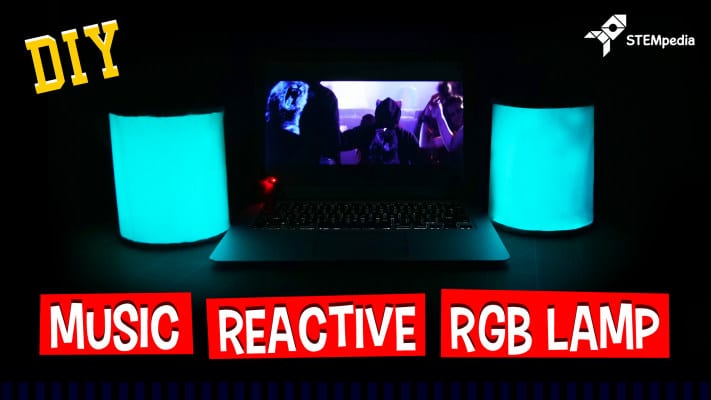
No party is complete without some mind-blowing party music and flashy lights. But nothing can beat flashy lights that dance to the beat of the music! Presenting to you the DIY music reactive RGB Lamp – programmable LED lights that light up in sync with the music that you play. All you need are RGB LED strips, evive, and some DIYing and you’ll be ready to have the coolest party ever.
Don’t want the music? Not an issue! You can use the LED lights as lamps as well!
Sounds cool? Then what are you waiting for! Let’s get started!
Making
Using the concept of sound reactive RGB Lamp, we are going to make LED lamp that will change the color and the intensity of the light according to the music.
Take the cutout of a rectangle using the cardboard sheet. Upon this, we will be mounting our RGB strips.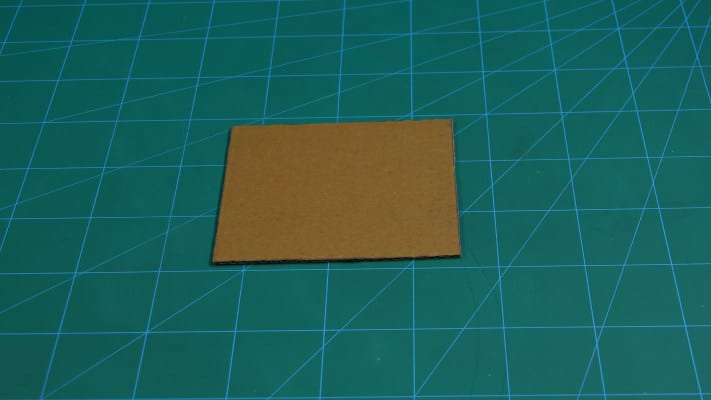
Cut a sphere of the diameter same as the width of the rectangle.
Once you have the circle or the sphere, cut it from the center so that you can get two equal semicircles.
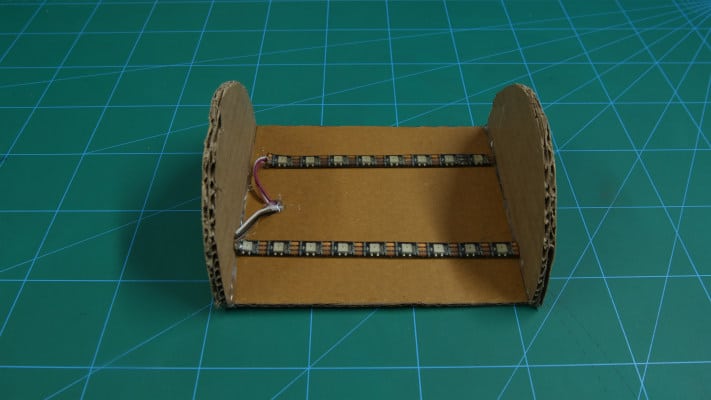
Take one of the semicircles and glue it on the top edge of the rectangle using Hot glue. Similar glue the other one to the bottom edge.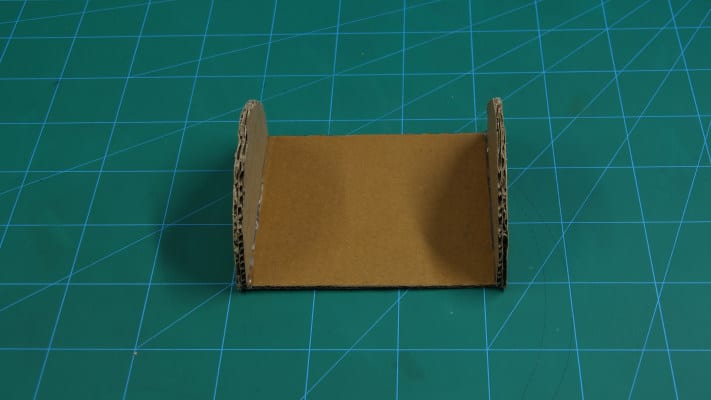
Now take two RGB Strip of the length of the rectangle. Glue it on the rectangle using hot glue and make small holes in the bottom sphere. Pass the wires through these holes.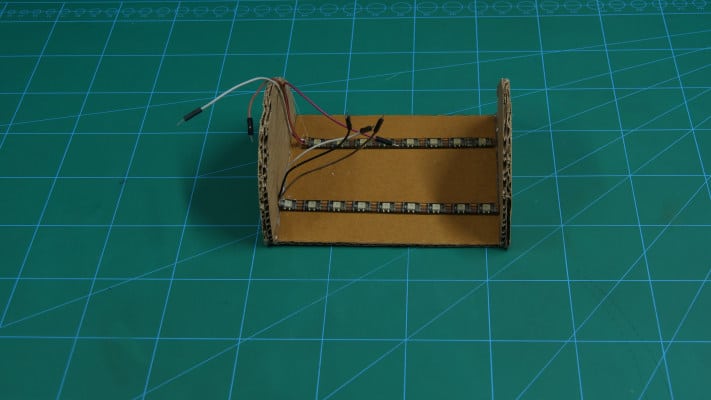
Now we need to cover the LED strips so that the light from the LED can disperse.
We are going to use butter paper for the same. Take a sheet of butter paper and fold it in half. Cut the butter paper of the length equal to the diameter of the circle.
Glue the paper upon the semicircle using hot glue.
Thus, the assembly is done.
Connection
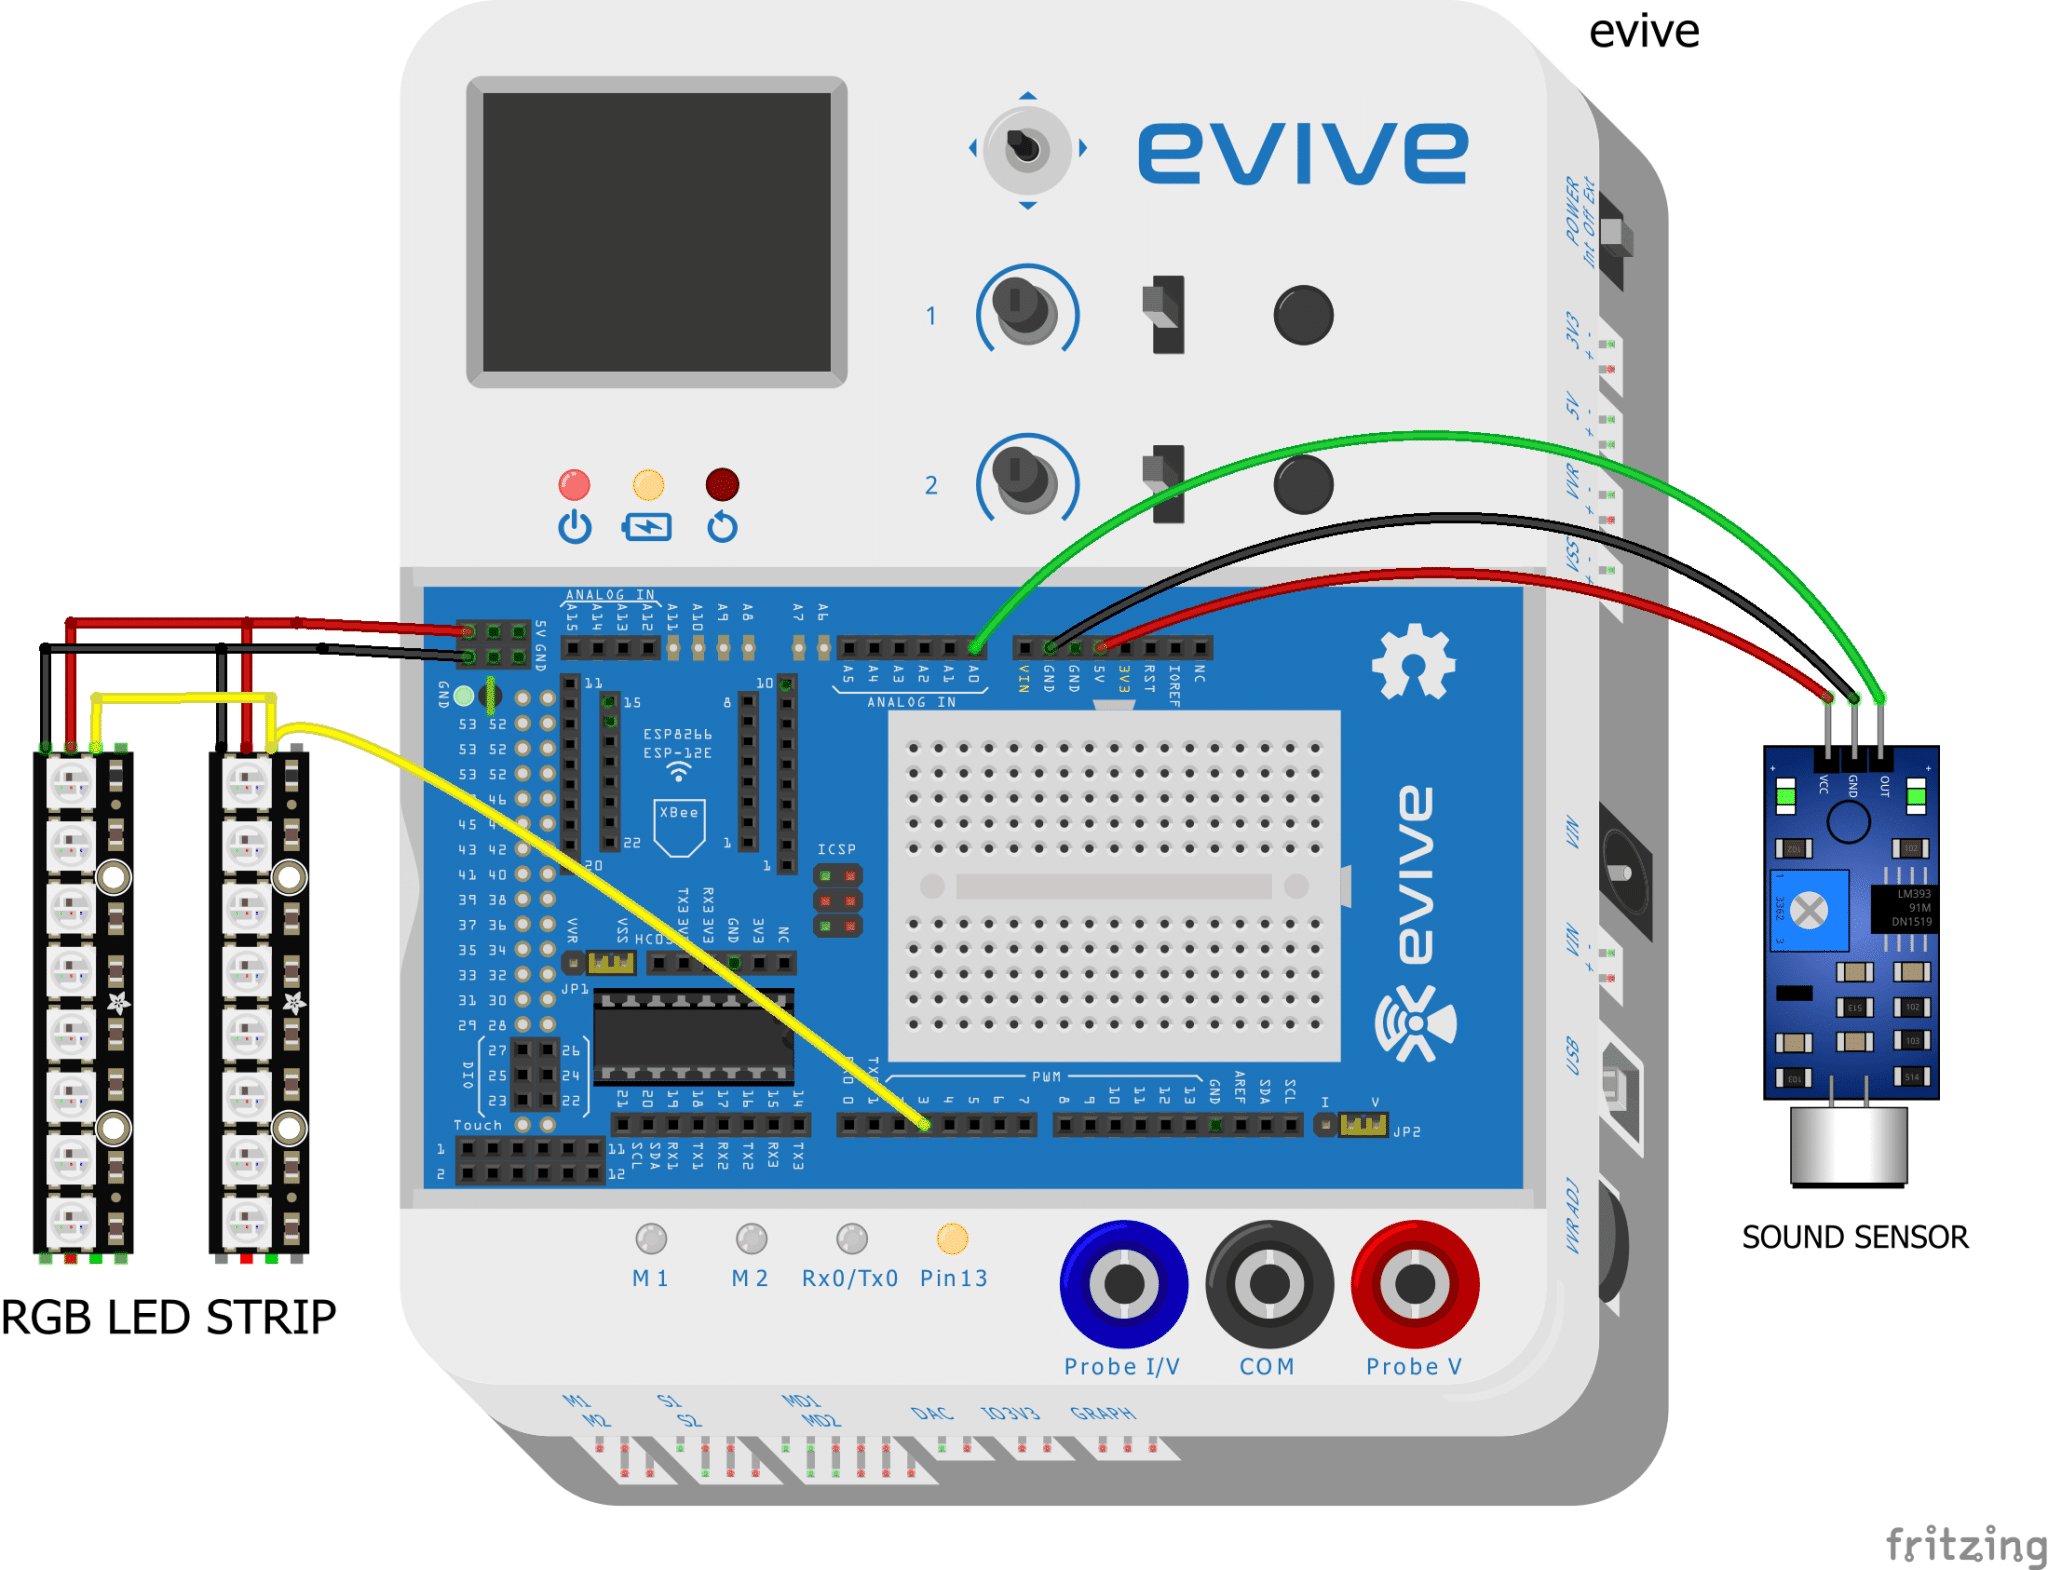
Make the connections as follows:
- Sound Sensor
- GND – GND of evive
- VCC – +5V of evive
- OUT – Analog Pin A0 of evive
- RGB Strip
- GND – GND of evive
- VCC – +5V of evive
- DIN – Digital Pin 3 of evive
Make sure to connect the RGB Strips in parallel.
Code
Upload the following Arduino Code to evive.
Logic
The sound sensor is to be kept near the speakers may be your laptop or your home theater. As soon as you play the music, via any media. The sound sensor senses the frequency of the sound and sends the data to the serial monitor. Thus, the LEDs will take the value and give out the color and the intensity of the light accordingly.
Conclusion
With this, your DIY music reactive LED lights are ready to take partying to the next level!