Introduction
Pull a Halloween Trick or Treat prank onto your friends by making this creepy Halloween doll! This project shows you how to make a creepy cum cute looking Halloween doll this Halloween as your Halloween Decor. The cute doll out will turn out to be a scary creepy doll when you approach it for the candy.
All the components required to make this creepy doll are available inside the evive Starter Kit. Also, we are going to program our scary doll using PictoBlox- our graphical programming software based on the Scratch block. You can download PictoBlox from here.
Ready for some Halloween Prank?
Let’s begin!
Taking the Cutouts:
As we are going to make pull this trick or treat prank on adults as well as kids, we’ll make our scary doll look like Frankenstein but a little less scary.
Thus, download the images we have used from here. And take their print outs.

Take the cutout of the images.
Making the Face:
- Take the scary Frankesitan face and trace its outline onto a corrugated sheet. The corrugated sheet will be used to add support to our face so that it can stand on to the body of our creepy doll.
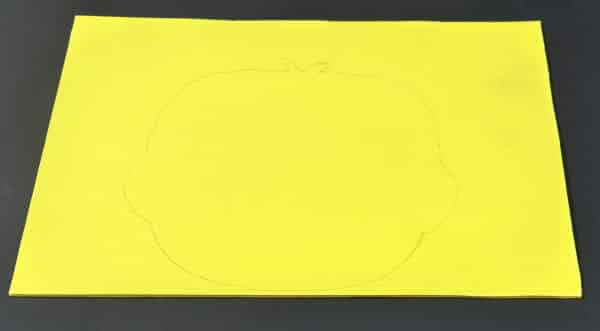
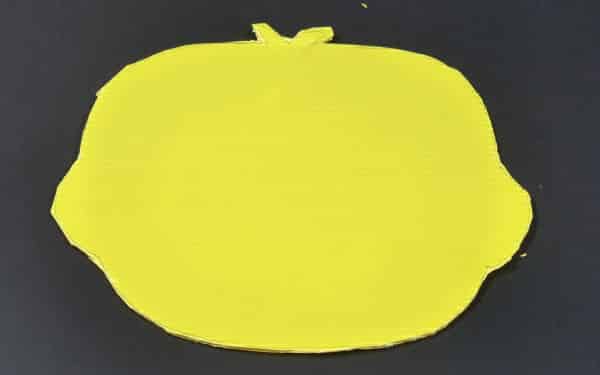
- Now cut along the outlines marked and glue the scary Frankenstein face on to the corrugated sheet using a glue stick.
Making the Doll Scarier:
- To make our Halloween trick or treat have more effect, we’ll add a little more of a spookiness. The eyes of the Frankenstein should also blink.
- Take 2 RED LEDs and fit them in each eye of the monster.
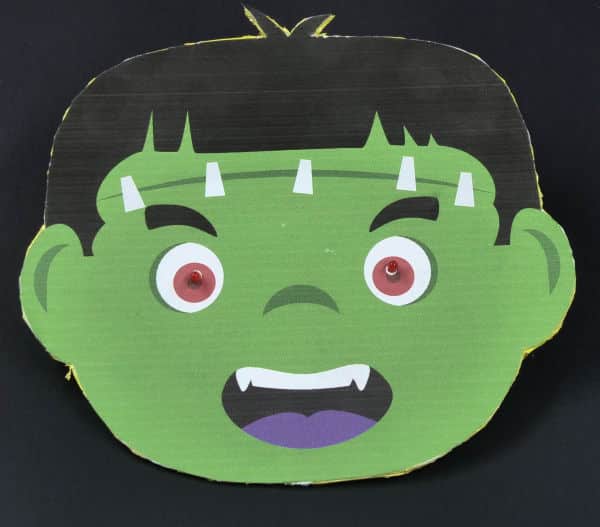
- Bend the legs of LEDs from behind.
- As we need both the eyes to blink together, let’s connect the LEDs in series.
- Connect the negative terminal of the first LED to the positive terminal of the second LED using female-to-female Jumper Cable.
- Then, connect the Male-to-Female jumper wires to the positive terminal of the first LED and the negative terminal of the second LED.
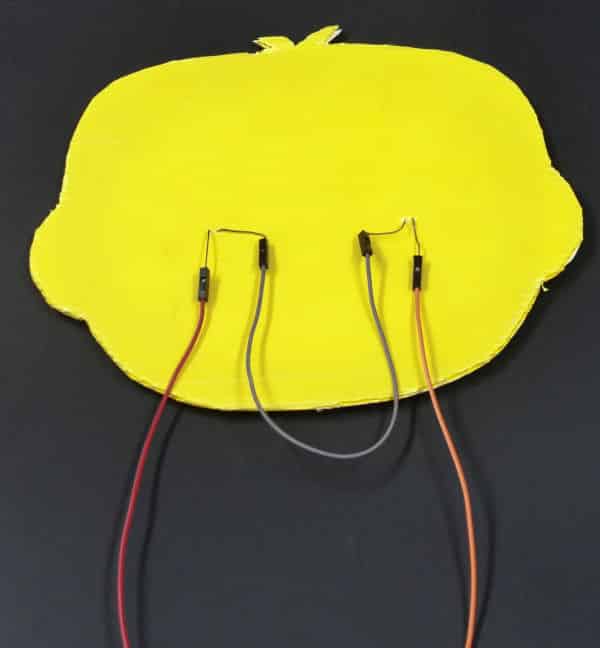
- Now fix all the cables on the back of the face using hot glue.
Completing the Face Assembly:
We would be controlling the face using a servo motor, thus, we will be using ice cream sticks to connect the servo and the face i.e. it will act as the neck of our Halloween doll.
- Attach 2 ice cream sticks at the bottom of the face using Hot Glue.
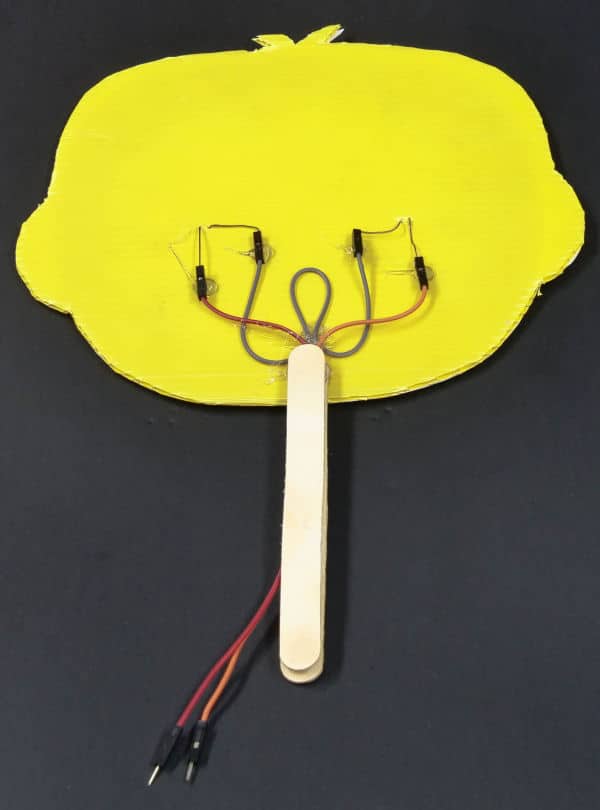
 Make sure you place your LEDs’ jumper between the ice cream sticks.
 - Now, the last step to complete the face.
- Attach the innocent face on to the back of the corrugated sheet by using some double-sided tape.
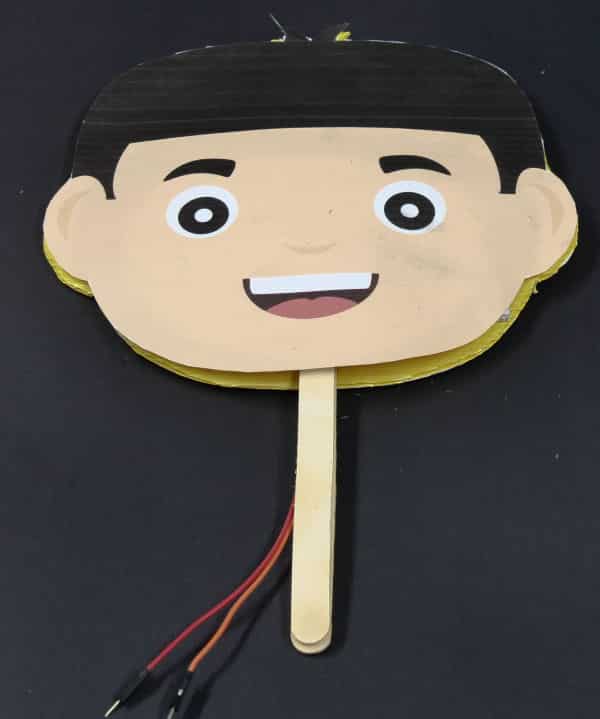
With this, the making of the face of our Halloween scary face is done.
Making the Body:
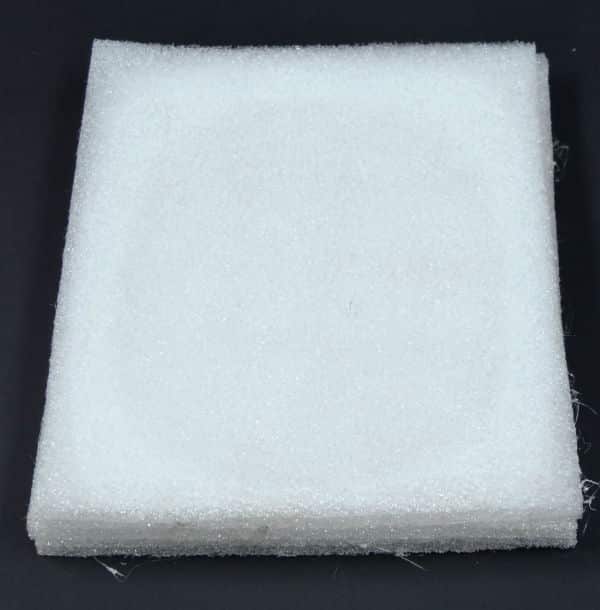
To make the body we would be using some foam sheets.

- Glue 3 foam sheets together using some hot glue.
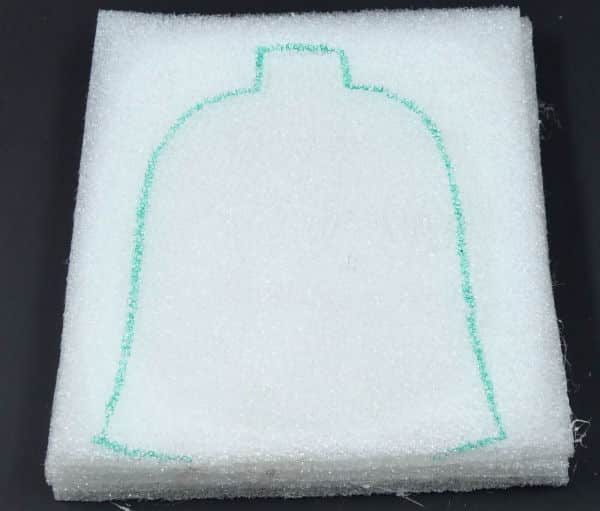
- Next, take the body cut out and mark its outline on top of foam sheets.
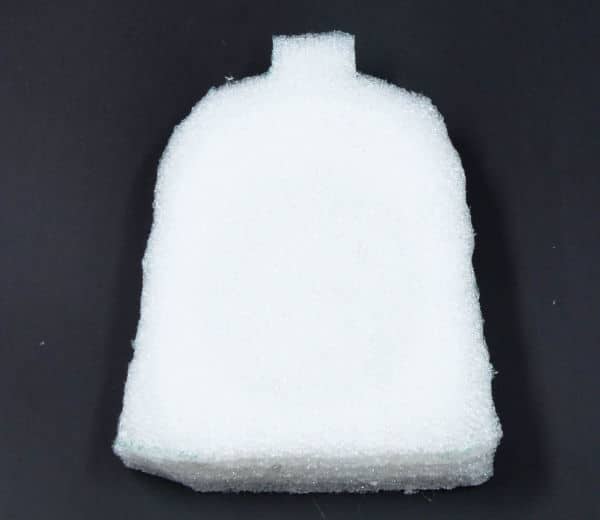
- Now cut along the markings done.
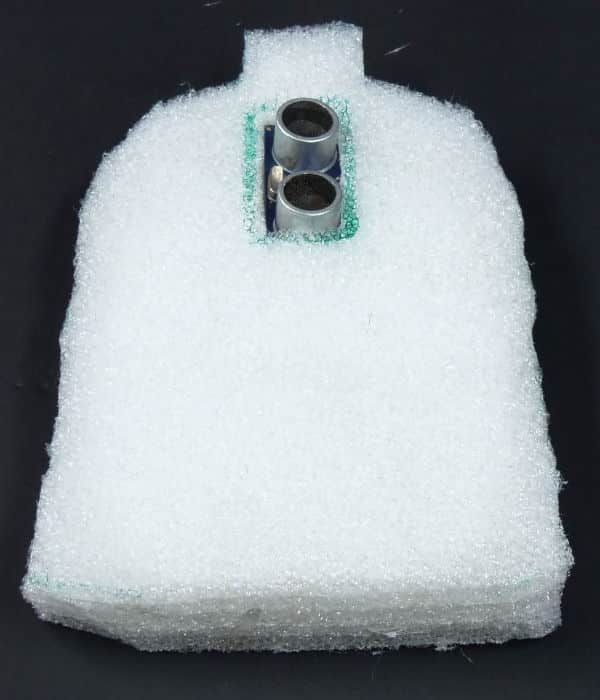
- Now, as we need our robot dol to sense our presence. We’ll be using an ultrasonic sensor for the same.
- Take an ultrasonic sensor and mark its dimension on to the foam sheet.
- Cut through the first two layers of foam sheet and make a small slit for fitting the headers of the ultrasonic sensor.
- Place the ultrasonic inside the housing that we made.
Completing the Body Assembly:
- Now mark a line 6cm from the bottom edge of the corrugated sheet. Take two M3 bolts of 25 mm length and pass it through the foam sheets on the line marked.
- Next, take a clamp and bolt it at the back of the body by the nuts inserted.
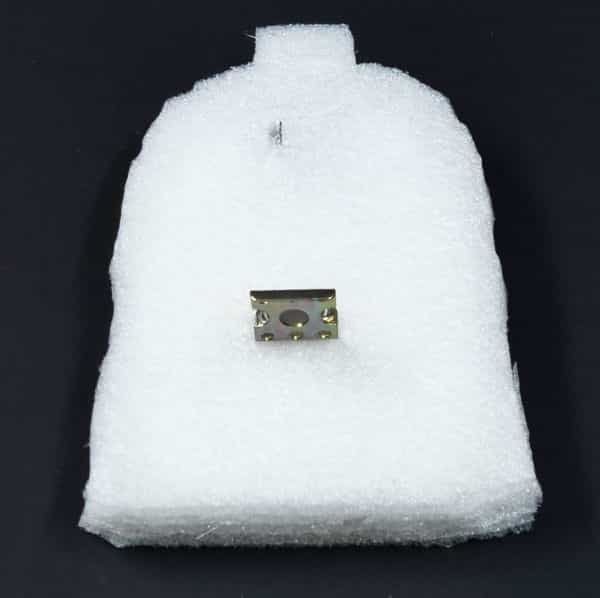
- Let’s move on to the next step, gluing the cutout on top of the body.
- But before that. make two holes on the cutout for the ultrasonic sensor into the shirt and glue it to the foam sheet.
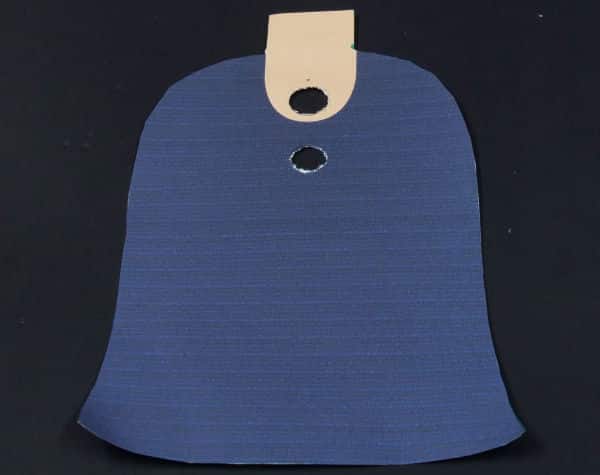
With this the assembly of the body is ready, let’s attach it to the base.
Attaching the Body to the Base:
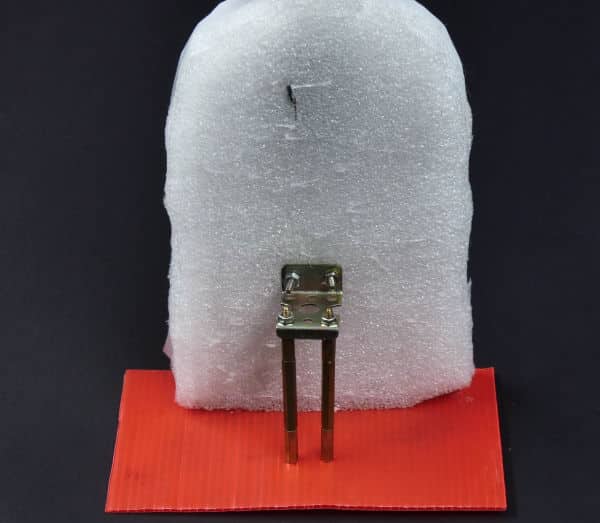
- Fix the 6cm long standoff at the back to clamp using nuts.
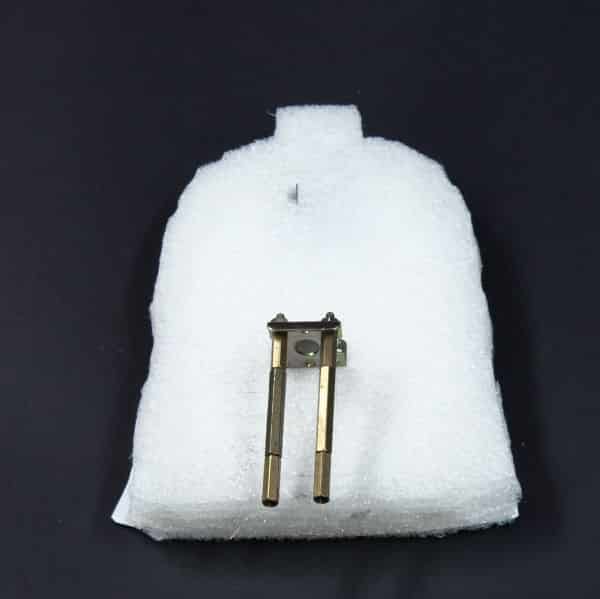
- Next, take a small piece of corrugated sheet and glue the body to it using hot glue. We would give additional support to the foam sheet using some paper pins.
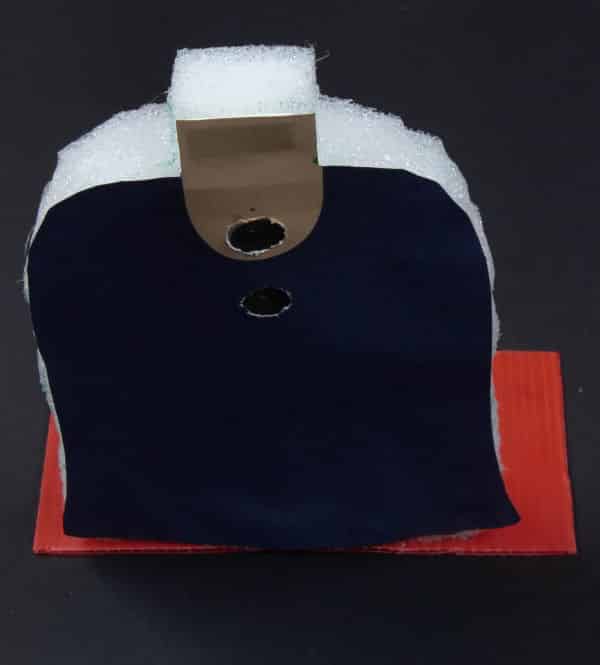
- Now mark the holes for a standoff on to the corrugated sheet and fix the standoffs to the base using M3 bolts of length 8mm.
Attaching the Head to the Body of the Creepy Doll:
Time to make the head of the our Frankenstein rotate. We would be using a servo motor to rotate the head of our doll to 180 degrees each time anyone tries to have the candies.
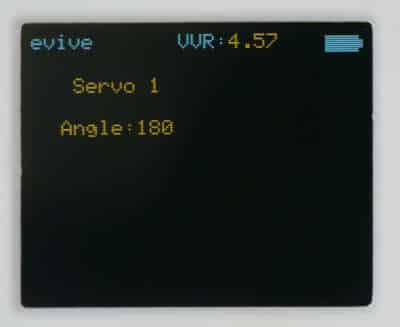
- Firstly set the servo motor to zero degrees by using the evive’s menu.
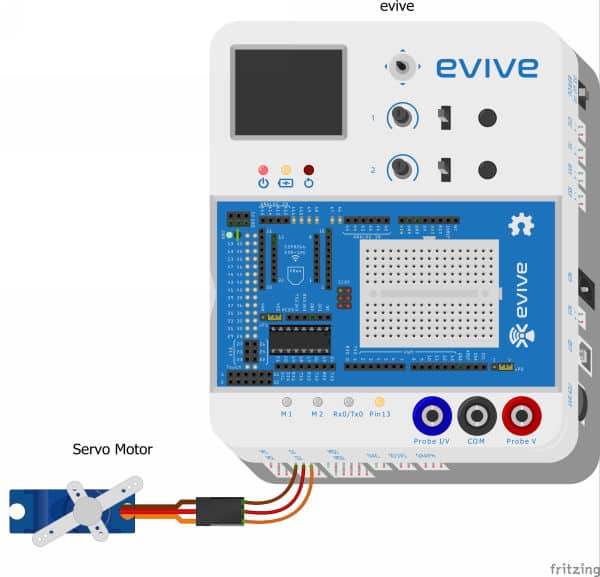
- Connect the servo motor to servo channel 1.
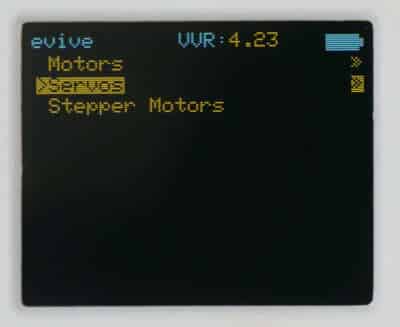
- Open menu go to controls inside controls select servo motor.
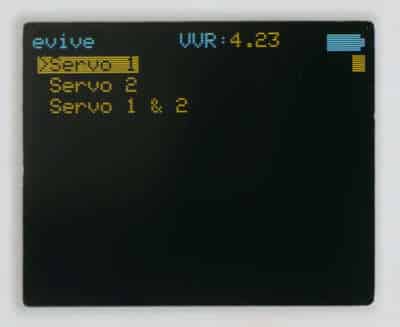
- Then, select servo channel 1.
- Using potentiometer 1 set the angle to zero degrees.
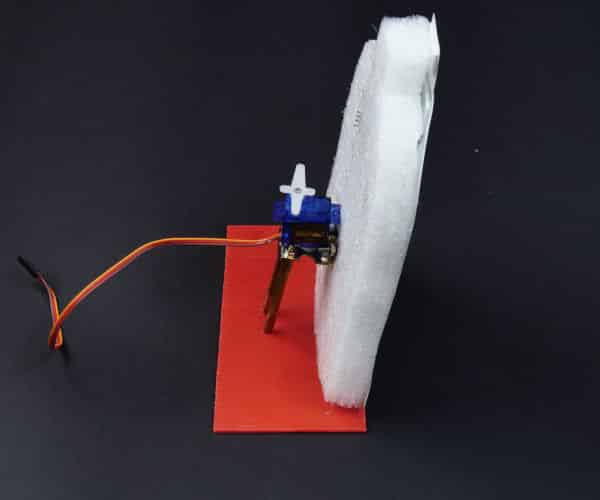
- Next, glue the servo motor on top of the motor clamp by using some hot glue and fix the plus-shaped servo horn to the servo head using a self-treading screw.
- Next, bring in the head that we made and trim the ice cream sticks such that the head and neck of the doll connect nicely when looking from the front.
- Now glue the ice cream sticks to the servo horn.
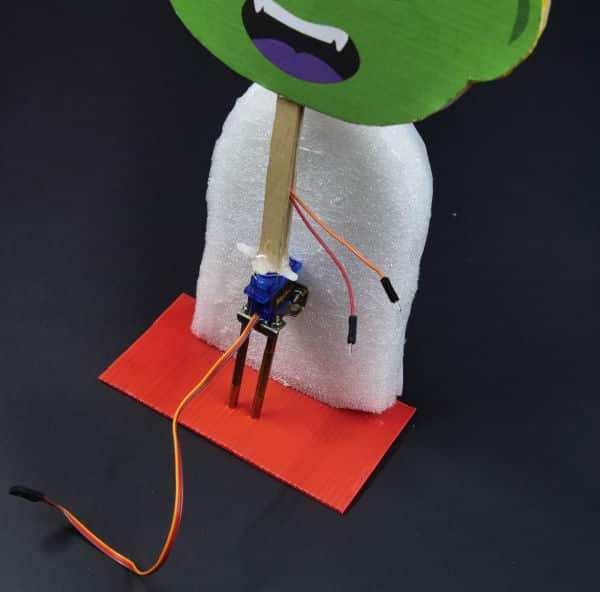
 Make sure the innocent face, faces forward.
With this our Scary doll is almost ready, all we need to add are the hands the cup to hold the candies.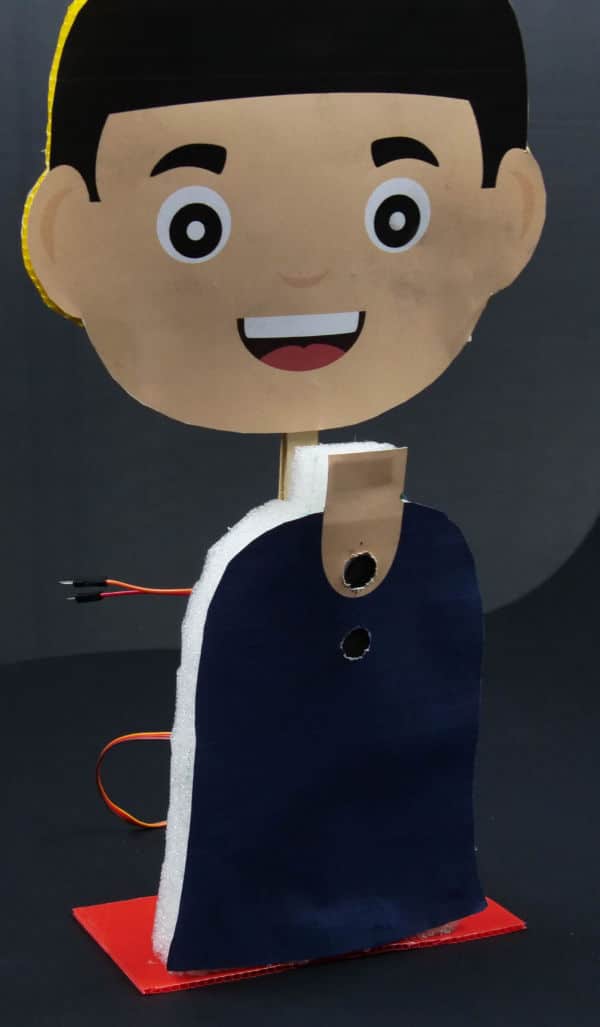
Making the Hands:
To make it look more real we would be making hands for the Halloween doll.
- Take a piece of cloth and fill it with some cotton.
- Next, stick the ends of cloth using some hot glue.
- Now fold it in half and cut along the middle.

- Next, stick the hands to the body.
- For holding candies we would use a disposable cup.
- Take a cup and attach it to the hands by some hot glue.
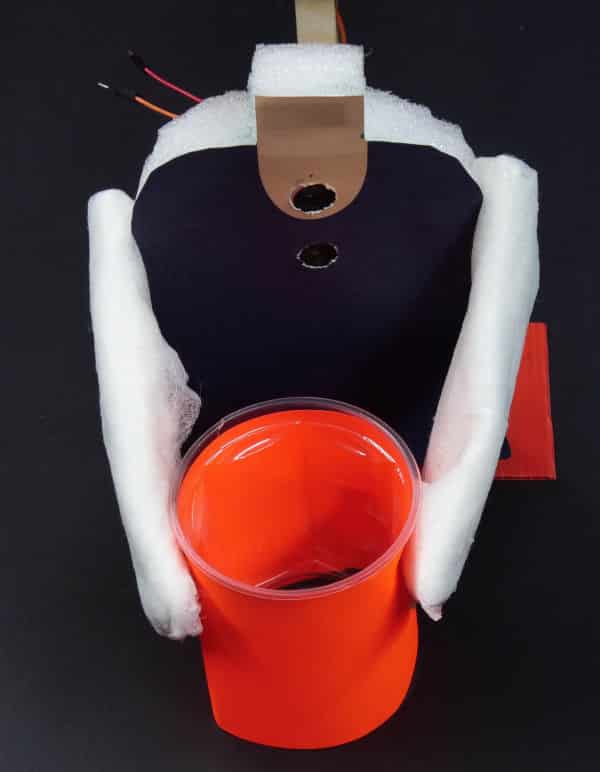
With this the making for our Creepy Halloween Doll is done, all we need to do is make the connections and write the code.
Making the Connections for our Creepy Halloween Doll:
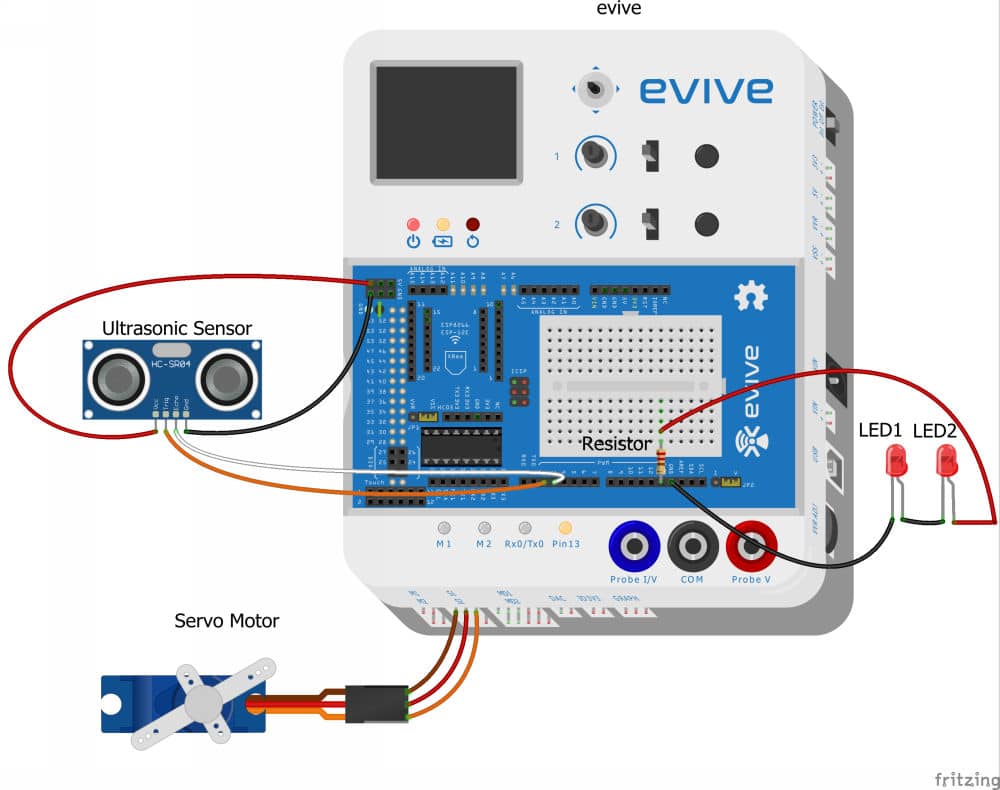
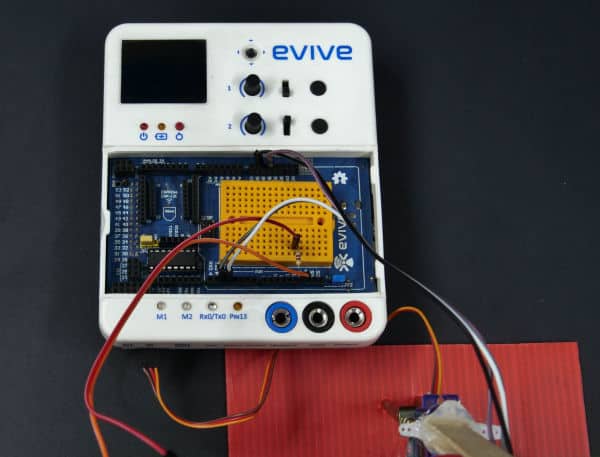
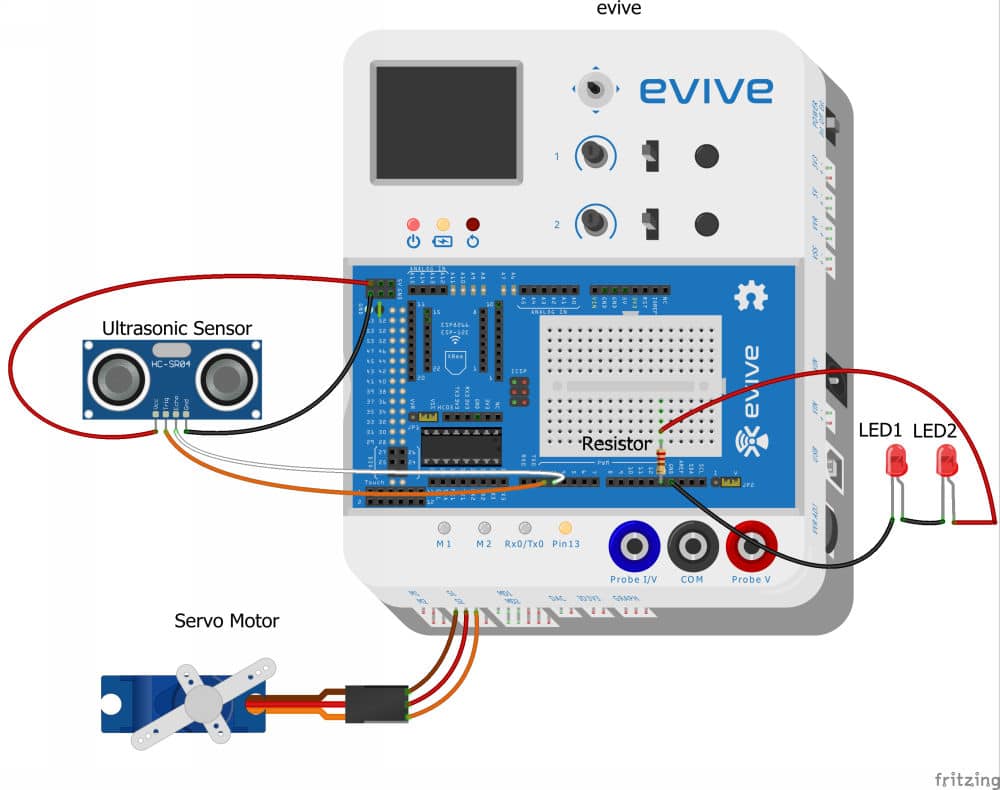
Make the connections as given:
Ultrasonic Sensor
- Connect VCC to evive’s +5v
- Connect trig to evive’s digital pin 2
- Connect echo to evive’s digital pin 3
- Connect GND to evive’s GND
LEDs
- Connect the LEDs in series
- Connect one leg of the resistor to evive’s pin 13 and the other to the breadboard
- Connect the positive of the LEDs to the breadboard.
- Connect the negative terminal to GND.
Servo Motor
Writing the Program to play the Prank:
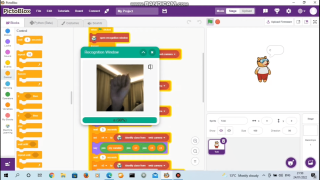
To make the programming of the code even simpler, we will write the code in PictoBlox.
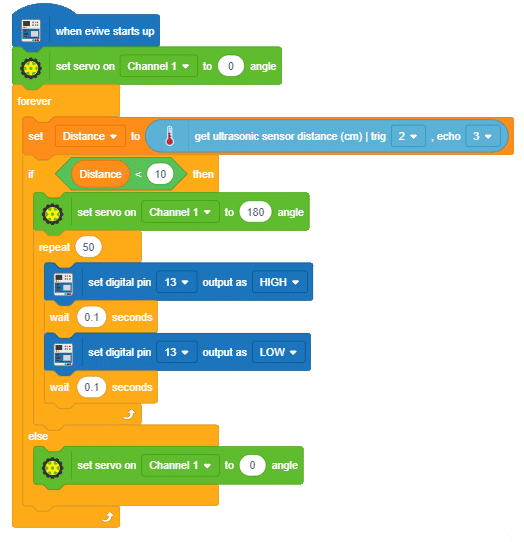
- The program starts executing as soon as evive starts up.
- By default the innocent face will be facing us, thus set the default angle to 0 degrees.
- Now, if the distance measured by the ultrasonic sensor whose trigger and echo pin are connected to Pin 2 and 3 of evive is less than 10.
- Then the servo should turn 180 degrees and the scary face should be facing us.
- We will blink the LEDs 50 times with a small delay time.
- Then for by default, it should set the servo back to normal.
Conclusion:
With this, your creepy Halloween doll is ready to scare the people away!
Happy Halloween!


