
Introduction
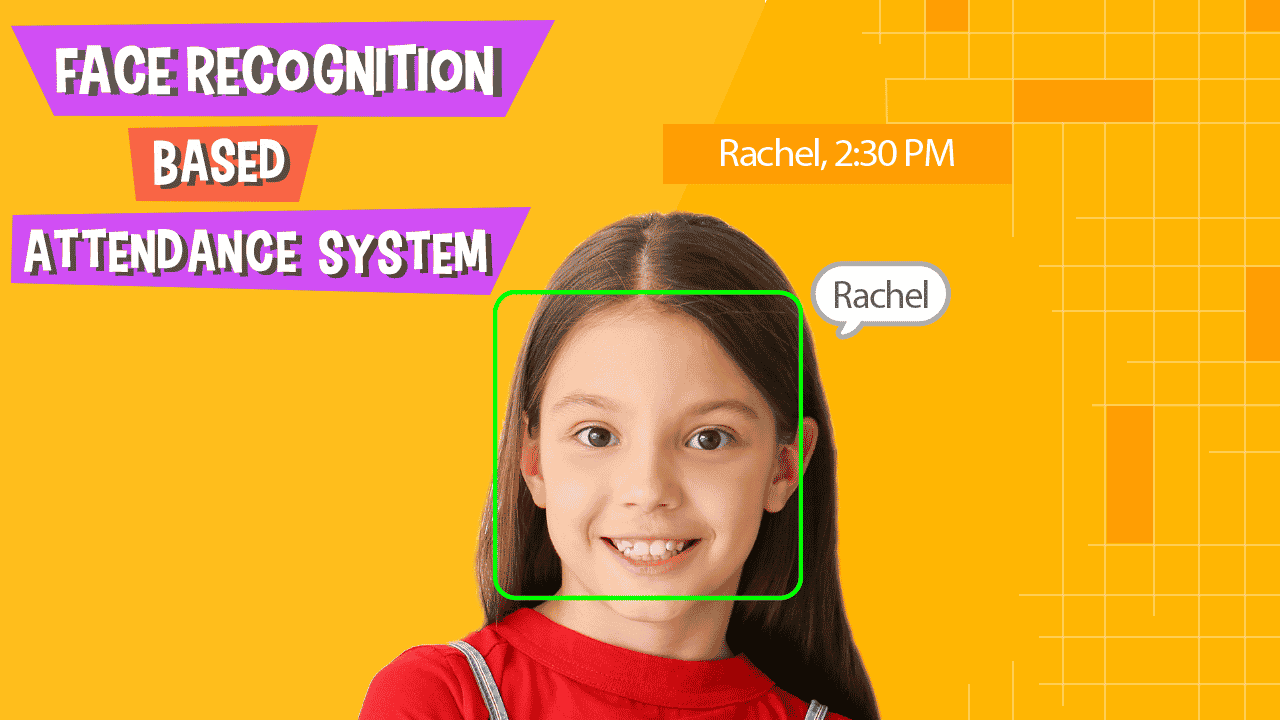
Because of the current pandemic, everything is becoming contactless – from lift buttons to doors to sanitizer dispensers. So, why should the fingerprint-based attendance systems, widely used in offices and schools, be left behind? In this video, we’re going to show you how to make a contact-free face recognition-based attendance system using PictoBlox AI.
Our system will first take a sample image of the person whose attendance needs to be tracked. The next time when the system scans the person’s face, it will match the image with the sample image stored and will note down the time stamp for that person.
Let’s begin.
Prerequisites for the Attendance System based on Face Recognition
To make this project all you need is:
- A laptop or a computer
- Camera/Webcam
- The latest version of PictoBlox (Download the latest version from here)
- A good Internet connection.
Setting Up the Project
Let’s begin by adding the Face Detection extension.
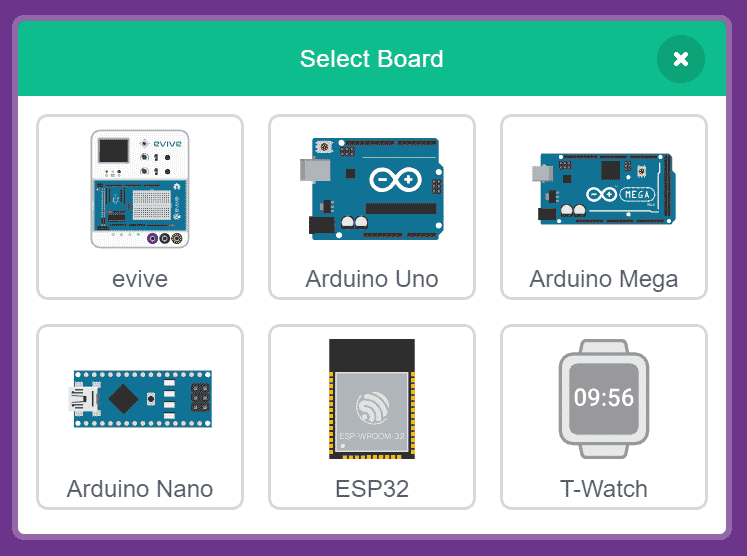
- Open PictoBlox.
- Click on Board and select evive.
- Next, click on the Add extension button.
- And choose Face Detection extension.
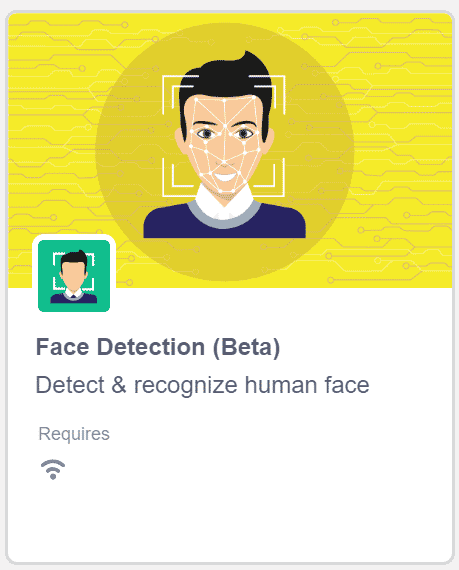
- You need to keep two things in mind while working with this extension:
- That your computer is connected to the internet.
- You need login to your PictoBlox account to use it.
- Wait for a little till the models get loaded.
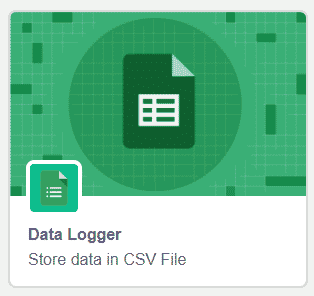
Now to log the timestamp of attendance and name of the attendees, we need to add the Data Logger extension.
- Click on the choose the Add extension button again.
- Choose the Data Logger Extension. This extension lets you generate a CSV file according to your requirement and store data in it.
Setting Up the Stage.
We will first need the sample images of whose attendance we need to track. Follow the steps to know-how.
- Click on Choose a Sprite button
- Select Upload Backdrop, to upload the images.
- Right now, we will be using a sample image of Robert Downey Jr. and Chris Evans separately as sample images. And one image of them together to test them.
Storing the Images of the Attendees into the Memory
Let’s first recognize the sample image and store them in the computer’s memory.
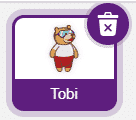
- Click on Choose a Sprite button.
- Select Square box Sprite from the library.
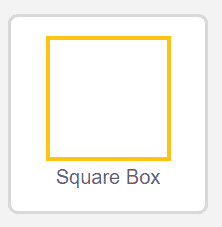
- We don’t need Tobi’s Sprite, thus right-click on it and select Delete from the menu.
Now, let’s begin to write the script.
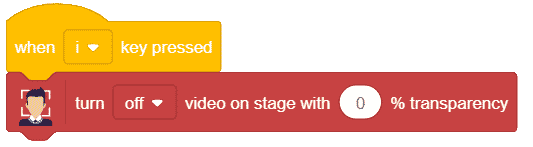
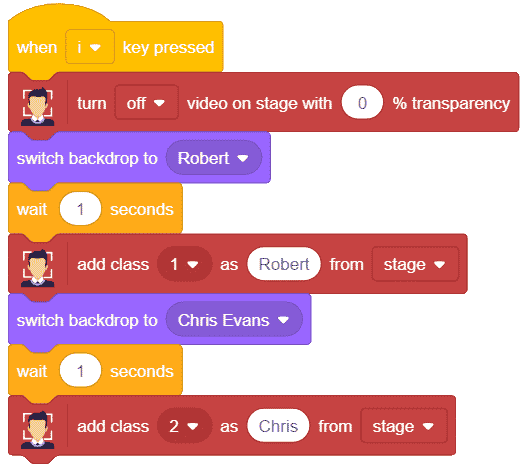
- As soon as we press any on the keyboard the data should be stored on the computer’s memory.
- Thus, from the Events palette drag and drop when space () key pressed block and I from the drop-down (You can choose the key of your choice).
- To analyze the images from the backdrop, we need the camera to be off. Thus, from the Face Detection palette, place a turn on video on stage with 0% transparency block, and choose off from the drop-down.
- Next, we will store the images of Robert Downey Jr. and Chris Evans into memory.
- Thus, from the Looks palette place a switch backdrop to block and select Robert Downey Jr from the drop-down.
- Next, add a wait of the 1-second front the Controls palette.
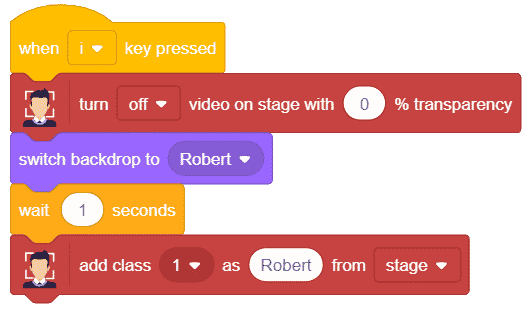
- Now, to store Robert’s face, from the Face detection palette, place adds class 1 as () from () block. Select 1 from the first drop-down and stage from the second.
- To identify the image/backdrop as Robert Downey Jr., write Robert Downey Jr into the space given.
- Similarly to store Chris Evan’s face into the memory. Repeat the steps from 5 to 8 and make the necessary changes.
Completing the Face Recognition based Attendance System
Now, let’s move on to the main script to recognize the image and store the entry along with the timestamp in real-time.
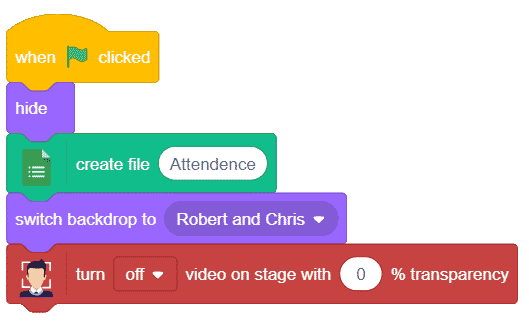
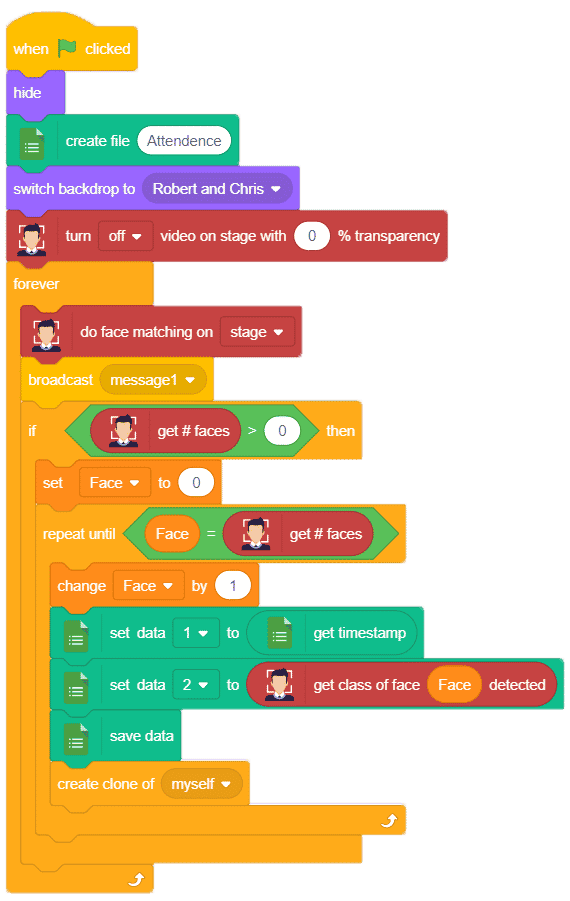
- We need to execute the program, whenever the green flag is clicked, thus, from the events palette, drag and drop when flag clicked hat block.
- Initially, we will hide the square box, thus from the Looks palette, drag and drop the hide blocks.

- Now we will create a new file to store the attendance data. From the data logger palette, choose a create file () block we will give it a name ‘attendance’.

- Next, we will change our backdrop to a photo where we have both Robert and Chris together.
- Thus, from the Looks palette, use the switch the backdrop to block and select Robert and Chris from the drop-down.
- And as we want to verify the image on the stage we will make sure that the camera is off, thus add the turn off video on stage with ()% transparency block.
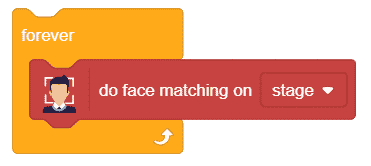
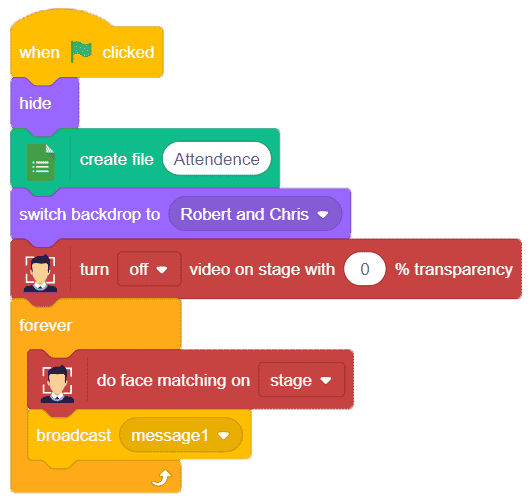
- Now as to continuously analyze the image, add a forever block from the Controls palette.
- We need to match the faces on the stage with the ones we have uploaded too. Thus, drag and drop the do face matching on stage block.
- As we will recognizing multiple faces on the stage, multiple clones of the square box sprite are created. Thus, we will broadcast a message to delete the clone of the square box. Place a broadcast () block from the events palette.
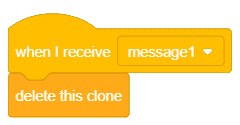
- We will make a separate script to delete the clone while it will run parallel. Thus, drag and drop when I receive () hat block from events palette.
- And place delete this clone block from the control palette to delete the clone of the square boxes.
- Now, we need to come back to the original script.
- We need to store the data of the recognized persons.
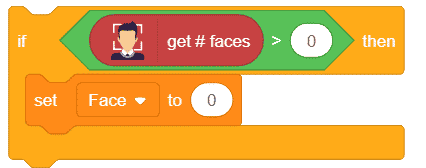
- Thus, get an if block and check if the recognized faces are more than 0.
- Place a greater than operator block into the if condition. To check the number of faces, use the get # faces block from the face detection palette and place it into the first input of the greater-than operator. Write 0 in the second.
- Next, we need to make a variable.
- Click on Variable palette and then click on Make a Variable, name it as Face.
- Set the variable face to 0, inside the if block.
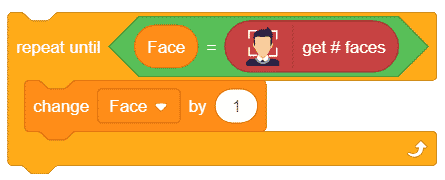
- Now we need to repeat the process of data logging for all the found faces, thus, place a repeat until () block, and add an () = () operator from the operator palette. Place the reporter block of Face variable in the first input. And get # of faces from the face detection into the second input.
- Now we will increment the variable face by 1 each time the repeat block is executed. Thus, add a change () by () block.
It’s time to store the data into the CSV file
- To store the data we will add blocks from the data logger extension.
- To store the timestamp, place a set the data 1 to () block and place the get current timestamp reporter block. The get current timestamp block contains all the date and time-related information.
- Now in the second data, we will store the class of recognized face which contains the name of a person whose face is recognized.
- Now that data has been loaded, but to permanently save the data onto the file we need to use the save data block.
- Place a create clone of () block and choose myself from the drop-down to recognize multiple people from the stage.

The final script will look like this.
Completing the Script
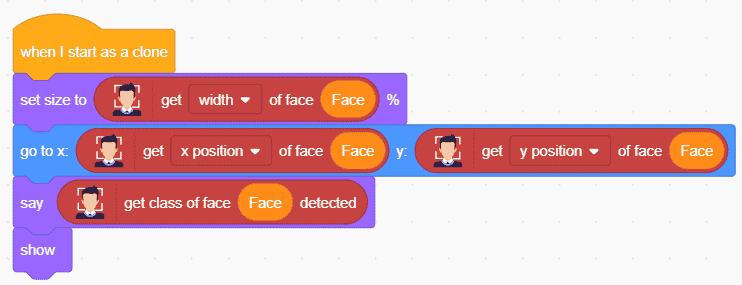
Finally, we will make the square box sprite to perfectly fit around the person’s face. Thus, let’s set its size and location accordingly.
- First, set the size of the square box by using the set size to () % block from Looks palette.
- Place get x-position of face reporter block inside it. And choose width from the drop-down. Add the Face Reporter into the space given.
- Next to move our Square box to the location of the object, thus add go to x() y() block from Motion palette. Next, insert two () of face () block and choose x position and y position from the respective blocks to obtain the X value and Y value of the face respectively.
- Finally, to display the class of recognized face which is the name of the person, get the say () for () seconds block from the Looks palette and make it say the class of the detected Face.
- Now that everything is perfectly aligned, place a show block.
Click on the green flag to run the script. You can find the CSV file into the logger folder of PictoBlox.
Conclusion
You can try making this project with your friends and can use the webcam to analyze your faces too.
With this, you can make face recognition based on the attendance system.


 1-18 screenshot")


