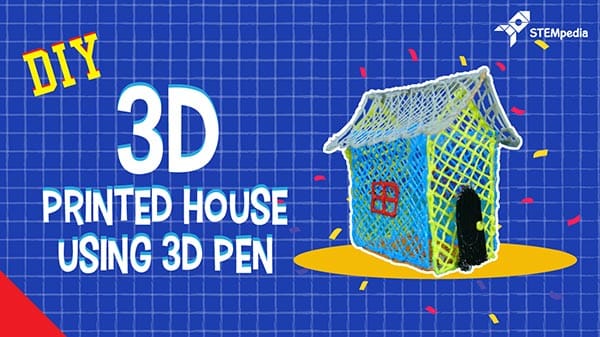

Introduction
Harry Potter has a wand, Doctor Strange has the Cloak of Levitation, and Thor has the Storm Breaker. You may not have any of these, but you sure can have a 3D Doodler, a magical 3D printing pen that can give a 3D form to your imaginations!
And this is what this project is all about. You’ll learn how a 3D printing pen works and print a 3D house of your own using it!
Get ready for some 3D printing fun as we begin in 3…2…1…Go!
What is a 3D pen?
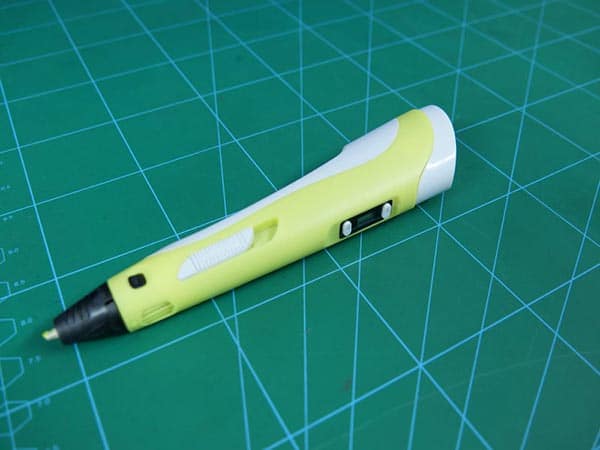
A 3D Doodler or 3D Printing Pen is the handheld 3D Printer. Unlike the heavy 3D printer it is similar to the normal pen which we use unlike a little more features added to it. It helps you draw whatever you wish to create. The greatest advantage of 3D Pen is that to create a 3D object no software to design is needed, and no gcode is required. All you can do is make a design with a pencil on paper and follow the lines. Here, your hand is the one to guide it.
Know your Pen?
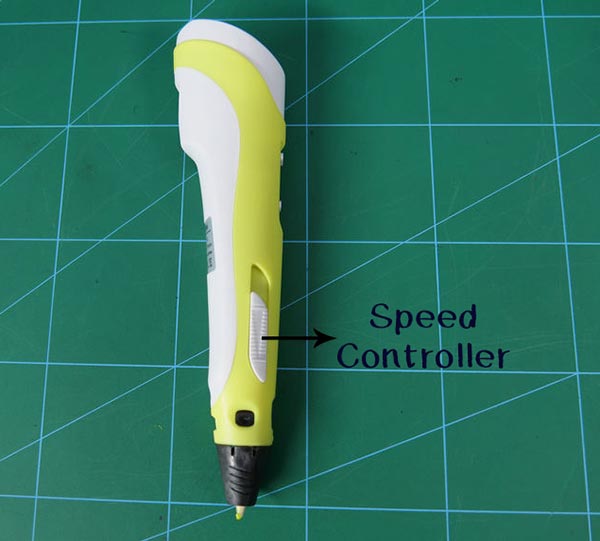
The pen looks pretty simple. But comes with a lot of features. All the buttons on the pen hold importance.
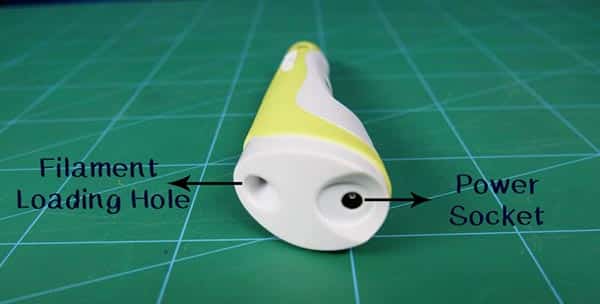
- Power Socket: By connecting the Adapter given in the kit, at this point will supply the power to your pen. Thus, the pen is ‘ON’ now. Cutting off the power will make your pen stop.
- Filament Loading hole: From this point, you can load and unload the filament in the pen.
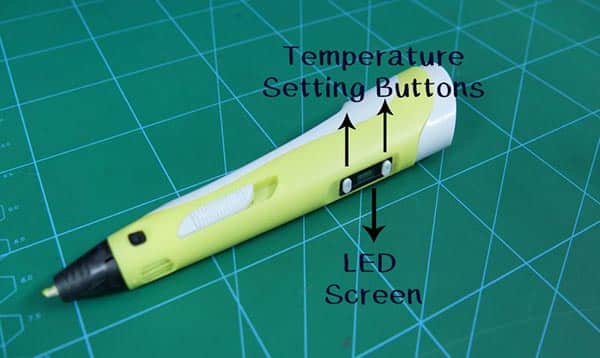
- LED Screen: Here, you can manually choose between the filament you are using. As this pen supports two types i .e PLA and ABS. you can switch between them using this. Also, it displays the temperature. For different filaments, different temperatures are being used. It has indicator led which turns ‘ON’ when the pen is ready to use.
- Temperature Setting Buttons: This helps to increase and decrease the temperature accordingly.
- Speed Controller: This lets you control at what speed you want the filament comes out of the nozzle. Sliding it UP will increase the speed and vice-versa.
- Loading and Unloading Filament Button: With their help, one can load or unload the filament in the pen as per required.

- Nozzle: This is the place from where the filament comes out.
Loading the filament
It is a simple process.
- Connect the Power Adapter with the pen at the socket.
- The screen will allow you to choose between the filament type. Once you choose the filament type, the screen will show the temperature.
- Press the loading filament button and according to the filament type, the temperature will gradually start increasing.
- Once the temperature is set, the small green indicator light will turn ‘ON’, indicating that the pen is ready for loading the filament.
- Insert the filament from the filament loading hole and then press the filament loading button once. Thus now the pen will start loading the filament. Once the filament comes out from the nozzle, you can start drawing or if you want to stop press the same button.

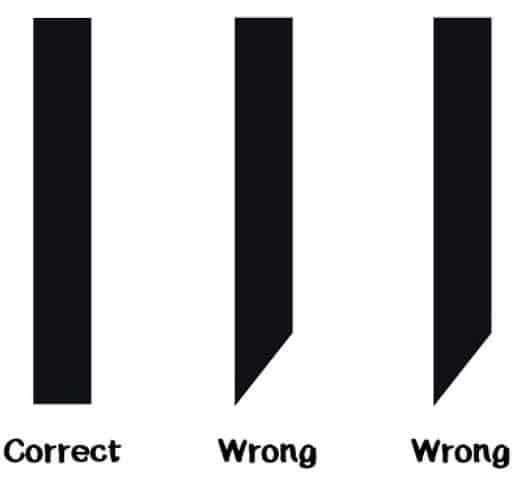
Filament Cut
Make sure that the filament head should be in the correct position.
Unloading the Filament
The steps are similar to that of loading the filament.
- Give the power supply to the 3D pen.
- Then press the filament loading button.
- Once the temperature is set and the green light turns ON, press the Filament Unloading Button or the Extrude Button.
Now the filament will start coming out of the pen automatically.
Making of the Structure
We have made a 3D design but using many 2D designs. 2D designs which you can touch and use wherever you want such as decor, apparel, objects, etc.
You can choose any design you want or maybe take a printout of the 2D design which will gradually make your 3D object. Many stencils to draw on are available on the internet. Or can also make your own design on paper.
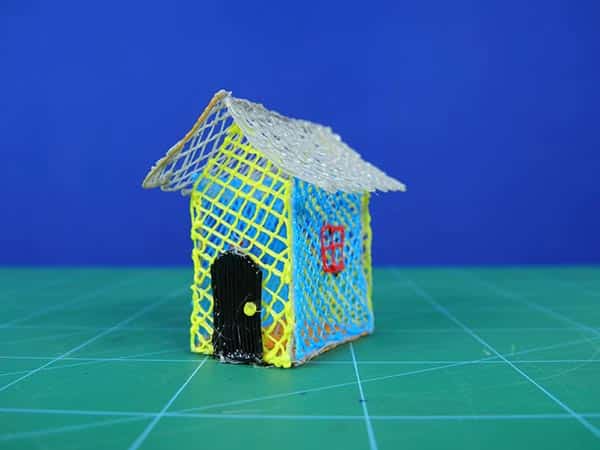
Today, we will be making a house whole layout we have made on paper.
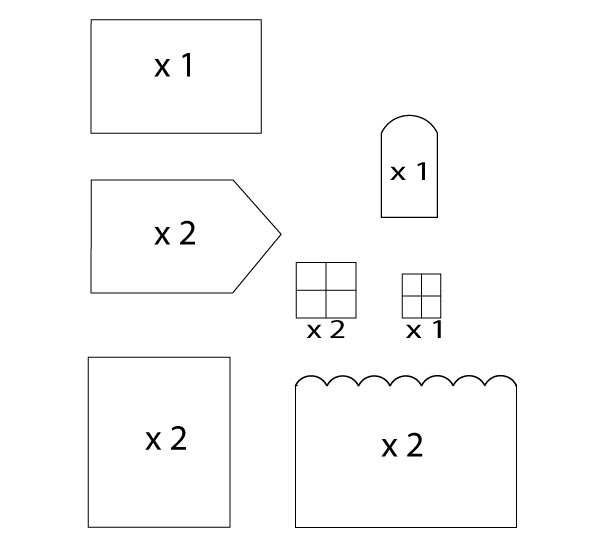
Making of each part of House
We are going to trace the outer line of each component. This will give you a hollow component. To make the object strong, we are going to make infills in the component. You can fill it in the way you want.
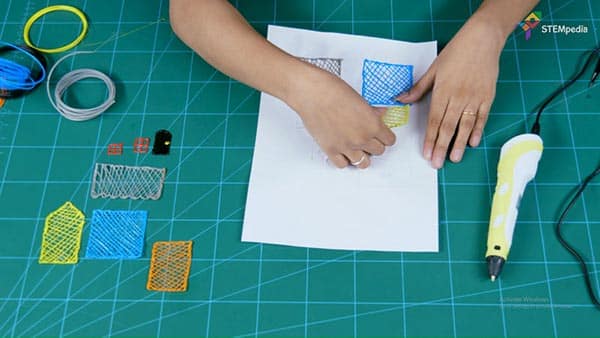
Once all the components are done, take out the 2D piece from the paper.
Final Assembly
Once you have all the components detached from the paper. We have to join them using the same 3D pen.
Thus, our final assembly is complete.
You can even try to make a freehand 3D object directly.
Conclusion
With this, your 3D printed house is ready! Go ahead and have fun giving form to many more such creations using the amazing 3D Doodler!
![[CODEAVOUR 2021] project demonstration video 4-12 screenshot](https://ai.thestempedia.com/wp-content/uploads/elementor/thumbs/CODEAVOUR-2021-project-demonstration-video-4-12-screenshot-q7ynxvlwjfsgj74xjev4cqopqur232if4hglkl3itk.png "[CODEAVOUR 2021] project demonstration video 4-12 screenshot")


