
Introduction
Remember the time when we used to give our toys special names as if they were our best friends? It’s time to relive those memories but with a small AI twist!
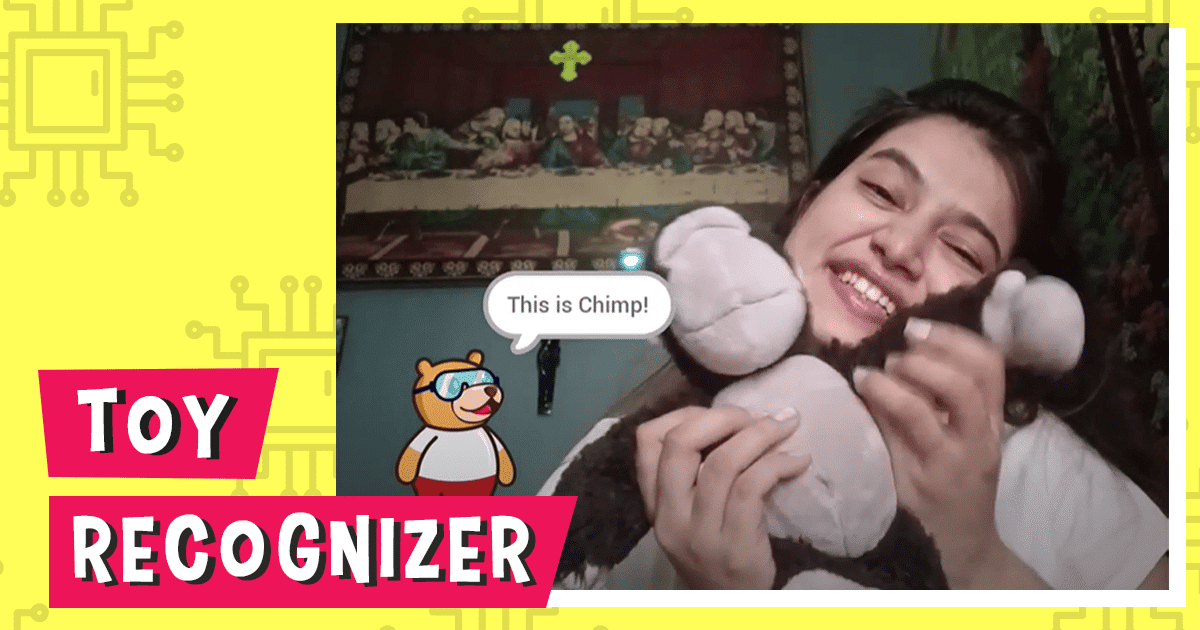
In this project, using PictoBlox’s Machine Learning extension, we will train our computer to first memorize the names of our soft toys and then recognize them and say their names out loud when we bring it in front of the camera.
Ready for some machine learning fun? Let’s get started!
Prerequisites to make the Soft Toy or Simply Toy Recognizer
You’ll need the following things to make the toy recognizer:
- A laptop or a computer with a camera
- The latest version of PictoBlox
- A good Internet connection.
Training the models
To work with Machine Learning we first need to train our models to recognize the toys from the stage i.e. our camera feed.
- Visit https://teachablemachine.withgoogle.com/ to train the models.
- Click the Get Started button. A new page will open.
- Select the Image Project tile as we will be training the model with images of our hand-gestures.
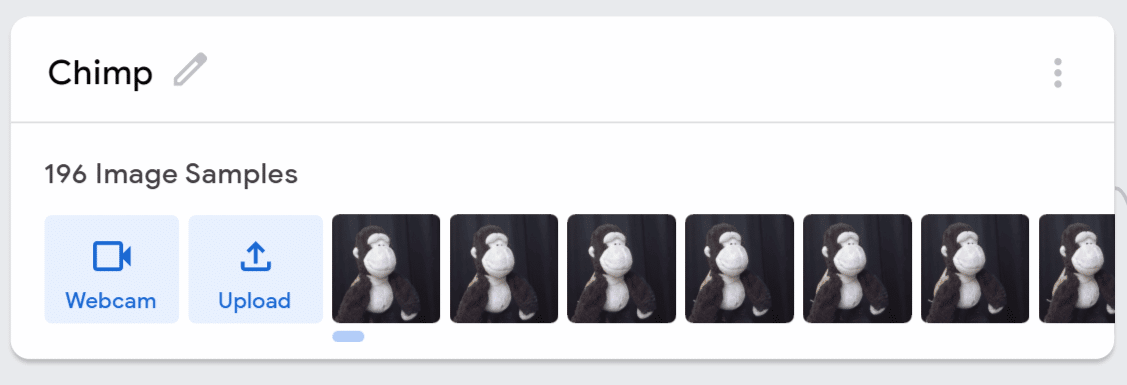
- Let’s add the first class. You store your sample images into the classes either by using a webcam or by uploading it. In this case, we will be adding our sample images using the Webcam, thus click on the Webcam button to start the camera.
- We’ll first make the class for the robot to move forward, thus, keep our palm open and click on Hold to Record to record the images.
- We will make classes for each of our toys.
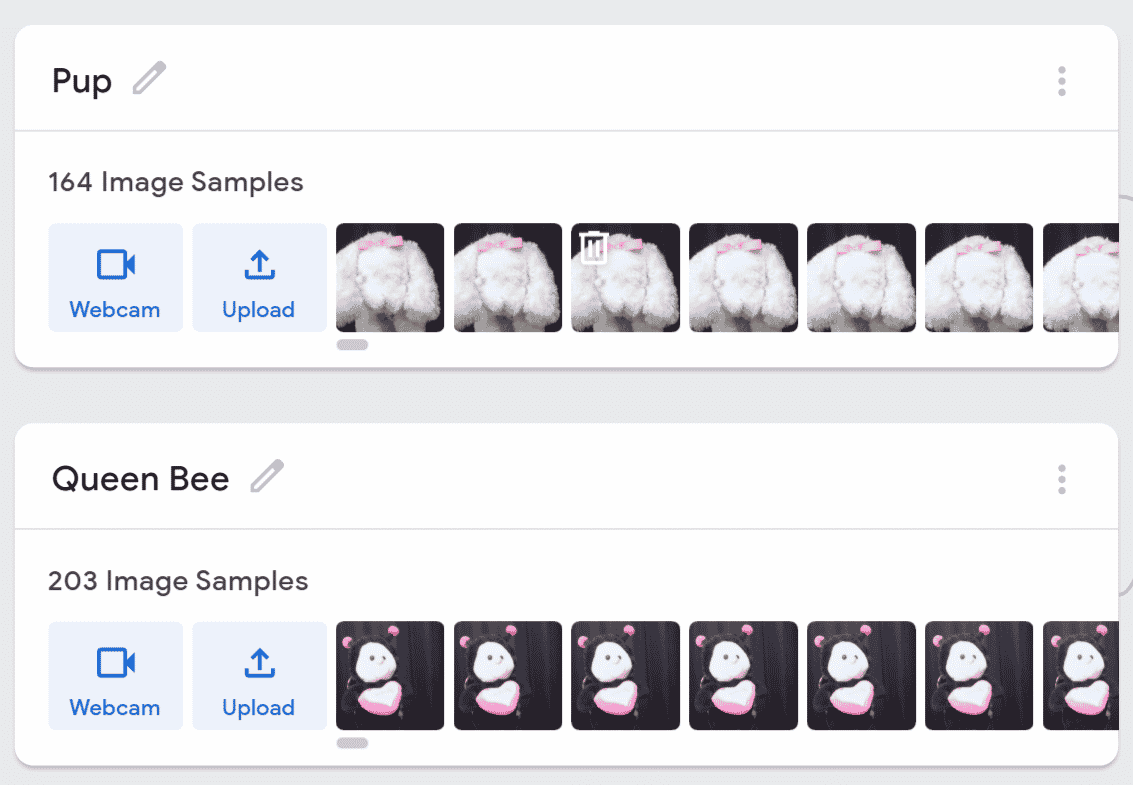
 Note: You can make as many classes as you want.
With this, you’ve entered the sample image to train the data. We’ll now train the model.
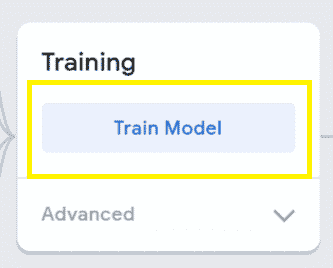
Training the model
- Click the Train Model button and wait for the model to get trained.
- You can have a look/test the trained model.
Exporting the Trained Model
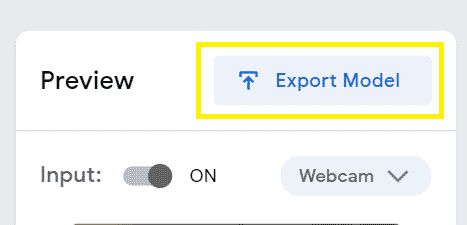
Now, that the model is perfect, let’s export the model.
- Click on the Export Model button.
- A popup will open. Click the Upload my model button.
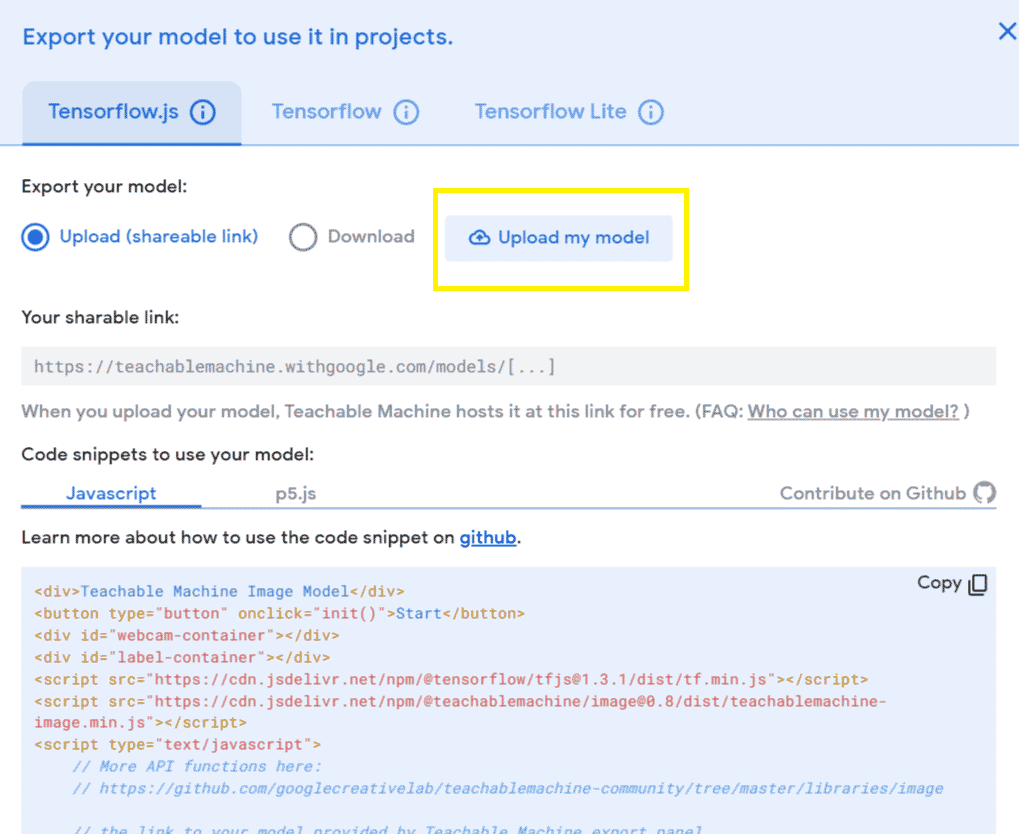
- A sharable link will appear, Copy it.

Writing the Script for the Toy Recognizer
Now that the models are loaded. Let’s begin by writing the script.
Setting up the Project
- Open PictoBlox we will first add the Machine Learning Extension.
- To work with the all-new AI and ML extension, you need to keep two things in mind:
- That you must sign in / login in PictoBlox from here.
- You must have a good internet connection.
- Click on the board button and select evive.
- We have already uploaded the firmware to our robot. We now need to add the Machine Learning extension.
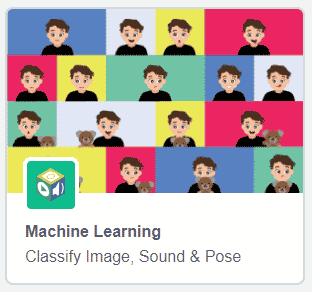
- Click the Add Extension button and select the Machine Learning extension.
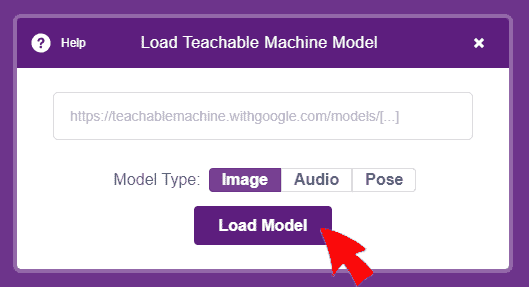
- Click the Load Model button.
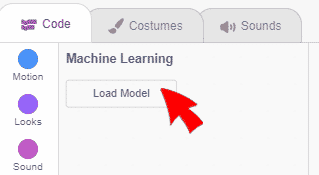
- A pop-up will open. Paste the link that you copied from the Teachable machine and click the Load Model button.
You may now see that the Machine Learning blocks are loaded.
Completing the Script
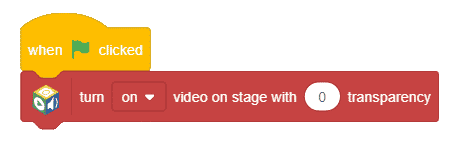
- First, drag-and-drop the when flag clicked hat block from the Events palette to execute the program when the green flag is clicked.
- As we need to recognize the hand gestures from the camera feed, place the turn () video on stage with 0 transparency block from the Machine Learning palette.
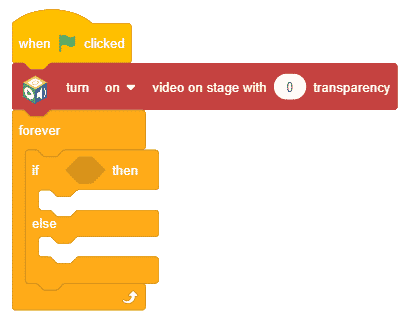
- To run the script continuously, snap a forever block from the Controls palette.
- Place an if-else block from the Controls palette.
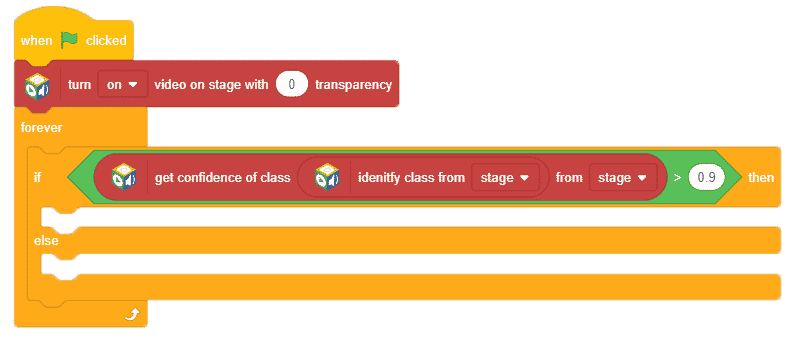
- Now, to check the identified class, place a () > () operator block from the Operator palette.
- From the Machine Learning palette, place get confidence of class from () block into the first space, choose stage from the drop-down.

- Place identify class from () block into the input space, choose stage from the drop-down.

- Write 0.9 in the second space of the greater than block.
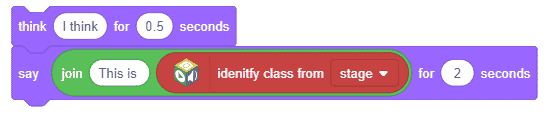
- To make Tobi say out the name, place think () for () seconds block from the Looks palette.
- Write “I think” into the first input and 0.5 into the second.
- Place a say () for () seconds block below it. To make it say out the name, place a join () () block from the Operators palette into the space given. Write “This is ” into the first input.
- From the Machine Learning palette, drag and drop, identify class from () block into the second place. Choose Stage from the drop-down.
- Into the else arm, place a say () for () seconds block and write “Show me your soft toy and I will recognize it.” into the first space and 2 into the second.

Now that the script is ready, click the green flag to start.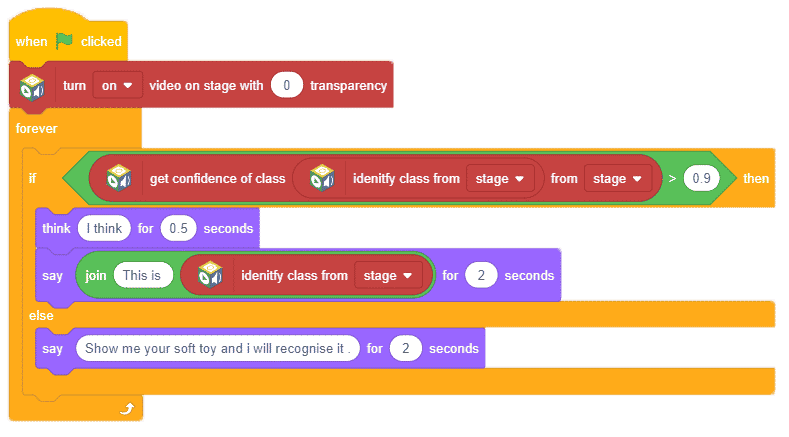
Conclusion
In this project, we used the Machine Learning Extension of PictoBlox to program the robot so that it could identify our soft toys. We trained the models using Teachable Machine and loaded them into PictoBlox. Finally, we combined the ML blocks with the other blocks to make the soft toy recognizer. With the help of this project, our robot can now recognize our soft toys and even say their names!


