
Introduction
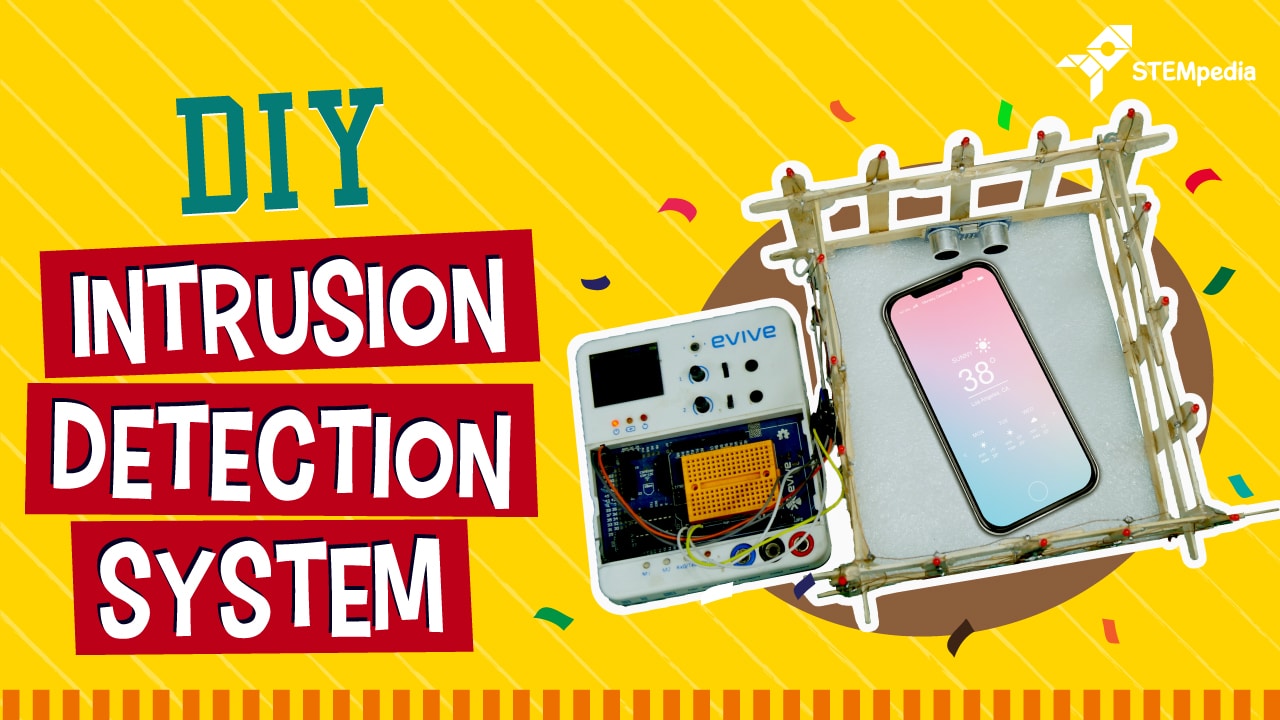
Worried about the safety of your valuables? Scared of letting them out of your sight? We feel you! Losing your Smartphone, or your wallet, or keys, or anything important can scare the living daylights out of anyone and turn even the merriest of days into a nightmare that nobody wants to have; like never EVER.
But not any more fellas! Here’s a simple and easy-to-make protection system that won’t blow a hole in your pocket – the DIY Intrusion Detection System. With an ultrasonic sensor that detects everytime someone’s hands get itchy and sounds the buzzer to alert you, you can sit back and relax and take care of your valuables DIY way. B-)
Beginning making the intrusion detection system in 3,2,1… now!
Making
This project shows one of the cases where the intrusion detection can be put to use. You can use the same system to many areas where you actually need to protect your belongings from getting taken away,
We have created a small restricted area which will be protecting our Smartphone.
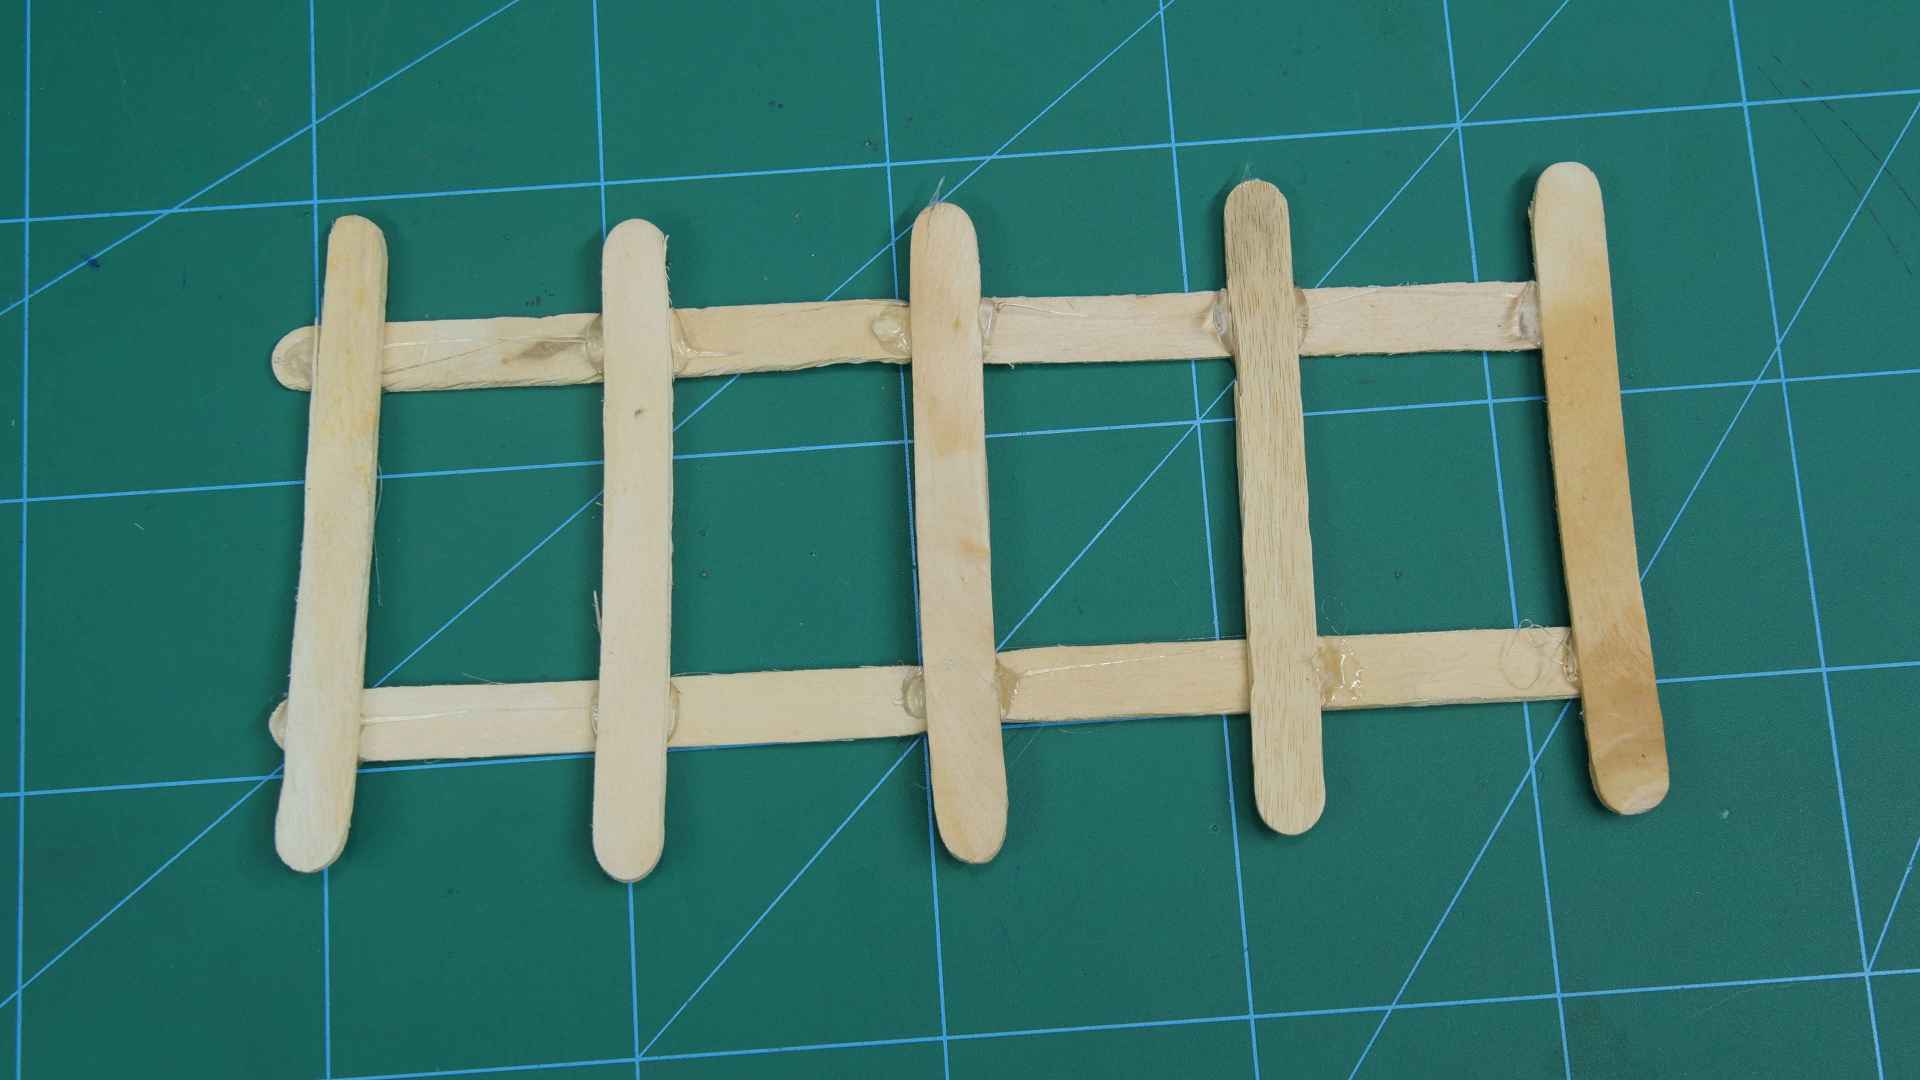
- Let’s get started by creating the area. We will be using Ice Cream Sticks for the same purpose. We will be making it in pieces, i.e. we will make the walls separately and then joining them.
- Make the walls as shown using the sticks and fix them using Hot Glue.
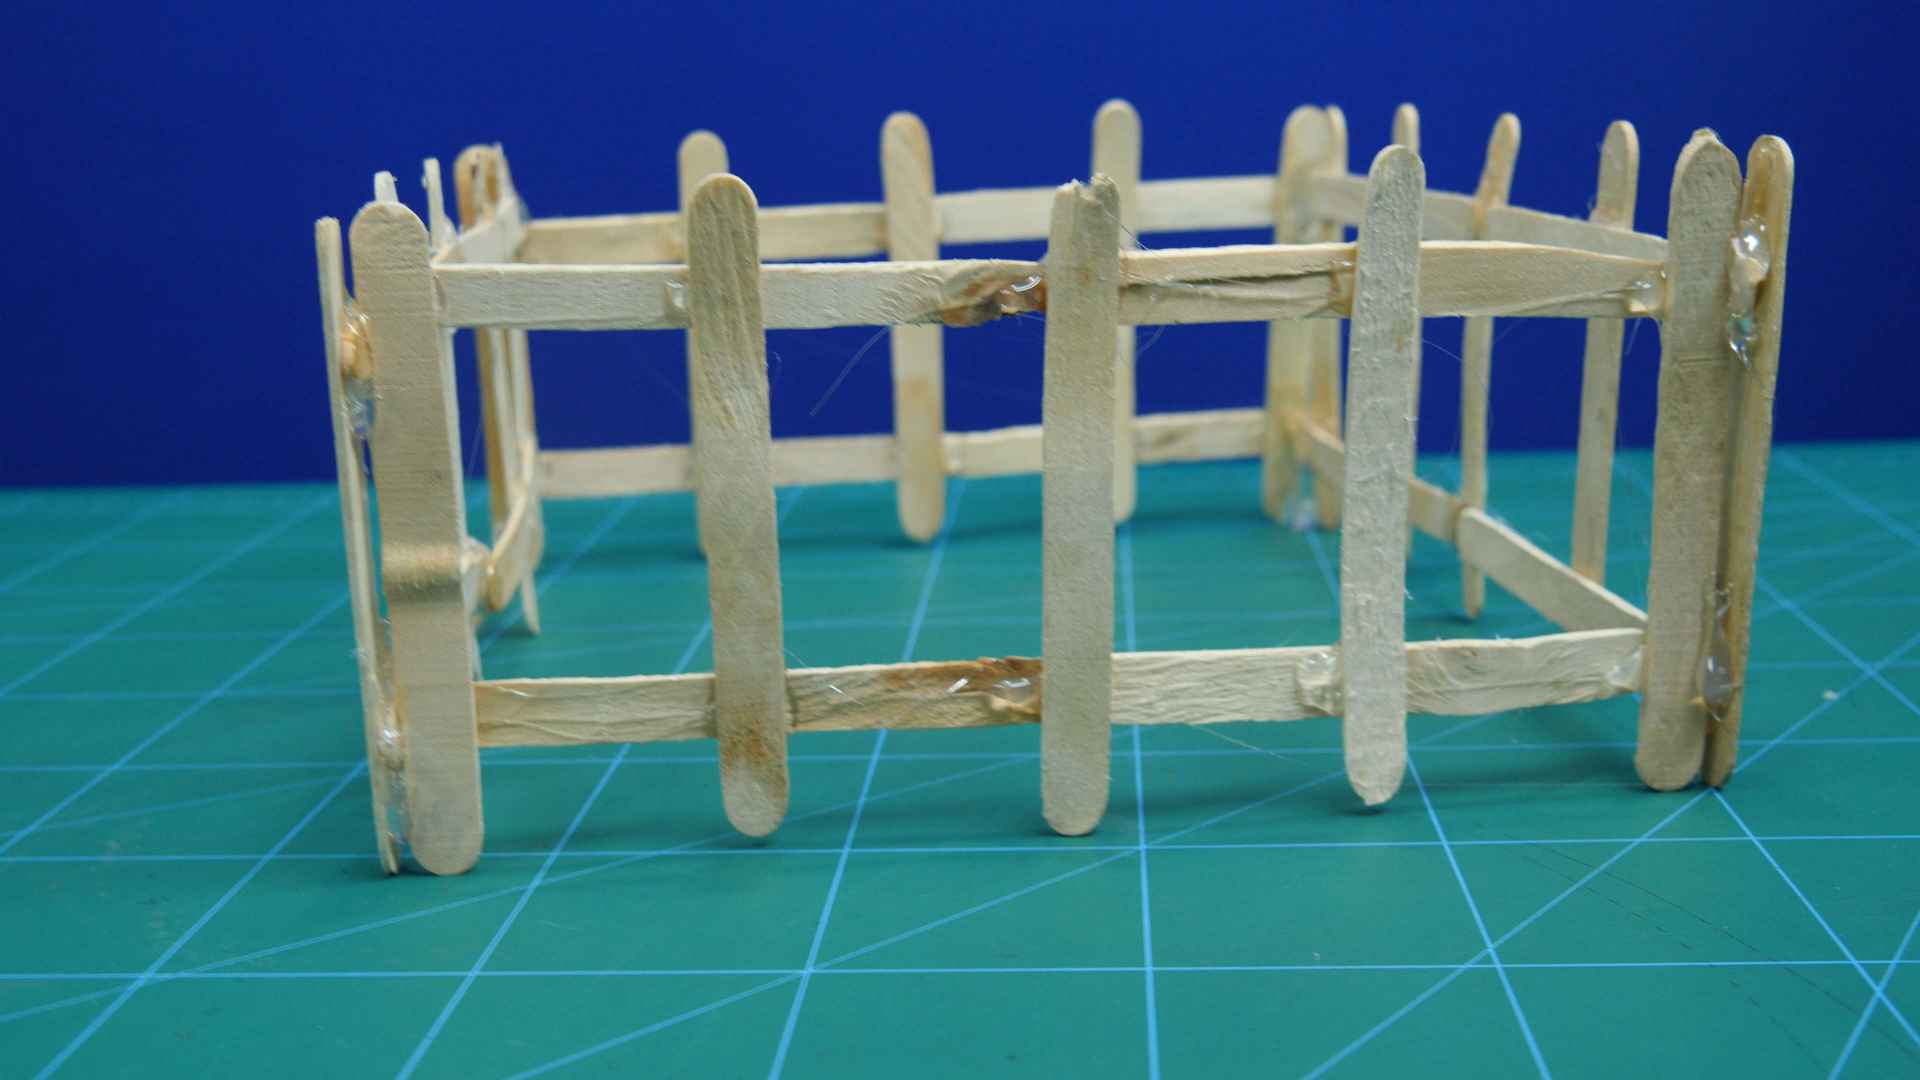
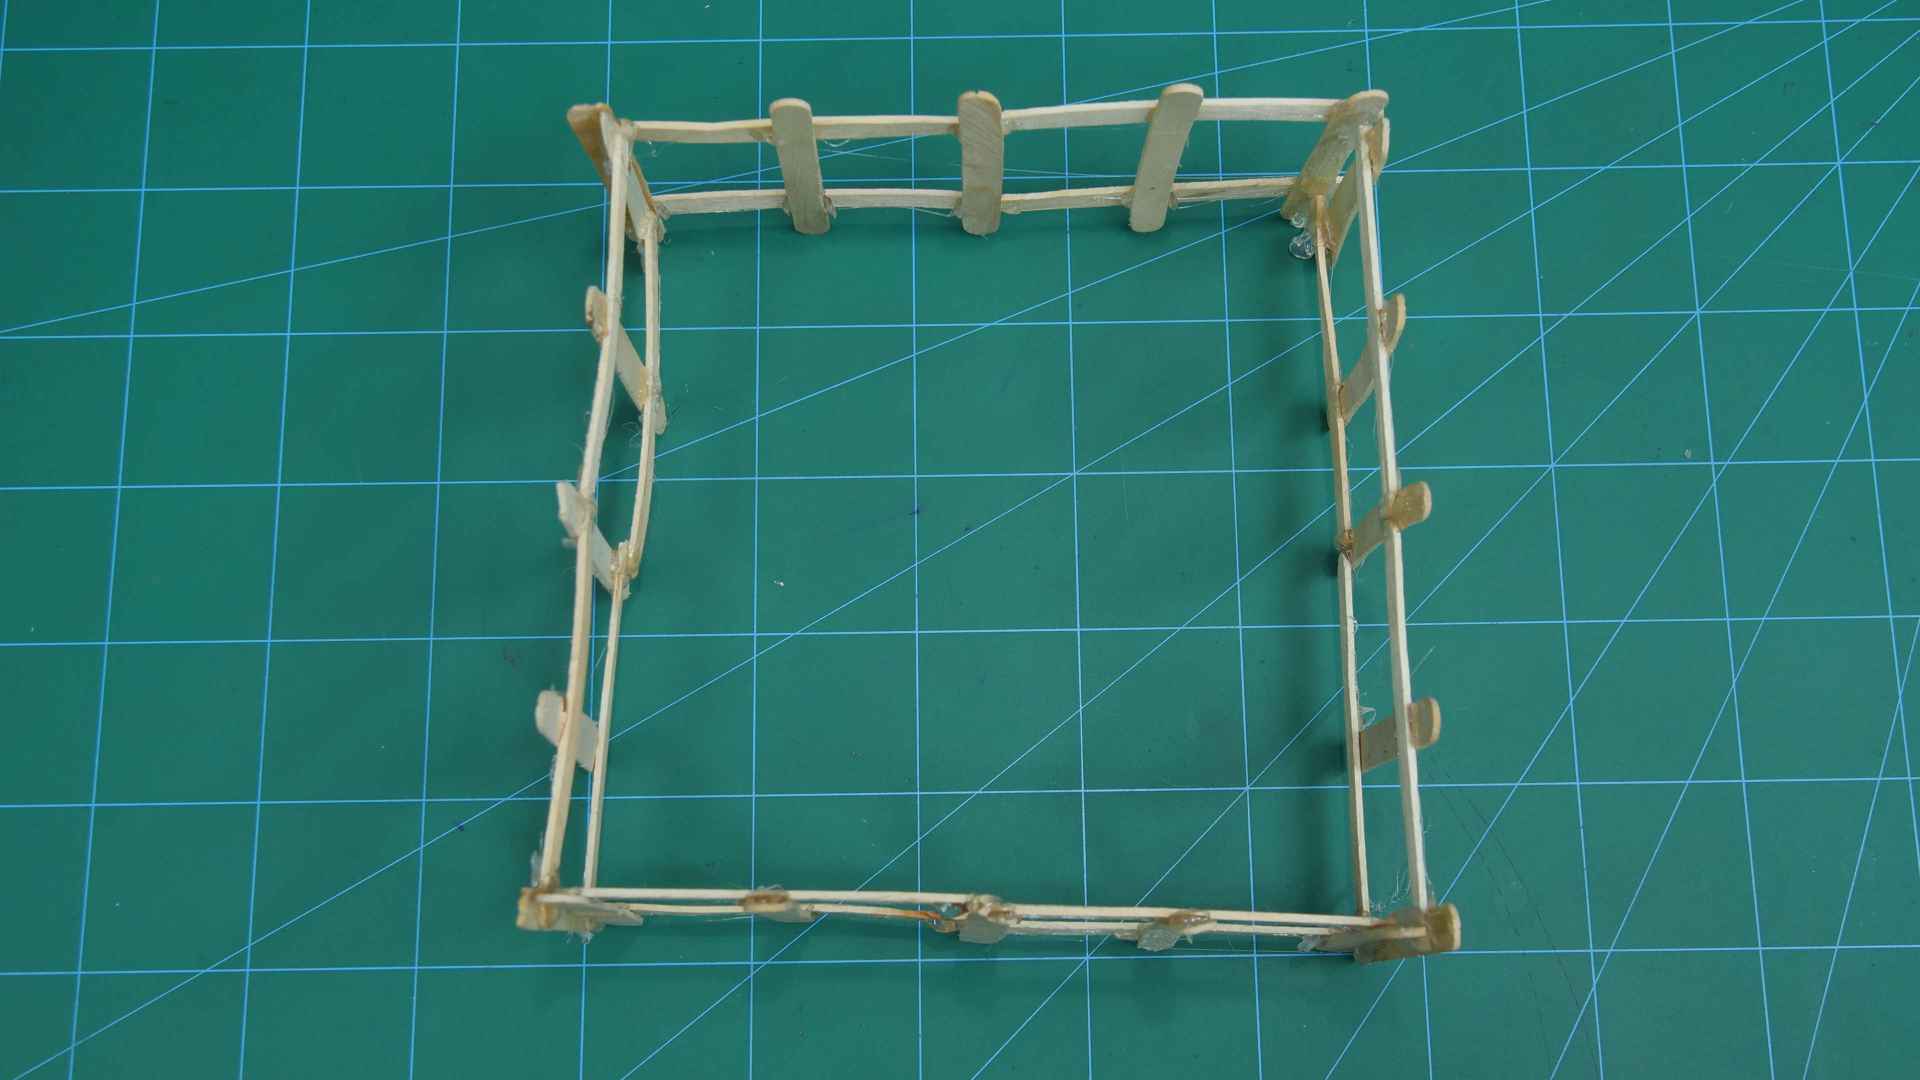
- Once you have all the four ready it’s time to complete the assembly as shown in the following figure. Use Hot Glue to join them.
- Once you have made the restricted area it’s to make the actual system that senses the intrusion and aware the owner.
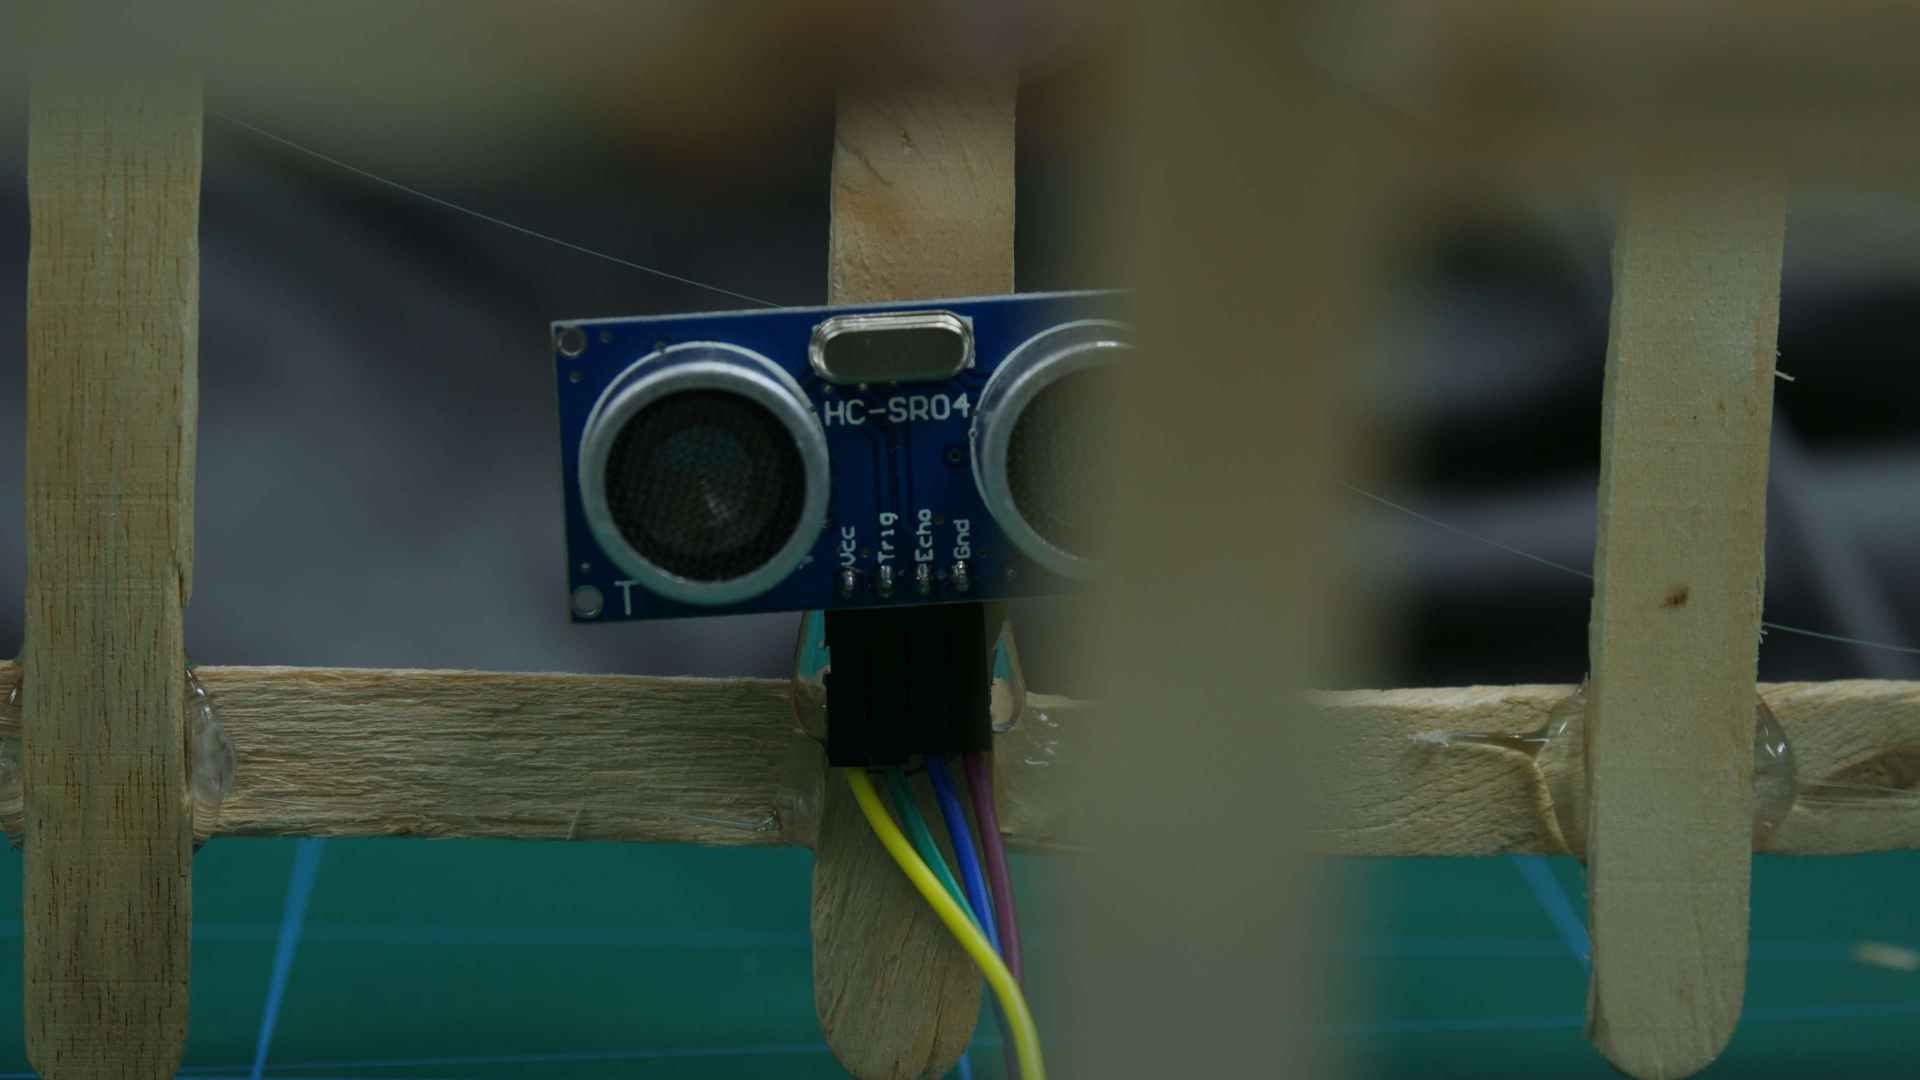
- For this purpose, the device that comes in our head first is the Ultrasonic System.
- To one out of the four sides, we are going to attach the Ultrasonic Sensor as shown in the figure.
- Once you have fixed it, it is time to make the owner aware of the intrusion.
- How are we going to do that?
- We will fix LEDs on all the four walls or on all the Ice Cream Sticks, using Hot Glue.
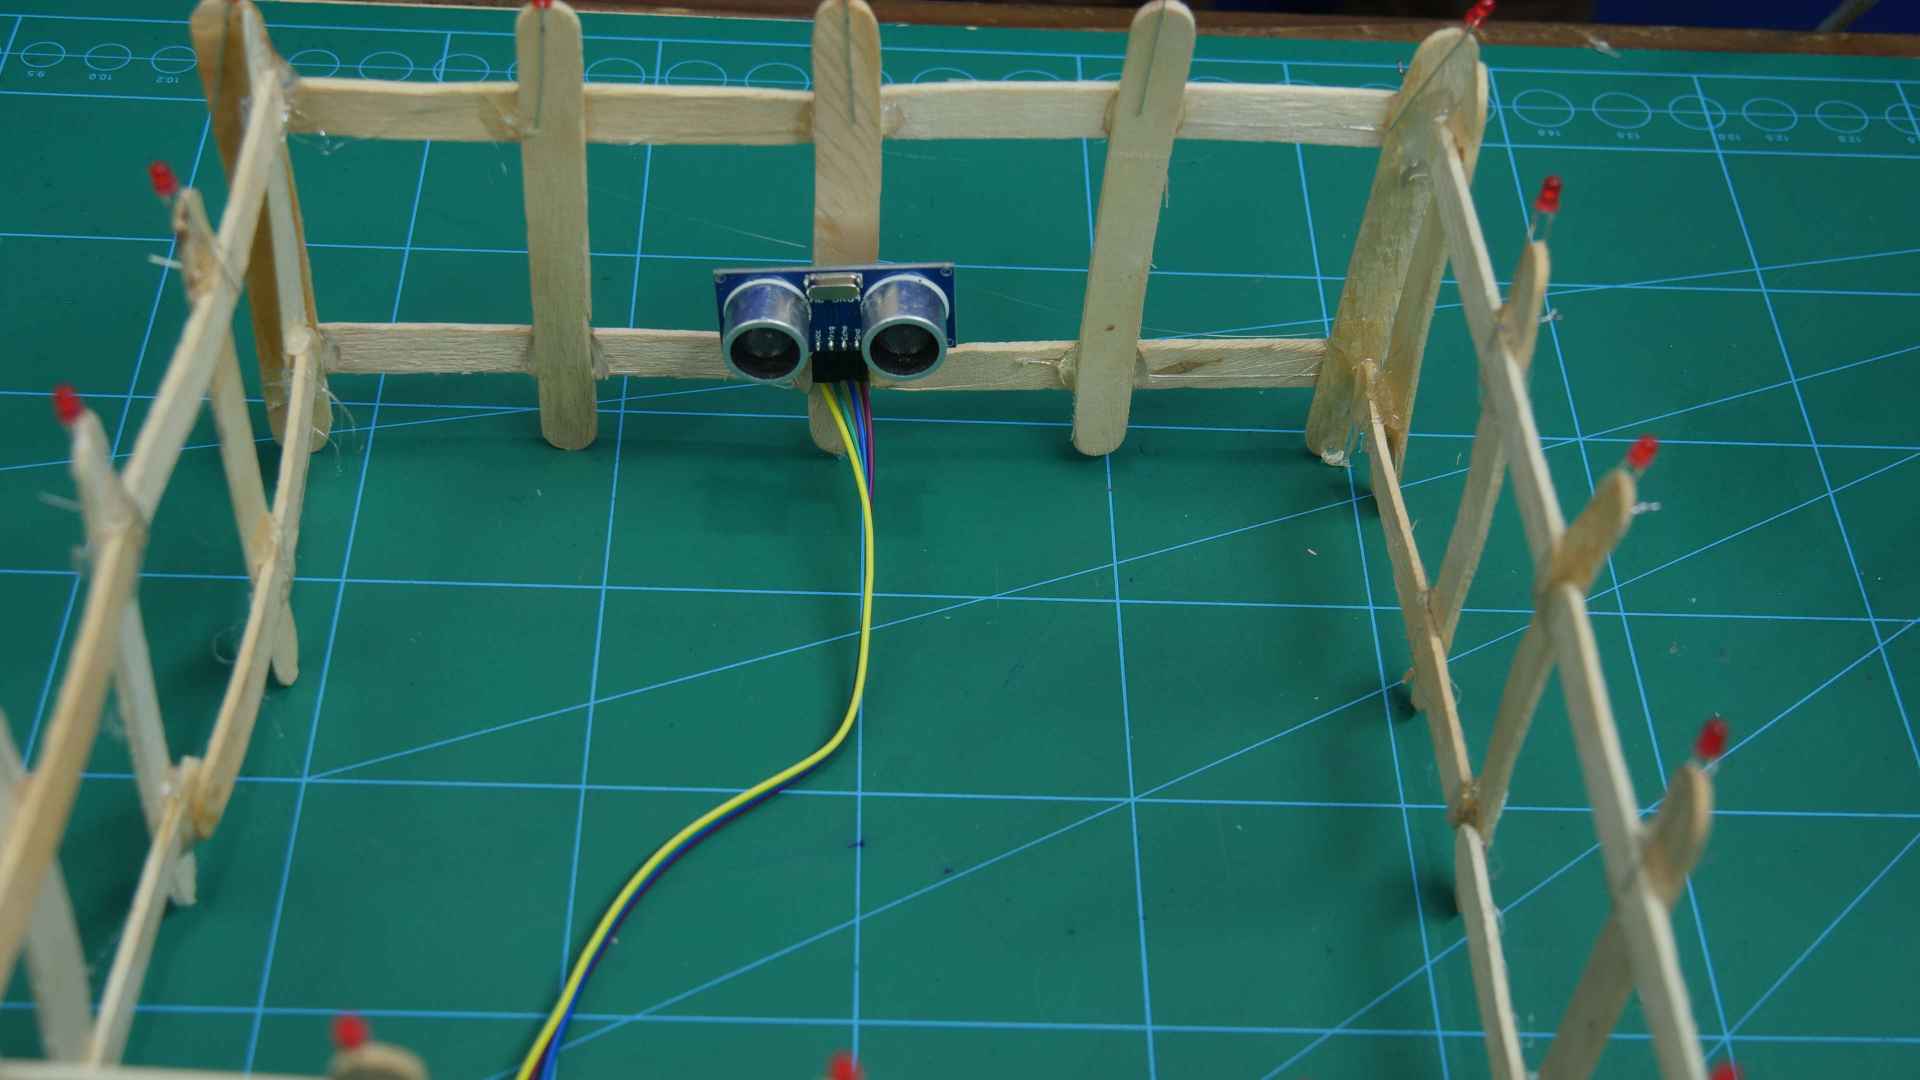
- The LEDs will be connected in a parallel connection.
- Connect all the Anodes ( Positive leg) of the Anode together using a Copper Wire.
- Similarly, connect all the cathode terminals of the LEDs, to one channel.
- You can also add a base of paper or foam.
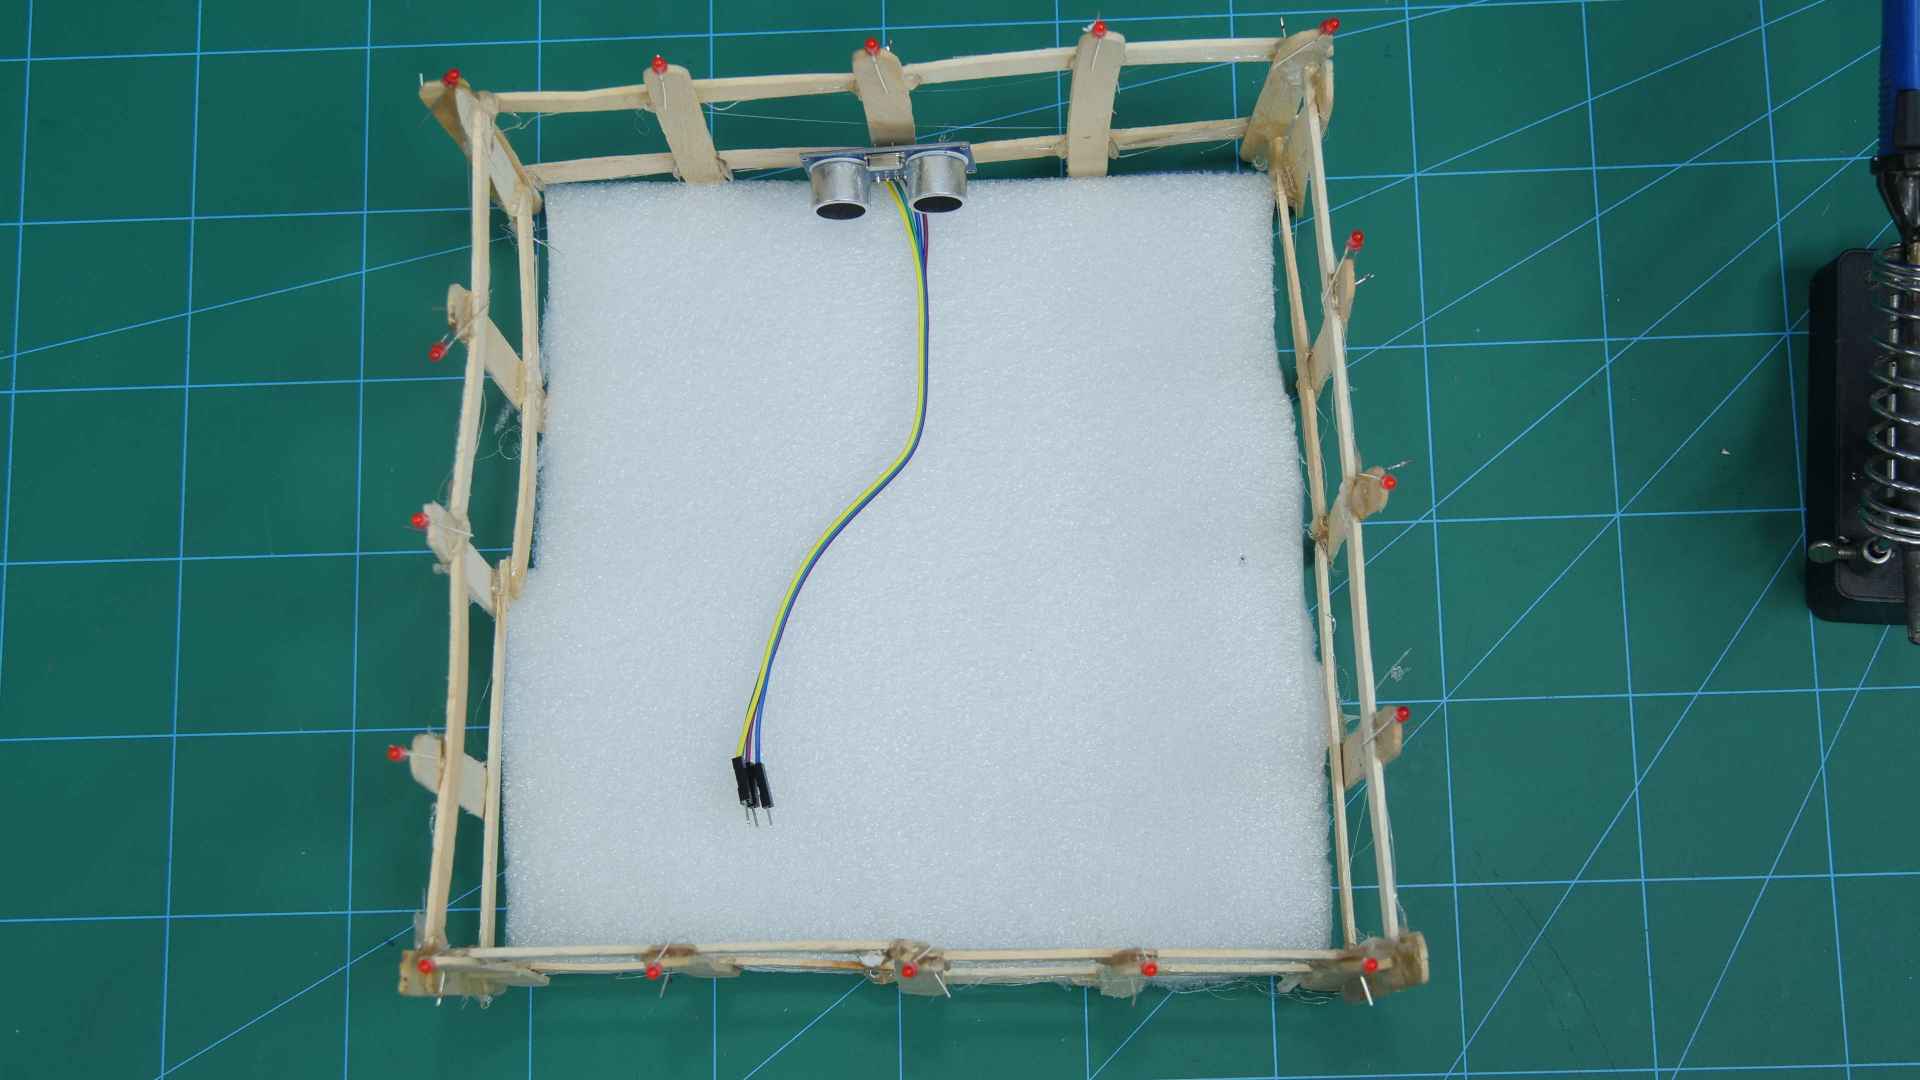
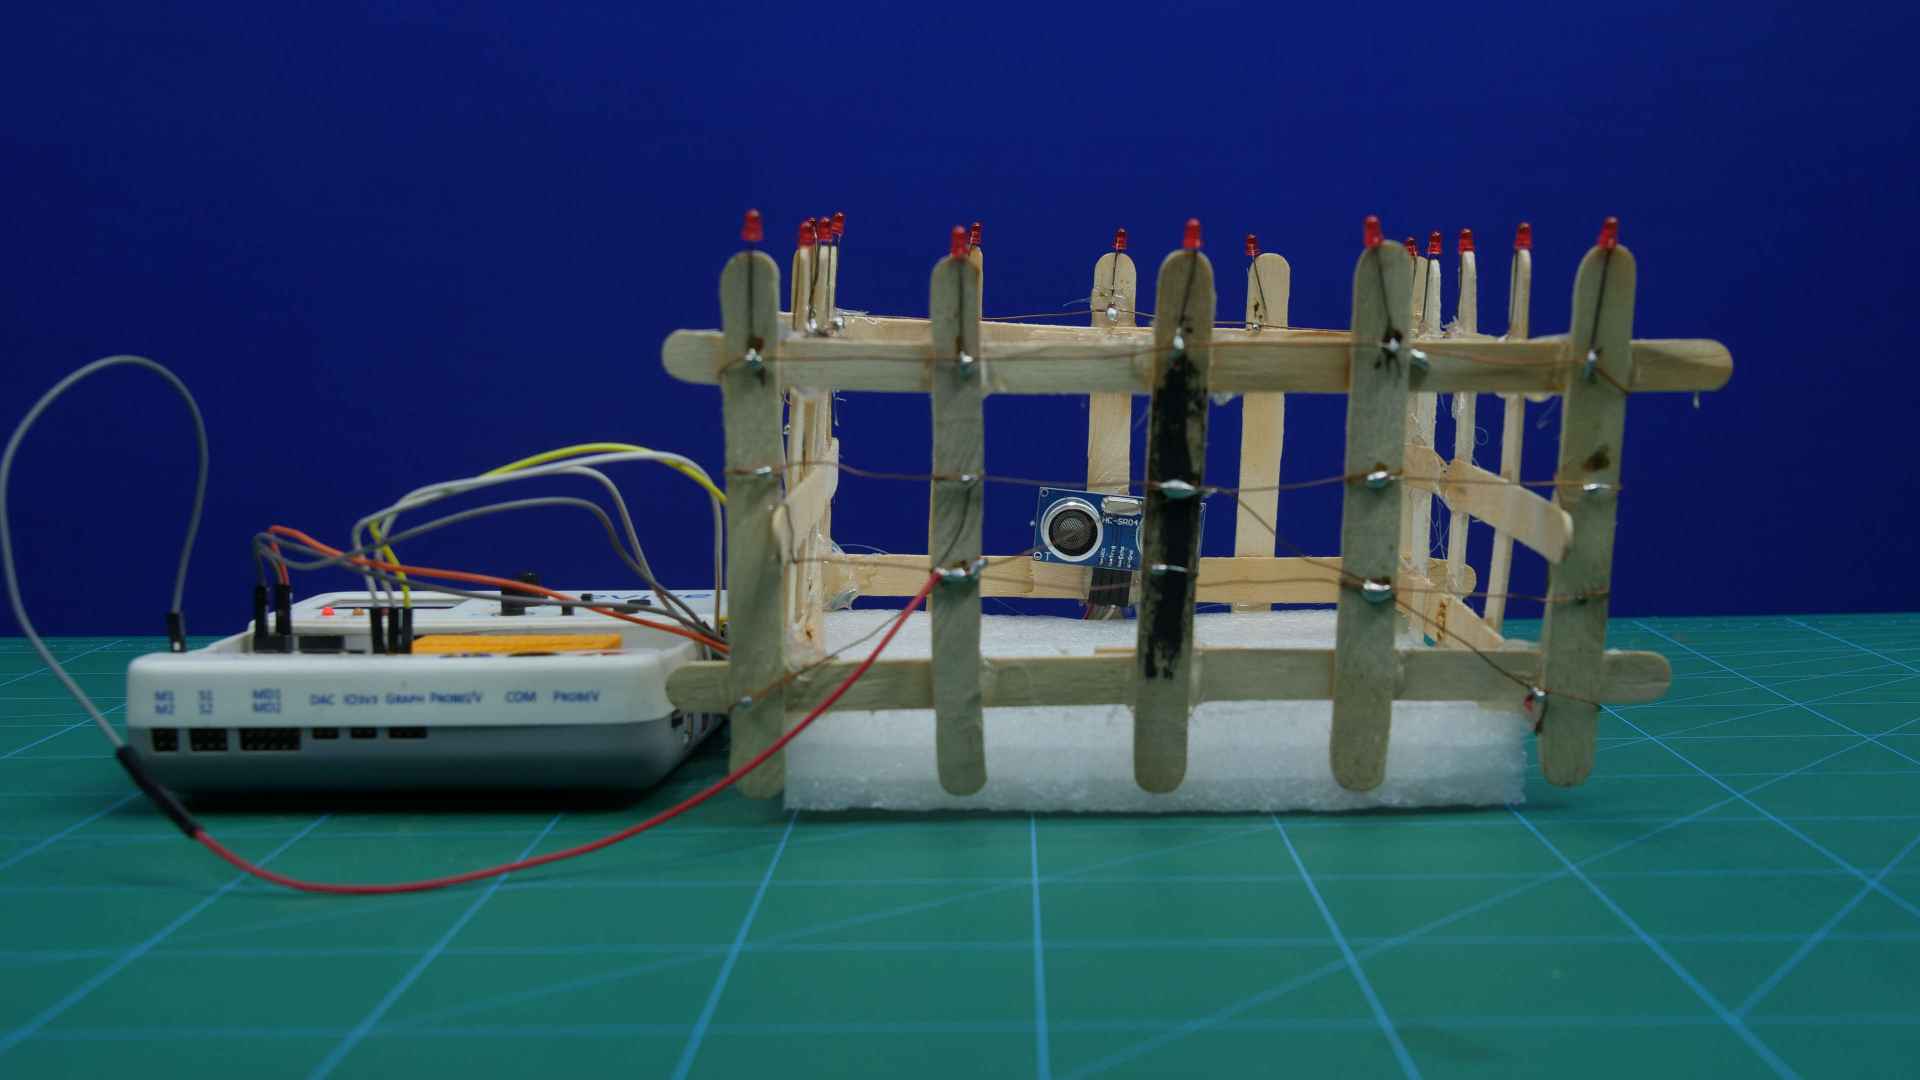
- Thus, your assembly is completed all you need to do is complete its connection with evive and upload the code.

Working
The specialty of the Ultrasonic Sensor is to detect the objects within a given range. Thus, as soon as any human enters the restricted object, the sensor will detect this and send the signal to evive.
As soon as the signal triggers, all the LEDs on the walls lit up together. Not only the LEDs, but we also have set up buzzer that will start buzzing as soon as the sensor detects the intrusion. Thus, both LEDs and buzzer will be able to make the owner aware of the intrusion.
Circuitry
Connect the LEDs and Ultrasonic Sensor as shown in the figure below: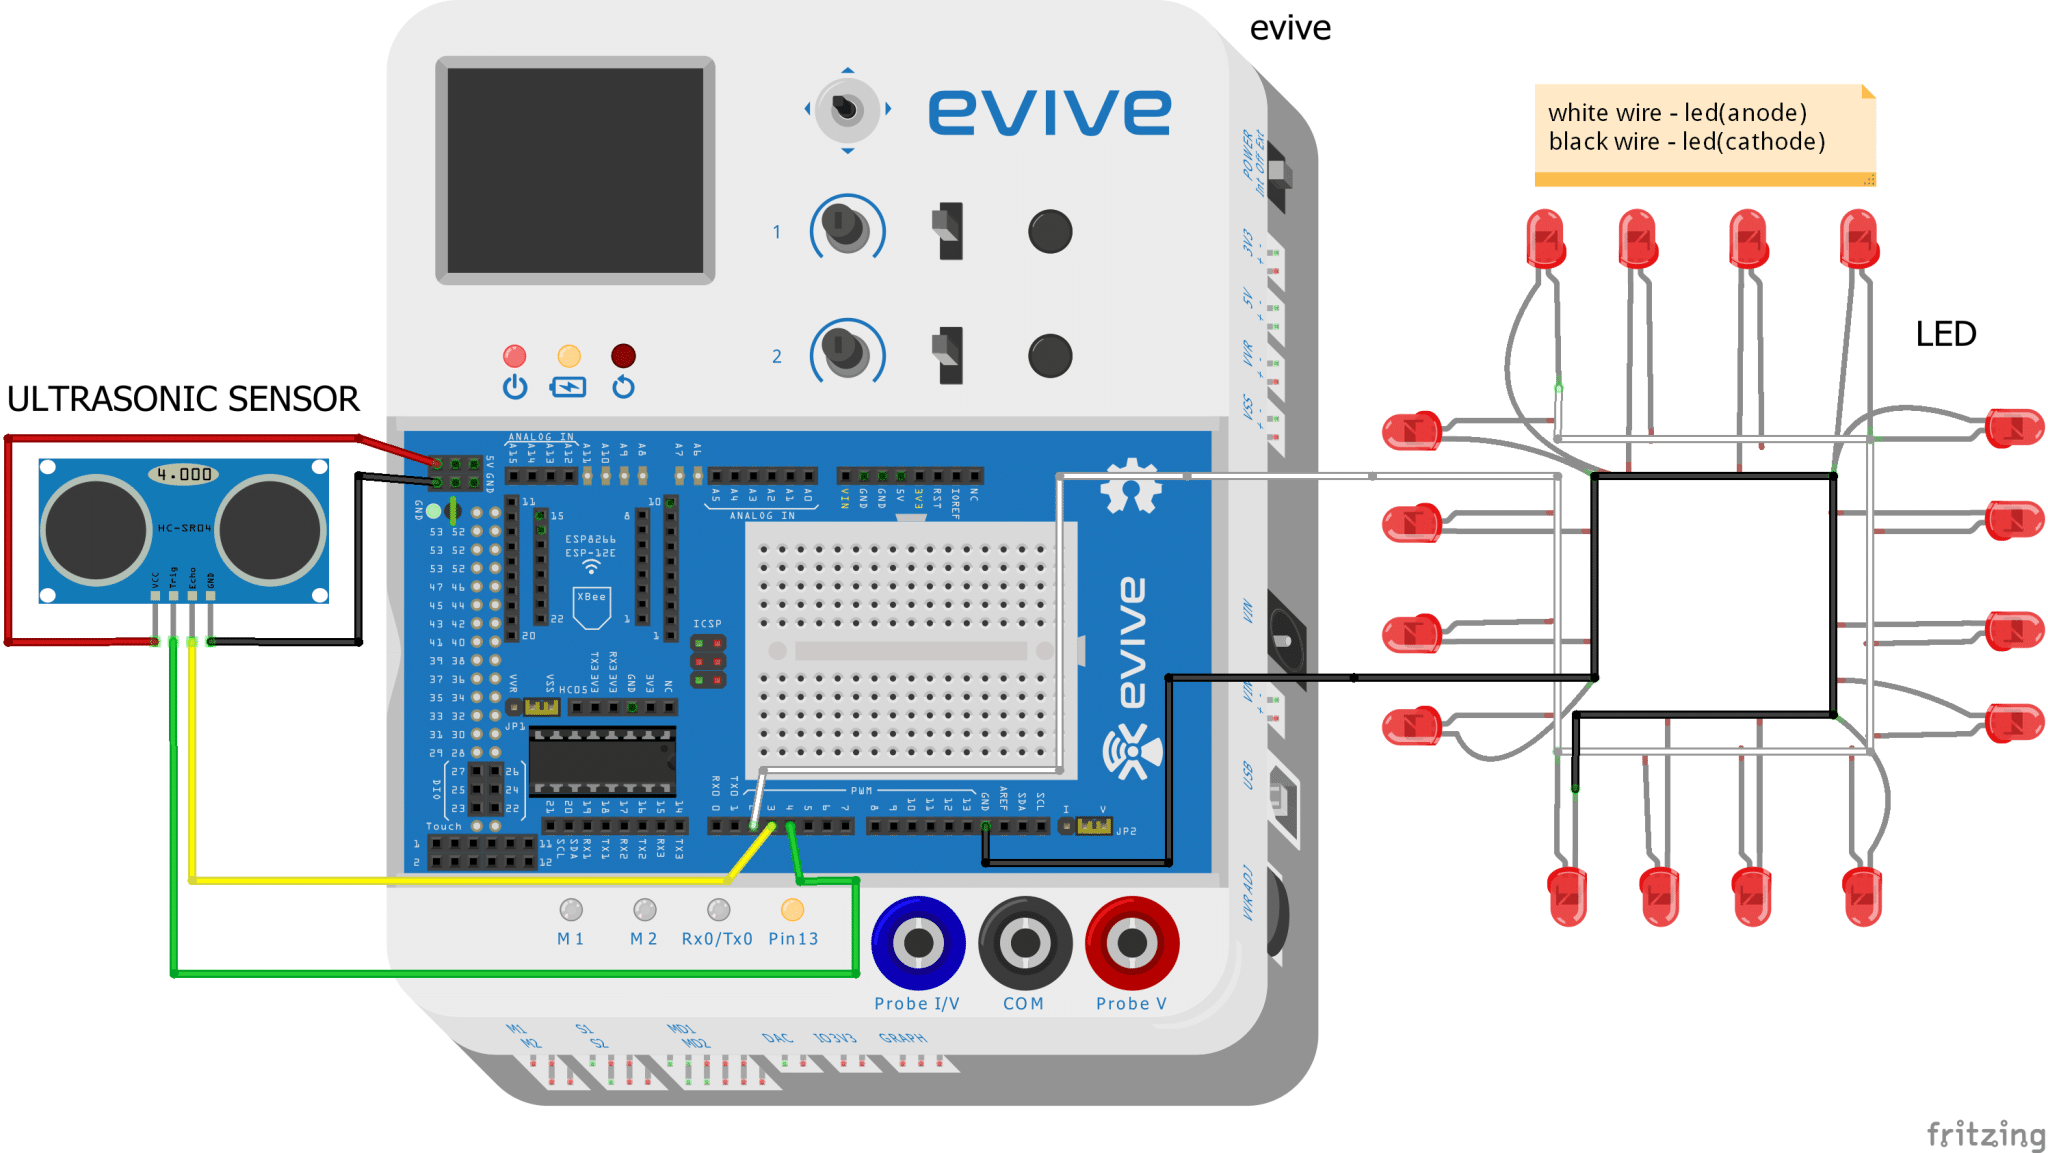
Code
Upload the following Arduino Code to detect the Intrusion:
Conclusion
With this, the DIY intrusion detection system is all set to guard your valuables and keep the thieves at bay!


 For Construction Sites by Abhay Maheshwari 2-6 screenshot")

