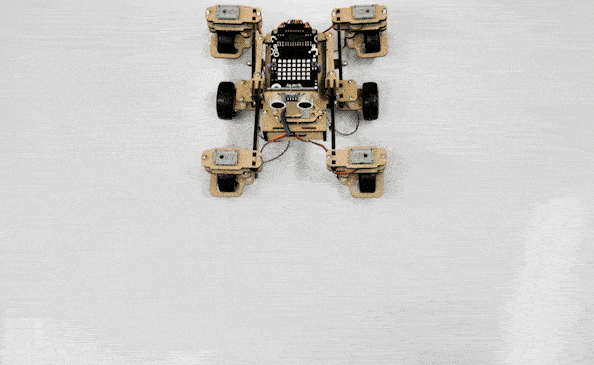
The block sets the four servo motors of the legs to align with the specified orientation – inside, left, and right.
Inside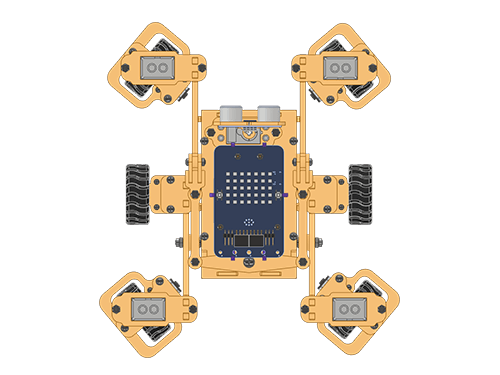
Left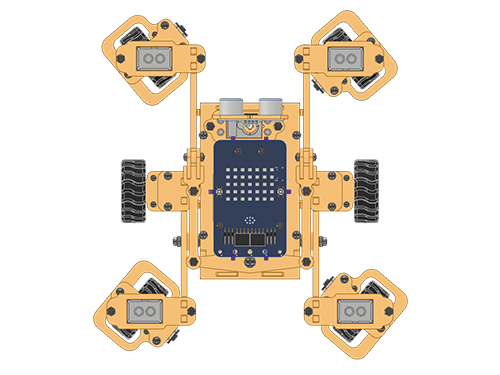
Right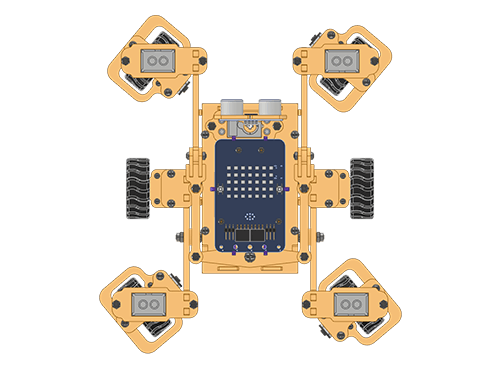

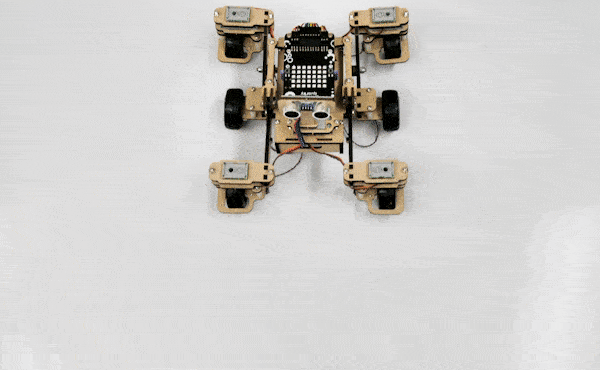
The block sets the four servo motors of the legs to align with the specified orientation – inside, left, and right.
Inside
Left
Right

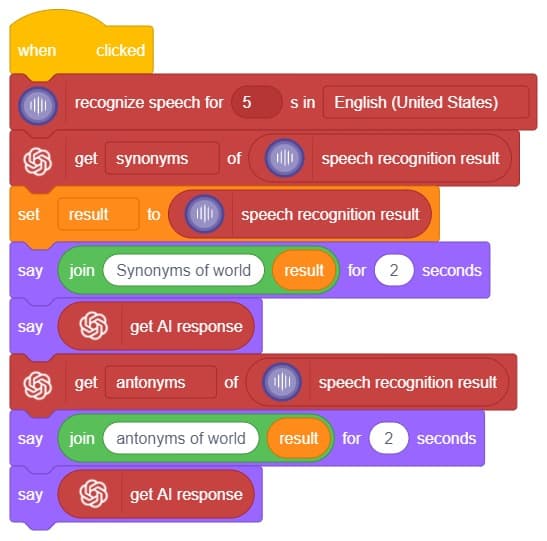
Hey! Welcome to the fascinating realm of “Synonym/Antonym World,” where the powers of Speech Recognition and ChatGPT converge. Immerse yourself in an innovative platform that not only recognizes your speech but also provides an extensive collection of synonyms and antonyms for any given word. With this powerful combination, you can effortlessly expand your vocabulary, explore alternative expressions, and delve into the nuances of language. Unleash the potential of speech recognition and ChatGPT as you navigate through a world where words find their perfect counterparts. Get ready to unlock new dimensions of linguistic exploration in the captivating Synonym/Antonym World!

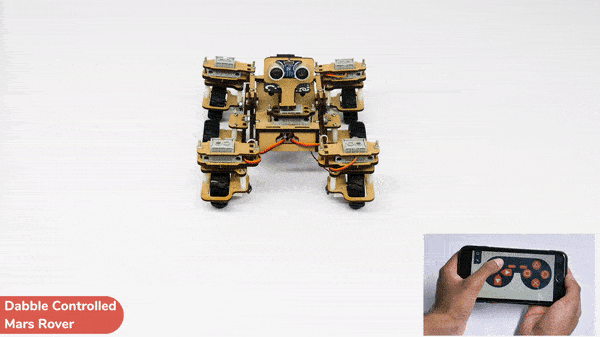
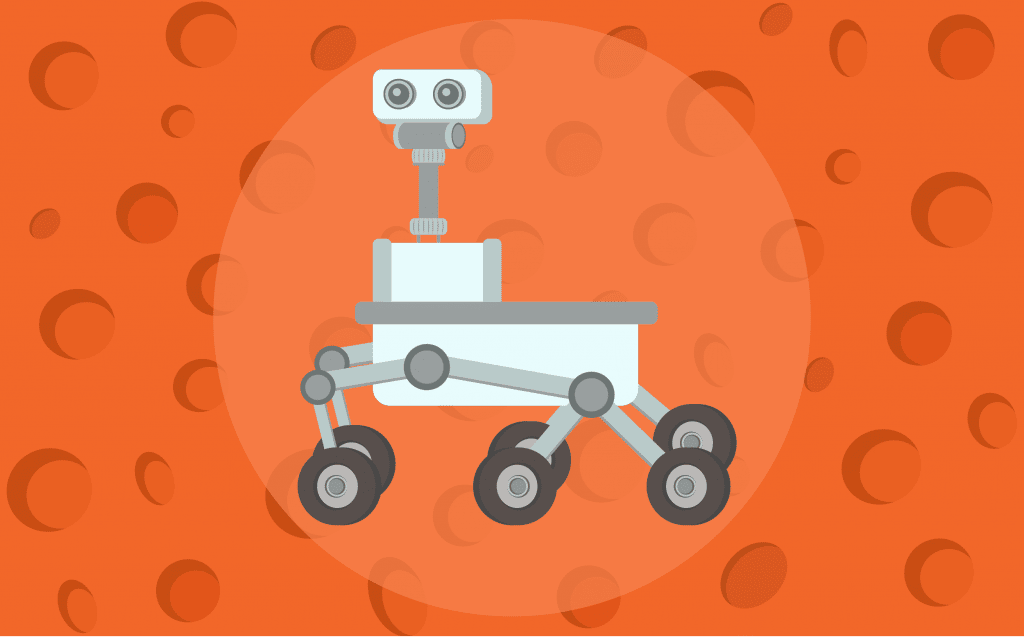
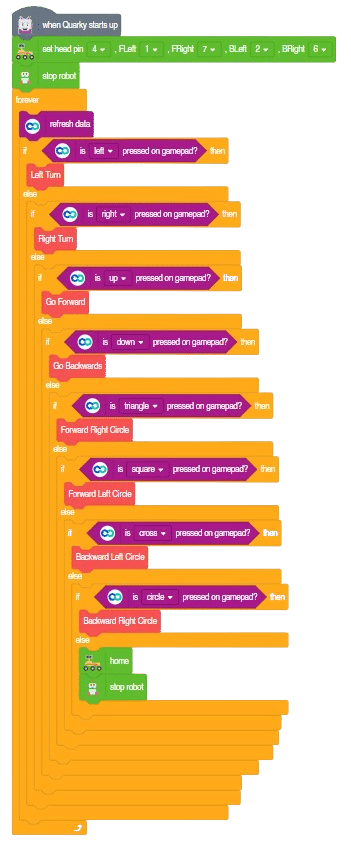
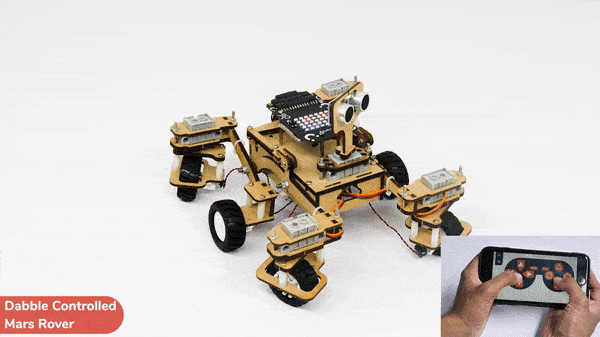
In this activity, we will control the Mars Rover according to our needs using the Dabble application on our own Devices.
We will first understand how to operate Dabble and how to modify our code according to the requirements. The following image is the front page of the Dabble Application.
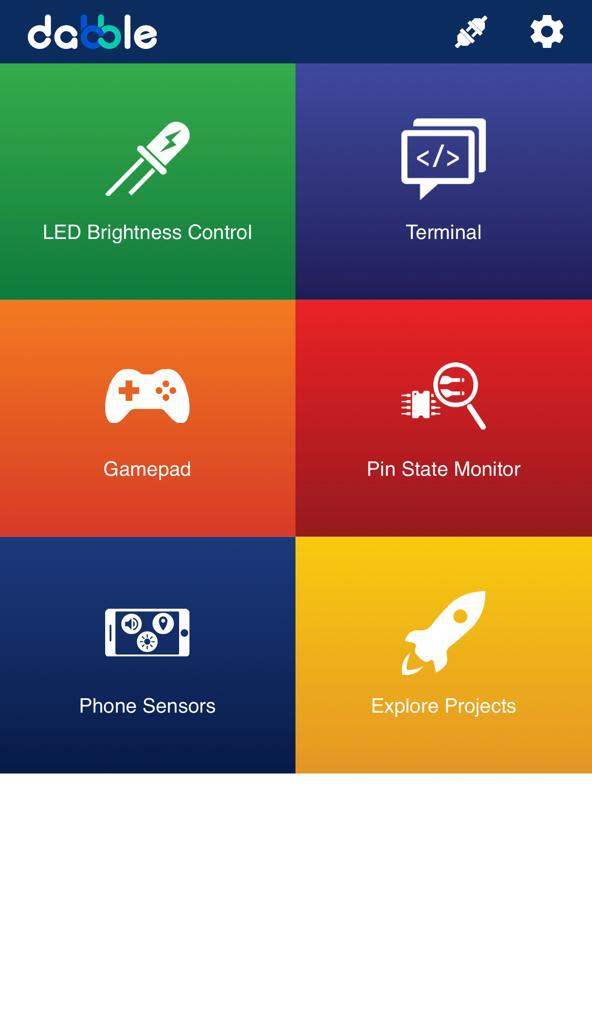
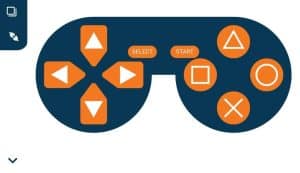
Select the Gamepad option from the Home Screen and we will then use the same gamepad to control our Mars Rover.

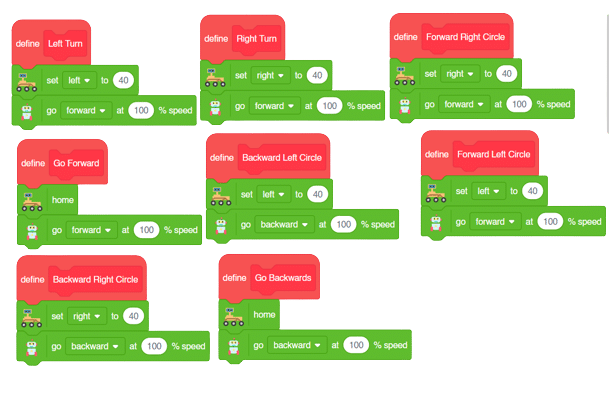
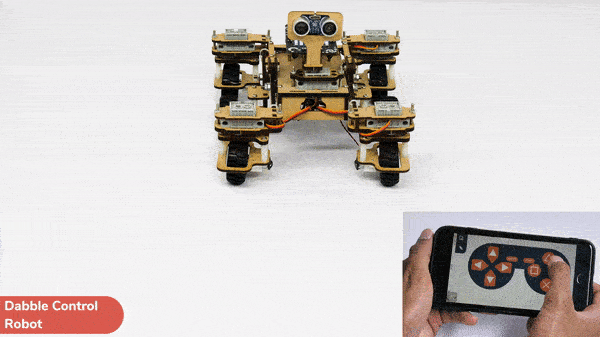
The following blocks represent the different functions that are created to control the Mars Rover for different types of motions. We will use the arrow buttons to control the basic movements.( Forward, Backward, Left, Right )
We will create our custom functions for specialized Circular motions of Mars Rover. We will use the Cross, Square, Circle, and Triangle buttons to control the Circular motions of Mars Rover.
Note: You will have to add the extensions of Mars Rover and also of Dabble to access the blocks.
The main code will be quite simple consisting of nested if-else loops to determine the action when a specific button is pressed on the Dabble Application.
You will have to connect the Quarky with the Dabble Application on your device. Make sure Bluetooth is enabled on the device before connecting. Connect the Rover to the Dabble application after uploading the code. You will be able to connect by clicking on the plug option in the Dabble Application as seen below. Select that plug option and you will find your Quarky device. Connect by clicking on the respective Quarky.
Forward-Backward Motions:
Right-Left Motions:

Circular Left Motion:
Circular Right Motion:
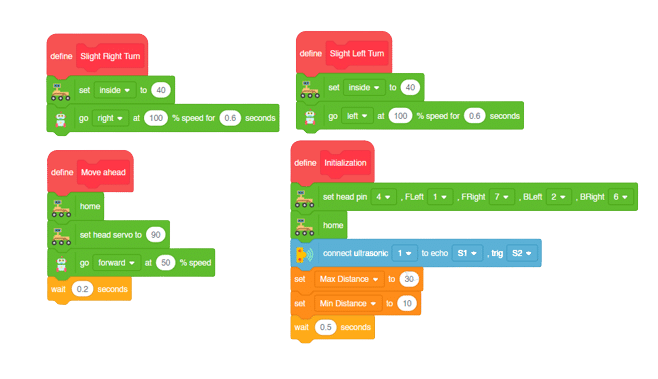
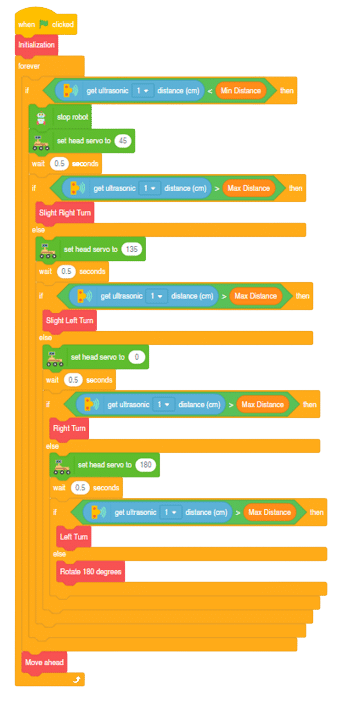
This project of obstacle avoidance is for a robot that will move around and look for obstacles. It uses an ultrasonic sensor to measure the distance. If the distance is less than 20 cm, it will stop and look in both directions to see if it can move forward. If it can, it will turn left or right. If not, it will make a U-turn.
Main Functions:
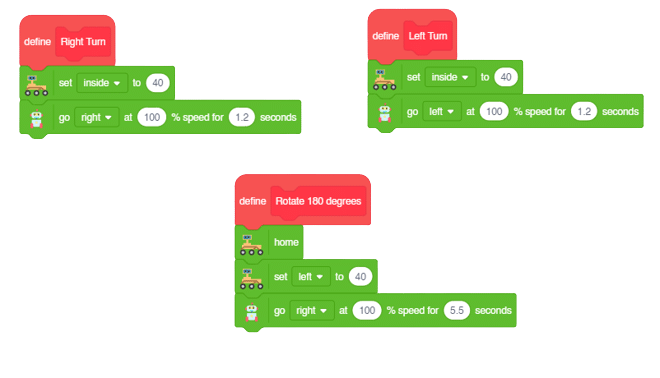
Final Main Logic:
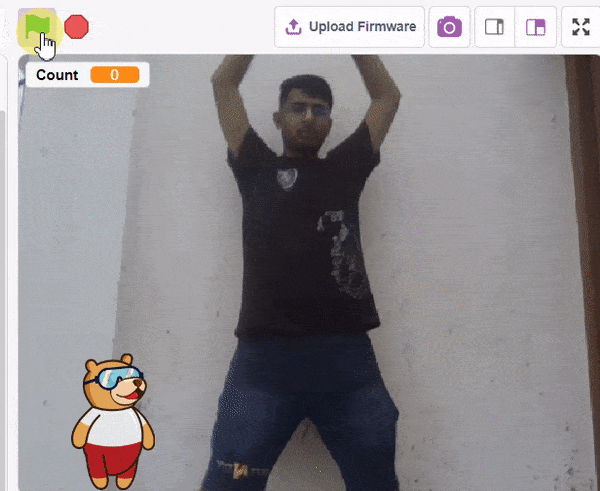
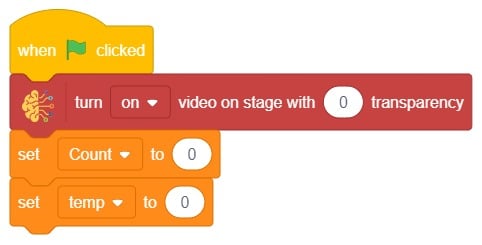
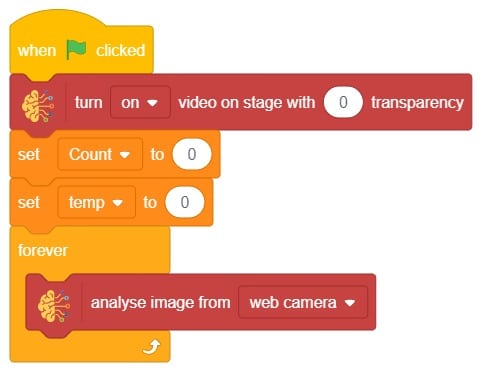
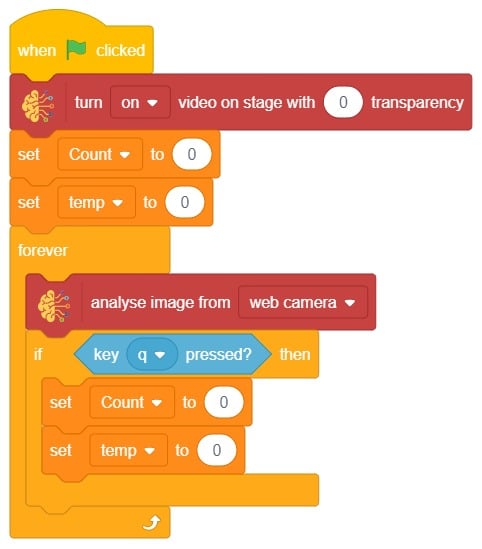
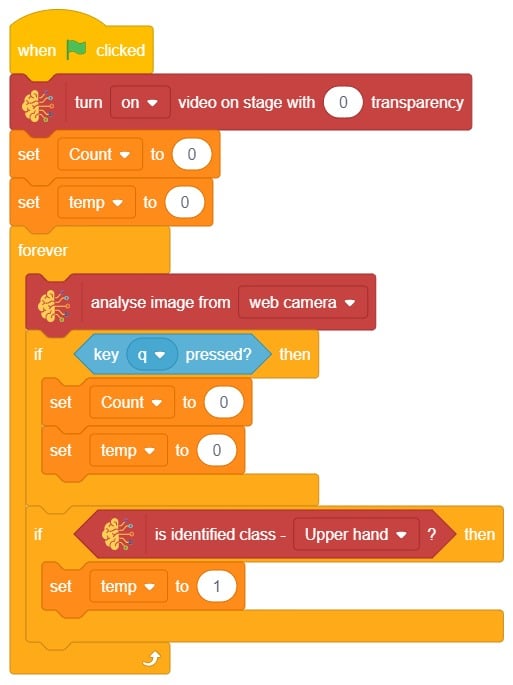
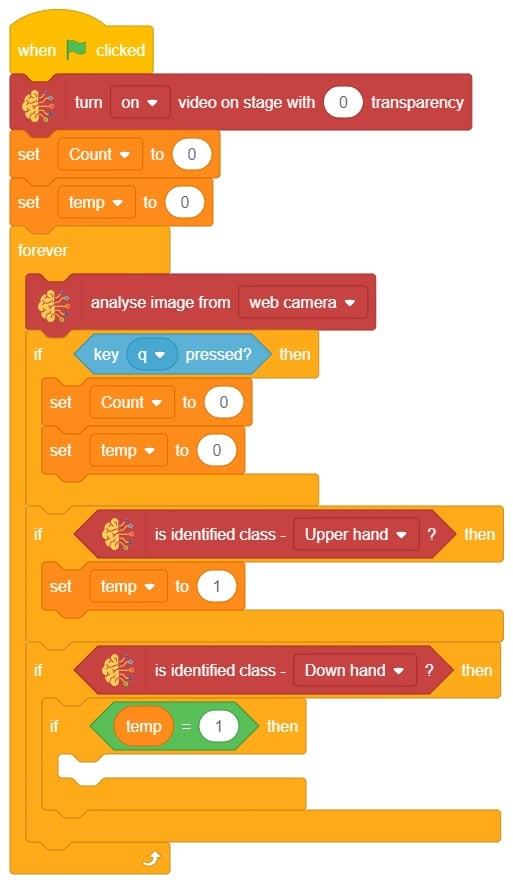
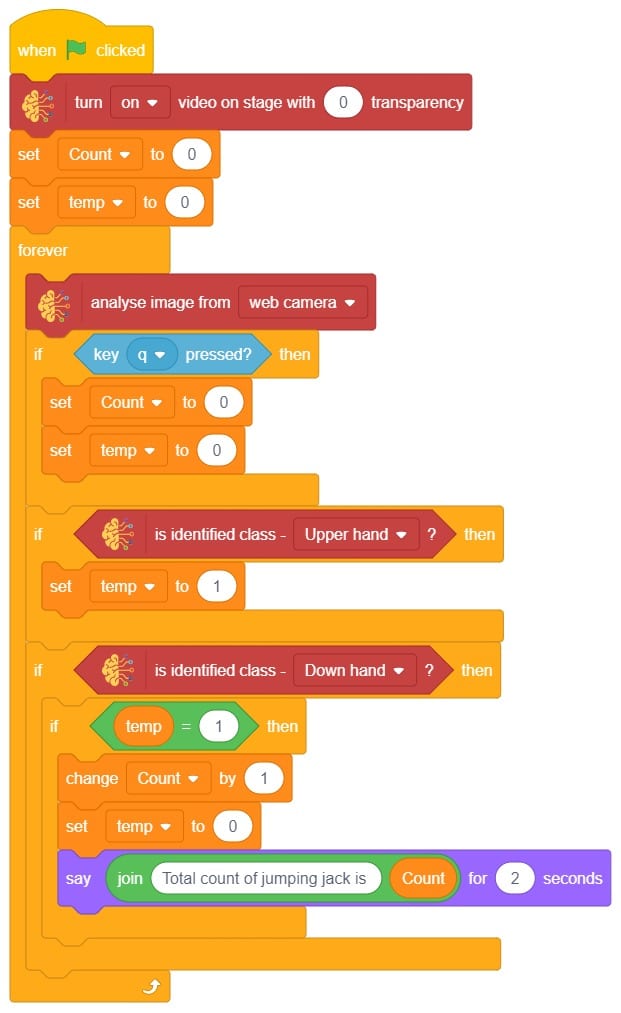
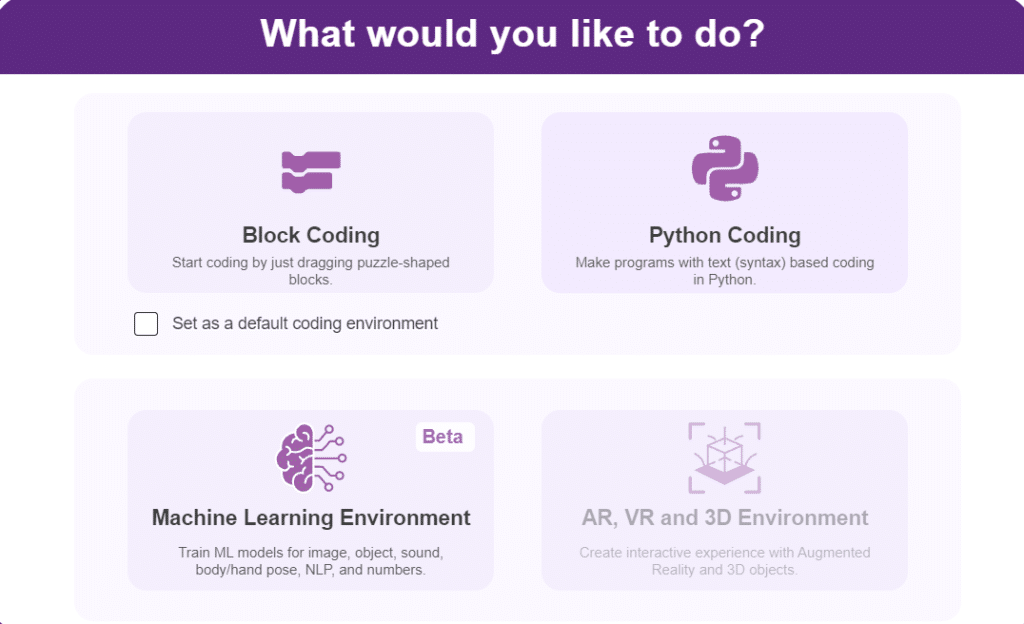
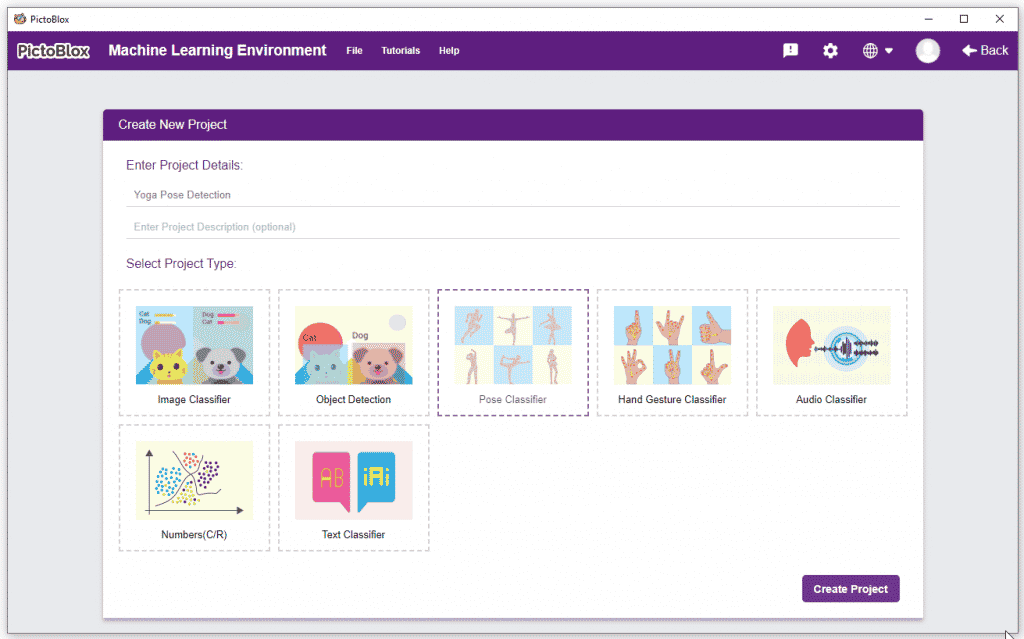
In this example project, we are going to create a machine learning model that can count the number of jumping jack activities from the camera feed.
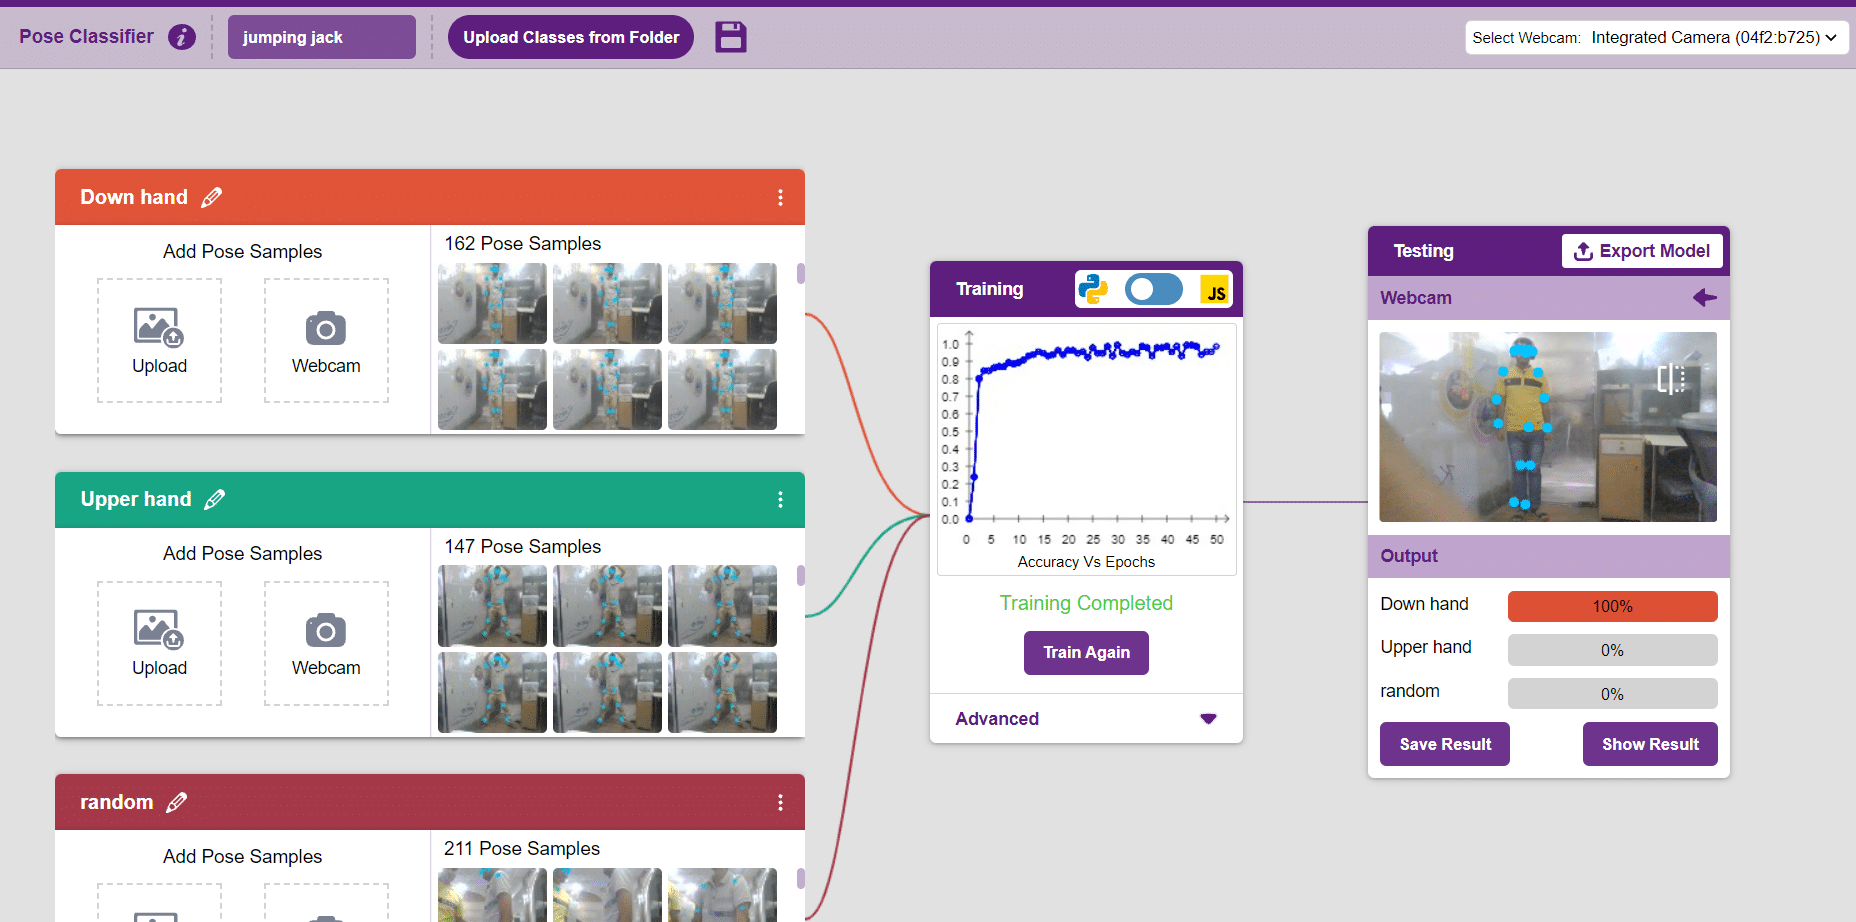
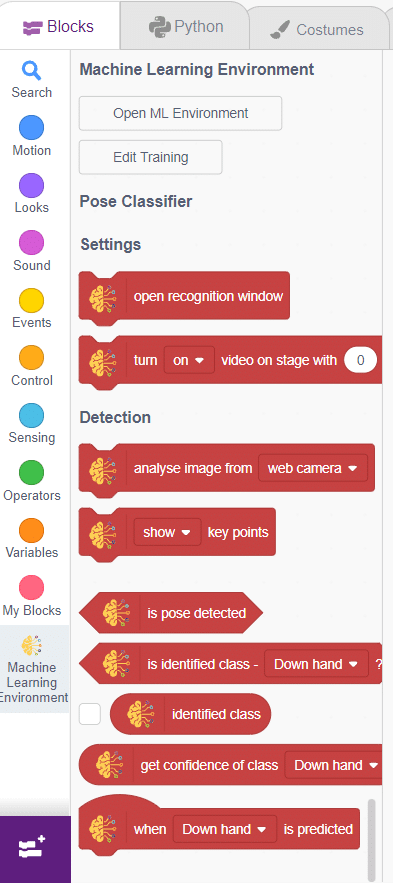
The pose Classifier is the extension of the ML Environment used for classifying different body poses into different classes.
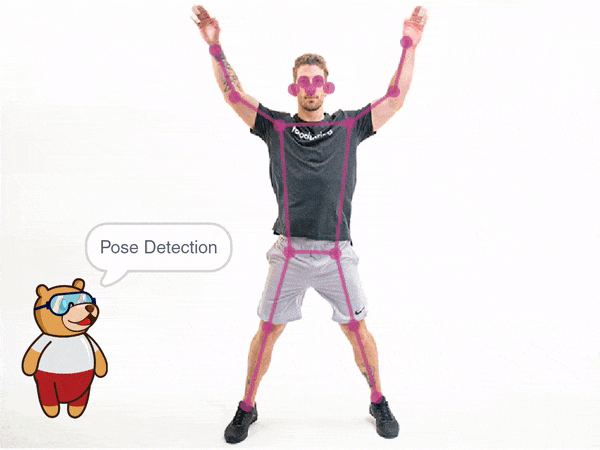
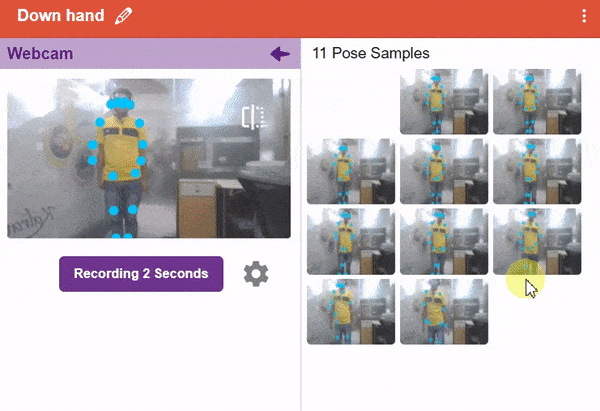
 The model works by analyzing your body position with the help of 17 data points.

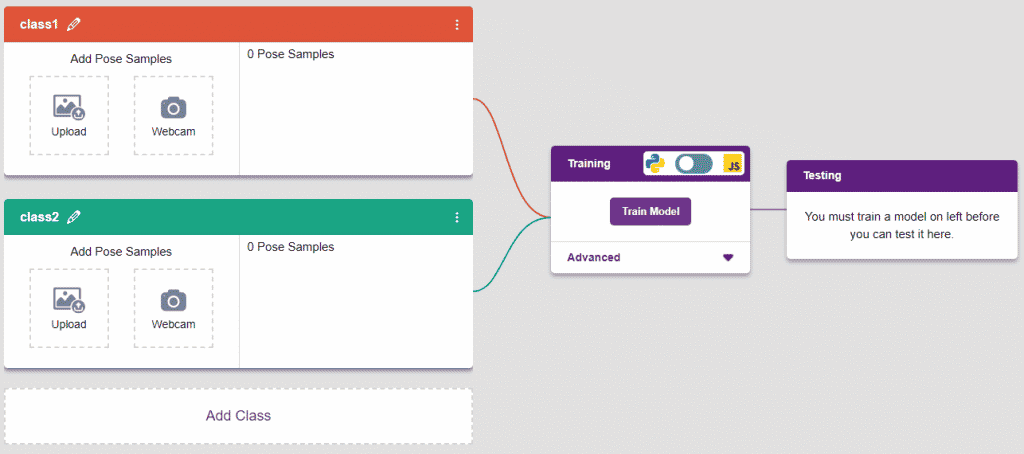
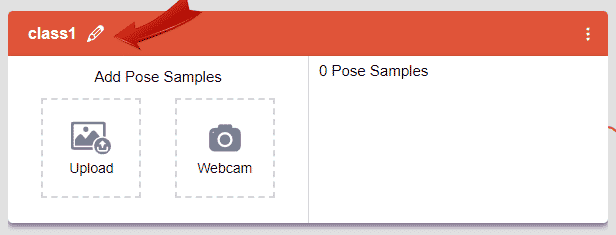
Class is the category in which the Machine Learning model classifies the poses. Similar posts are put in one class.
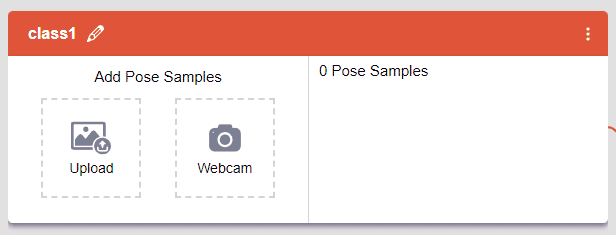
There are 2 things that you have to provide in a class:
You can perform the following operations to manipulate the data into a class.
After data is added, it’s fit to be used in model training. To do this, we have to train the model. By training the model, we extract meaningful information from the hand pose, and that in turn updates the weights. Once these weights are saved, we can use our model to predict previously unseen data.

The accuracy of the model should increase over time. The x-axis of the graph shows the epochs, and the y-axis represents the accuracy at the corresponding epoch. Remember, the higher the reading in the accuracy graph, the better the model. The range of accuracy is 0 to 1.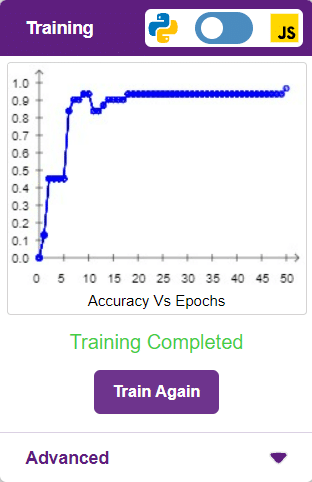
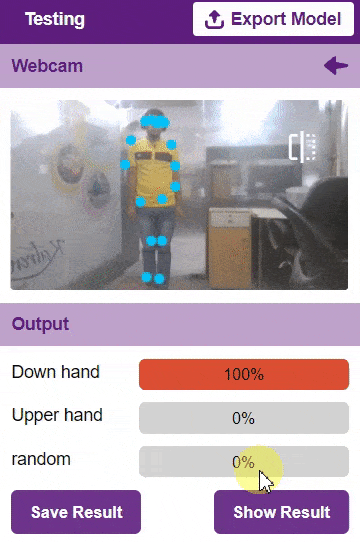
To test the model, simply enter the input values in the “Testing” panel and click on the “Predict” button.
The model will return the probability of the input belonging to the classes.
Click on the “Export Model” button on the top right of the Testing box, and PictoBlox will load your model into the Block Coding Environment if you have opened the ML Environment in the Block Coding.
The idea is simple, after running code we will do jumping jack activity in front of camera and tobi sprite will say counting of jumping jack.