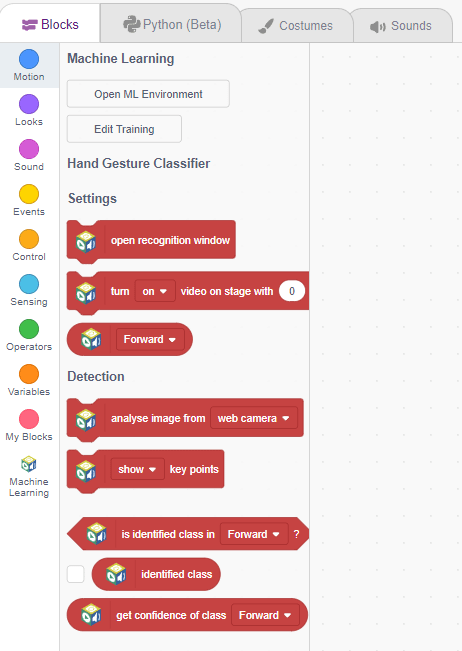
move left hand () right hand () at () speed

Description

The block sets the servo motors of the humanoid hands to the specified angles at the specified speed.
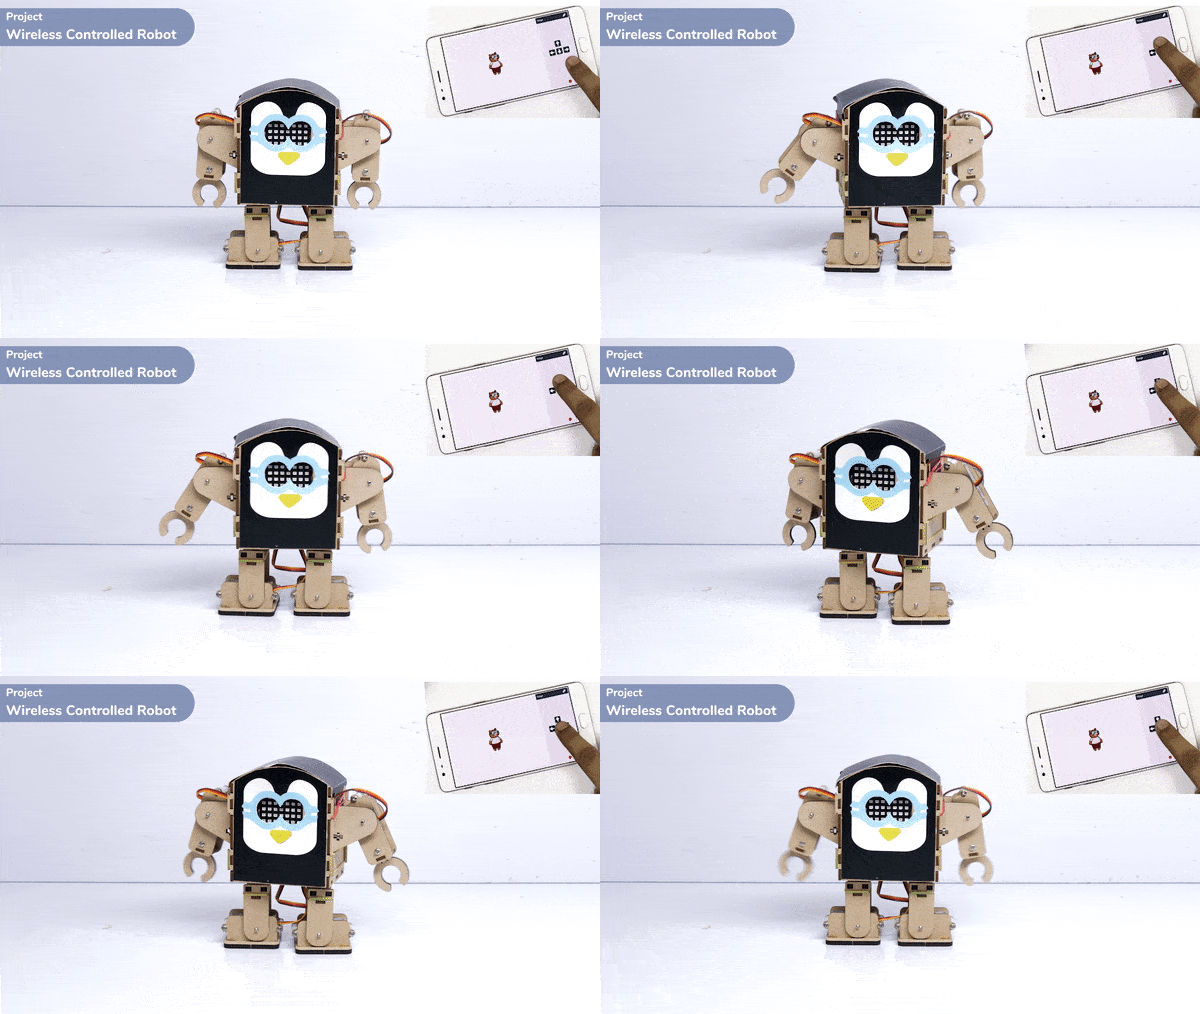
Example

Learn about humanoid robots, their form and functionality, and how the program uses arrow keys to control humanoid movement in different directions and speed.

Introduction

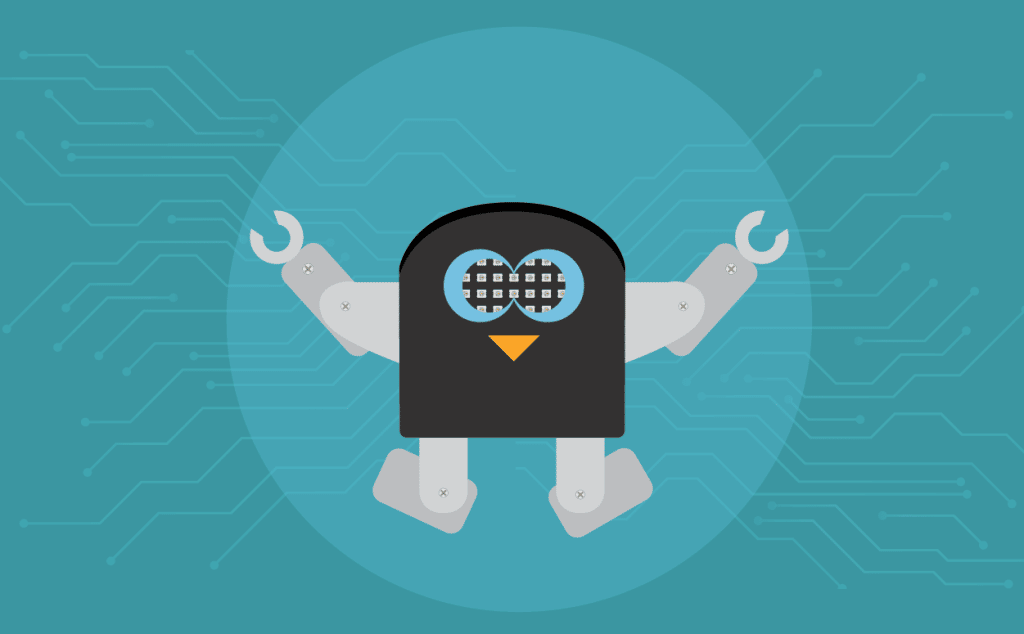
A humanoid is a type of robot or artificial system that is designed to resemble a human being in its form and functionality. Humanoid robots are typically equipped with sensors, actuators, and artificial intelligence capabilities that enable them to interact with their environment and perform tasks that are similar to those of a human being. Humanoid robots are used in various fields, including robotics research, entertainment, healthcare, education, and customer service.
Logic

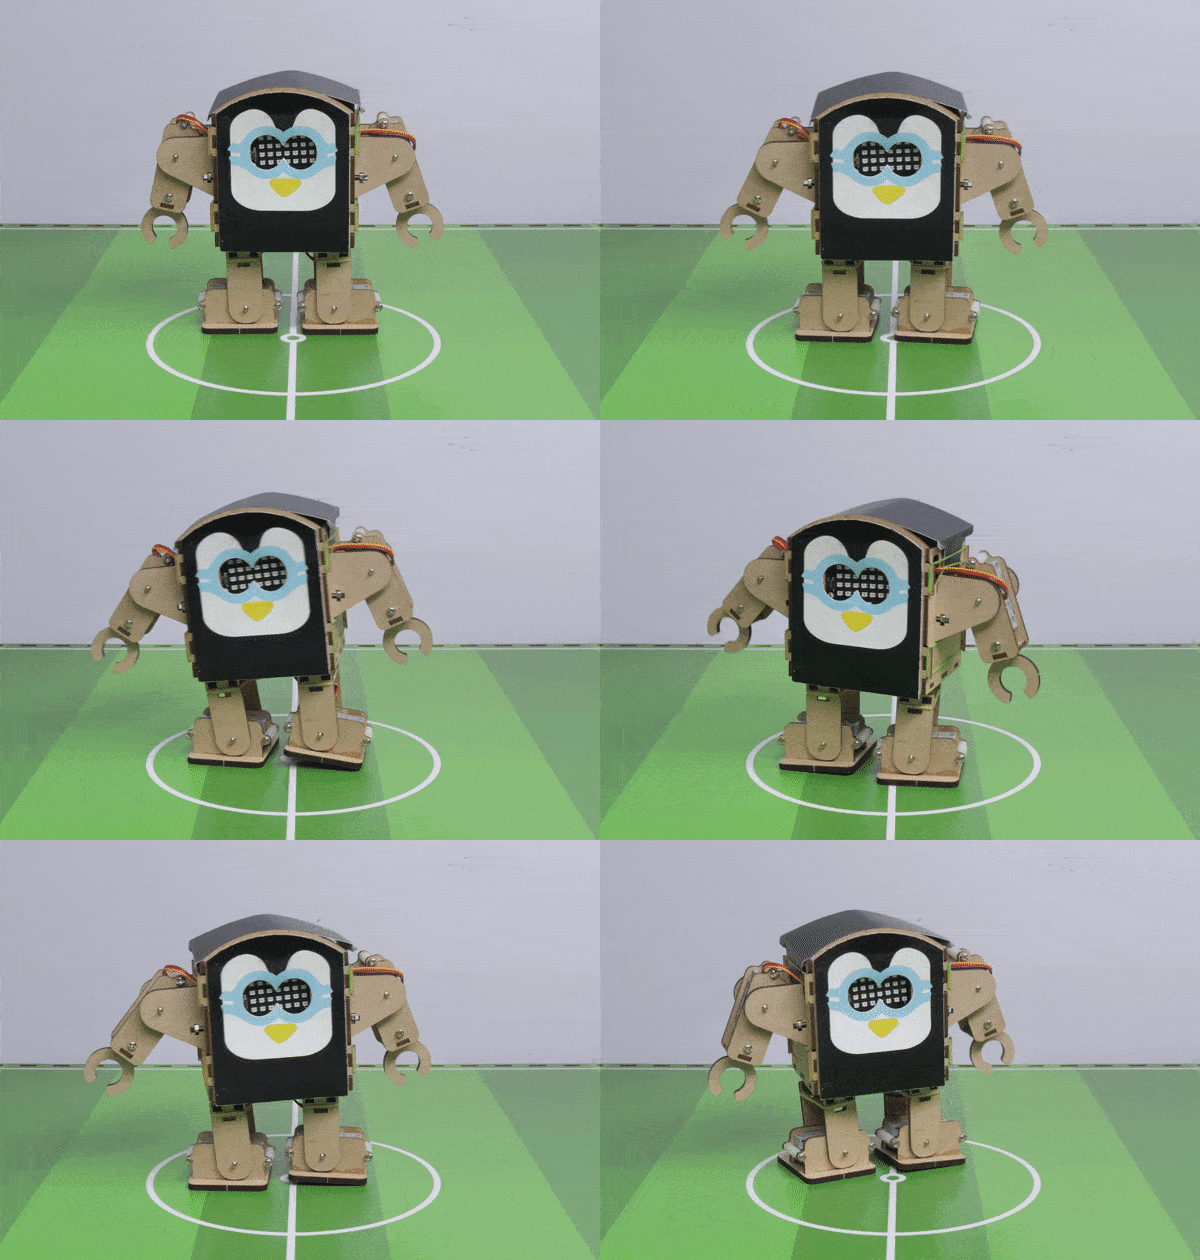
The Humanoid will move according to the following logic:

  1. When the “UP” key is pressed – Humanoid will move forward.
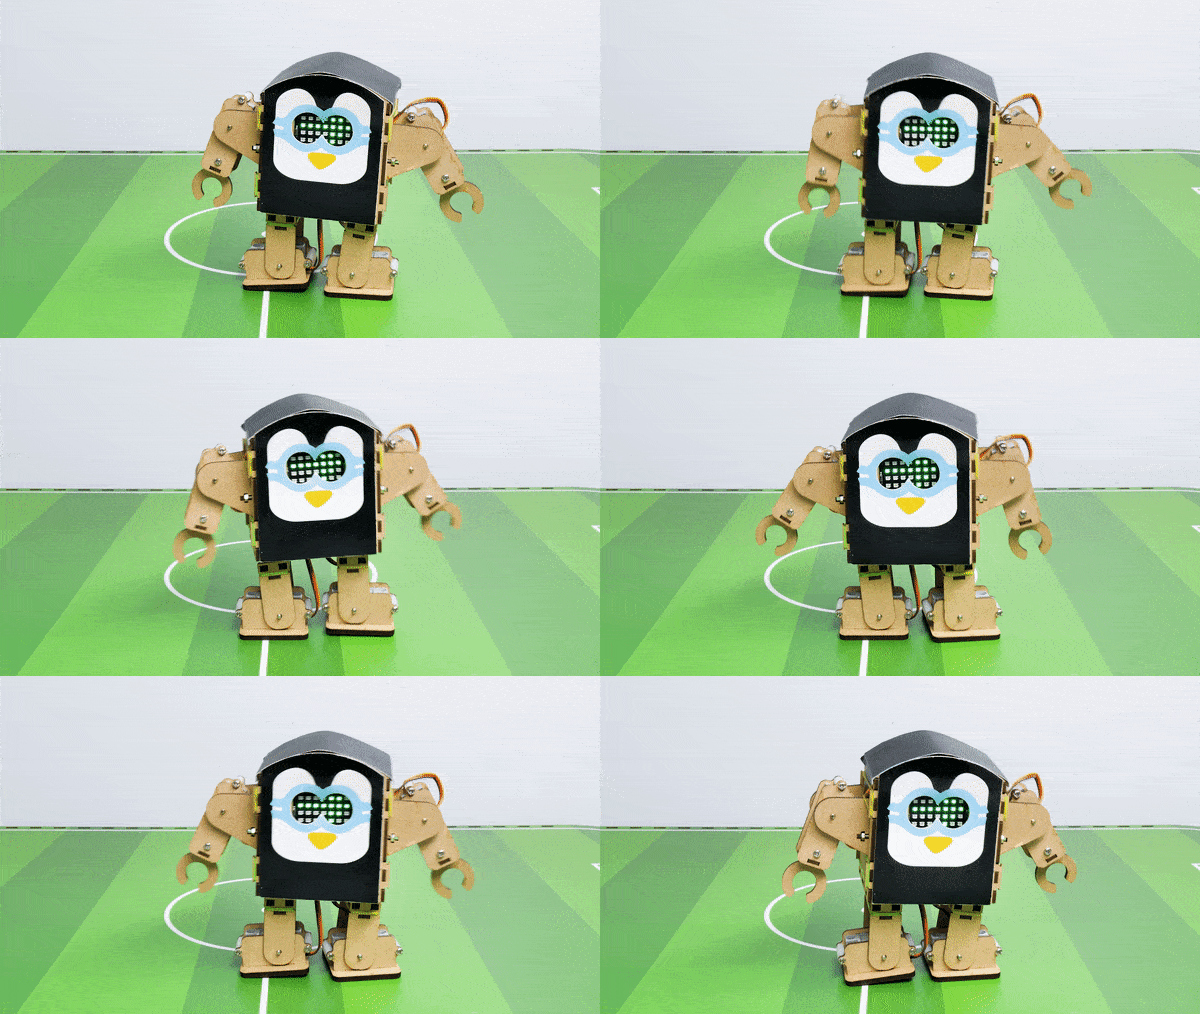
  2. When the “Down” key is pressed – Humanoid will move Backward.
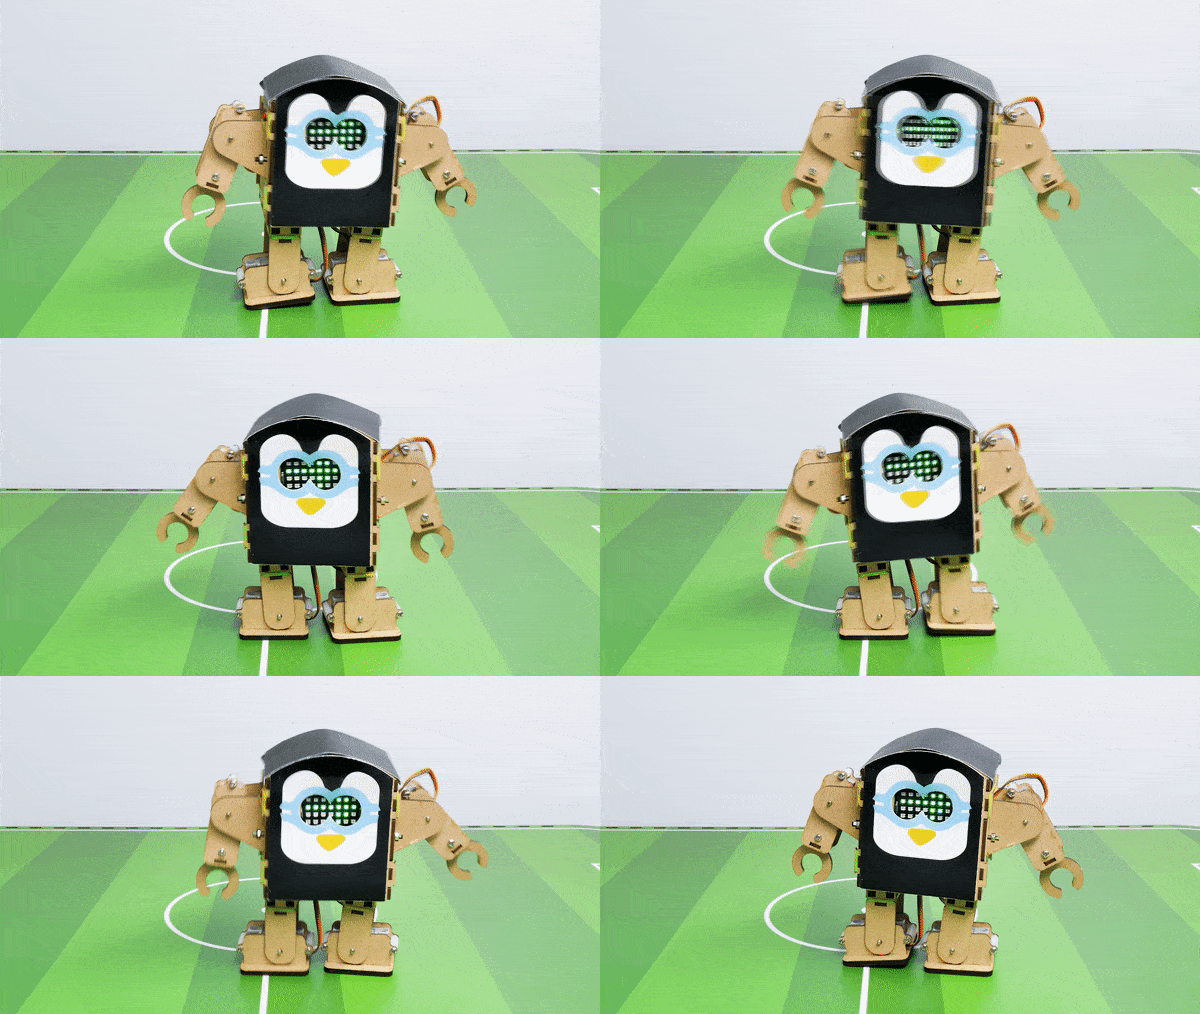
  3. When the “Left” key is pressed – Humanoid will turn left.
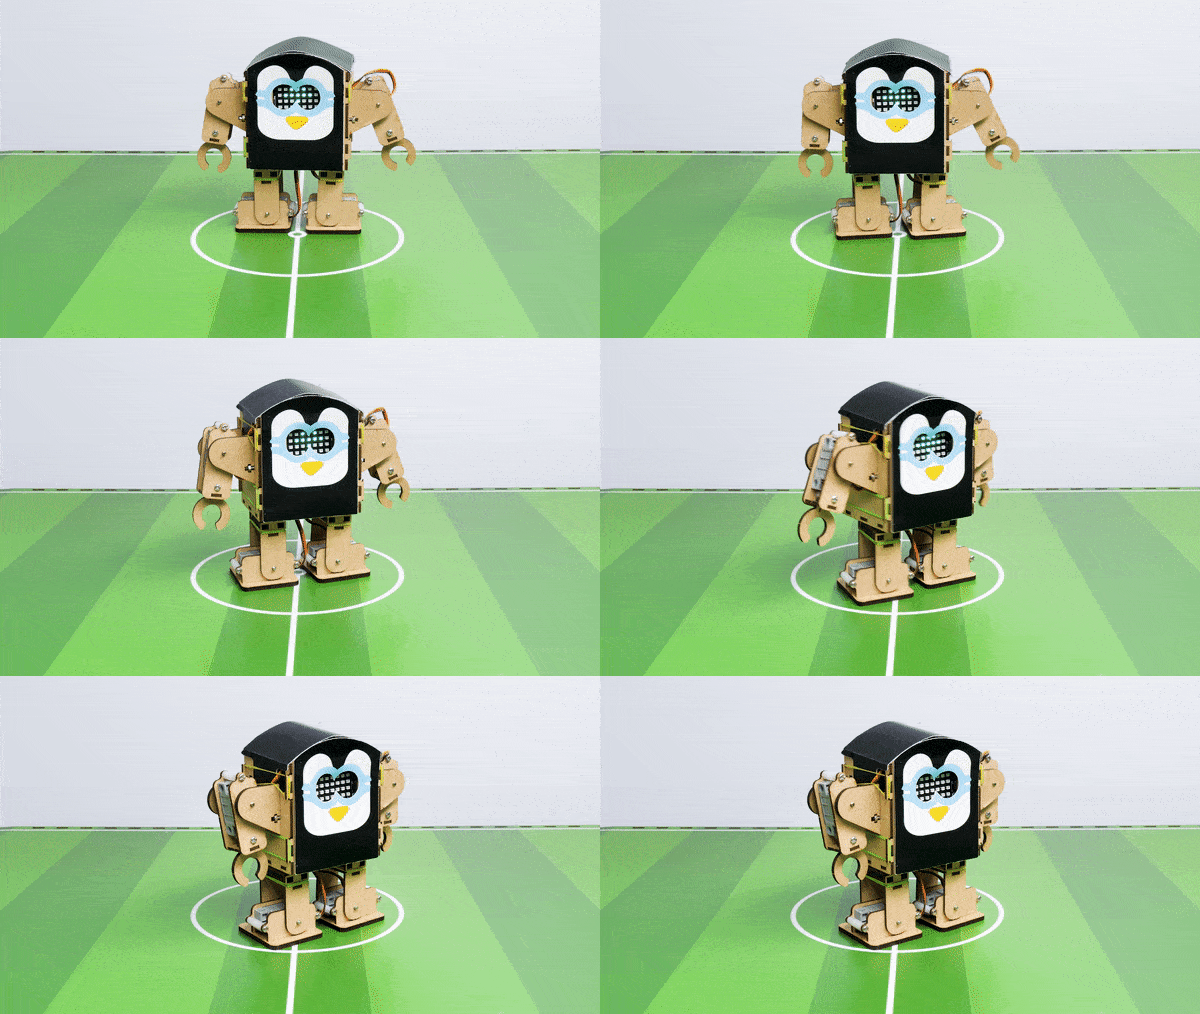
  4. When the “Right” key is pressed – Humanoid will turn Right.
Code

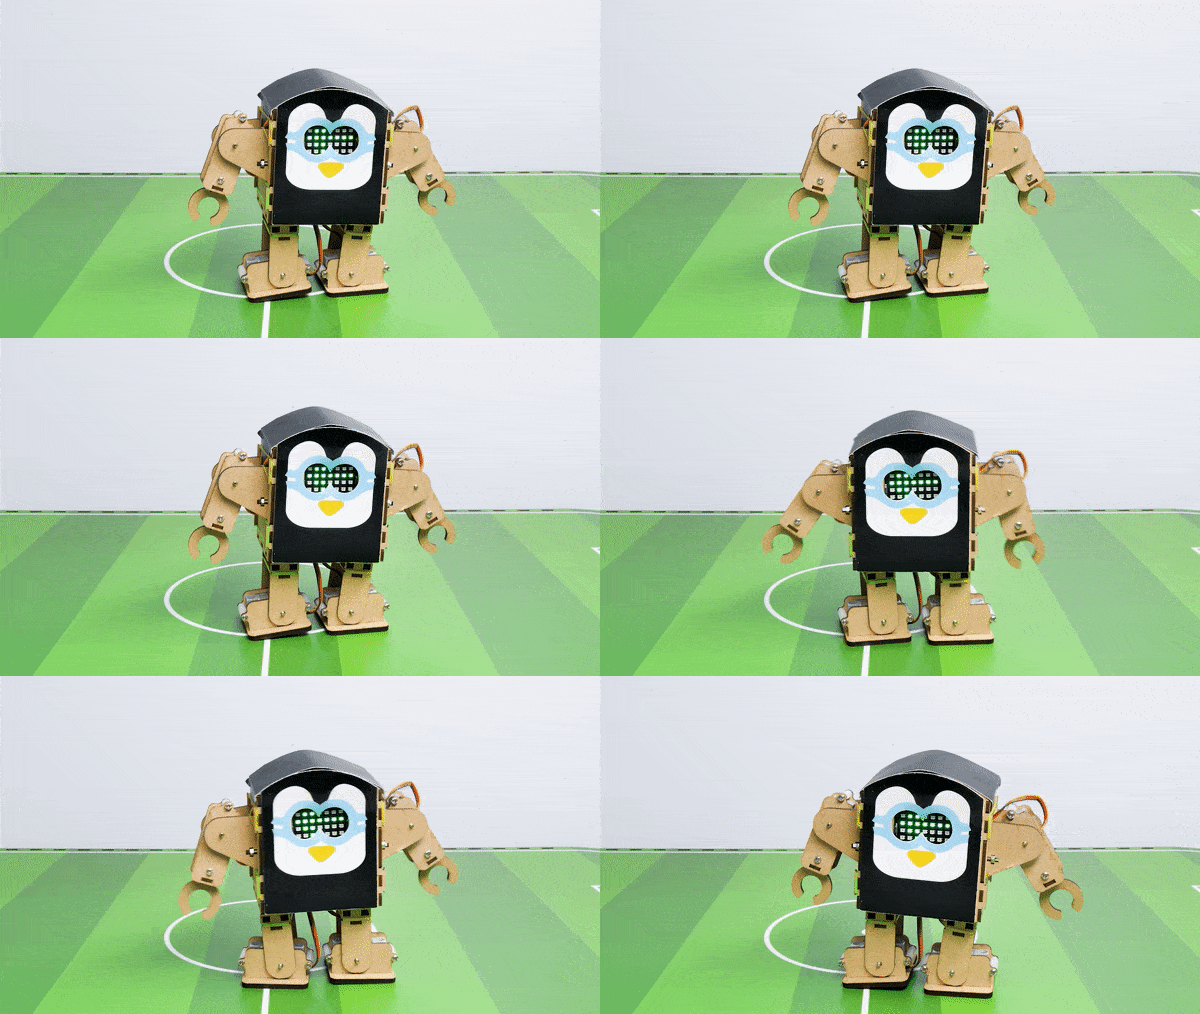
The program uses the up, down, left, and right arrows to control the robot and make it move forward, backward, left, and right. Every time you press one of the arrows, Humanoid will move in the direction you choose.
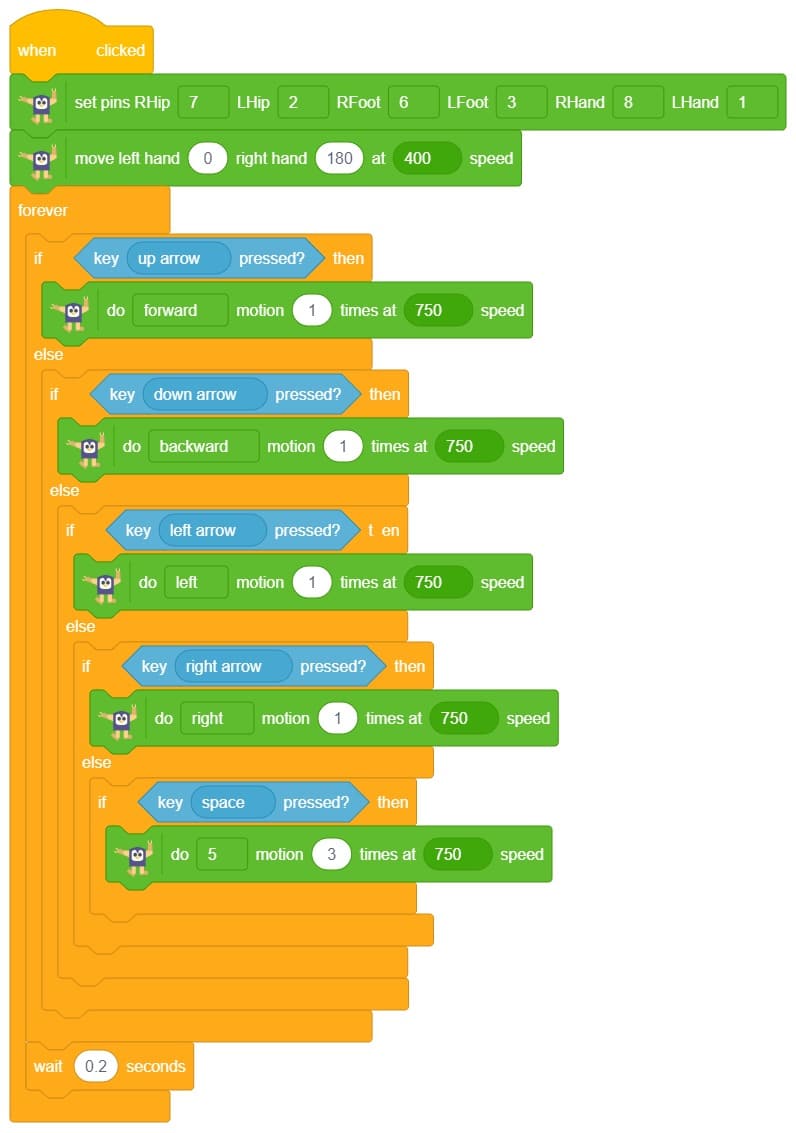
  1. First, we initialize the humanoid extension by dragging and dropping it onto the block we want to use for the humanoid.
  2. Then, we initialize the IF-ELSE block from the control palette.
  3. Here, we use the logic that if the up arrow key is pressed, the humanoid will move forward one step at a specific speed.
  4. If the down arrow key is pressed, the humanoid will move backward one step at a specific speed.
  5. When the right arrow key is pressed, the humanoid will move in the right direction one step at a specific speed using do() motion () times at () speed.
  6. If no key is pressed, the humanoid will return to its home position.

Output

Read More
Learn how to use Pose Classifier, an extension of ML Environment. Follow the step-by-step tutorial on using image classifier in block coding.

Introduction

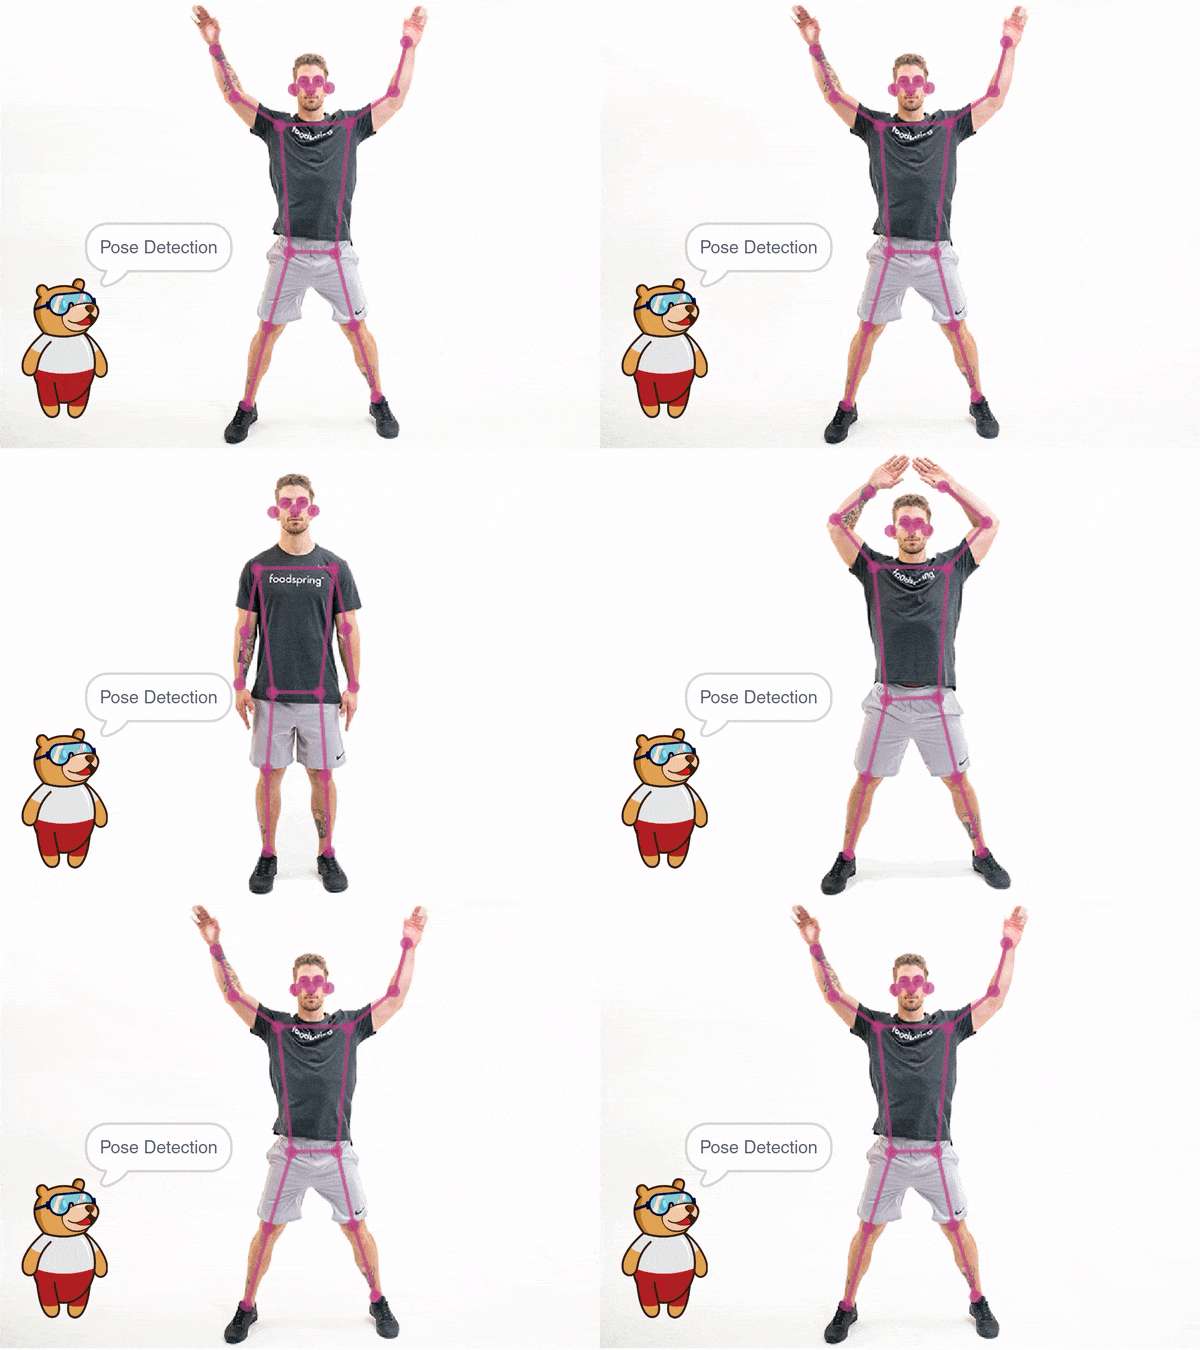
The pose Classifier is the extension of the ML Environment used for classifying different body poses into different classes.

The model works by analyzing your body position with the help of 17 data points.

Pose Classifier Workflow

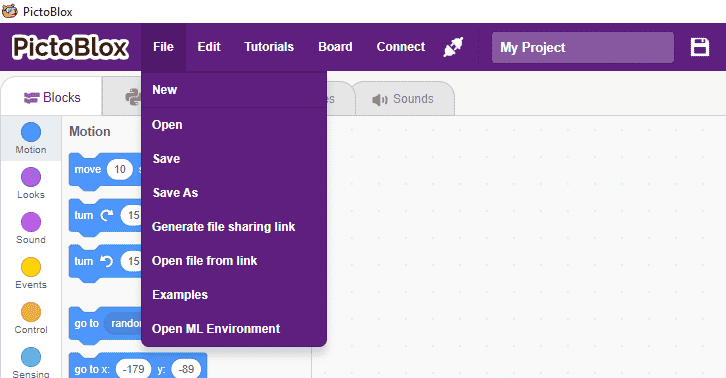
  1. Open PictoBlox and create a new file.
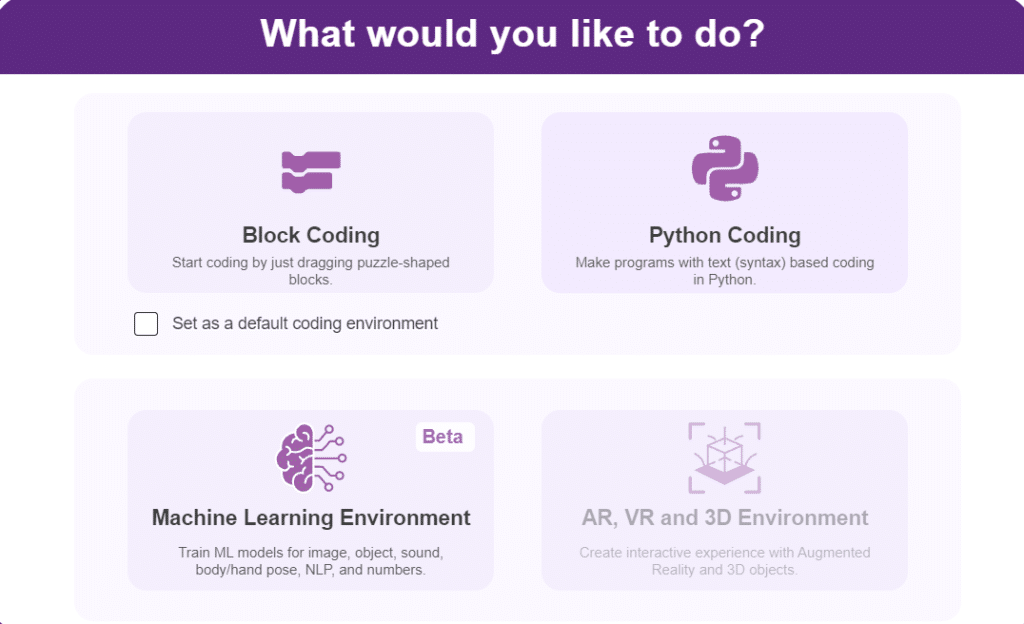
  2. You can click on “Machine Learning Environment” to open it.
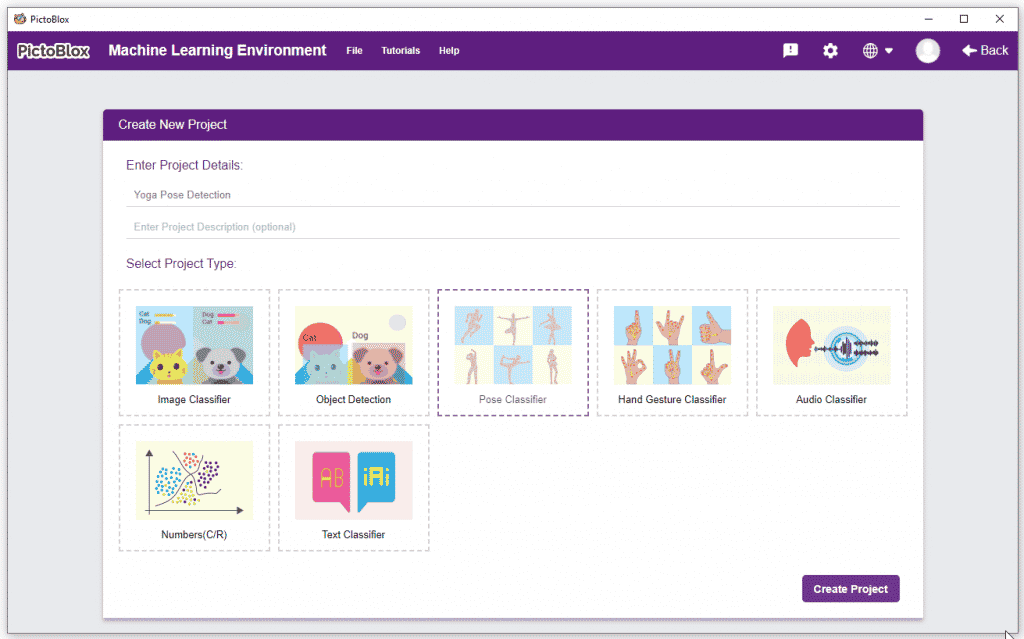
  3. Click on “Create New Project“.
  4. A window will open. Type in a project name of your choice and select the “Pose Classifier” extension. Click the “Create Project” button to open the Pose Classifier window.
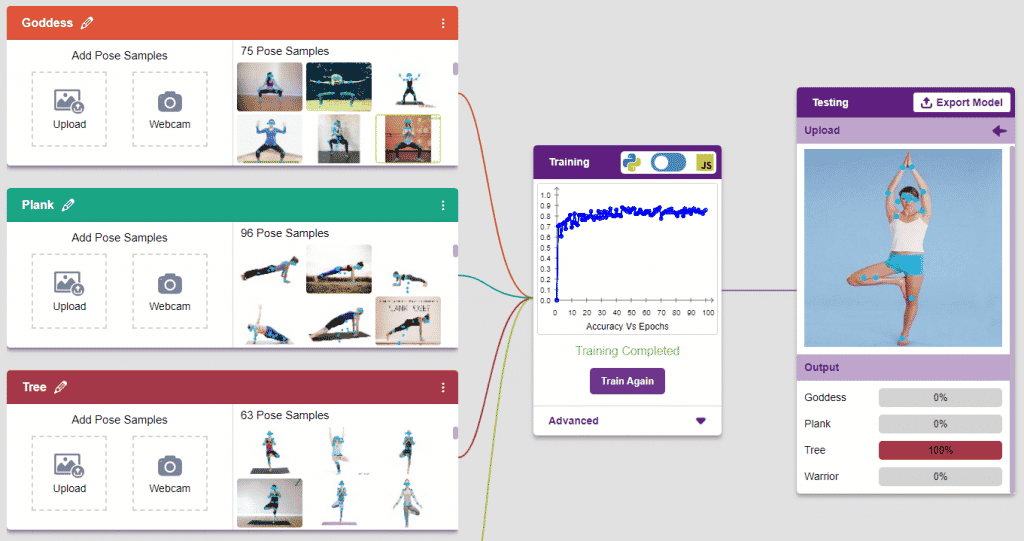
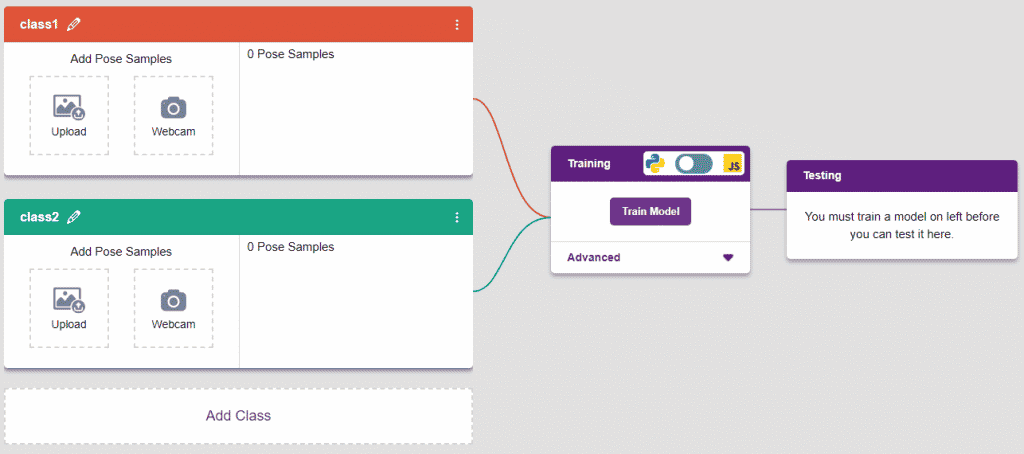
  5. You shall see the Pose Classifier workflow with two classes already made for you. Your environment is all set. Now it’s time to upload the data.

Class in Pose Classifier

Class is the category in which the Machine Learning model classifies the poses. Similar posts are put in one class.

There are 2 things that you have to provide in a class:

  1. Class Name: The name to which the class will be referred.
  2. Pose Data: This data can be taken from the webcam or uploaded from local storage.
Adding Data to Class

You can perform the following operations to manipulate the data into a class.

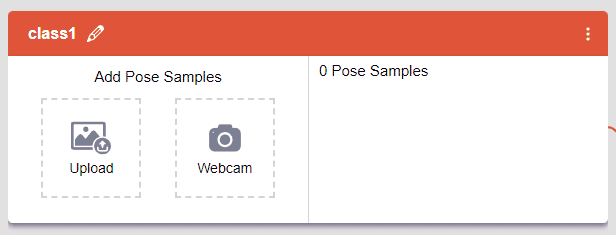
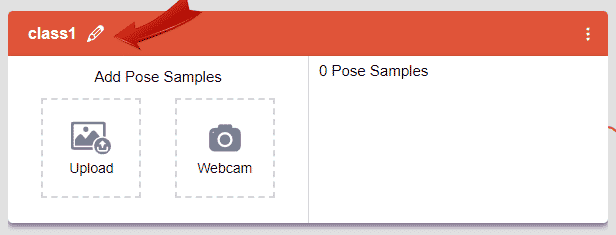
  1. Naming the Class: You can rename the class by clicking on the edit button.
  2. Adding Data to the Class: You can add the data using the Webcam or by Uploading the files from the local folder.
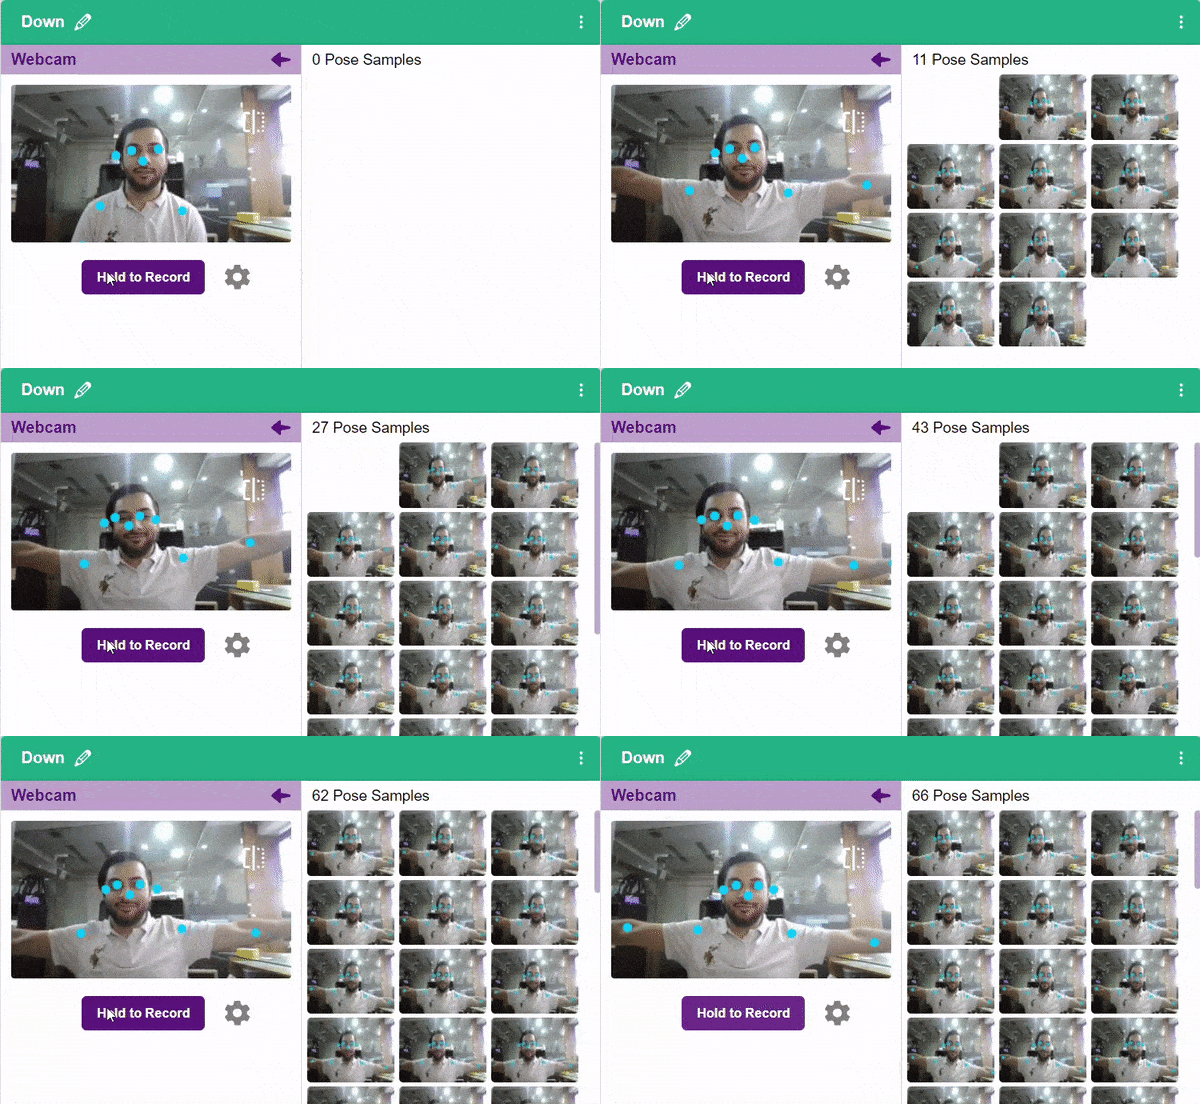
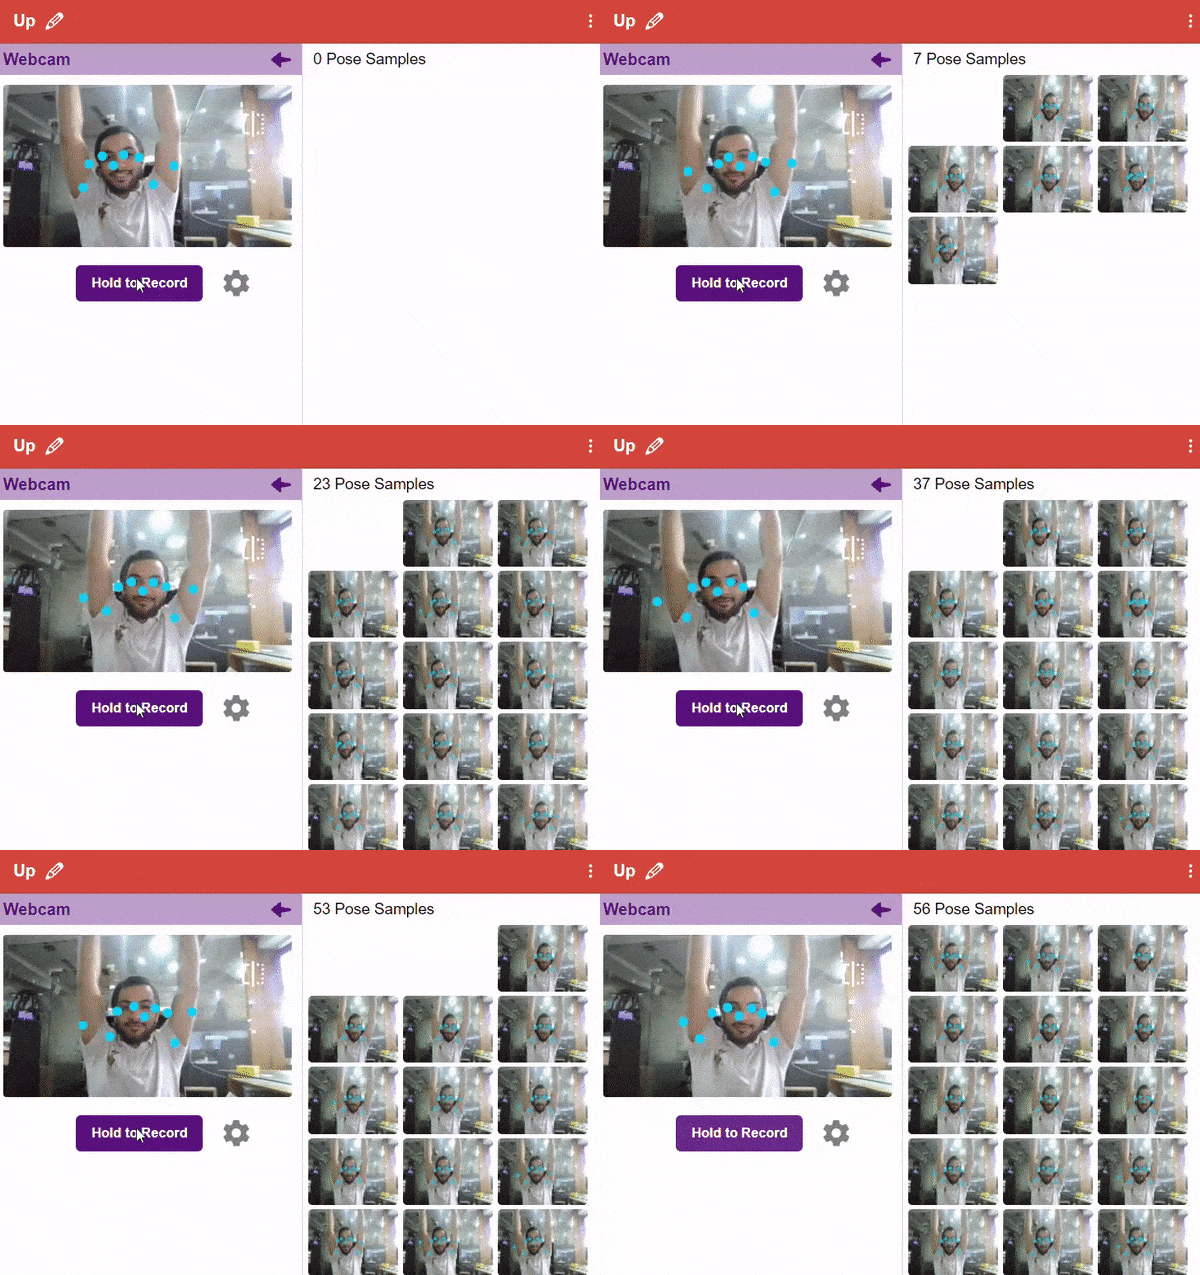
    1. Webcam:
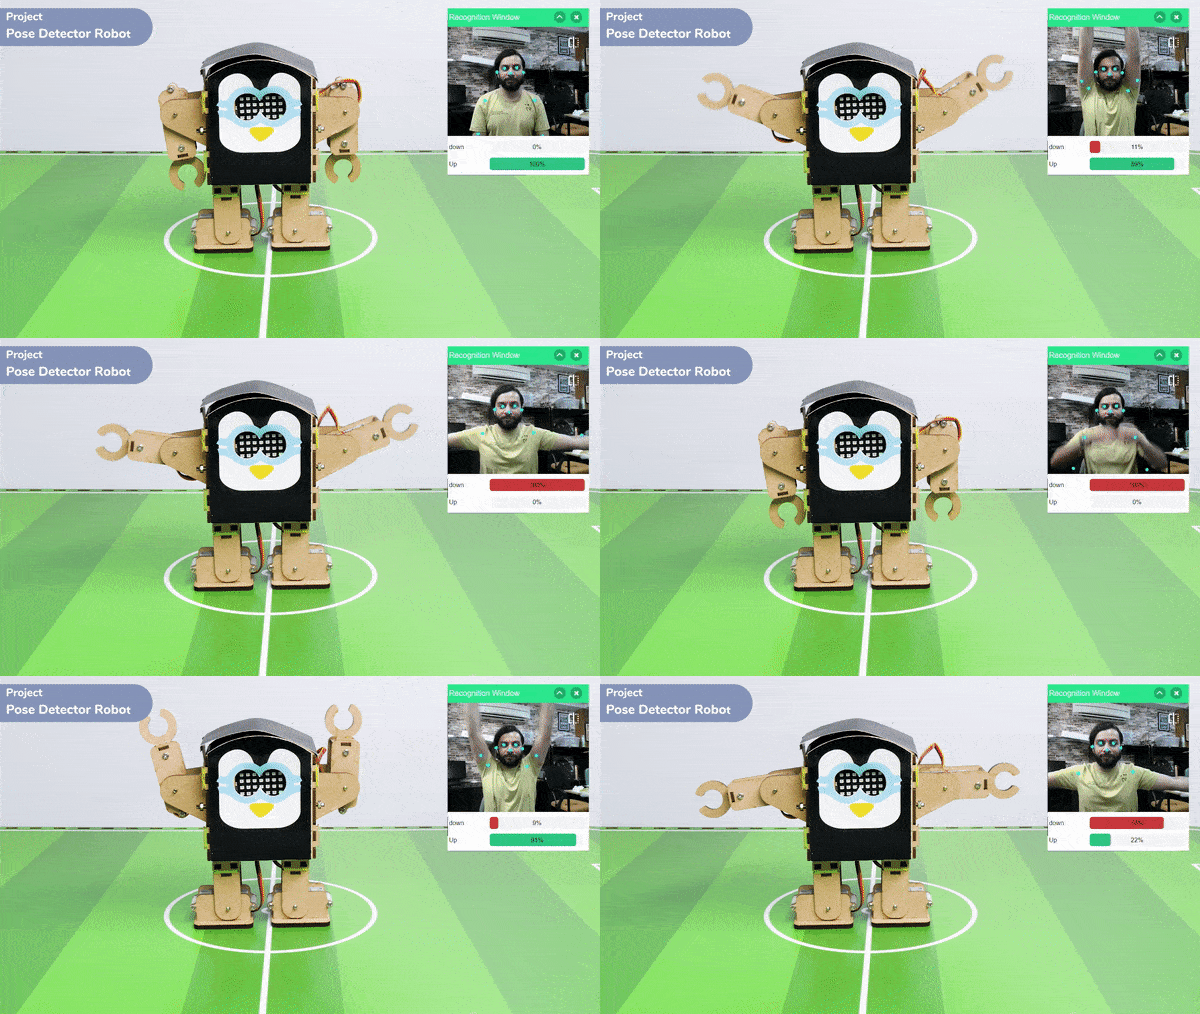
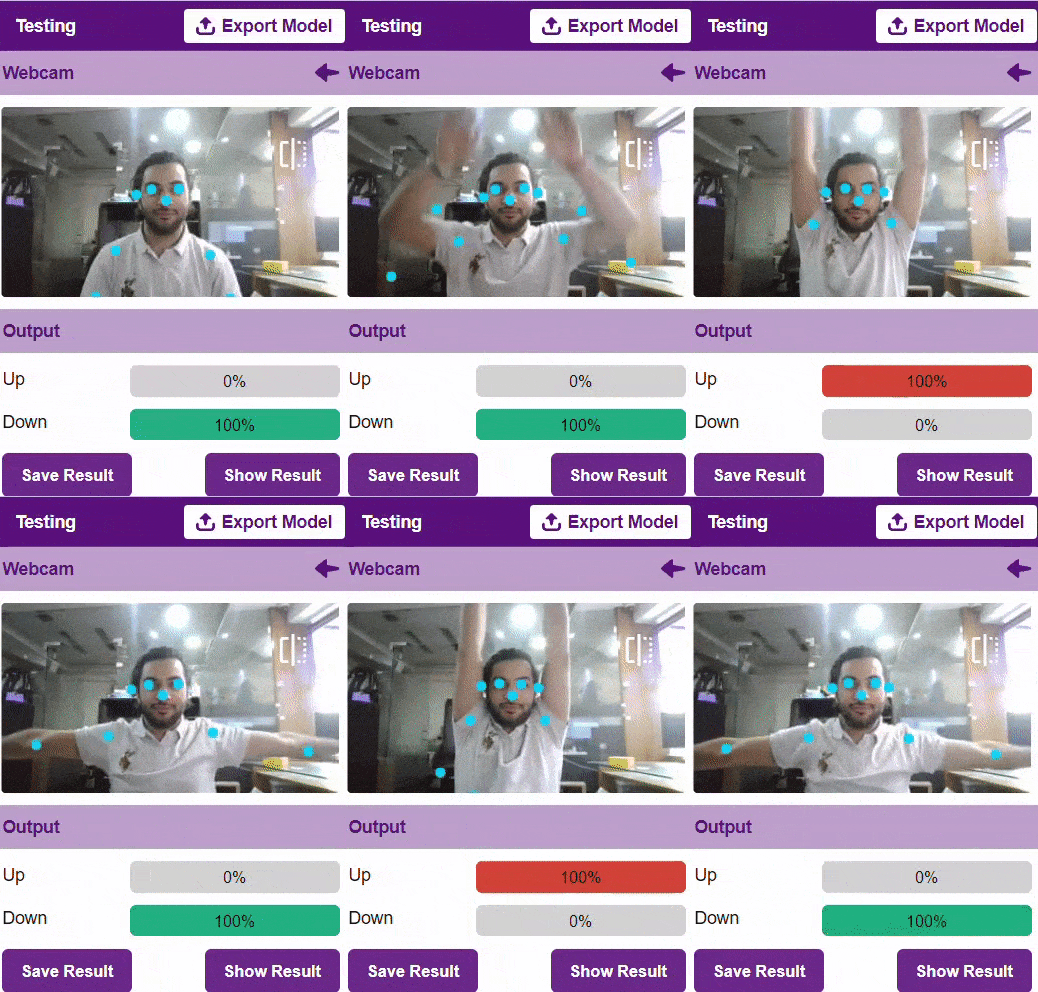
  3. We use two classes, “up” and “down,” in our code, as depicted in the picture.
Training the Model

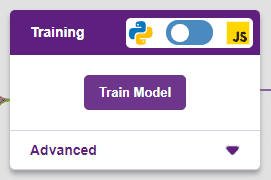
After data is added, it’s fit to be used in model training. To do this, we have to train the model. By training the model, we extract meaningful information from the hand pose, and that in turn updates the weights. Once these weights are saved, we can use our model to predict previously unseen data.

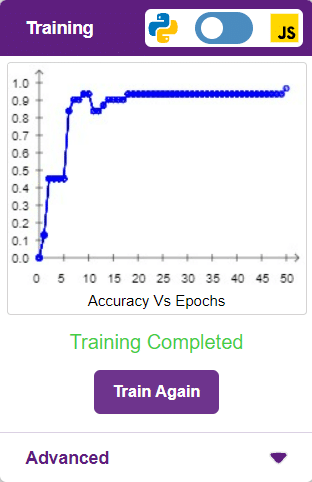
The accuracy of the model should increase over time. The x-axis of the graph shows the epochs, and the y-axis represents the accuracy at the corresponding epoch. Remember, the higher the reading in the accuracy graph, the better the model. The range of accuracy is 0 to 1.

Testing the Model

To test the model, simply enter the input values in the “Testing” panel and click on the “Predict” button.

The model will return the probability of the input belonging to the classes.

Export in Block Coding

Click on the “Export Model” button on the top right of the Testing box, and PictoBlox will load your model into the Block Coding Environment if you have opened the ML Environment in the Block Coding.

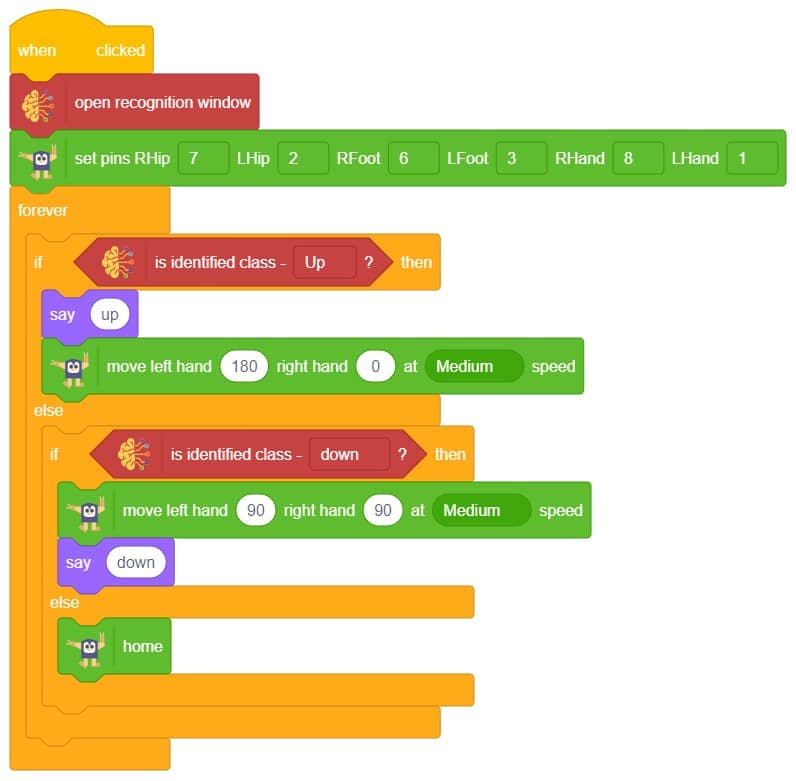
Code Explanation

  1. First, select the Humanoid extension from the palette.
  2. Drag and drop the “forever” block to create a continuous loop.
  3. Drag and drop the “if” and “else” blocks from the control palette. If the upper-class hand is detected in a pose, the Humanoid will move its left hand to 180 degrees and its right hand to 0 degrees, imitating a human-like pose.
  4. If the “down” class is indicated on the screen, PictoBlox will prompt saying “down” and the Humanoid will move its left and right hand to mimic a human pose, with a rotation of 90 degrees each.
  5. Otherwise, the Humanoid will assume a home position, remaining still with no movement.

Code

Logic

  1. The first model is used to identify the pose of a human, presumably using pose estimation techniques.
  2. Two classes, “up” and “down,” are added to represent the different angles of a person’s hand position.
  3. The model is trained using labeled data to learn to predict the class (up or down) based on the input image or video frame.
  4. The trained model is then used to predict the class of an image or video frame captured from a webcam, indicating the current position of the person.
  5. The code includes an if-else condition to handle the predicted class. If the model identifies the person’s pose as “up,” the Humanoid will mimic the same position and angle of the person’s hand.
  6. If the model identifies the person’s pose as “down, the Humanoid will set its hand angle to a down position.

Output

Read More
All articles loaded
No more articles to load
Table of Contents