Introduction
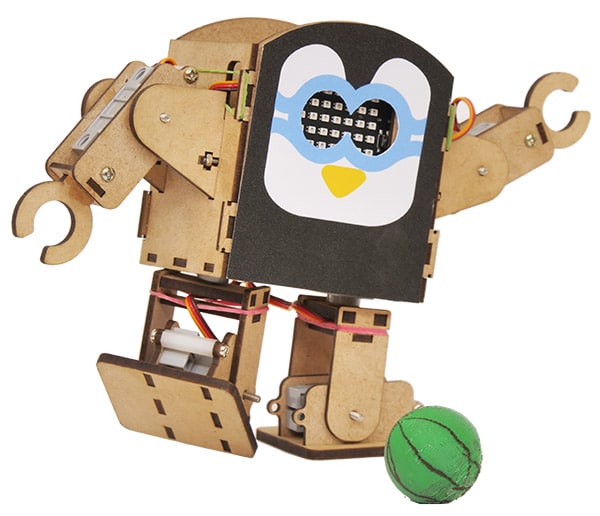
Quarky’s humanoid robot kit is a perfect way for students to learn about robot mechanisms, their control, and AI-based applications. With 6 DOF and stability features, it can be programmed to perform complex tasks with precision.
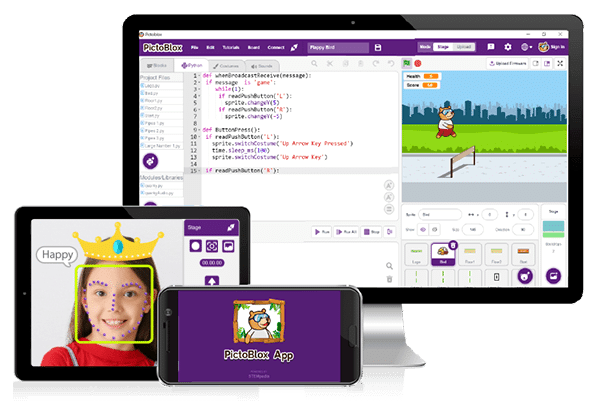
The robot is programmable with PictoBlox. PictoBlox is coding education software using graphical block-based coding and Python programming.
With PictoBlox, you can program the Humanoid to walk, dance, and make other cool moves! You can also create your own actions with special servo motors and servo oscillators.
If you haven’t installed PictoBlox, please follow the instructions:
STEP 1: Download the Pictoblox Installer (.exe) for Windows 7 and above (Release Notes).
STEP 2: Run the .exe file.
Some of the device gives the warning popup. You don’t have to worry, this software is harmless. Click on More info and then click on Run anyway.
STEP 3: Rest of the installation is straight forward, you can follow the popup and check on the option appropriate for your need.

Your software is now installed!
STEP 1: Download the Pictoblox Installer (.dmg).
STEP 2: Run the .dmg file.
STEP 1: Open Google Play Store on your Smartphone and and search for PictoBlox or visit the link here to head over to the Google Play Store. You can even scan the QR Code below from your Smartphone to head to the PictoBlox App.

STEP 2: Install the PictoBlox App.
Connecting Quarky with PictoBlox
Let’s begin by first connecting Quarky to PictoBlox. Select your preferred type of device i.e. either the desktop/laptop or your smartphone and follow the instructions.
Desktop
Follow the steps below for connecting Quarky to PictoBlox:
- First, connect Quarky to your laptop using a USB cable.
- Next, open PictoBlox on your desktop.
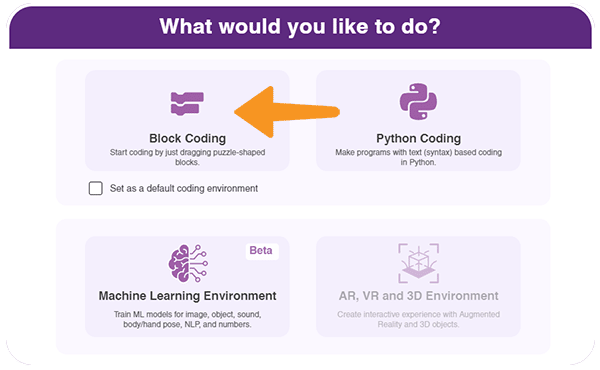
- After that, select Block as your coding environment.
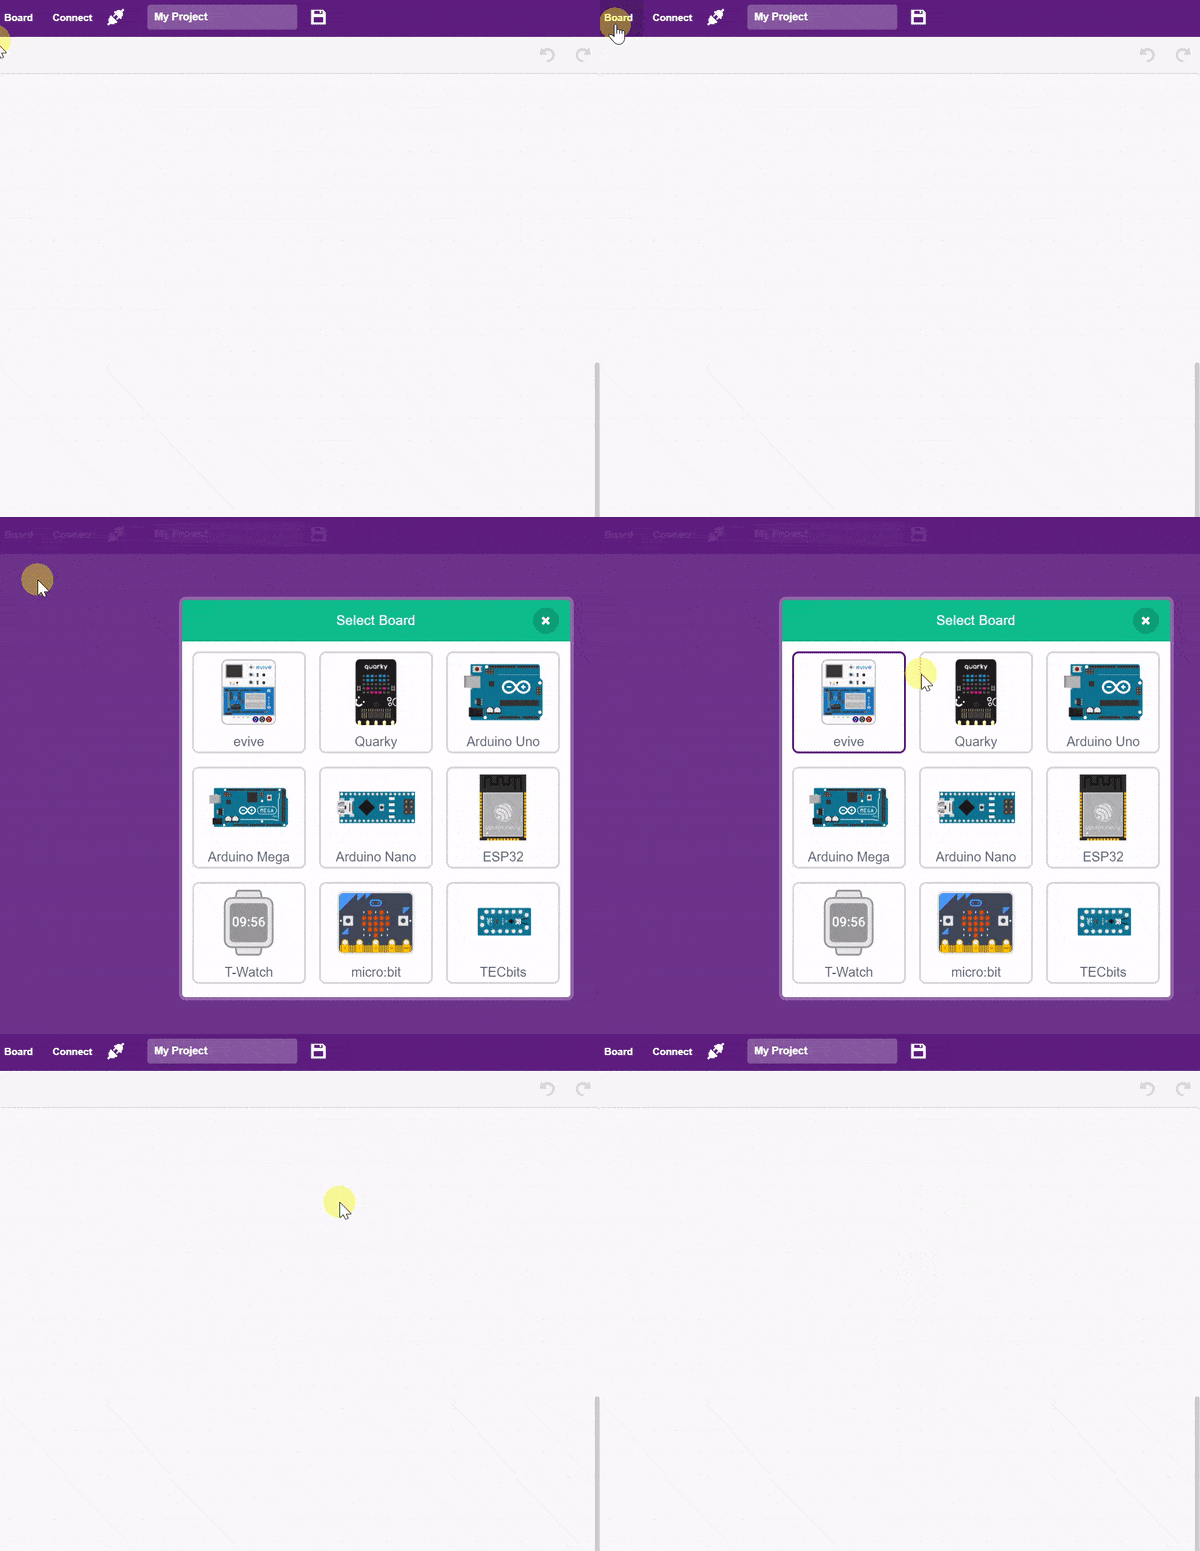
- Then, click the Board button in the toolbar and select board as Quarky.
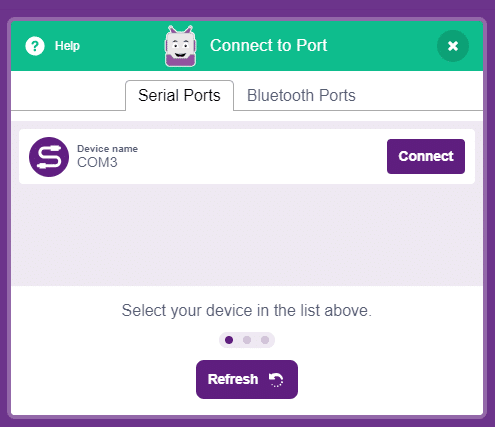
- Next, select the appropriate Serial port if the Quarky is connected via USB or the Bluetooth Port if you want to connect Quarky via Bluetooth and press Connect.
- Click on the Upload Firmware button. This will upload the latest firmware in Quarky.
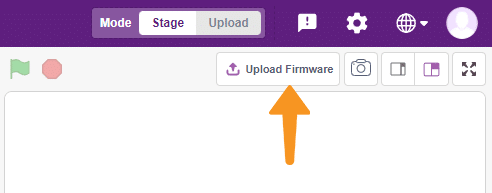
 Note: If your device already has the latest firmware, then PictoBlox will show the message – Firmware is already updated. For learning more you can refer to this tutorial: https://ai.thestempedia.com/docs/quarky/quarky-toubleshooting/updating-quarky-firmaware-with-pictoblox/
 - Once the firmware is uploaded, Quarky starts the Getting Started program. This runs only for the first time. Run through it.
And voila! Quarky is now connected to PictoBlox.
Mobile
Follow the steps below for connecting Quarky to PictoBlox:
- First, power ON Quarky.
- Open PictoBlox on your smartphone. Go to My Space and make a new project by clicking the ‘+(plus)’ button in the bottom-right corner.
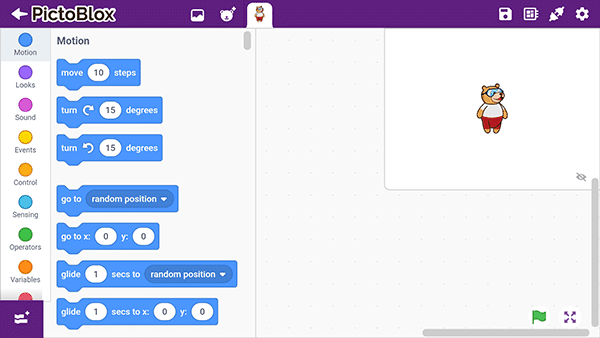
- Then, tap the Board button in the top-right corner of the toolbar.
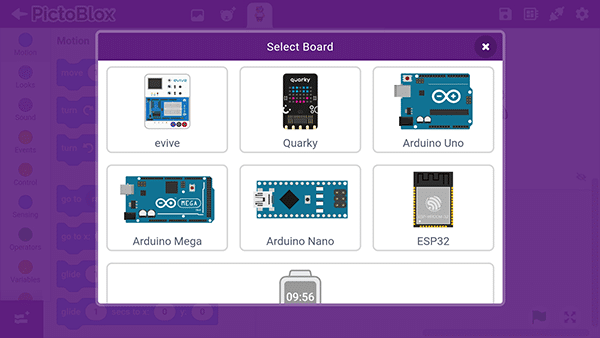
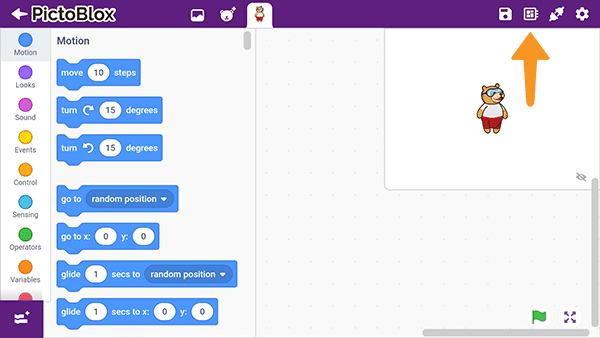 Select board as Quarky.
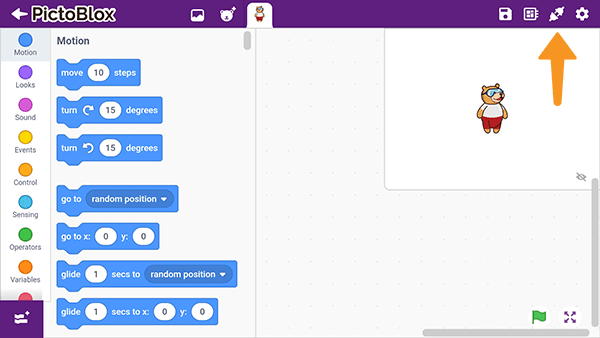
- Next, tap the Connect button:
 Select your device from the list.
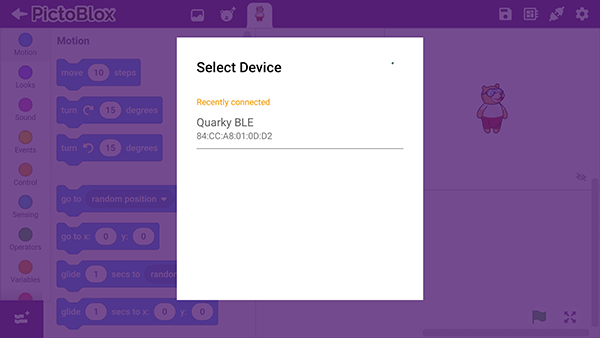
And voila! Quarky is now connected to PictoBlox.
Quadruped Extension
The Quadruped extension in PictoBlox allows you to control the robot. It has blocks for specific applications. To add the Quadruped extension follow the instructions:
- Click on the Add Extension button and add the Quarky Quadruped extension.
- You can find the Quarky Quadruped blocks available in the project.
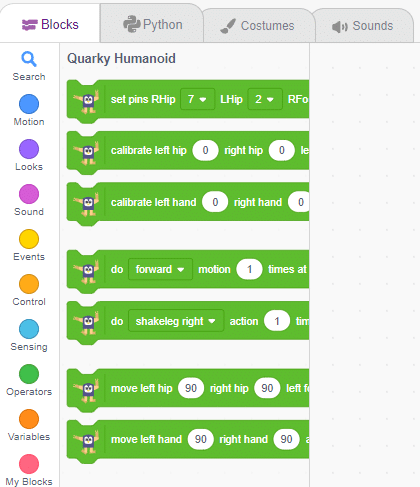
PictoBlox Blocks for Humanoid
The following blocks are available for the Humanoid:
Activity 1: Calibrating Humanoid Robot
In this activity, we are going to calibrate the humanoid robot. Due to some mechanical assembly errors, there may be some misalignment of the servos which can be handled with calibrate left hip () right hip () left foot () right foot () block and calibrate left hand () right hand () block.
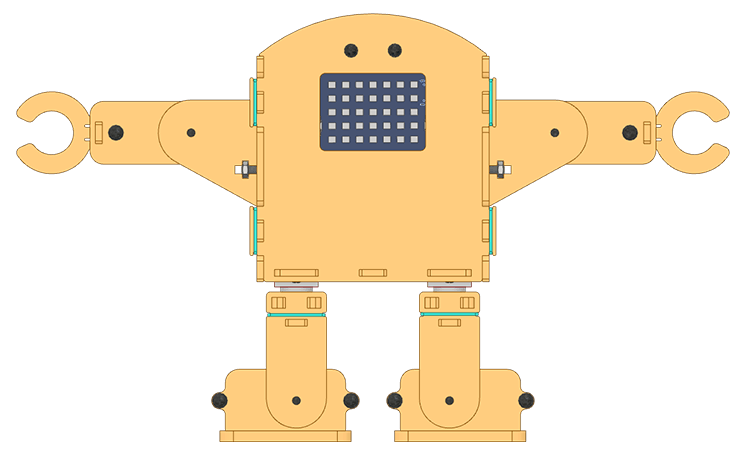
Follow the steps:
- Open a new project in PictoBlox.
- Connect Quarky to PictoBlox.
- Click on the Add Extension button and add the Quarky Humanoid extension.
- Make the following code:
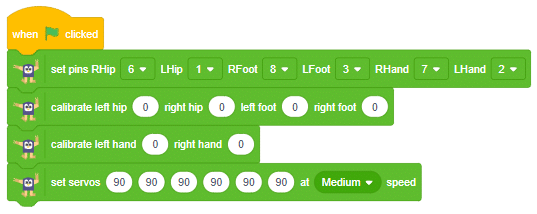
Run the code with Green Flag. Now you have to make sure that the robot has the following orientation:

If you find any twist of angle in the robot, edit the value of the servo motor in the calibrate left hip () right hip () left foot () right foot () block and calibrate left hand () right hand () block. If this step is not done properly, your robot may move in an incorrect manner.

Activity 2: Control Humanoid Predefined Motions
In this project, we will explain how to run predefined motions in PictoBlox for the Humanoid. The predefined motions allow users to make the robot move forward, backward, left, and right.
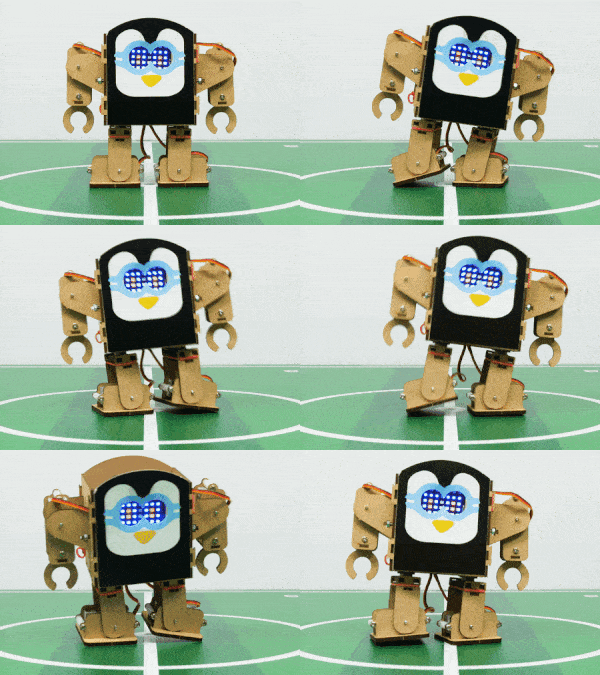
Follow the steps:
- Open a new project in PictoBlox.
- Connect Quarky to PictoBlox.
- Click on the Add Extension button and add the Quarky Humanoid extension.
- There are four predefined motions for Quarky in PictoBlox which can be accessed through do () motion () times at () speed Using the do () motion () times at () speed block, we can control the number of times the motion has to be executed. Motions: Forward, Backward, Left, and Right.
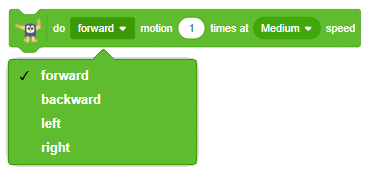
- Make the following code:
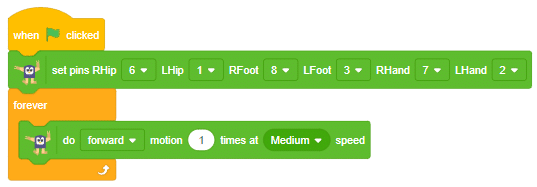
- Click on the green flag to run the motion sequence.
- Try running the robot at different speeds and try other actions.

Conclusion
In conclusion, Quarky‘s humanoid robot kit is an excellent resource to learn about robot mechanisms, their control, and AI–based applications. With PictoBlox, users can program the robot to perform a variety of motions and actions with ease, as well as create their own custom movements with special servo motors and servo oscillators. By following the steps outlined in this lesson, users can easily install PictoBlox and connect Quarky to the software, as well as calibrate the robot and program it to move in different directions.

