Introduction
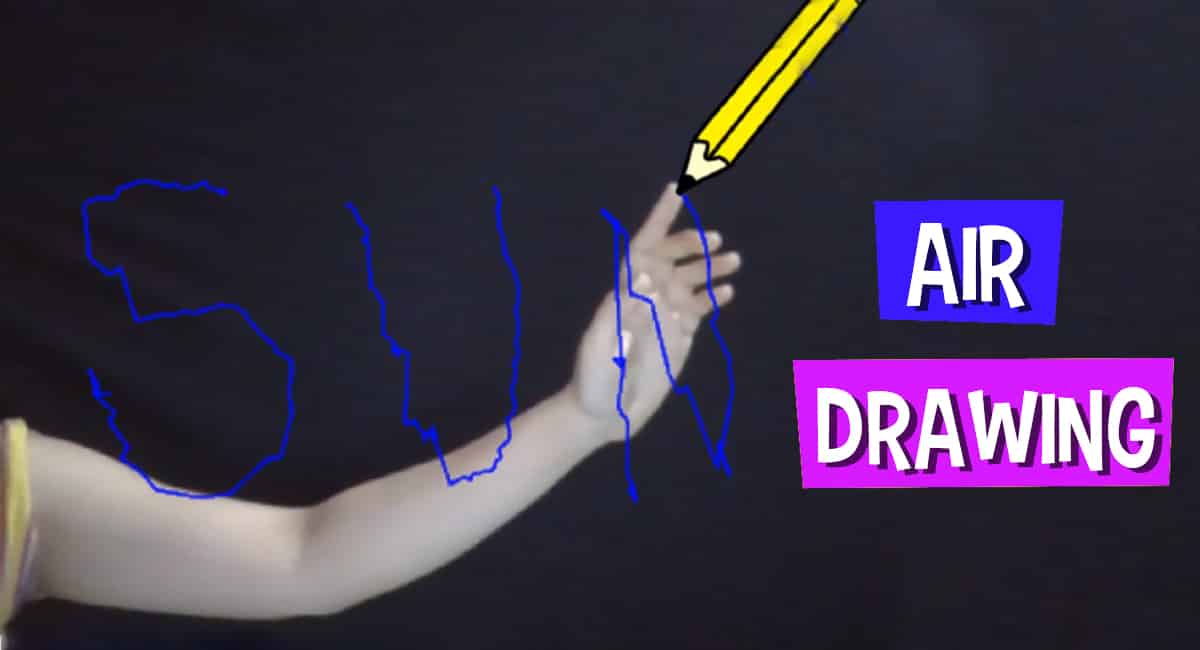
Art is in the AIR; literally. How? With PictoBlox’s human body detection ability! Learn to draw your favorite pictures in the air using the tip of your finger and the blocks in Human Body Detection Extension in PictoBlox and trace it on your computer screen. No more worrying about finished sketchbooks or pencils. All you need is your finger and the world becomes your canvas!
Ready to give this unique form of drawing a try?
Let’s get started!
Prerequisites
To make the project all you need is
- A laptop or a computer with a camera,
- The latest version of PictoBlox downloaded
- Good Internet connection.
You can download PictoBlox from here:
Setting up the Project
Let’s begin by adding the Human Body Detection and Pen Extension.
- Open PictoBlox.
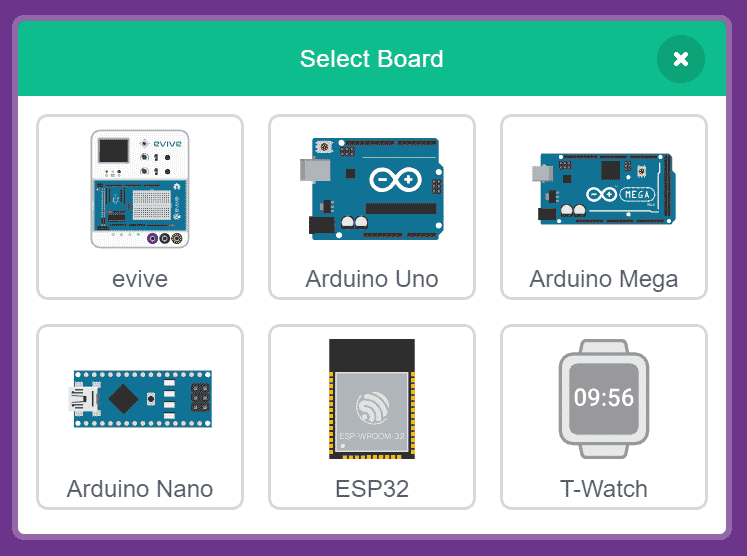
- Click on Board and select evive.
- Click on the Add extension buttons.
- You need to keep two things in mind while working with this extension:
- That your computer is connected to the internet.
- You did Log in to your PictoBlox account to use it.
- Choose the Human Body Detection extension and wait for a little while till the models get loaded.
- Now to draw on the screen, we need to add the Pen extension. Now click on the Add extension button again.
- And choose Pen extension.
You may see that Human Body Detection and pen blocks are added into the block palettes.
Setting Up the Stage
Now, let’s add a new Pencil sprite to draw.
- Click on choose a sprite button and select a pencil sprite from the library.
- Right-click on Tobi and choose delete from the dropdown to delete Tobi’s sprite.
- We will need to make a few changes in the costume of the Pencil Sprite. Select the Costume Palette to edit the costume.

- Next, drag the pencil into the costume area, such that the tip of the pencil should be on the center dot.
- Next, we need to make 3 additional sprites.
- Pen Up: to stop drawing on the screen
- Pen Down: to draw on the screen
- Erase All: to clear the screen
- Click on Choose A Sprite button and select the Paint option. Use the rectangle tool to draw background and Text tool to display the message.
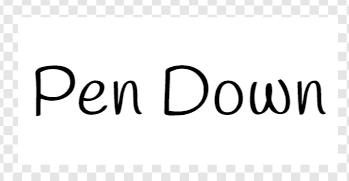
- Similarly, make the other two sprites which are Pen Down and Erase All.
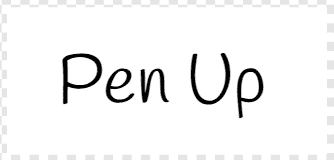
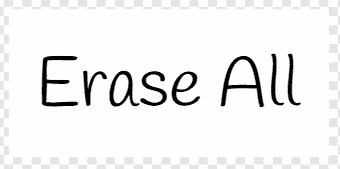
- Once the sprites are made, let’s arrange them onto the stage so that we can get sufficient space to draw. To align them in a straight line, you can keep the value of y-coordinate the same.
Now we need to move on with the script.
Making the Pencil follow the Finger
Let’s begin to write the script.
- Select the Pencil sprite.
- Drag and drop a when flag clicked hat block into the scripting area to execute the program whenever the green flag is clicked.
- As we will be drawing in air and the drawings will be traced on the screen, we need to turn the camera on, thus snap a turn on video on stage with 0% transparency block from the Human Body Detection palette.

- Add a forever block from the Control palette to run the script continuously.
- Now as we need the details of the hand in real-time we will be using analyse image for hand from camera block from the Human Body Detection palette.

- Next, we need to check whether our hand is detected or not. Thus, place an if block from the Controls palette.
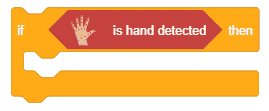
- We will be using the tip of the index finger to draw. Thus, we need the tip of the pencil to follow the tip of our index finger. We will use go to x() y() block from the motion palette.
- Next, place the x position of top of thumb block from the human body detection palette into the x input of the go to x() y() block. From the last dropdown, select index finger.

- Duplicate this block and place it into the y input, select y from the first dropdown.

With this, the script to trace our finger is completed.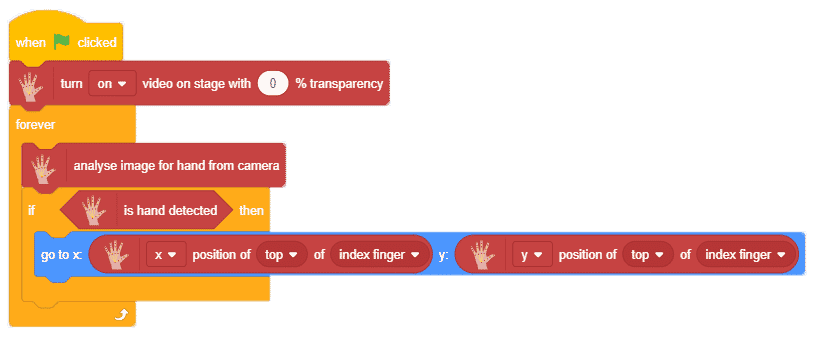
Next, we need to write the scripts to start drawing, stop drawing, and erase the drawing i.e. we will be activating the buttons that we’ve created one by one.
Scripts to Activate the Buttons
Next, we need to start drawing as soon as the button a.k.a the Pen Down Sprite is clicked.
- Choose the Pen Down sprite.
- Drag and drop when this sprite clicked hat block from the Events palette.
- Next, place a broadcast message block from the events palette and write Pen Down from the into the message.
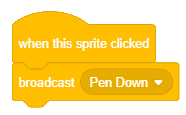
- Next, we need to perform some actions according to the button clicked i.e. the pencil should start drawing. Thus, let’s go back to the pencil sprite.
- Place when I receive block from the events palette and select pen down from the dropdown.
- Now, to make the pencil draw, drag and drop the pen down block from the pen palette below it.

Thus, we have assigned action to one button.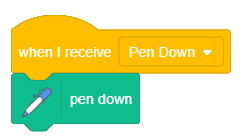
Scripts to Activate the Buttons
Script to Start Drawing
Next, we need to start drawing as soon as the button a.k.a the Pen Down Sprite is clicked.
- Choose the Pen Down sprite.
- Drag and drop when this sprite clicked hat block from the Events palette.
- Next, place a broadcast message block from the events palette and write Pen Down from the into the message.

- Next, we need to perform some actions according to the button clicked i.e. the pencil should start drawing. Thus, let’s go back to the pencil sprite.
- Place when I receive block from the events palette and select pen down from the dropdown.
- Now, to make the pencil draw, drag and drop the pen down block from the pen palette below it.

Thus, we have assigned action to one button.
Script to Stop Drawing
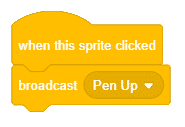
Next, we need to stop drawing as soon as the button a.k.a the Pen Up Sprite is clicked.
Repeat the above step 1 to step 3 and make the respective changes and the script will look like this.
To assign actions to the button, repeat step 4 to step 6 and make the following changes. Replace the pen down block with the pen up block.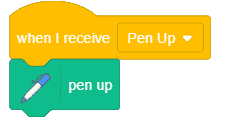
Script to Erase the Drawing
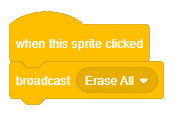
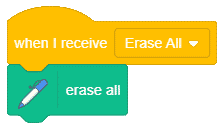
Finally, we need to erase the drawing as soon as the button a.k.a the Erase All Sprite is clicked.
Repeat the above step 1 to step 3 and make the respective changes and the script will look like this.
To assign actions to the button, repeat step 4 to step 6 and make the following changes. Replace the pen down block with the erase all block.
Thus, our script is complete.
Conclusions
Now you’re all set to make your surroundings your canvas with PictoBlox’s Human Body Detection Extension.
Have fun!

