
Introduction
Bored of keeping track of countless locks and their keys? How about using your own fingerprint to unlock each and every safe in your house, just like your Smartphone? Sounds cool, right? Let’s make an electronic Fingerprint locker that will keep all your secrets a secret from your enemies.
And not only one, but up to ten unique fingerprints can be added to the system, for you and the people you trust with your life.
So, what are you waiting for? Let’s get started right away!
Assembly

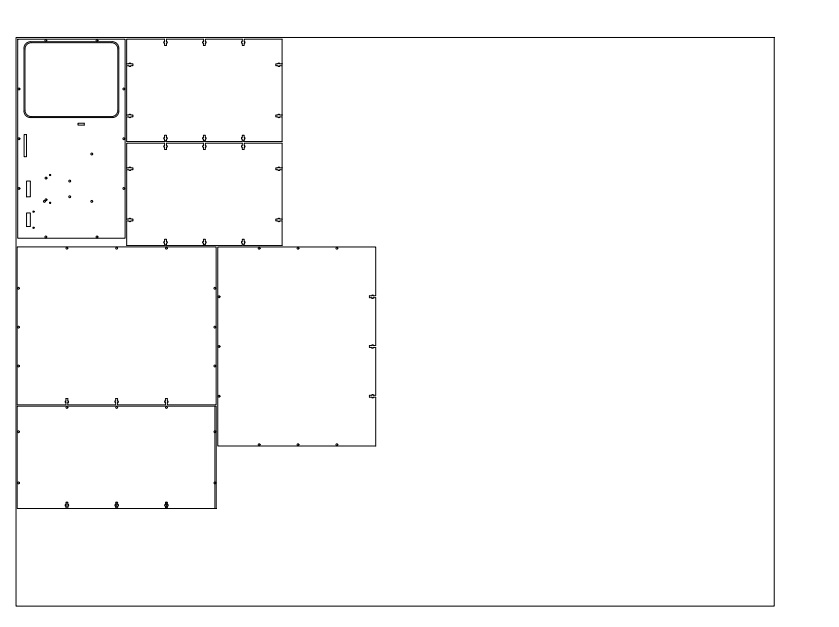
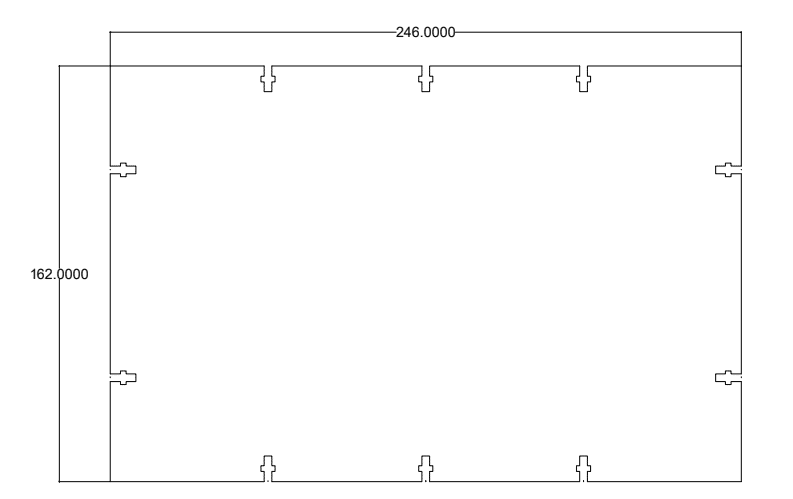
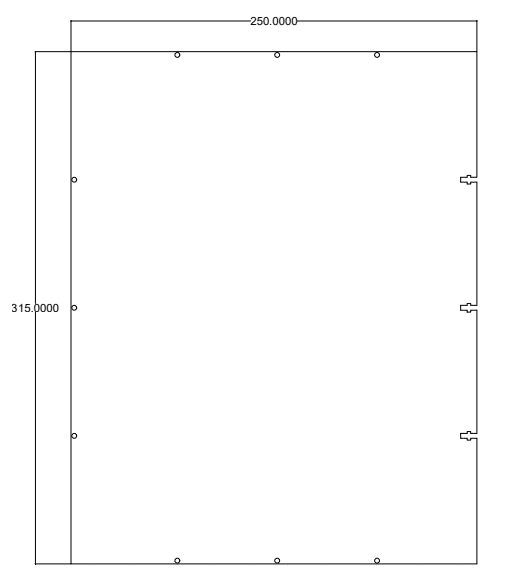
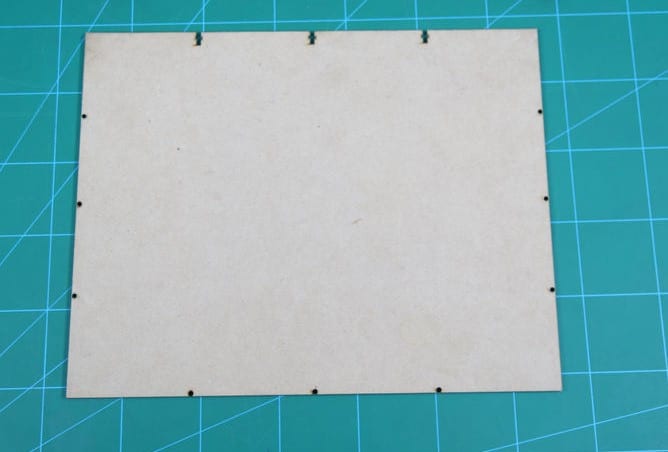
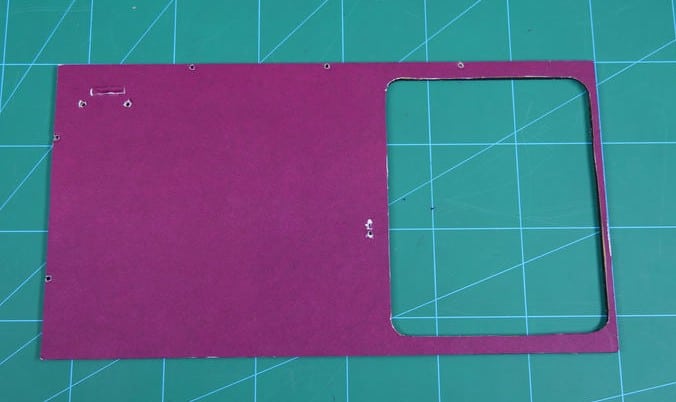
- Take the cardboard and cut it in the given dimensions or you can laser cut MDF as given in the first image. The outer dimension are 1200 X 900 mm.


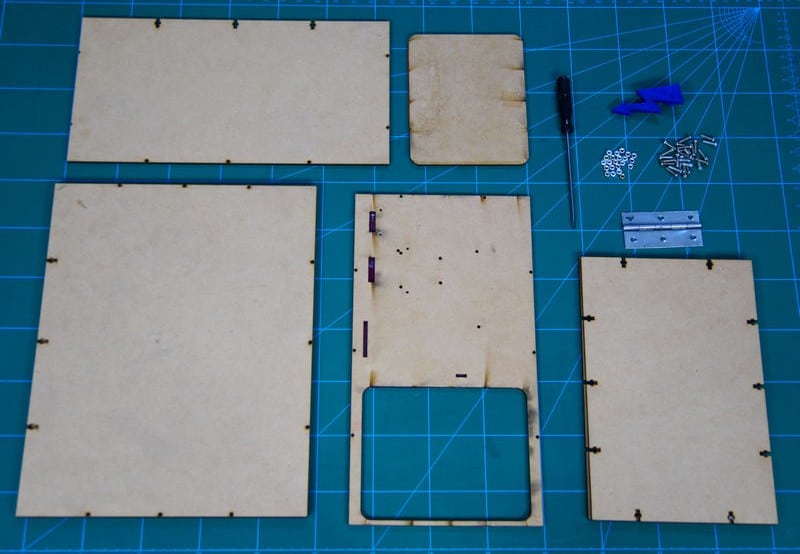
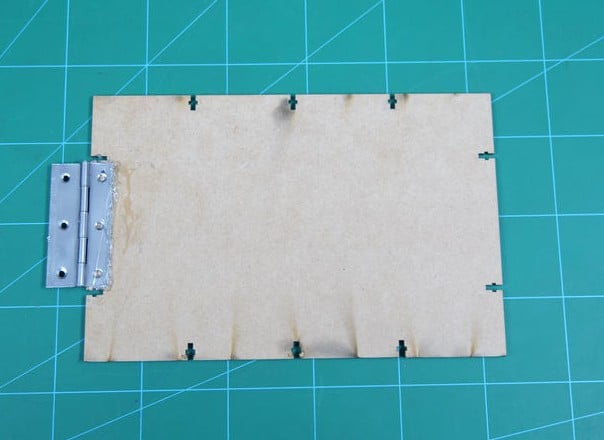
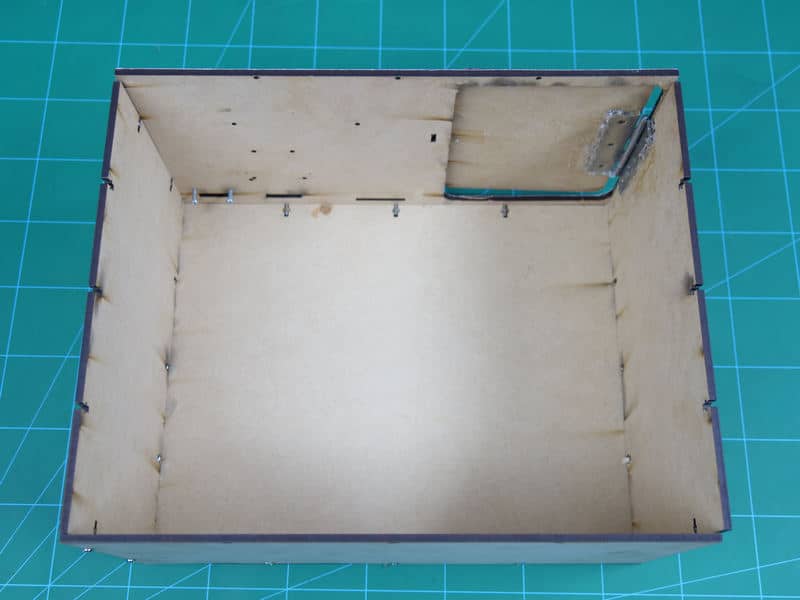
- Take the Floor Plate.
- Using M3 bolt of 12 mm and M3 nuts attach the Left Wall with it.
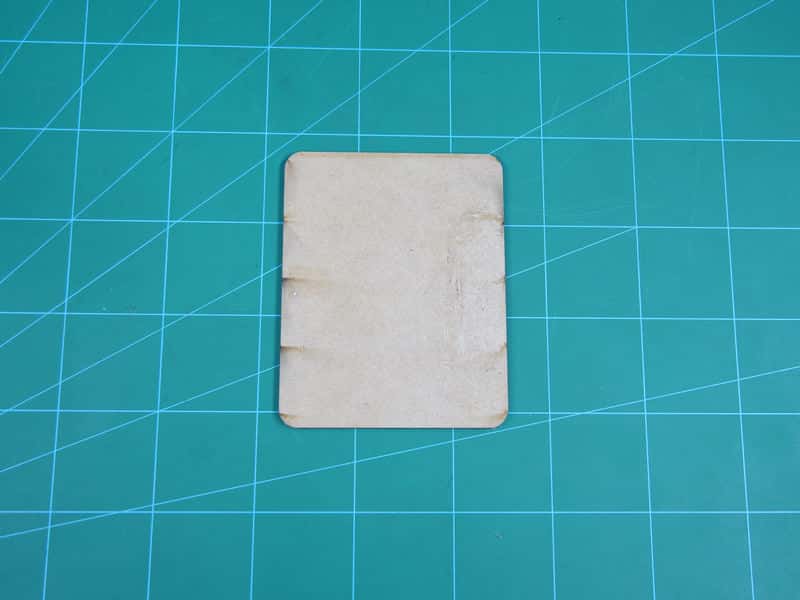
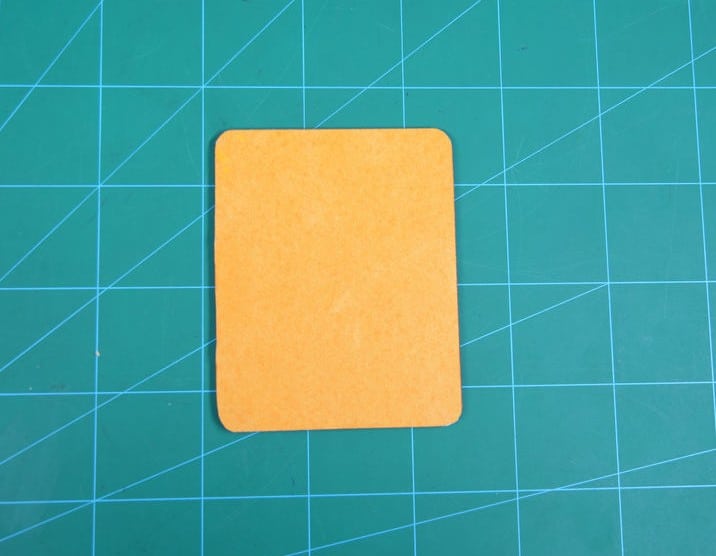
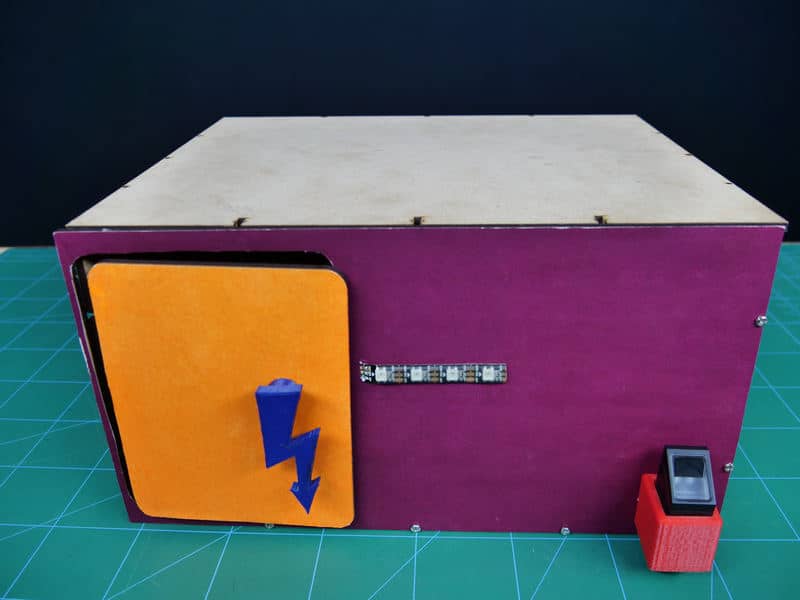
- Take the Door Plate and stick any colored chart paper, to make it look attractive.
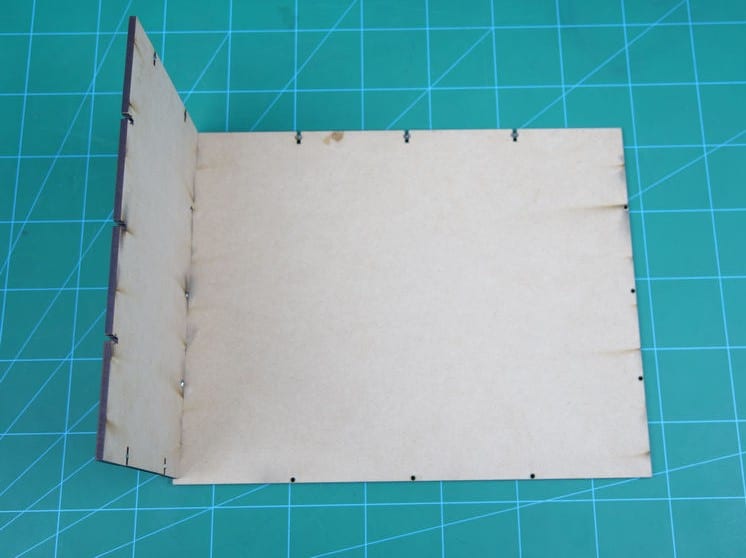
- Take the plate of the Right Wall and attach one side of Hinge using M3 nuts and bolts.
- Now, take the Door and attach it to the hinge as shown in the figure.
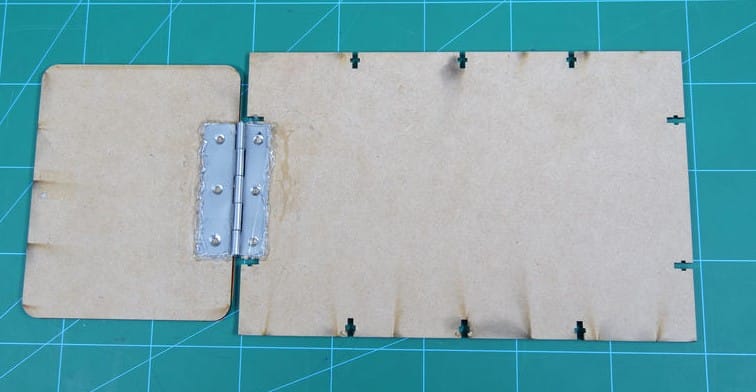
- Attach the Right Wall assembly to the base.

- Next, take the Front Wall and cover it with the chart paper.
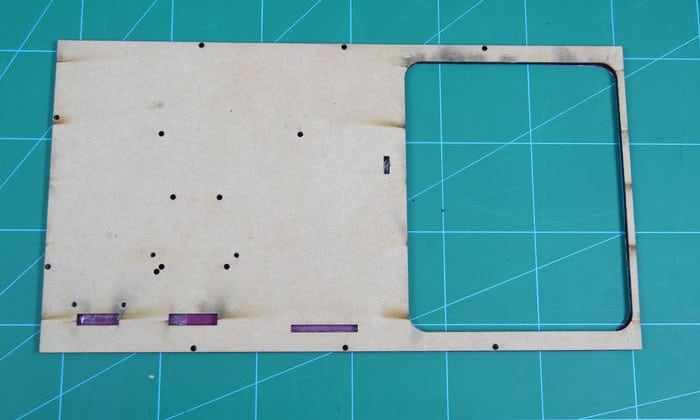
- Attach the Front Wall and Back Wall plate with the above assembly.
- As every door have handles or doorknobs to open it, we have made on handle 3D printed.

- Attach the handle to the door using Hot Glue.
- This was the structure of the safe it’s time to add the main components to make the safe work.
- Let’s add the Solenoid Lock.
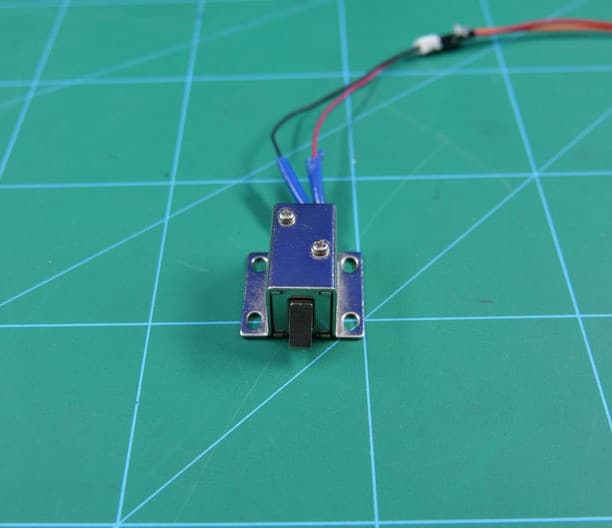
- The Solenoid is nothing but a type of electromagnet. When the current passes through it, the magnet attracts the slot and thus pulling it back and opening the door. And when the current stops flowing due to the effect of spring the slot goes back to its original position by locking the door.
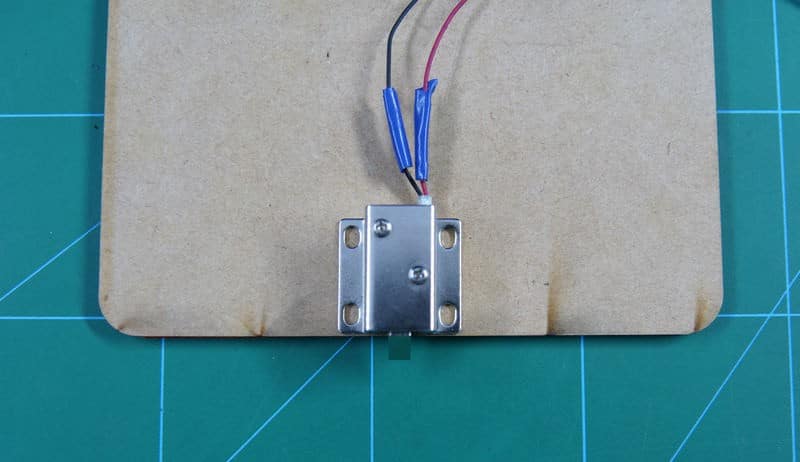
- Now, attach this solenoid lock to the edge of the door.
- Coming to the main part of the project, i.e. connecting the Fingerprint sensor.
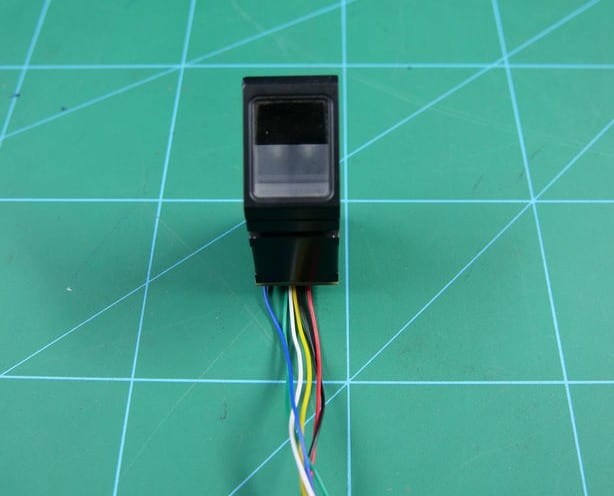
- For Fingerprint sensor, we have made a 3D printed holder. You can also make it using the cardboard.
- Glue the Fingerprint sensor on top of the holder.
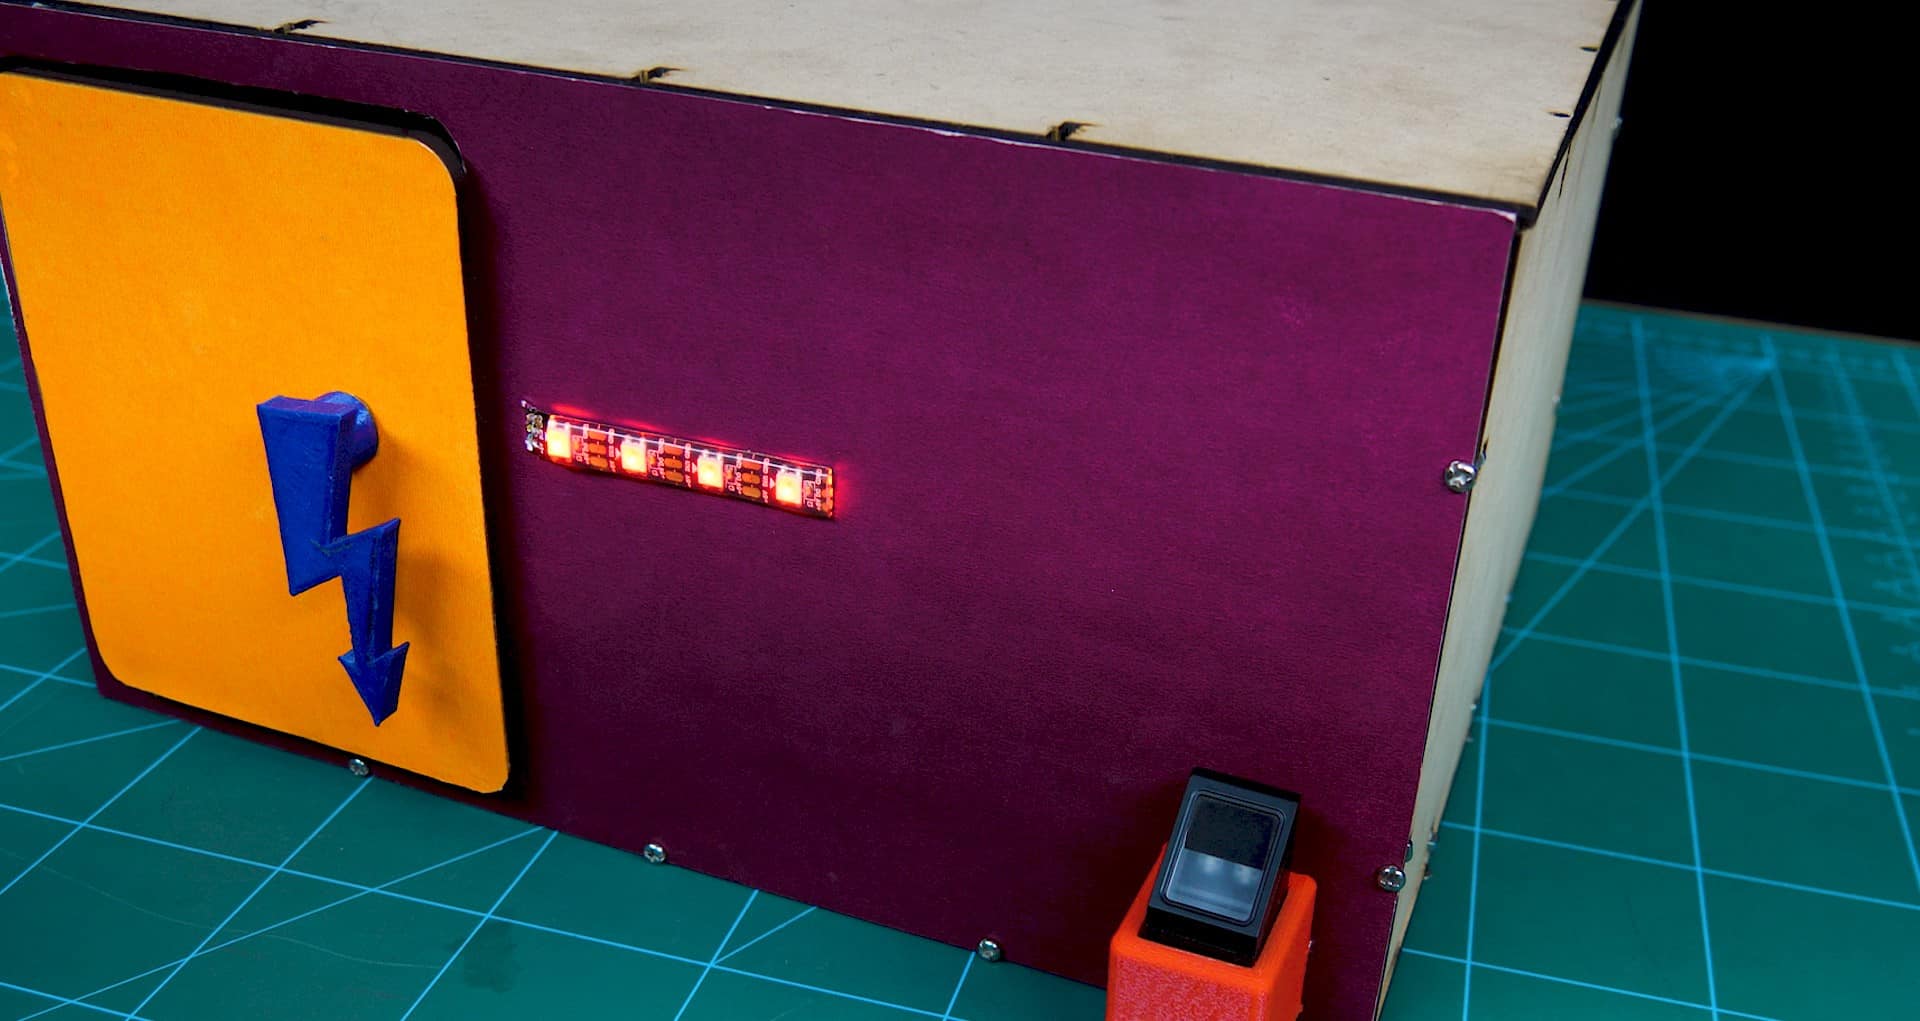
- We will also use a small strip of RGB light for indication.
- The final assembly will look like this:

Circuitry
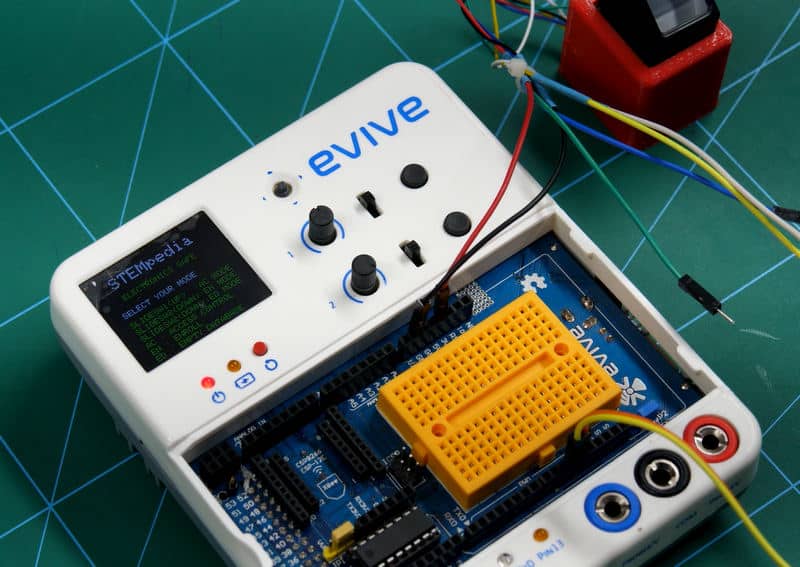
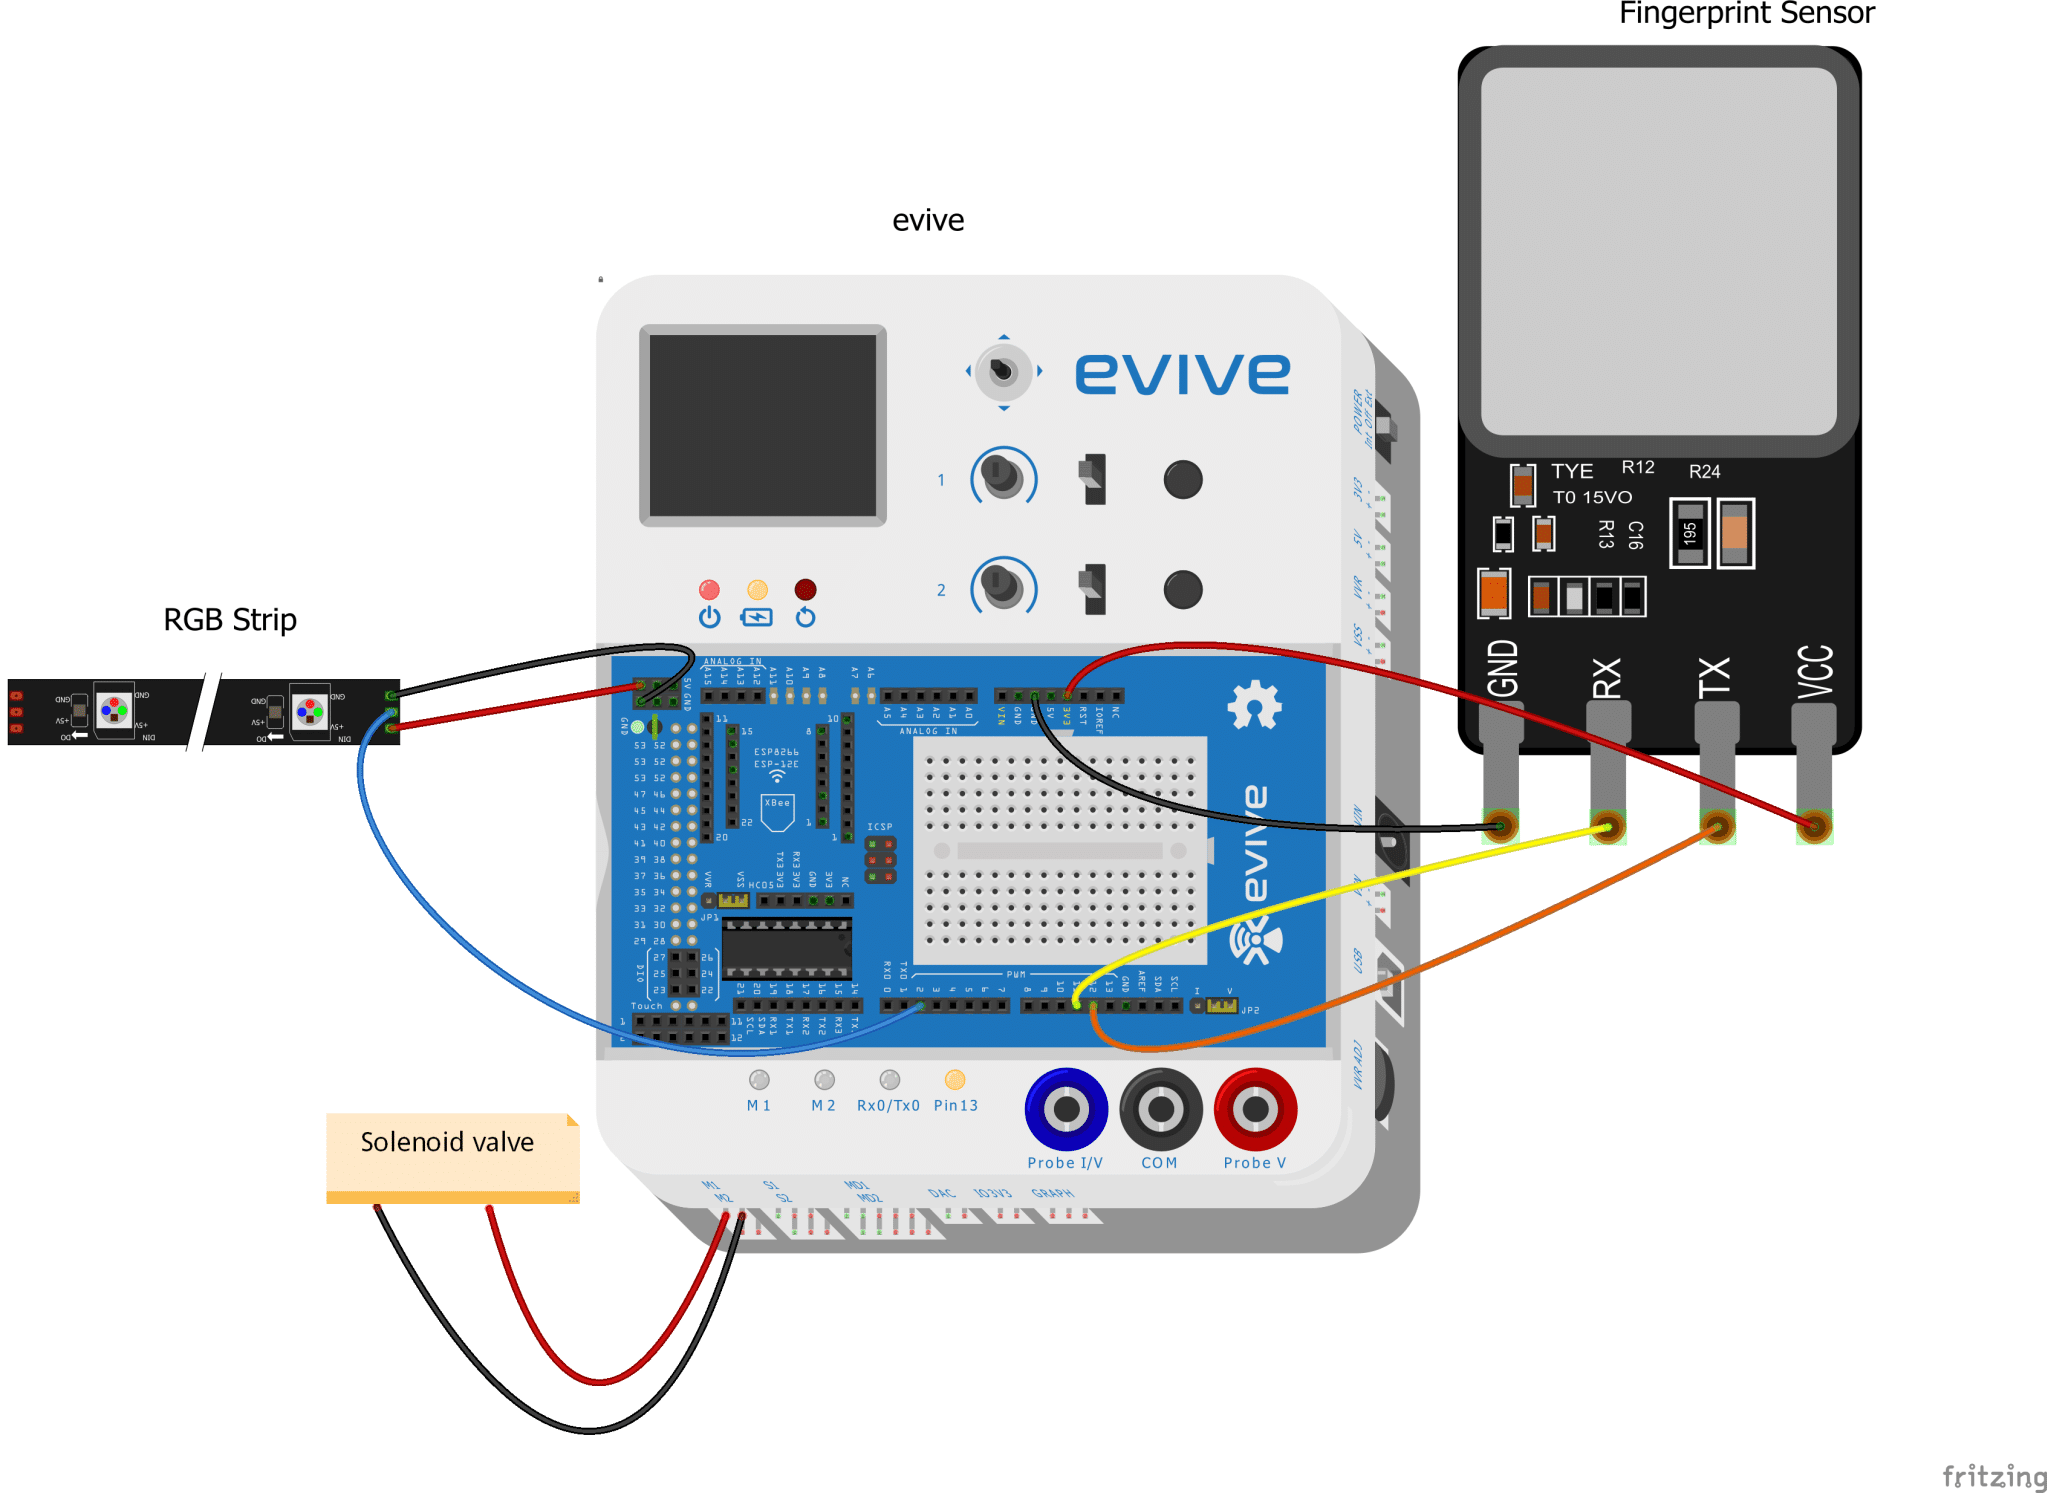
The Fingerprint sensor is connected as:
- GND to evive’s GND
- VCC to evive’s +5V
- RX to evive’s Digital Pin 11
- TX to evive’s Digital Pin 12
The LED strip is inserted as
- GND to evive’s GND
- VCC to evive’s +5V
- DIN to evive’s Digital Pin 2
The wires of Solenoid Lock are being inserted into the Motor Channel 1 of evive.

Logic
The solenoid is connected to Motor Channel 1. Thus, when the When the fingerprint gets matched the solenoid gets the signal, thus the magnet attracts the slot, opening the door.
The door opens up for 3 secs. After which the slot returns to its original position, closing the door.
If the fingerprint does not match, the door remains locked.
Code
There are three modes of working with the safe. They are:
- Access Control Mode
- Enrollment Mode
- Delete Database Mode
Access Control Mode:
In this mode, fingerprints might already be inserted in the database. Thus, we only need to place our fingerprint to unlock.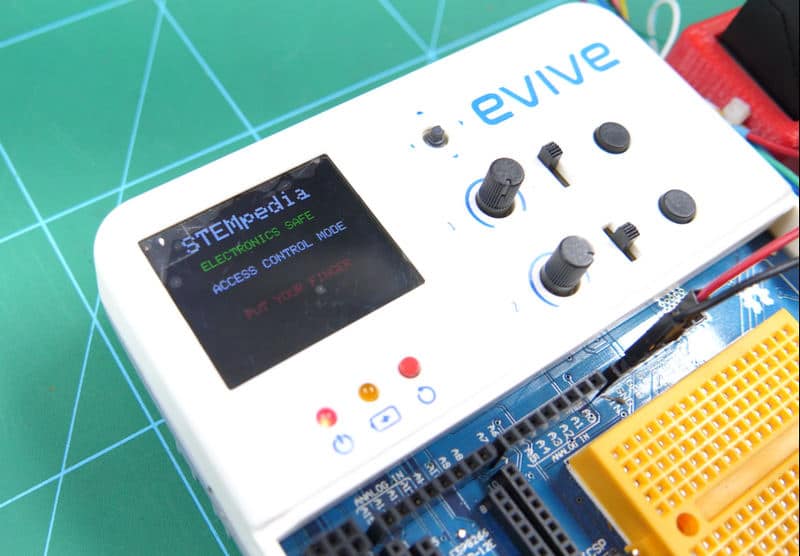
If it recognizes the fingerprint entered, the LED will turn red and on TFT Screen ‘Access Granted’ will be displayed.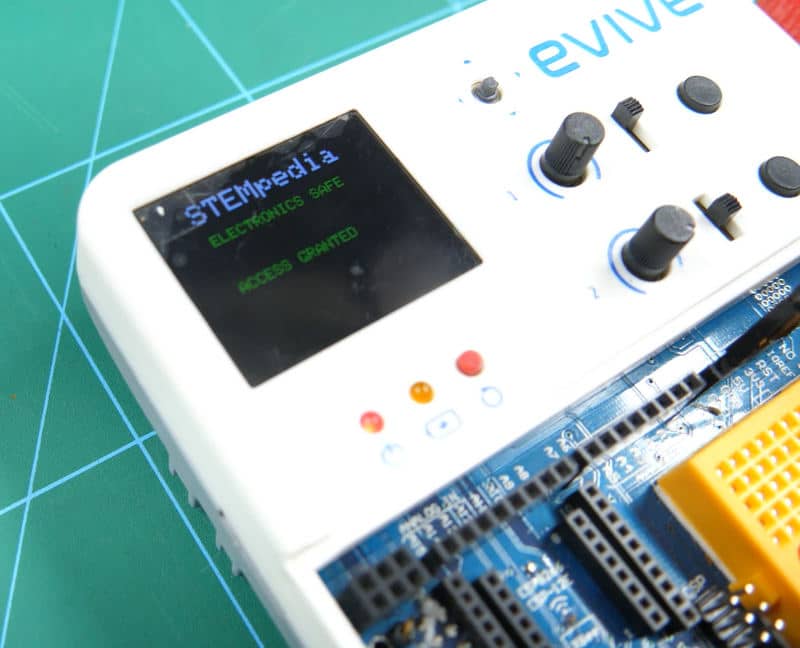
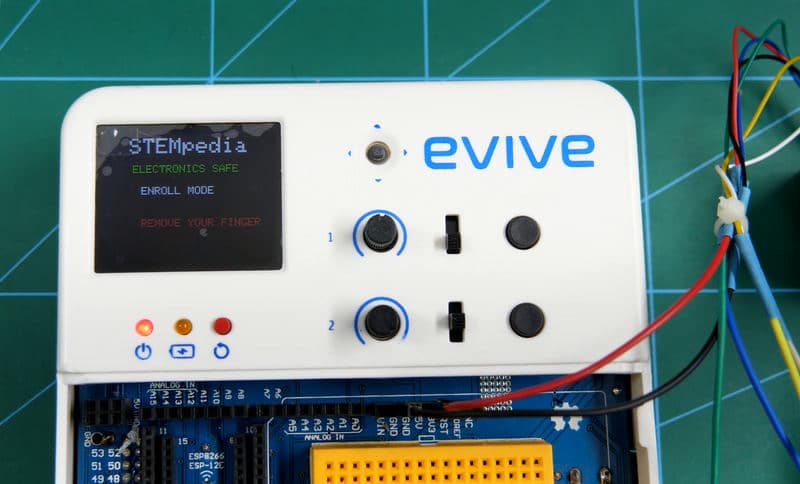
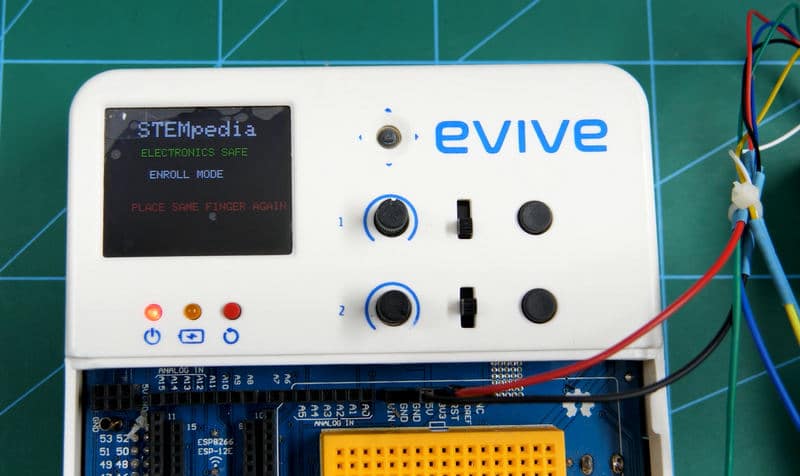
Enrollment Mode:
There is a new user, thus fingerprint needs to be entered in the database. This mode deals with this situation. We can add number of users. From our code, we can add 10 users. We can select the number on which we want to enter the data, by rotating the potentiometer knob.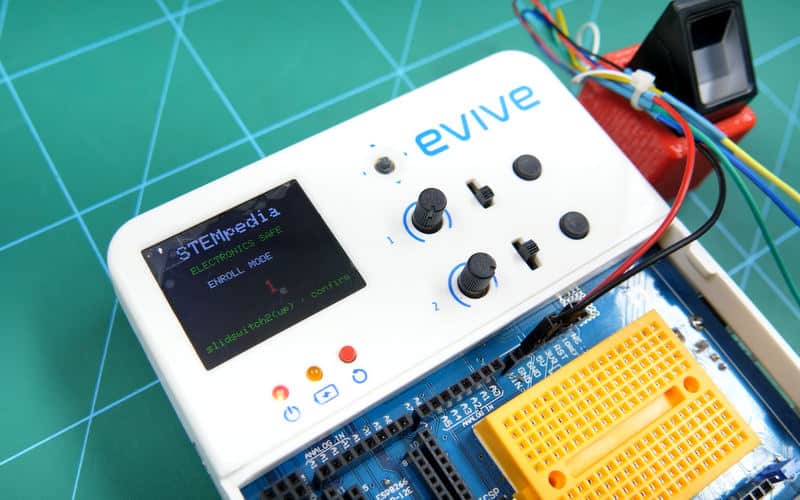
The system will again ask to verify your fingerprint, thus asking twice for the fingerprint.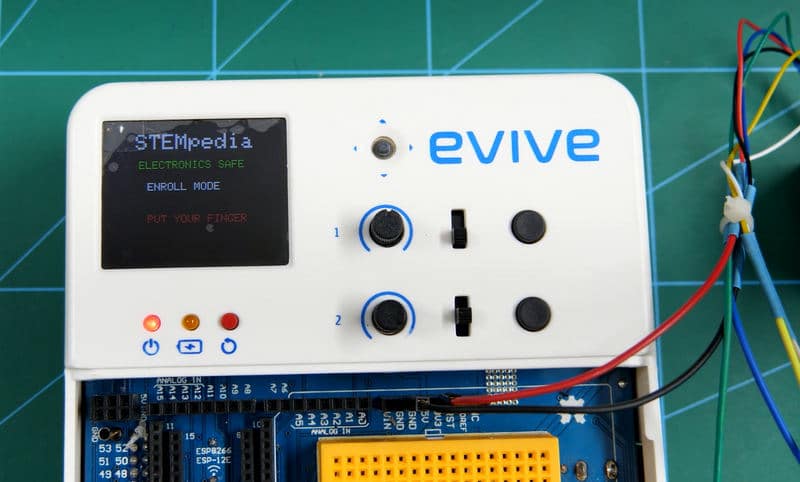
Finally, on TFT Screen ‘Success’ is displayed.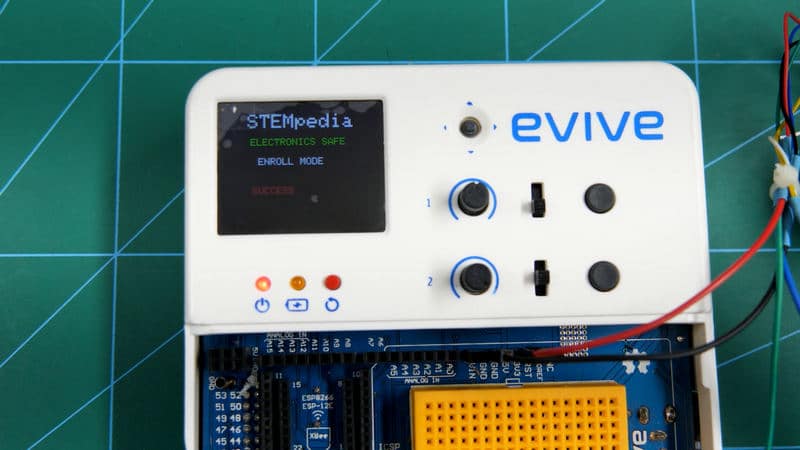
Delete Database Mode:
If you need to erase the existing data, this option is used.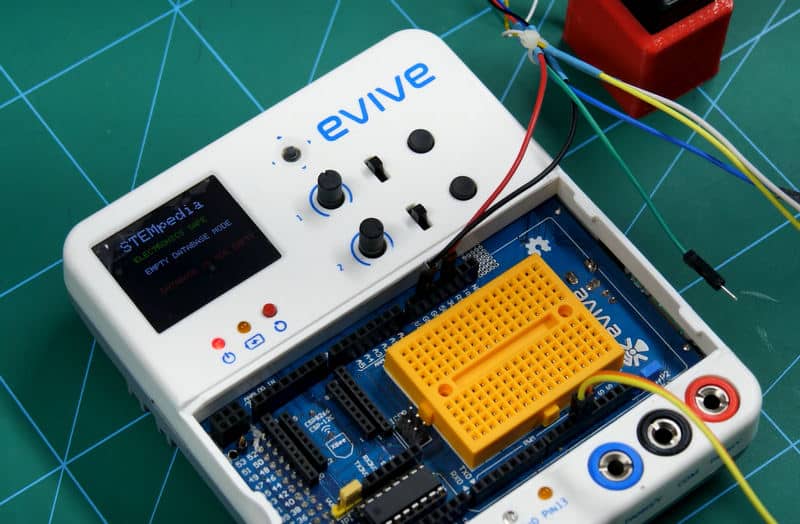
The code for all the three modes is given:
Conclusion
With this, your very own DIY Fingerprint Locker is now ready! Sit back, and Netflix and Chill without worrying about others stealing your stuff!


 I Aradhya Gupta I 7th I DL DAV Model School SB I CODEVOUR 2022 2-16 screenshot")


