Robotics for Kids – Level 2
Introduction
Electronics for Kids – Level 2 is a part of the specially-designed high school STEM curriculum curated by curriculum experts for kids to delve deeper into electronics through STEM projects such as understanding the effect of series and parallel connections in a circuit, visualizing analog and digital signals, visualizing an RC circuit, making DIY goggles, etc.
With its clear explanations and an assortment of exciting STEM projects, Electronics for Kids – Level 2 will have students building complex yet exciting DIY electronics projects in no time.
- Prerequisites: Completed Electronics for Kids – Level 1 or have a basic understanding of electronic circuits.
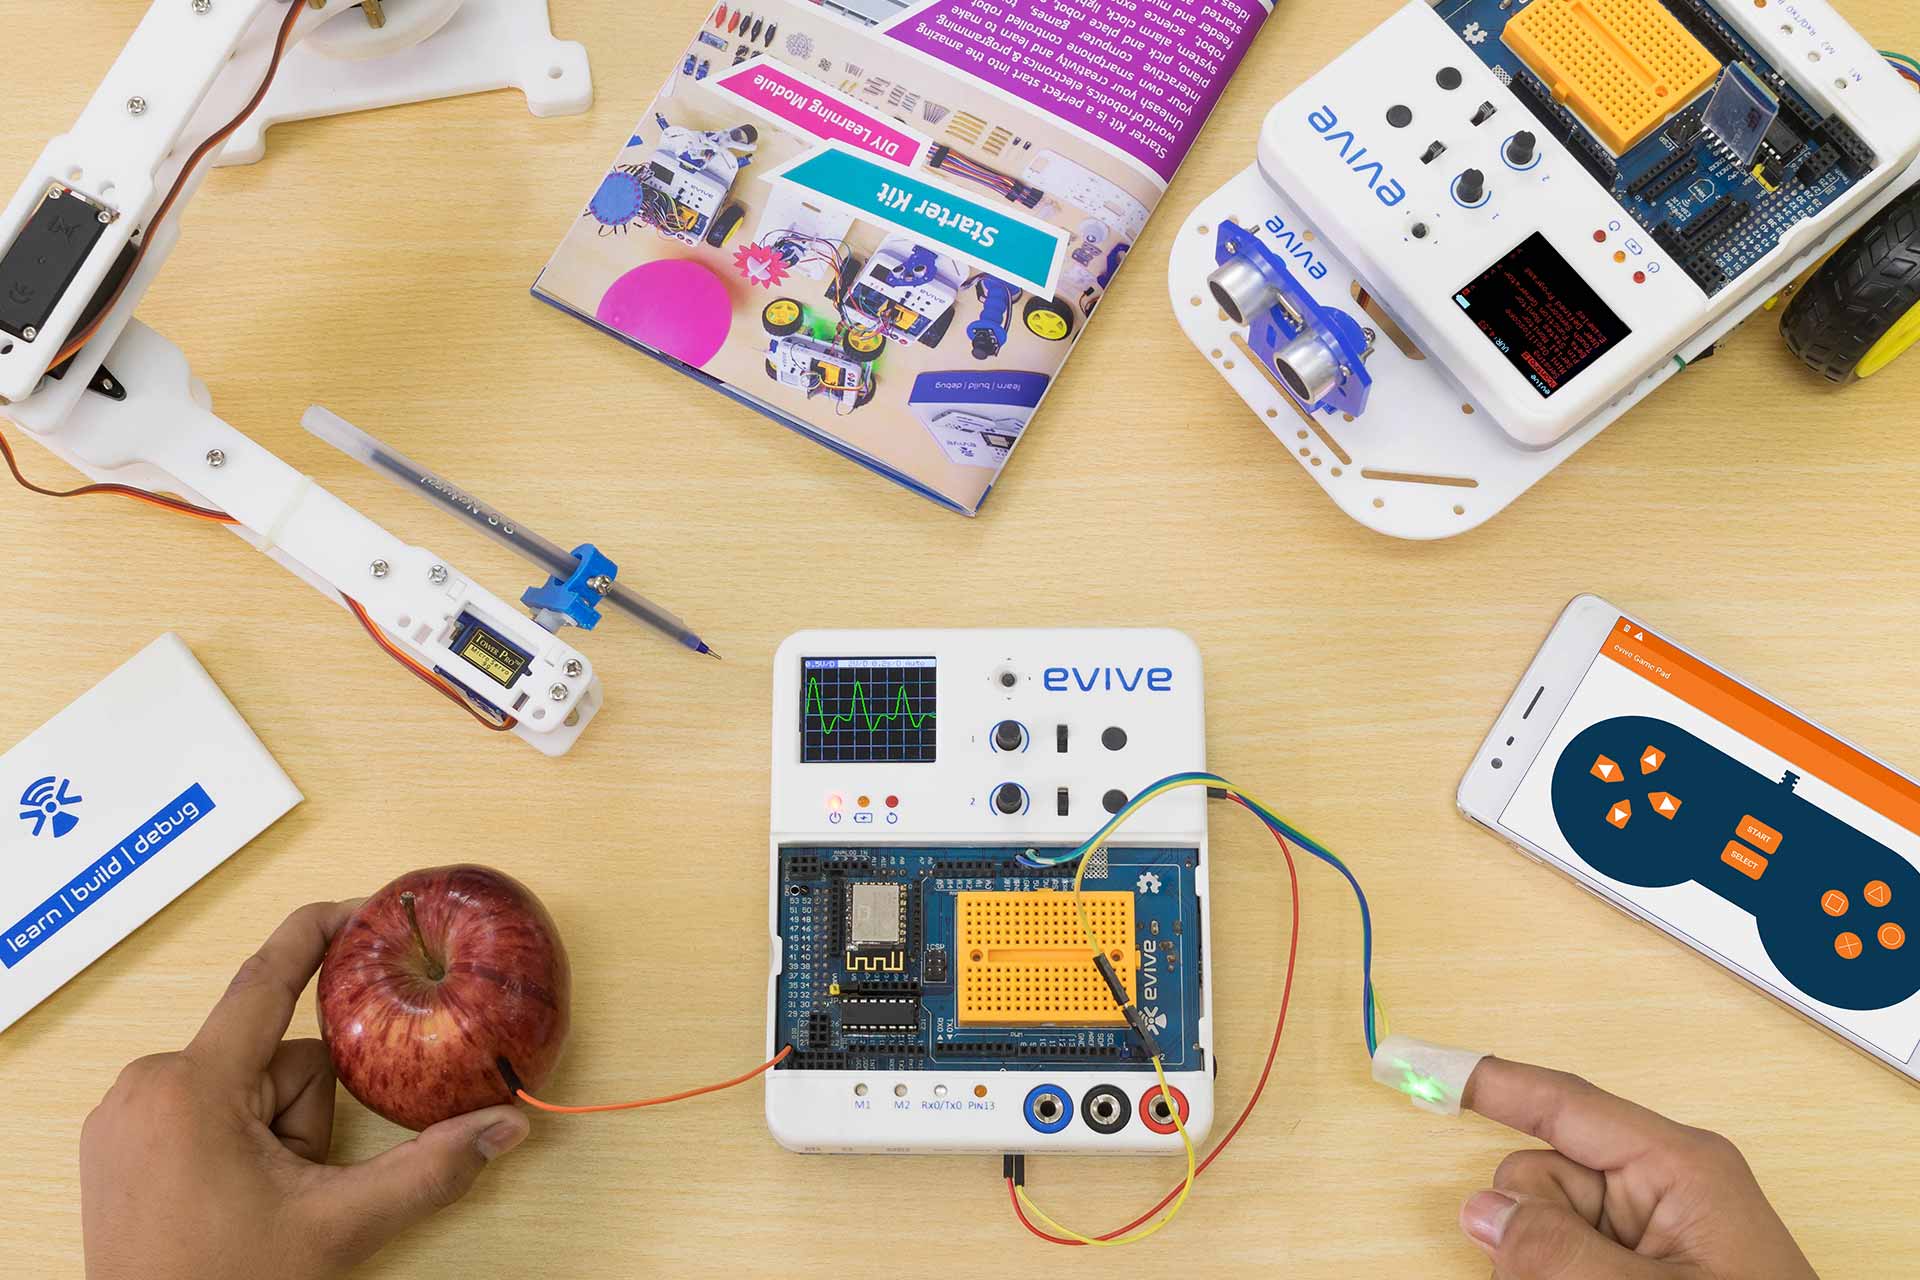
- Kits Required: Evive
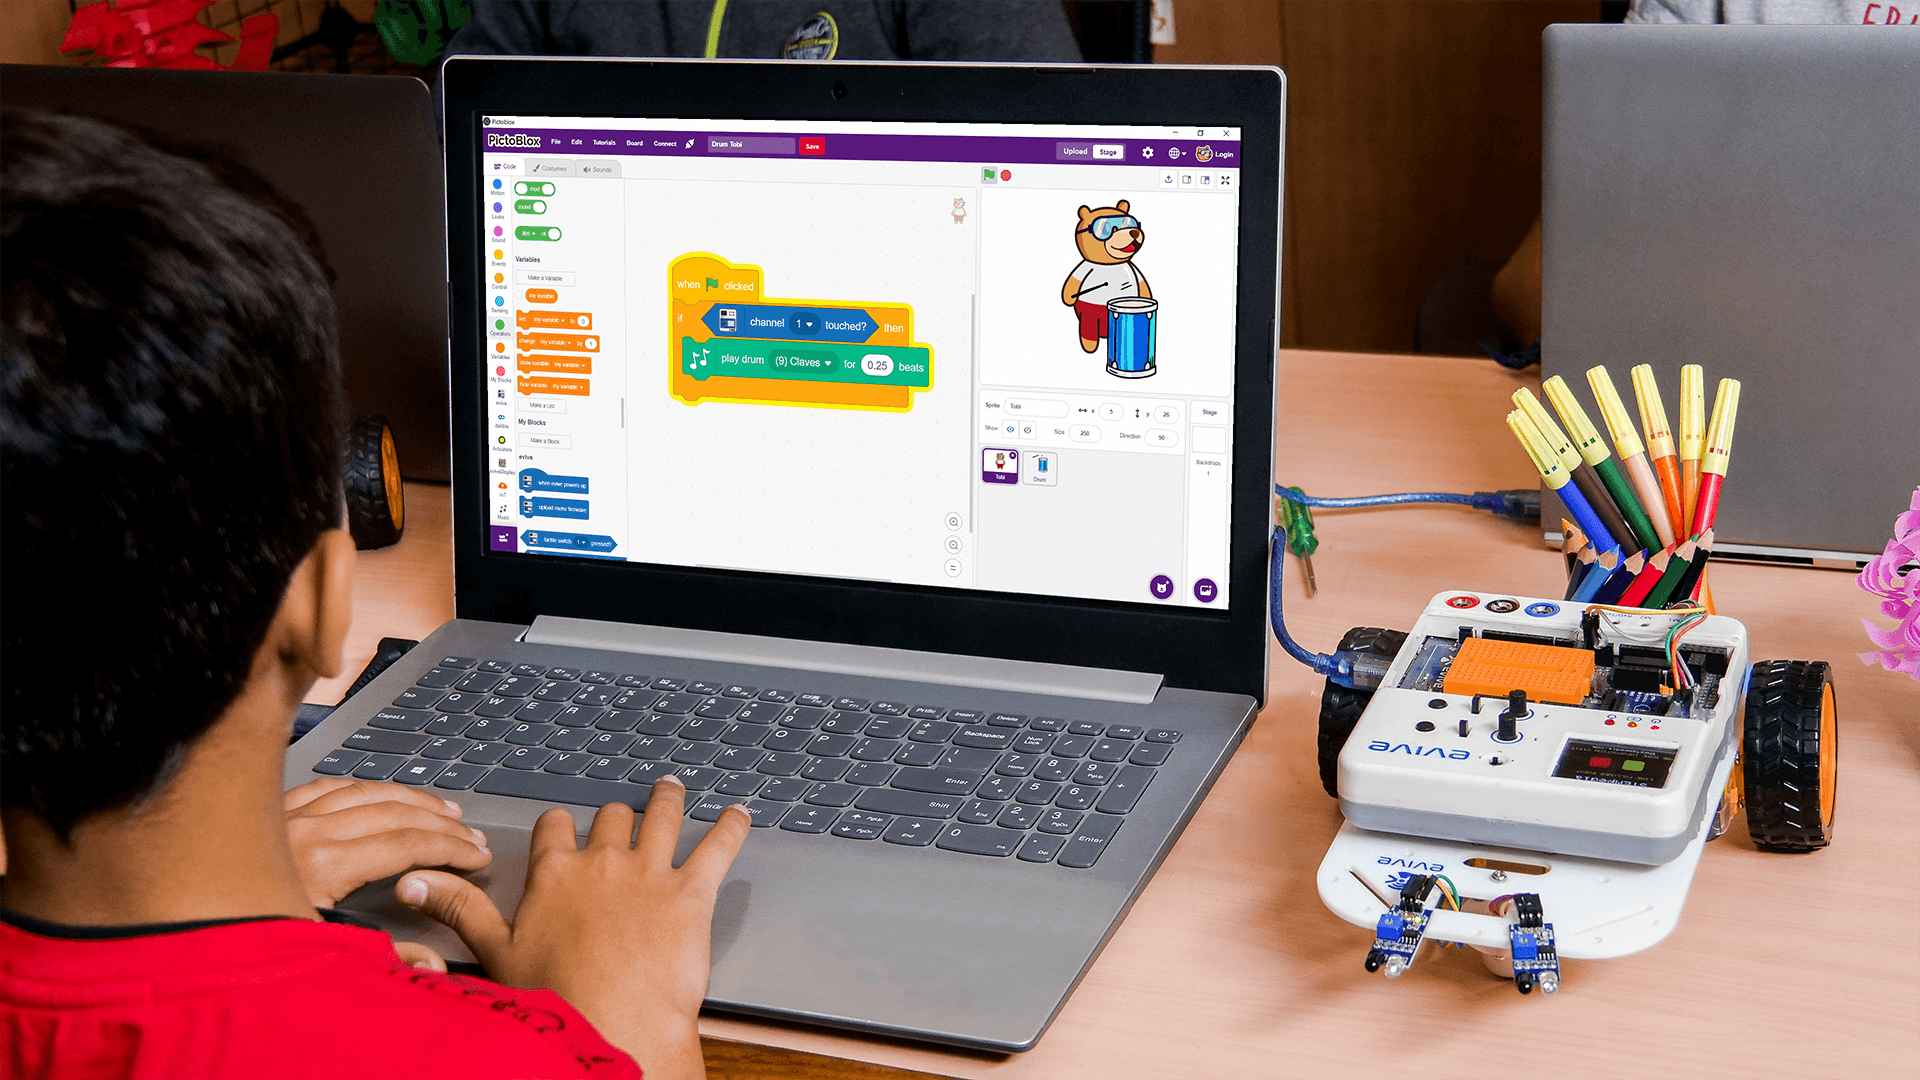
- Programming Software: PictoBlox (Block Coding)
Learning Outcomes
After completing Electronics for Kids – Level 2, students will have a basic understanding of analog and digital electronic circuits with the help of a wide variety of projects.
Apart from the aforementioned learning outcomes, this STEM curriculum will also help them develop important skills such as problem-solving and debugging techniques, DIY-ing, teamwork, and creativity.
Curriculum Lesson Plan
Module 1: Robotics the DIY Way
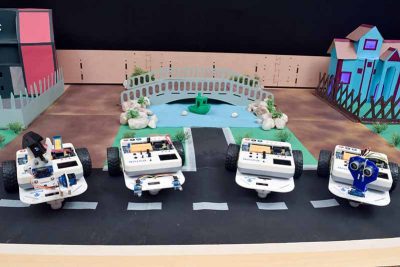
Students will get to build 5-6 robots on their own right from the assembly to logic to writing the code to debug the robot wherein they’ll get learn several concepts that are widely used in the robotics industry.
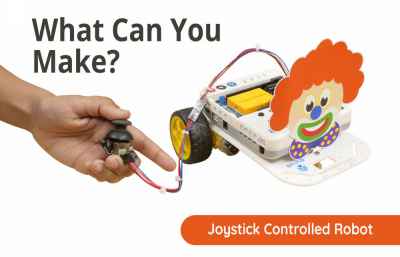
Lesson 1.1: Joystick Controlled Robot – Assembly
- Objective: How to assemble the basic structure of a mobile robot?
- Activity: Assembling a two wheel drive robot.
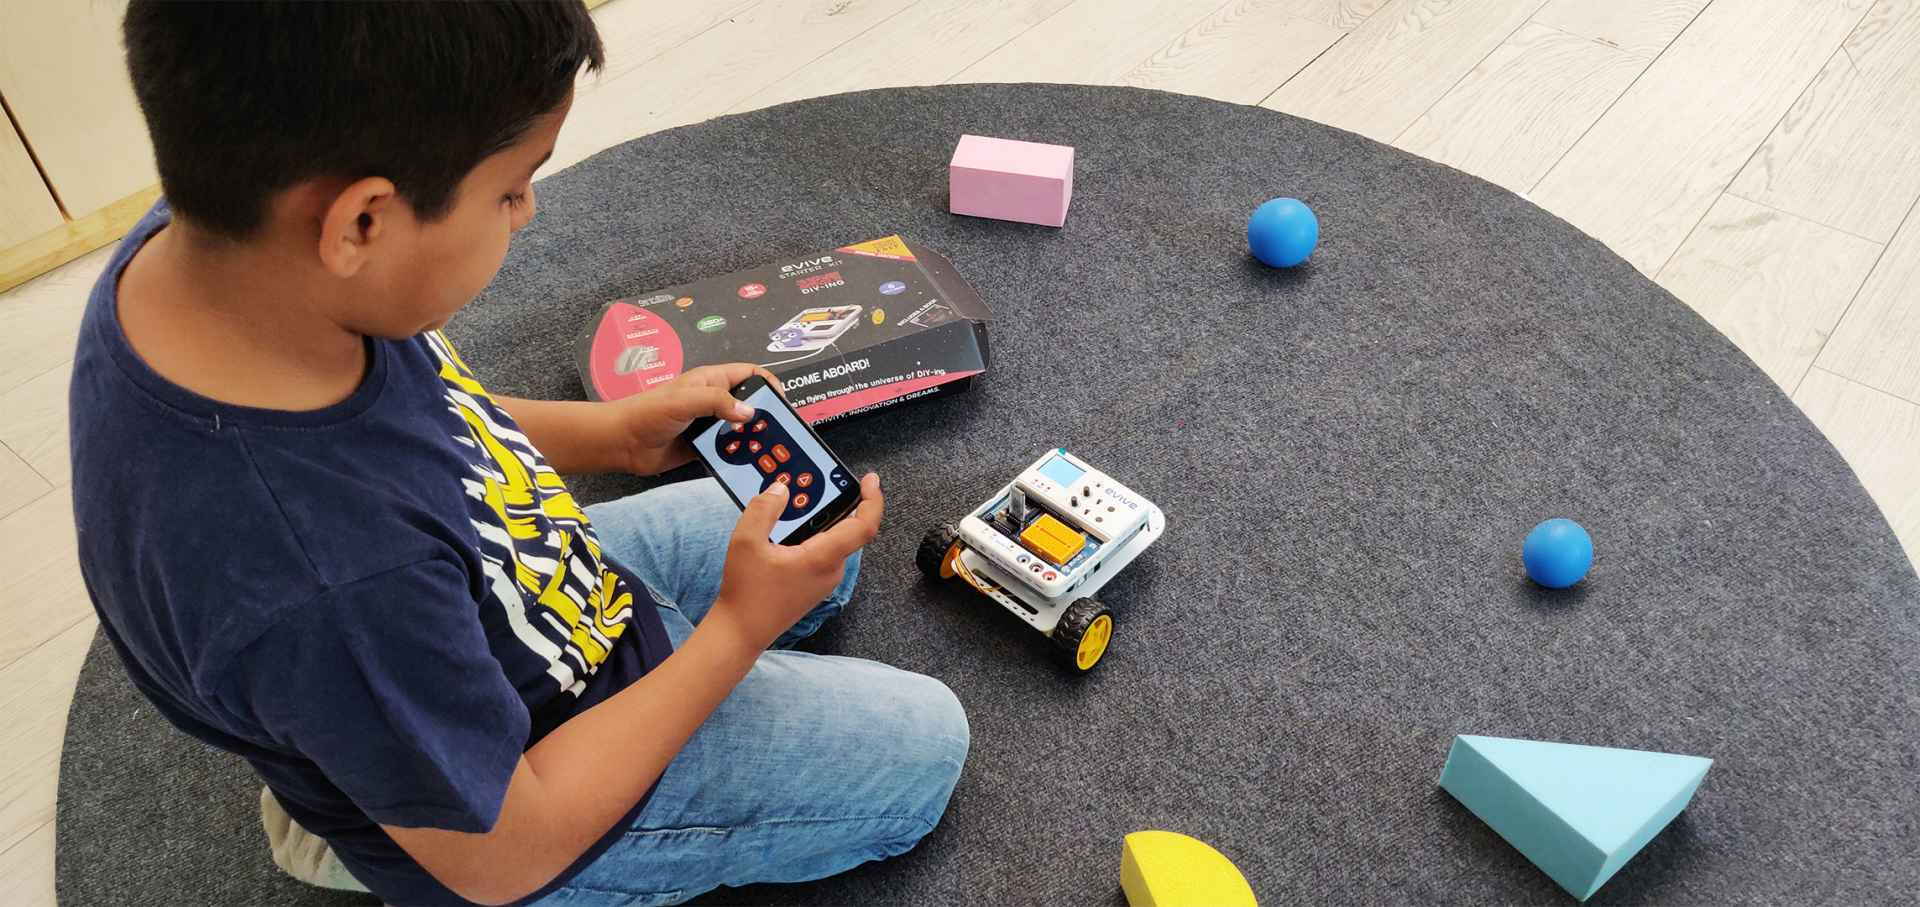
- Learning Outcome: In this activity, students will make a joystick-controlled robot whose motion will be controlled according to the position of a joystick module attached to the robot. |
- Mode: Practical

Lesson 1.2: Joystick Controlled Robot – Circuitry
- Objective: How to control movements of a two-wheel mobile robot? Visualizing Joystick on evive’s Pin State Monitor.
- Activity : Connecting the motors of the robot to evive. Making the robot move forward, backward, left, and right using evive's menu. Connecting the Joystick to evive and visualizing the reading on the Pin State Monitor.
- Learning Outcome: In this activity, students will make a joystick-controlled robot whose motion will be controlled according to the position of a joystick module attached to the robot.
- Mode: Practical

Lesson 1.3: Joystick Controlled Robot – Programming
- Objective: How to make a custom block (function) in PictoBlox?
- Activity: Programming the robot to move forward, backward, left, and right according to the Joystick's movements.
- Learning Outcome: In this activity, students will make a joystick-controlled robot whose motion will be controlled according to the position of a joystick module attached to the robot.
- Mode: Practical
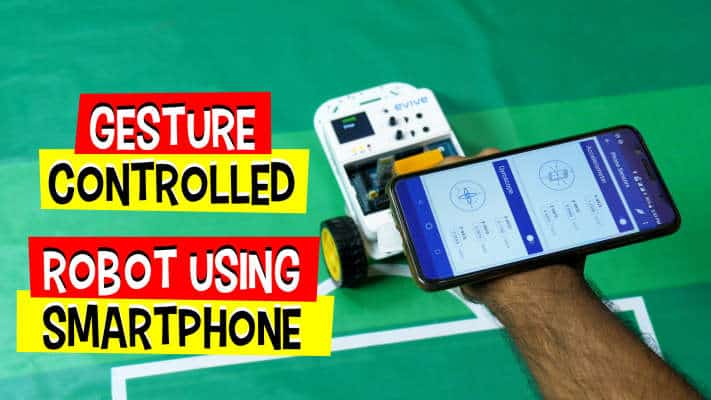
Lesson 1.4: Gesture-Controlled Robot – Sensor
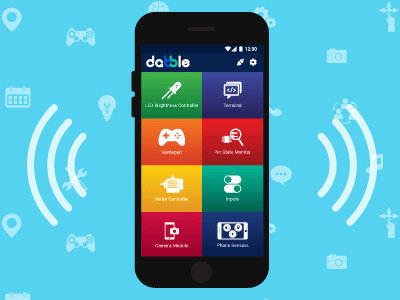
- Objective: What is an accelerometer and how to read a Smartphone’s accelerometer on evive using Dabble? How does a gesture-controlled robot work?
- Activity : Creating a script to display the accelerometer data on evive display.
- Learning Outcome: In this activity, students will make a smartphone gesture-controlled robot whose motion will be controlled when you tilt the smartphone. | Circuitry and testing the circuit. | Programming of the robot.
- Mode: Practical

Lesson 1.5: Gesture Controlled Robot – Programming
- Objective: How to program a gesture-controlled robot that moves based on the movement of a Smartphone?
- Activity: Programming the robot according to the logic.
- Learning Outcome: In this activity, students will make a smartphone gesture-controlled robot whose motion will be controlled when you tilt the smartphone.
- Mode: Practical
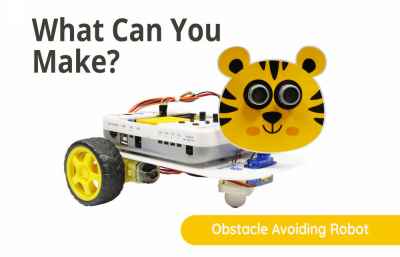
Lesson 1.6: Obstacle Avoiding Robot – Part 1
- Objective: How does an obstacle avoiding robot work?
- Activity : Assembling the servo motor and ultrasonic sensor on the basic robot and understanding logic behind the working of the autonomous robot.
- Learning Outcome: In this activity, kids will make an obstacle avoiding robot which is an autonomous robot and detect obstacles coming in front of it and avoid it using the ultrasonic sensor.
- Mode: Practical

Lesson 1.7: Obstacle Avoiding Robot – Part 2
- Objective: How to program and debug an autonomous robot?
- Activity: Writing a program for the robot to detect objects in front of it and scan the area to find a obstacle-free path.
- Learning Outcome: In this activity, kids will make an obstacle avoiding robot which is an autonomous robot and detect obstacles coming in front of it and avoid it using the ultrasonic sensor.
- Mode: Practical
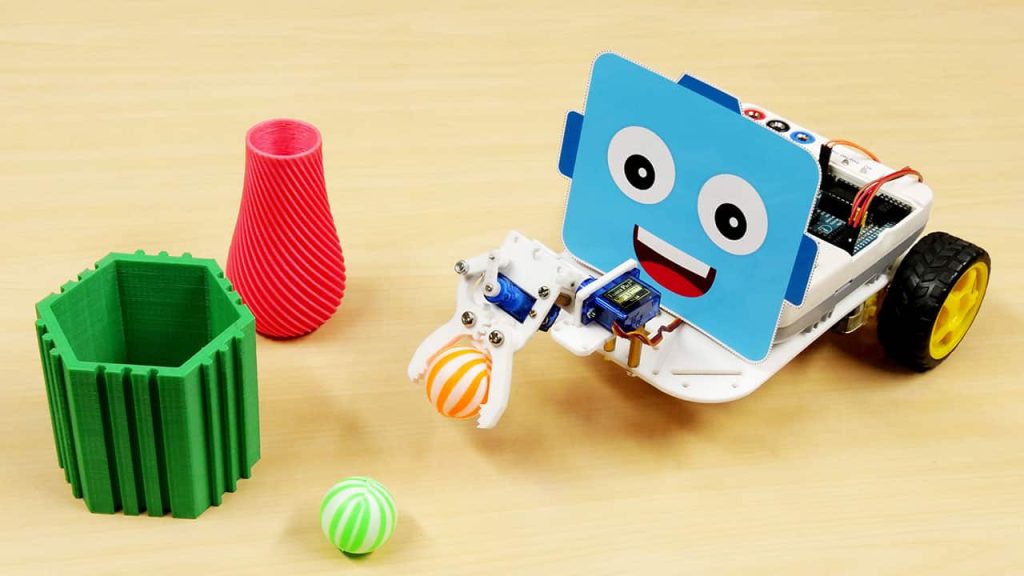
Lesson 1.8: Pick and Place Robot – Assembly
- Objective: How does a pick-and-place robot work? How to calibrate a servo for optimal use?
- Activity : Assembling a gripper using two servos and attaching it in the front of the robot. Calibrating the servo to define the exact range of operation.
- Learning Outcome: In this activity, kids will make a pick and place robot which is an extension to the smartphone-controlled robot with a gripper in front of it.
- Mode: Practical

Lesson 1.9: Pick and Place Robot – Programming
- Objective: How to program a Smartphone-controlled pick-and-place robot in PictoBlox?
- Activity: Writing a program to run the robot and control gripper movements (open/close, up/down) using a Smartphone.
- Learning Outcome: In this activity, kids will make a pick and place robot which is an extension to the smartphone-controlled robot with a gripper in front of it.
- Mode: Practical
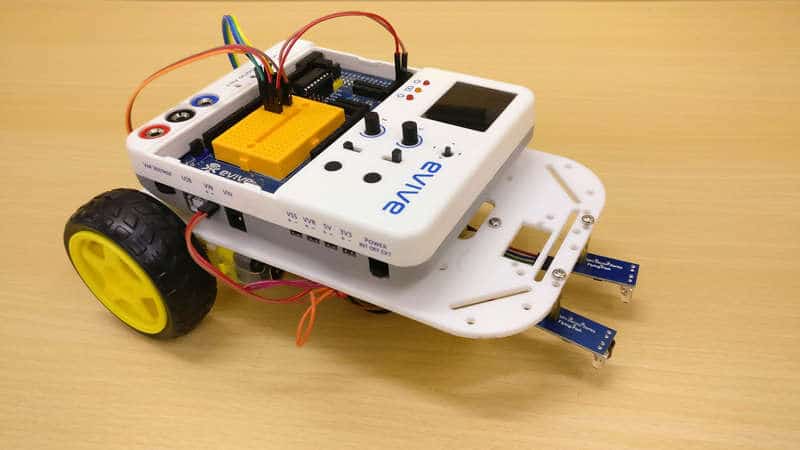
Lesson 1.10: Line Following Robot using IR Sensor – Circuitry
- Objective: How to use IR sensors to detect a black line in a white region?
- Activity : Completing the assembly and circuitry of IR sensors. Calibrating the sensors to detect black and white regions.
- Learning Outcome: n this activity, students will make a line following robot that will follow a black line in the white region using IR sensors.
- Mode: Practical

Lesson 1.11: Line Following Robot using IR Sensor – Programming
- Objective: How to program and debug a line follower robot?
- Activity: Writing a program to detect a black line a white region using IR sensors and follow it.
- Learning Outcome: In this activity, students will make a line following robot that will follow a black line in the white region using IR sensors.
- Mode: Practical
Capstone Project
The final lesson of the Physical Computing for Kids – Level 2 curriculum for schools is where students get to apply all the concepts they have learned in the previous sections to make a project to solve a real-world problem of their choice.
What will you need to Conduct this Curriculum?
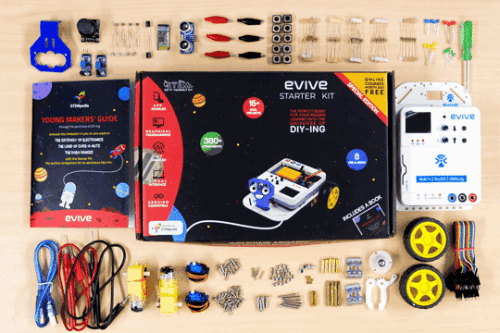
STEM Classroom Bundle
The perfect Starter Package for schools to implement STEM, electronics, and robotics education.
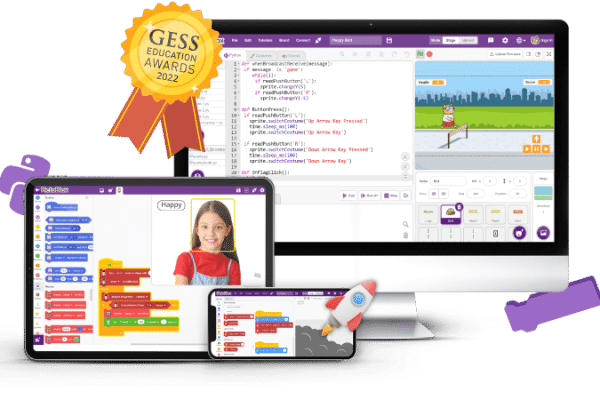
PictoBlox Software
Graphical Programming Software for kids to make games, animation, and program robots.
Contact Us
Implement this curriculum at your School / Activity Center!

