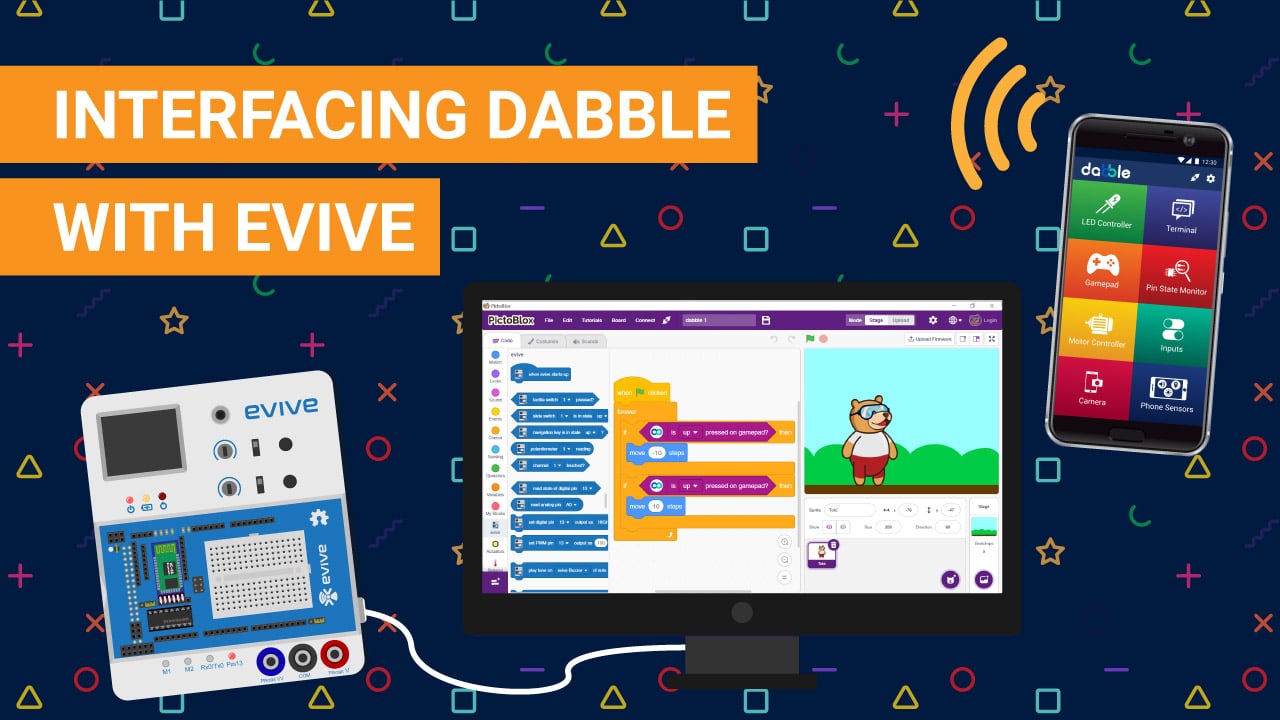
In this video, we’re going to take a look at Dabble, a versatile project interaction app, the dedicated blocks for Dabble in PictoBlox using which we can make it interact which our projects, and how to use it in both the Stage and Upload modes by carrying out two activities – one for each mode.
Let’s begin with Dabble.
What is Dabble?
Dabble is a smart and versatile project-making app that replaces a wide variety of electronic components and exploits the inbuilt features and sensors of your Smartphone like the GPS, mic, and accelerometer, thus transforming it into infinite virtual shields and more. Dabble works with widely used Bluetooth modules like the HC-05, HC-06, HM-10, and AT-09.
Dabble is now available on both Playstore and Appstore.
Inside the Dabble Palette
Now, let’s take a look at the Dabble palette in PictoBlox.
- First, open PictoBlox.
- Then, connect evive to your computer via a USB cable.
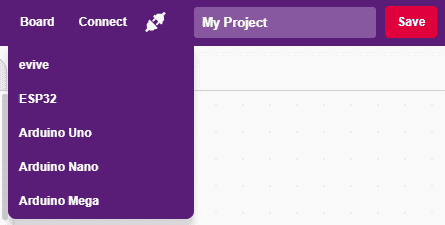
- Next, click on the Board button in the toolbar and select its name from the drop-down menu.
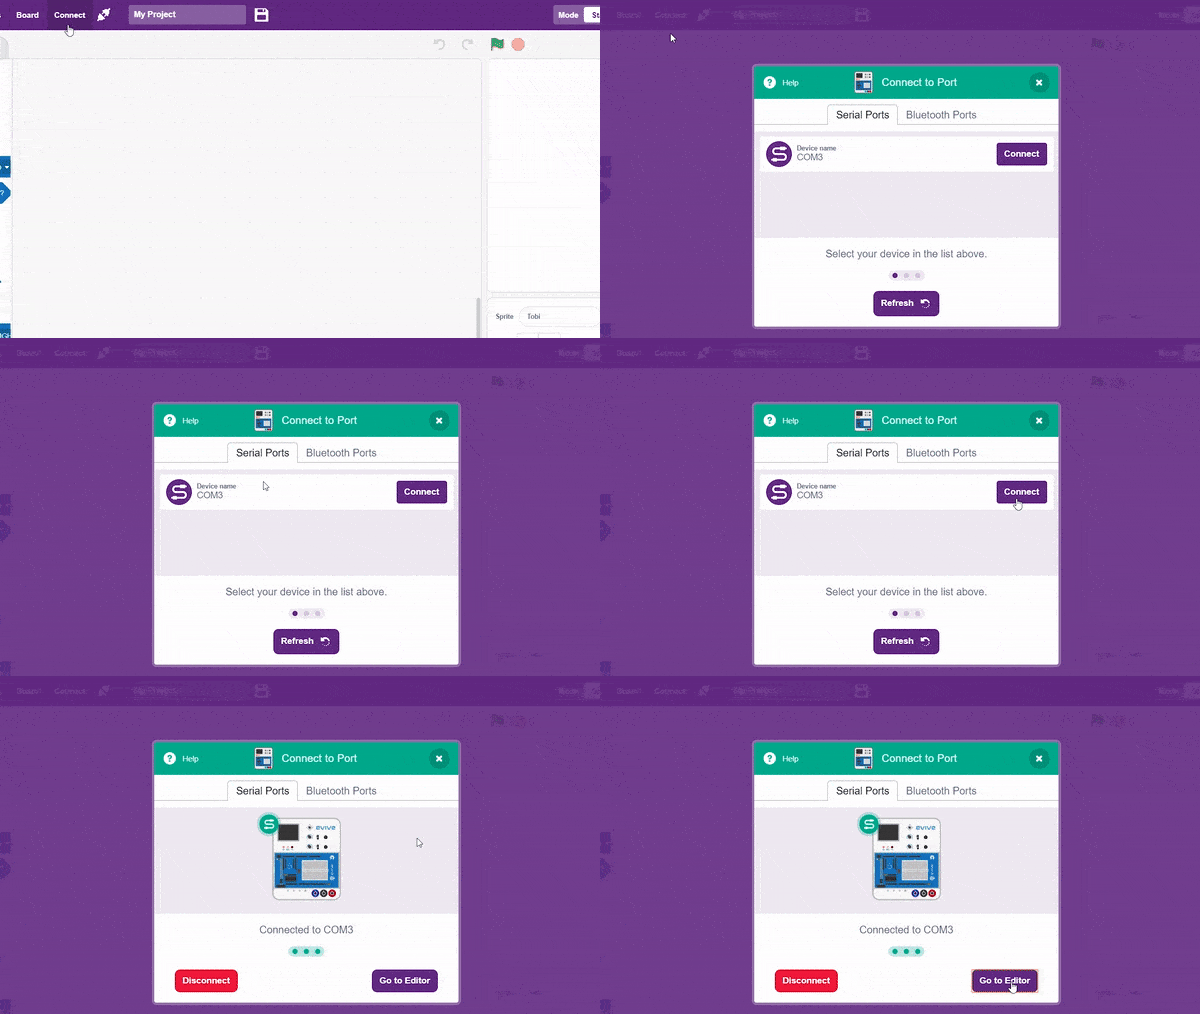
- Next, click on the Connect button and select the appropriate serial port.
- Now, connect the HC-05 Bluetooth module to evive by placing it in the headers provided.
 Make sure that the RX pin of the Bluetooth module is connected to the TX3V3 pin on evive. As soon as you connect it, a red LED will start blinking on the module.
 - It will let us control our board using our Smartphone via Bluetooth.Aunty: Android devices can be paired with HC-05, HC-06, HM-10, and AT09. but iOS devices can only work with HM10.
- Now, open the Dabble palette. You’ll find dedicated blocks for each of Dabble’s modules.
Dabble in Stage Mode
Let’s first create a script for controlling Tobi’s movements using Dabble’s Gamepad module in Stage Mode.
- For that, the first step is to upload the firmware to evive. Therefore, click on the Upload firmware button. Once the upload is complete, evive’s logo will appear on its screen.

- Now, let’s continue with the script.
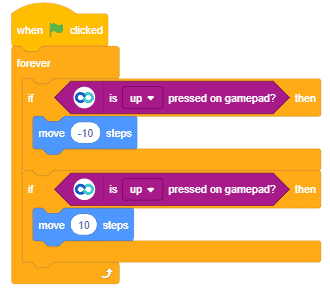
- Tobi should move right upon pressing right on the gamepad and left on pressing left.
- First, let’s add blocks for making Tobi move right. Drag and drop and if block into the scripting area to check if the right has been pressed.
- Then, drag and drop the is pressed on gamepad? block inside the hexagonal space of the if block and select right from the drop-down menu.

- Next, drag and drop move steps block below the if arm and write 10 in the space given.

- Now, duplicate the entire set of blocks and stack them together.
- Then, select left from the drop-down menu of the second gamepad block and enter -10 in the second move steps block. This will make Tobi move left whenever left is pressed on the gamepad.
- Add a forever block for running the script continuously.
- Since we’re working in the stage mode, we’re going to use the when flag clicked hat block.
- With this, our script is complete!
Pairing Dabble with evive
Now, let’s pair Dabble with evive.
- Open the app. The first few screens give a brief about how you can work with Dabble.
- Next, click on the connect icon.
- A dialogue box will appear on the screen asking for permission to turn on Bluetooth. Click on ‘Allow’.
- Once you do so, a list of nearby devices will appear. Select your device’s name. Passwords for pairing with the device in your Smartphone’s Bluetooth setting:
For HC-05: 000 0 or 1234 & for HM-10: 000000 or 123456

- Once your Smartphone is paired with evive, open the Gamepad Module and you are ready to go!
- Maximize the stage and then click on the green flag to run the script!
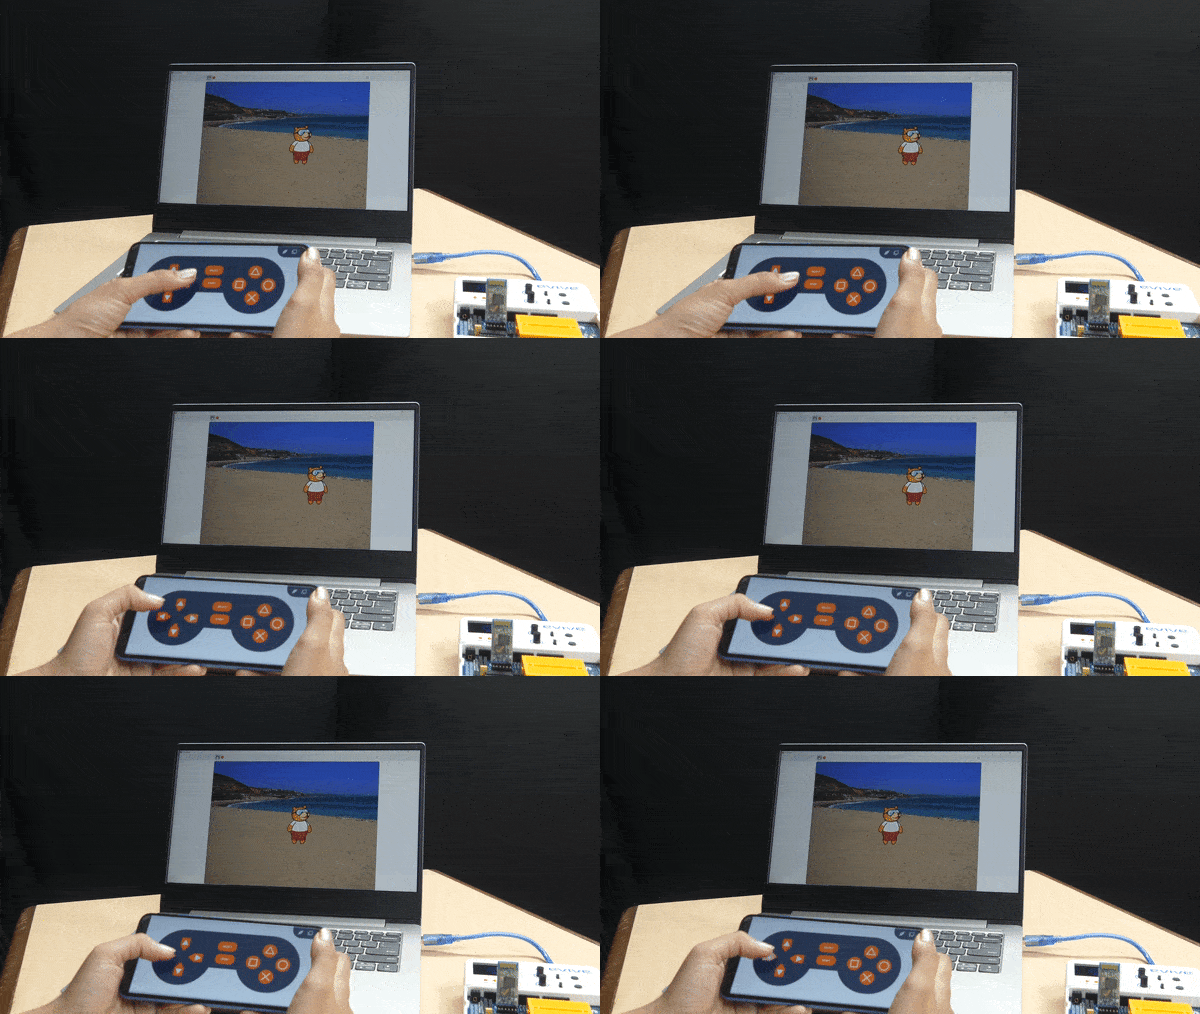
You can make fun games and animations like this space battle and play them in the Stage mode using Dabble.
Dabble in Upload Mode
Now, let’s create a script in the Upload mode for controlling a DC motor connected to evive by sending the command to evive via Dabble’s Terminal module.
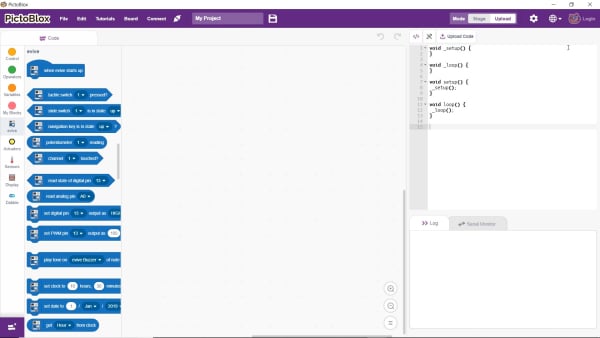
- Switch to the Upload by toggling the Mode button present right above the Stage.
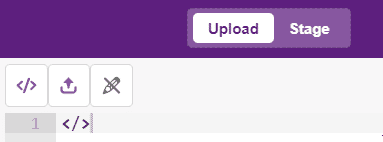
- You’ll observe that the stage is replaced by the editor window.
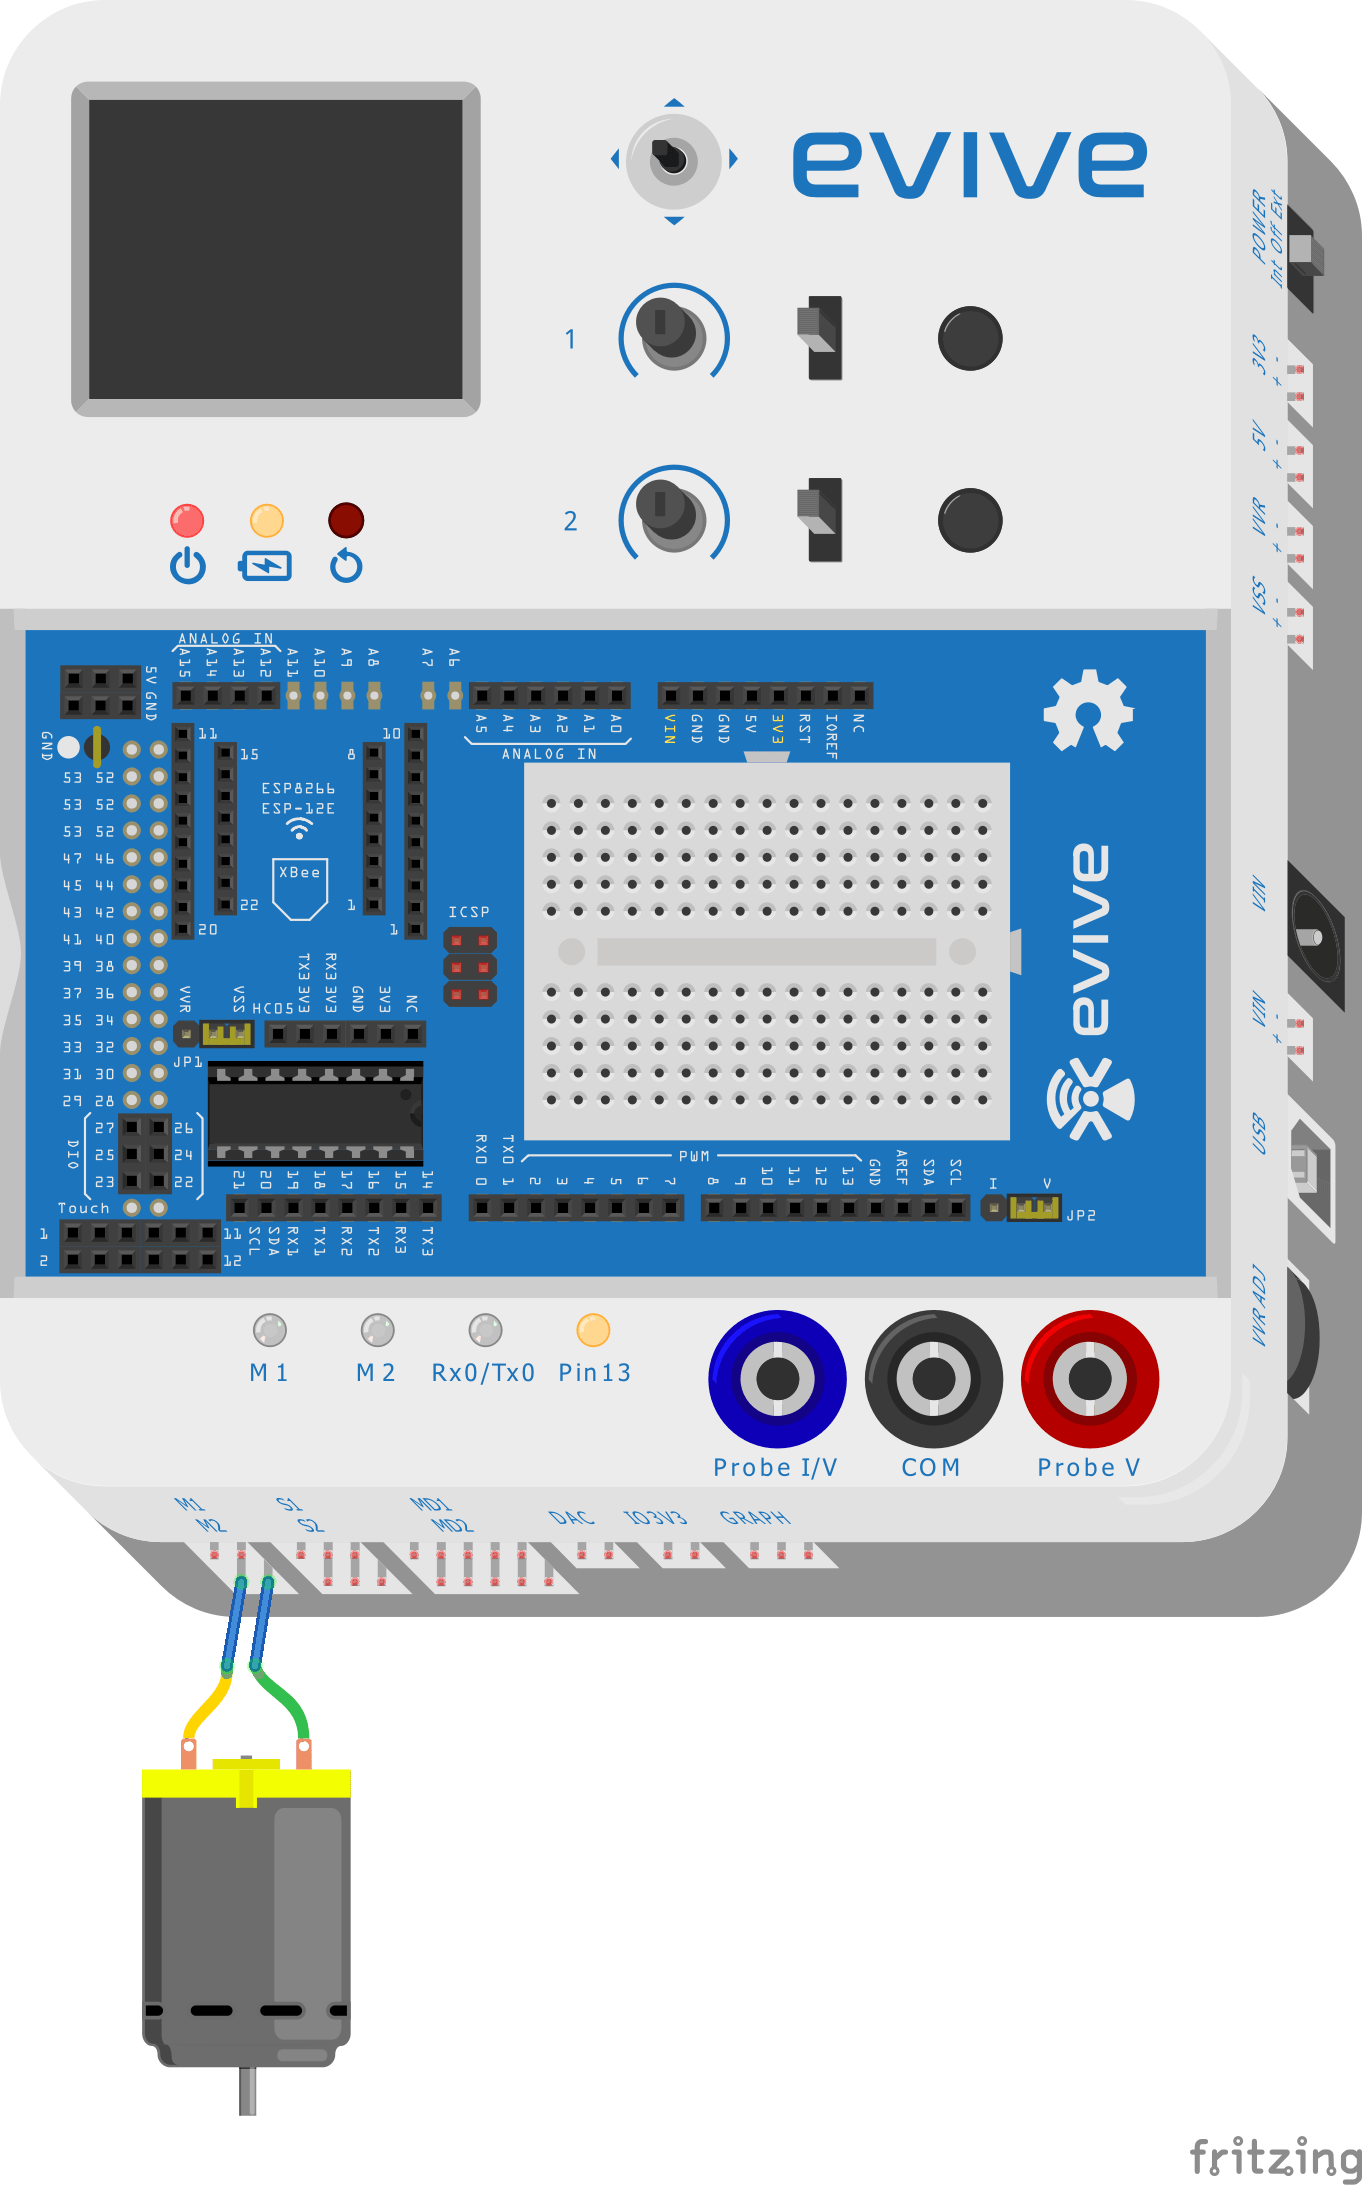
- We’re going to send textual commands to evive using Dabble’s Terminal module to control the motor. Attach a wheel to the motor shaft and connect the assembly to evive’s Motor Channel M1.
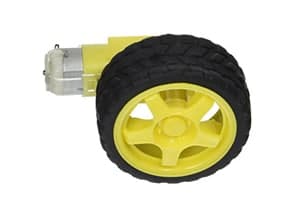
- Now, let’s move on to the script.
- First, we’re going to check if the command given at the terminal is for starting the motor. So, drag and drop an if block into the scripting area.
- Then, drag and drop the is data from terminal block inside the hexagonal space of the if block and write ‘start’ in the white space.

 This block is case-sensitive. Make sure that the text written in this block is EXACTLY the same as the command type in Dabble’s Terminal module.
 - Next, drag and drop the run motor () in direction () with speed () block. Select the channel to which the motor is connected from the first drop-down, the direction in which you want to rotate in the second, and the percentage speed at which you want the motor to rotate from the third.
- Now, duplicate the entire set of blocks for stopping the motor and stack them together.

- Then, write ‘stop’ in the second data from the terminal block and remove the run motor block.
- In place of it, drag and drop the free block and select lock from the first drop-down and the channel i.e. 1 from the second drop-down.

- Add a forever block to the script for running it continuously.
- Finally, drag and drop the when evive starts up hat block.
- With this, our script is complete!
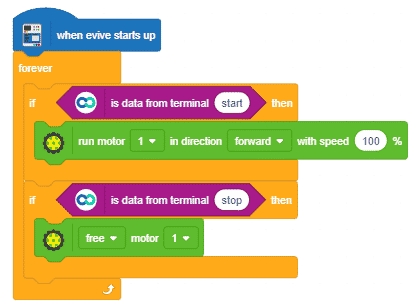
- Now, let’s upload it to evive by clicking on the Upload Code button.
- Once the upload is complete, disconnect evive from the computer.
- Now, open Dabble and click on the connect button. Once paired with evive, open the terminal module.
Now, type ‘start’. In doing so, the motor will start rotating. And on typing stop, it will stop. You can also use voice commands for controlling the motor.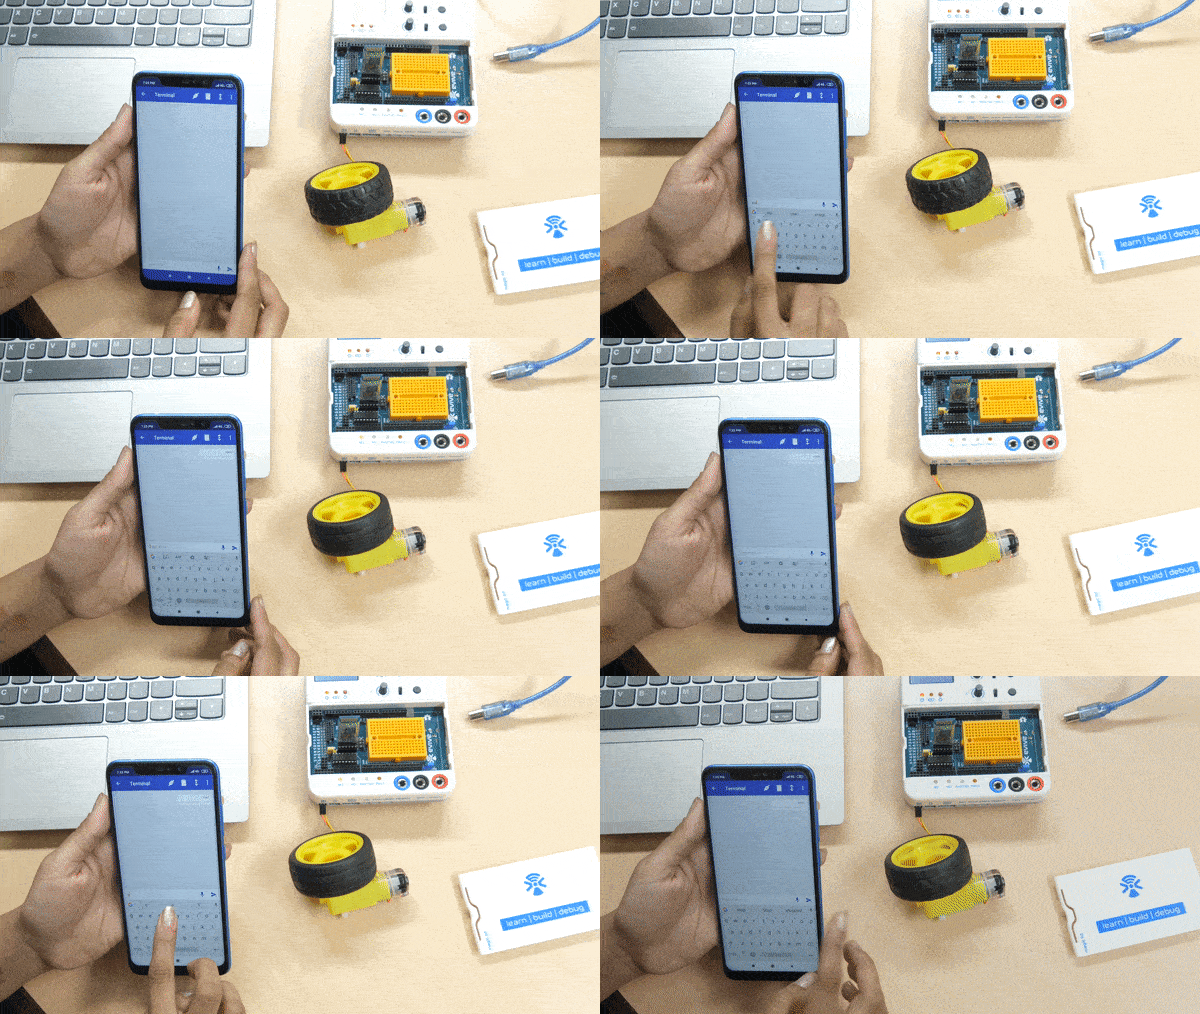
Conclusion
In this lesson, we have learned about Dabble, the dedicated blocks for Dabble in PictoBlox, and how to use it in both the Stage and Upload modes. We have also seen how to use Dabble for controlling a robot’s movements and a DC motor connected to evive. With this, we have come to the end of the video.

