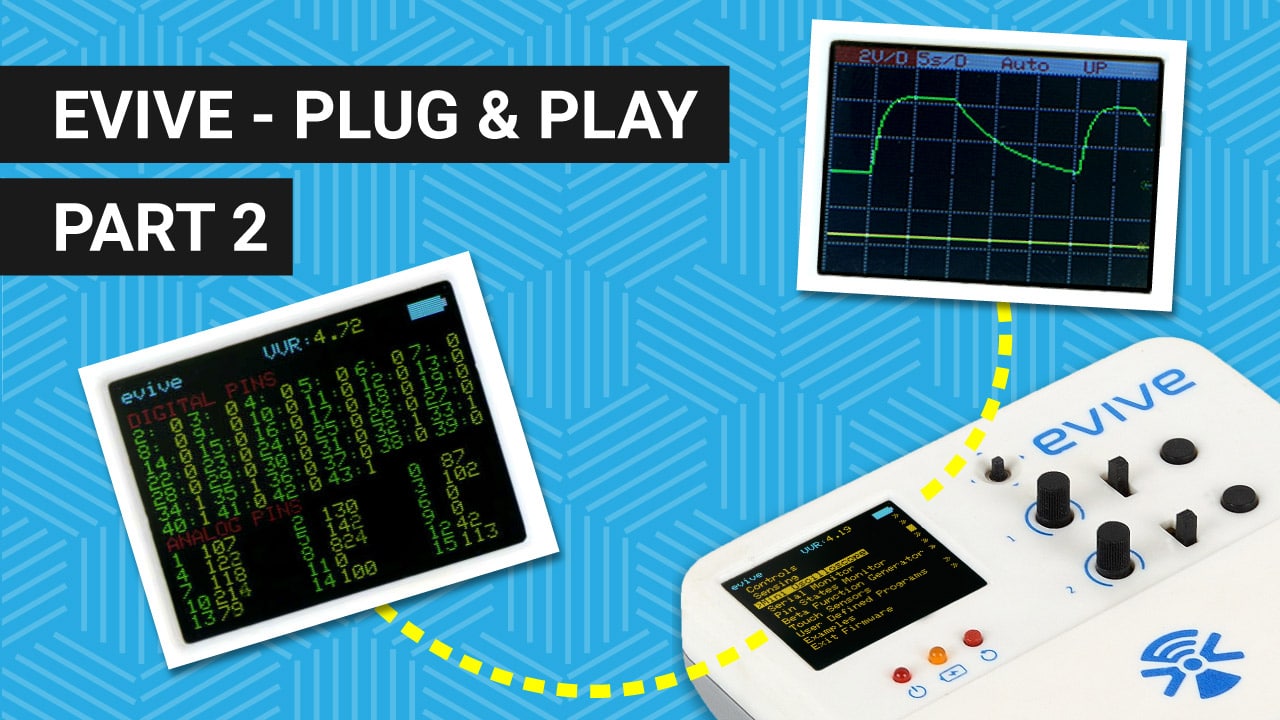
In this tutorial, we’re going to take a look at the inbuilt tools that evive has and that truly makes it versatile and portable electronics lab. They are the pin state monitor, oscilloscope, sensing, and the function generator.
Let’s begin:
Inside evive’s Pin State Monitor
Let’s first take a look at the Pin State Monitor!
evive has 42 digital and 16 analog pins, out of which 0-27 digital pins and A0 to A5 and A12 to A15 analog pins are available for users. The rest of the pins are used internally. You can find this information under the magic lid.
To monitor the live status of all these pins we need a Pin State Monitor. evive has an inbuilt monitor of its own that shows the status of all the pins on the evive’s screen.
Let’s have a look at how.
- Switch on evive.
- From the menu, select Pin State Monitor using the Navigation Key.
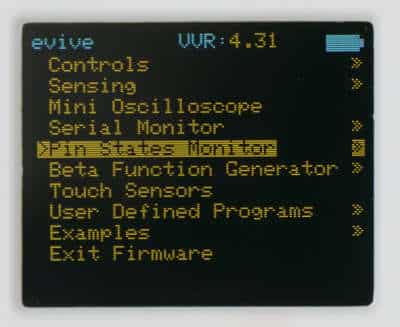
- You will notice that there are three options:
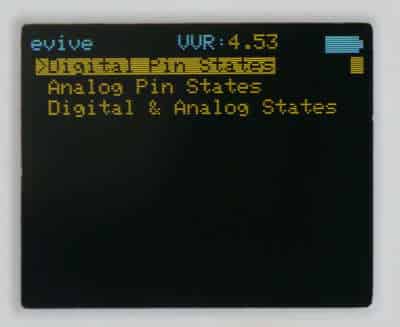
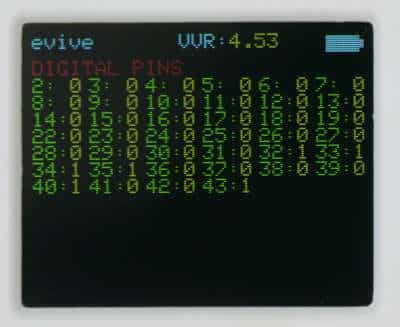
- The first is the Digital Pin States. This option displays the status of only the digital pins. Their status can only be either a 0 or 1.
- Second, is the Analog Pin States, which displays the status of only the analog pins. Their value varies in the range of 0 to 1023.
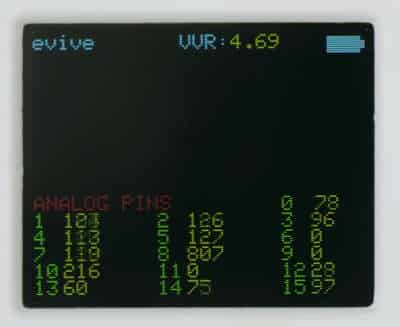
- Third, Digital and Analog States, that displays the status of both Digital and Analog pins together.
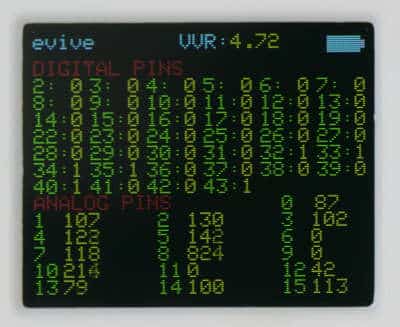
- The first is the Digital Pin States. This option displays the status of only the digital pins. Their status can only be either a 0 or 1.
- Time to see the Pin State Monitor in action!
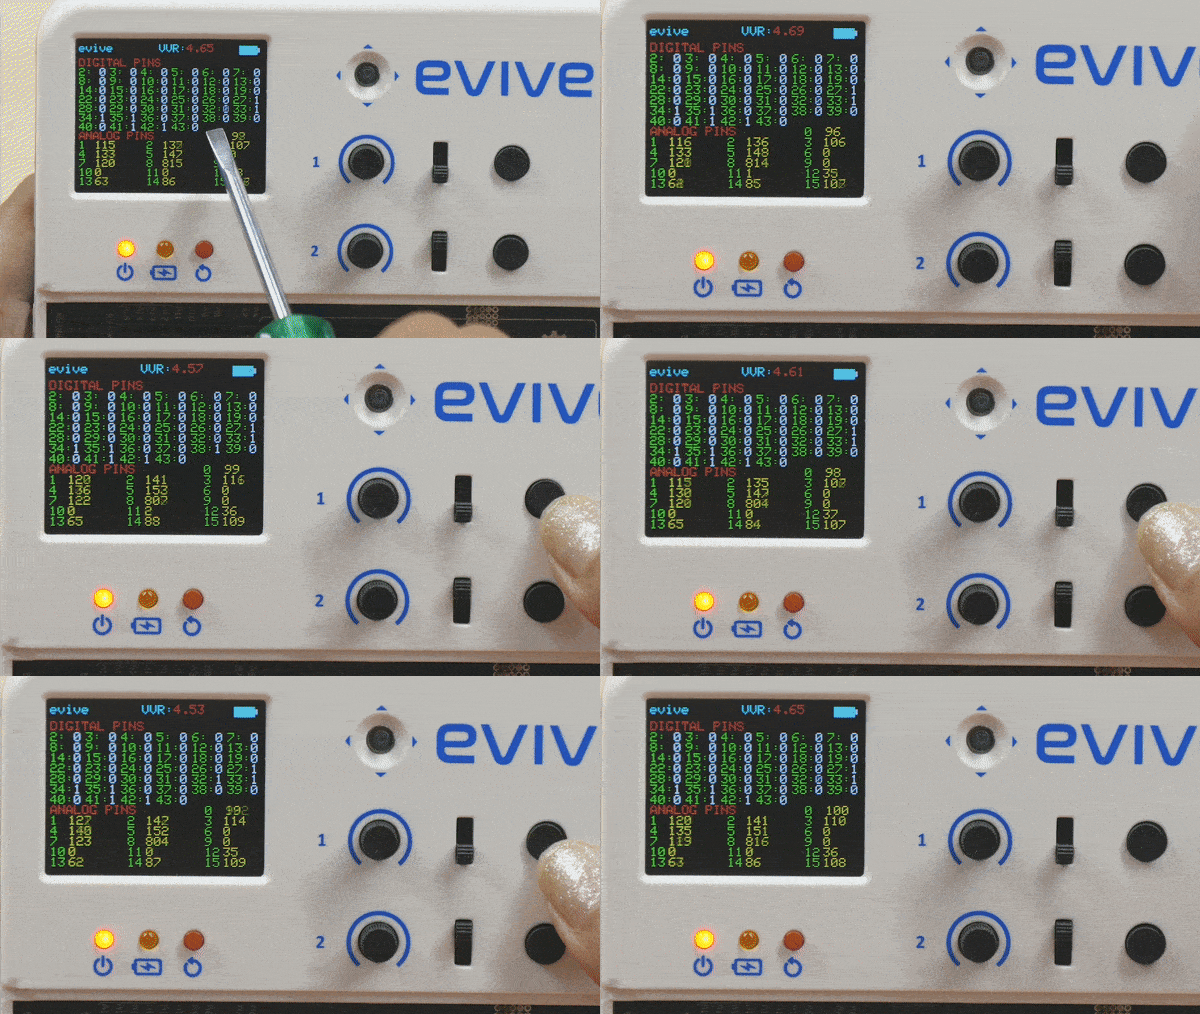
- First, let’s see what happens when we press tactile switch 1. The tactile switch 1 is internally connected to digital pin 38. The status of the pin will change to 1 on pressing the switch and return back to 0 as soon as we release it.
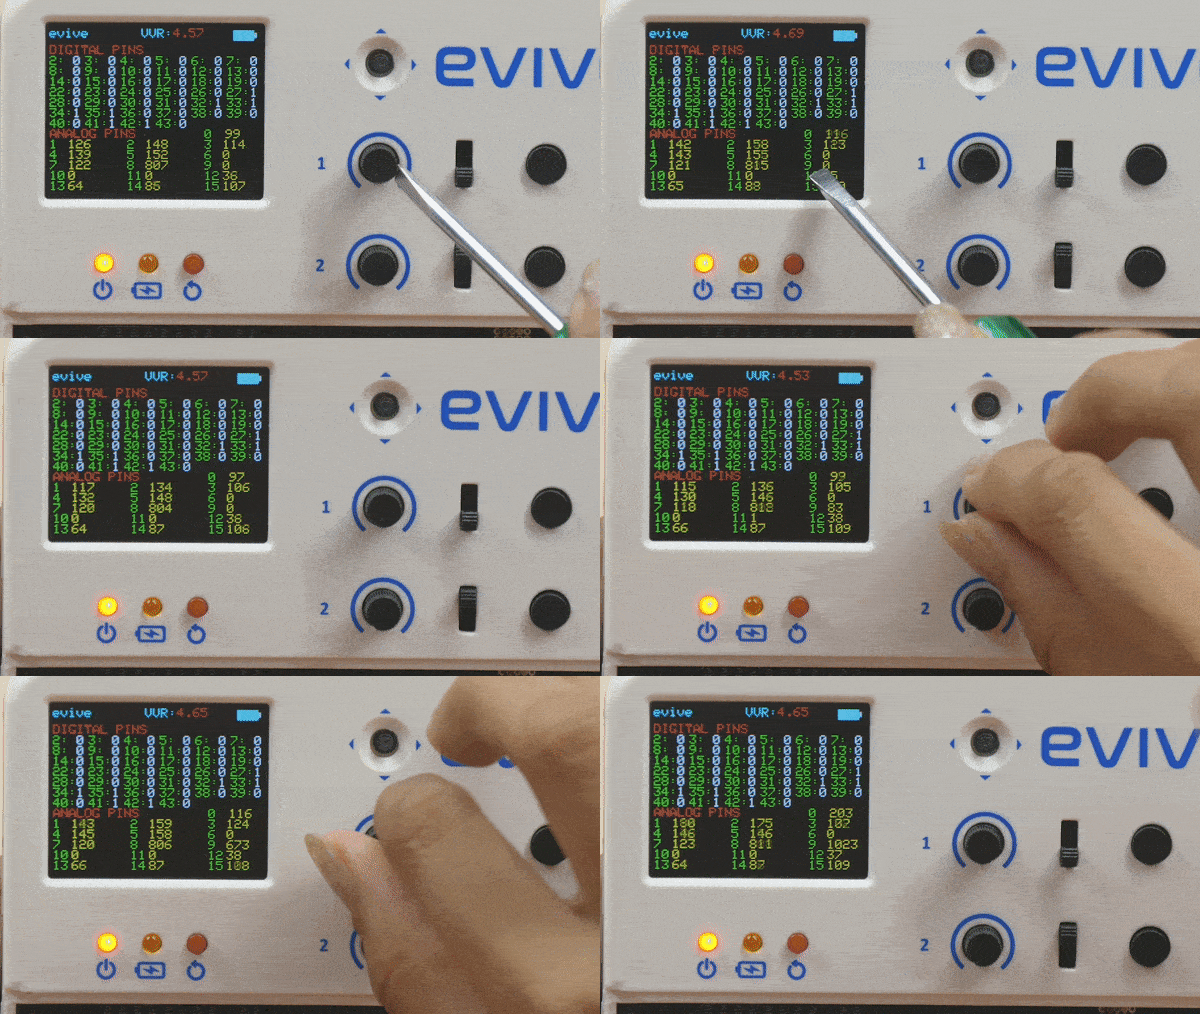
- Now, let’s see what happens when we turn potentiometer 1. It is connected to analog pin A9. As you turn the potentiometer, the value at that pin will vary between 0 to 1023.
The pin state monitor is very useful to check input signals from the various analog and digital sensors and accordingly debug the program.
Inside evive’s Oscilloscope
Now, let’s move on to the Oscilloscope.
An oscilloscope is a type of electronic test instrument that allows observation of constantly varying current or voltage signals, usually as a two-dimensional plot of one or more signals as a function of time. Other signals (such as sound or vibration) can be converted to voltages and displayed. evive has a mini-oscilloscope of its own.
Let’s perform a small activity to see how the oscilloscope works.
- For this, take a DC motor with a wheel mounted on its shaft.

- Connect the motor wires to the middle and the rightmost pin of the Graph port.
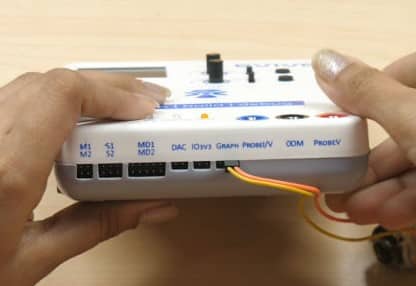
- Now, select Mini Oscilloscope from the menu.
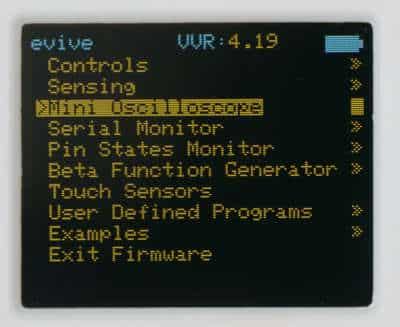
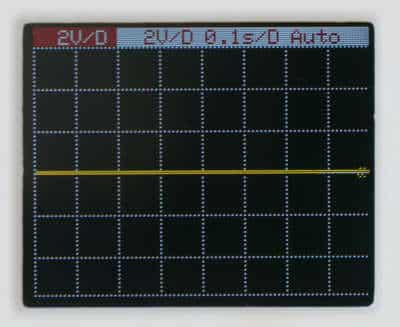
- Rotate the motor manually with the help of the wheel. You’ll notice that spikes are generated as we rotate the wheel.
- How are these spikes generated? Here, we are using the motor as a DC generator. When you rotate the wheel, voltage is generated which can be observed on the oscilloscope in the form of spikes.
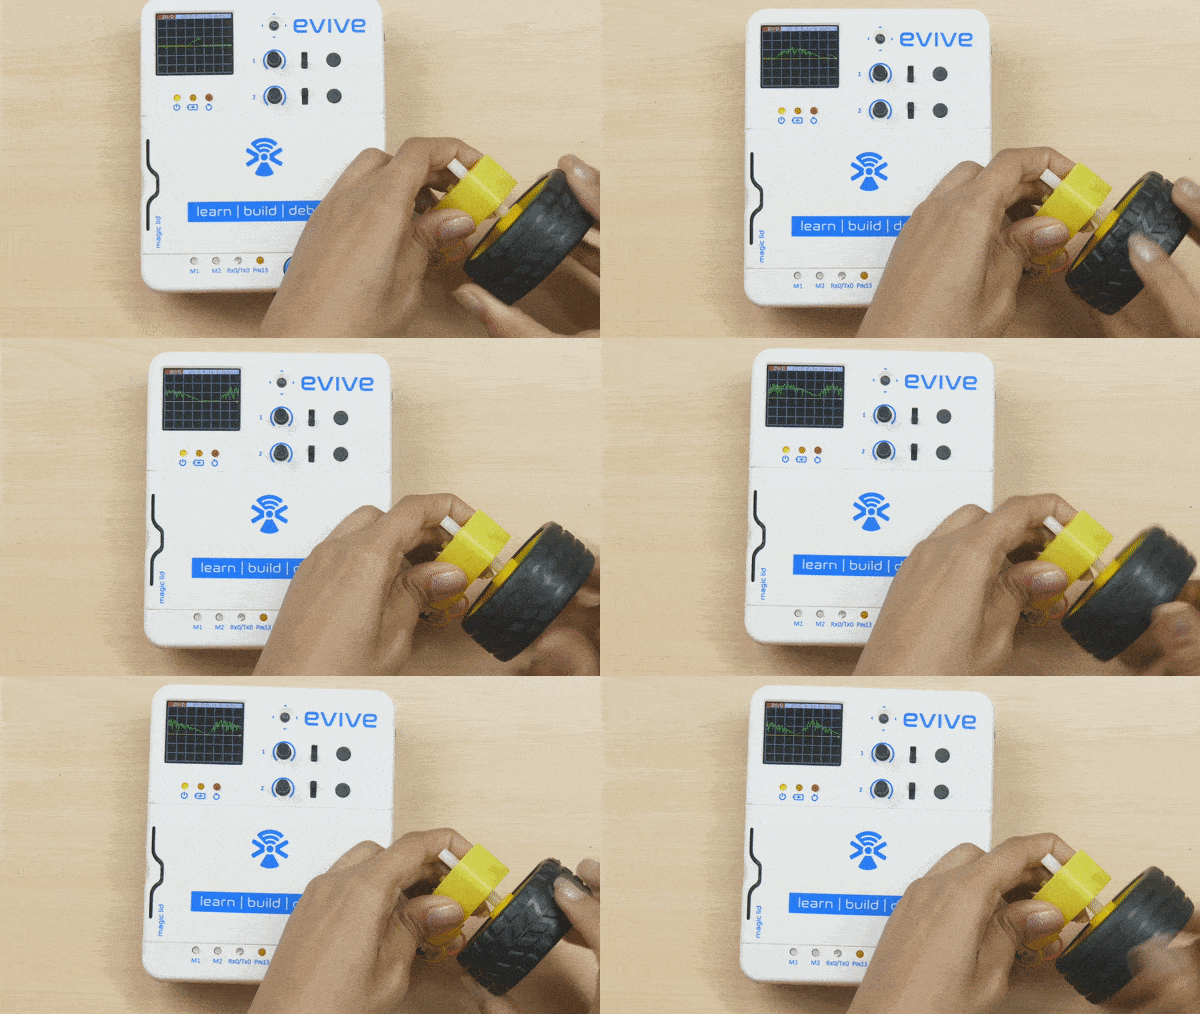
- Now, rotate the wheel in the opposite direction. You’ll observe that this time, the spikes are reversed.
- You can scale the graph, that is, change the value of each division using the navigation key. By pushing the navigation key up and down, you can change the voltage division. And by pushing it left and right, you can change the time division.
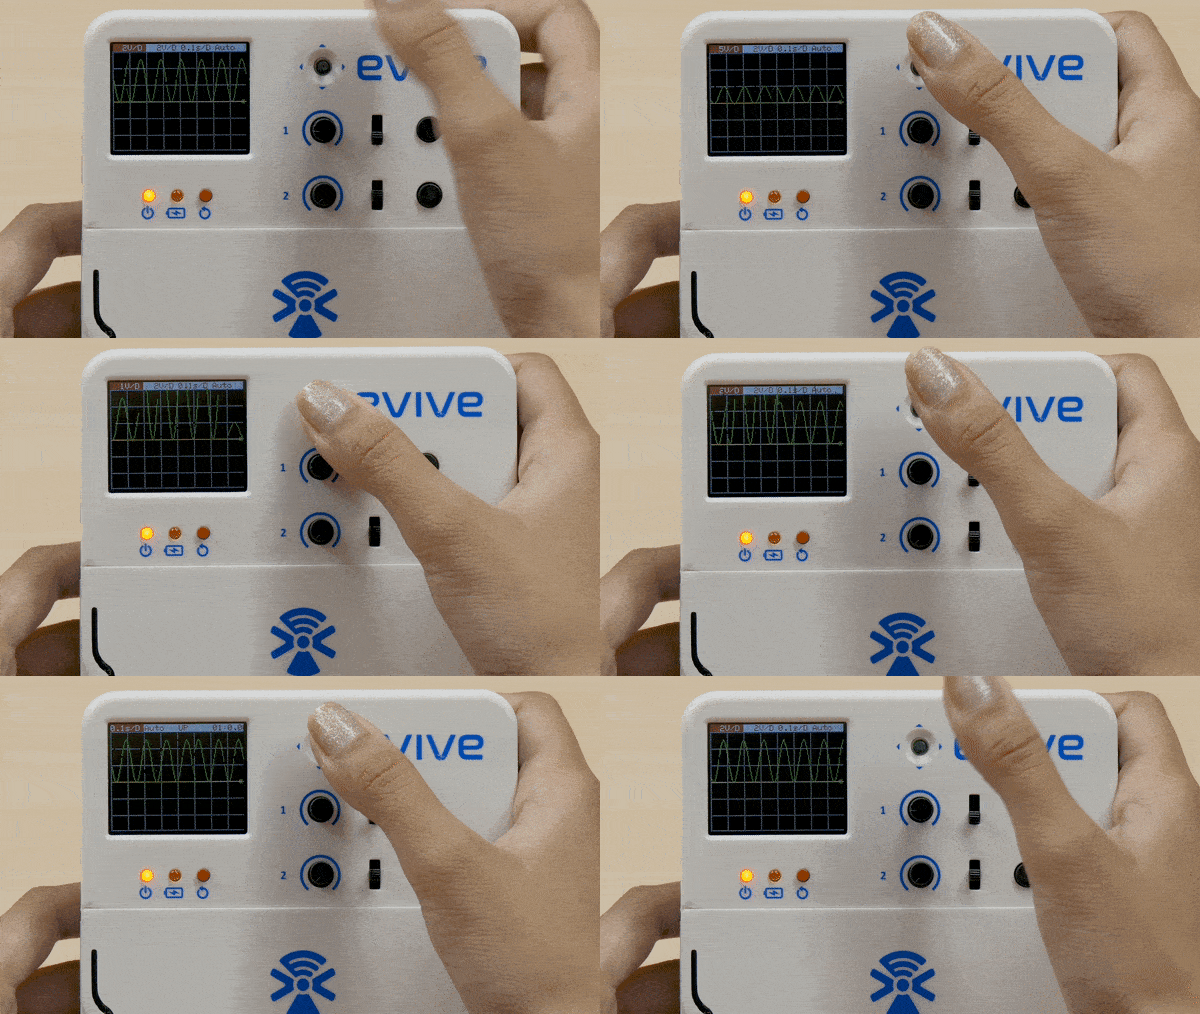
The mini oscilloscope, as you can see, can really come in handy when we need to study signals generated by any electronic component.
Inside evive’s Sensing Feature
Time to move on to Sensing.
Many of you must be familiar with the digital multimeter that is commonly used to measure the voltage and current. Well guess what, evive can do the job of a multimeter as well!
Let’s perform a small activity for measuring the voltage of an AA battery.
- Take two male-to-female jumper cables and connect their female ends to the middle and the rightmost pin of the GRAPH port. The center pin of the GRAPH port is the ground pin.
- Therefore, connect the negative terminal of the battery to the center pin.
- Connect the positive terminal of the battery to the rightmost pin.
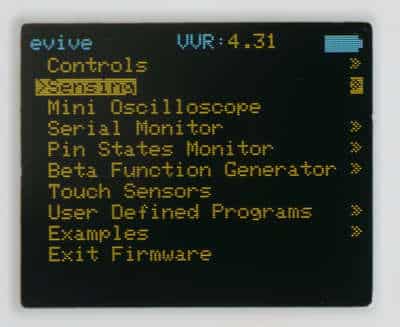
- Now, select Sensing from the menu.
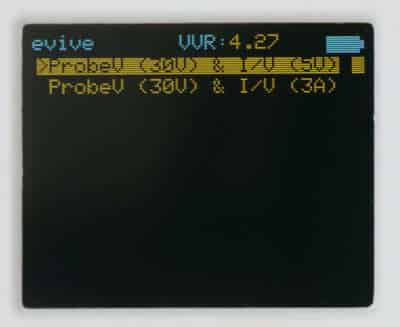
- There are two options available under this option. For measuring the voltage of the battery, select the first option i.e. ProbeV (30V) & I/V (5V).
- The voltage of the AA battery will be displayed under Probe V.
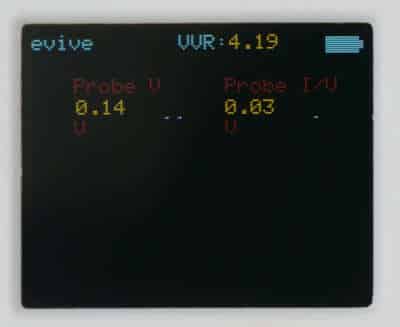
This feature can be of great use for testing circuits. You can even use it for understanding the basics of electronics.
Inside evive’s Function Generator
And now, let’s have a look at evive’s function generator.
A function generator, as its name suggests, is an instrument that generates functions, or electrical waveforms like the Sine wave, Square wave, Triangular wave, etc. As you may have guessed by now, evive has a function generator of its own that can generate various functions of desired frequency and amplitude.
Let’s take a look at how it works.
- Select Beta Function Generator from the menu.
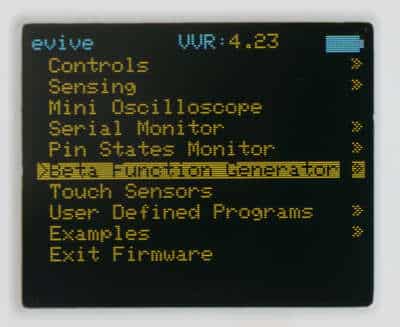
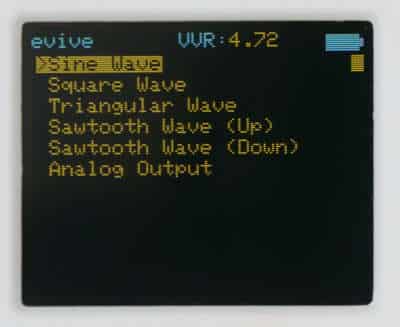
- A list will appear that shows the types of waveforms the function generator can generate. Let’s work with the sine wave. Select it by pressing the navigation key to the right.
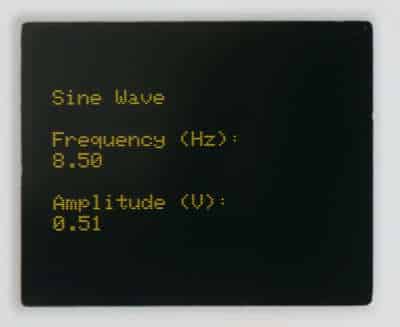
- You can control the amplitude of the wave between 0 to 2.5V using potentiometer 2 and the frequency in the range of 8.5Hz to 500Hz using potentiometer 1.
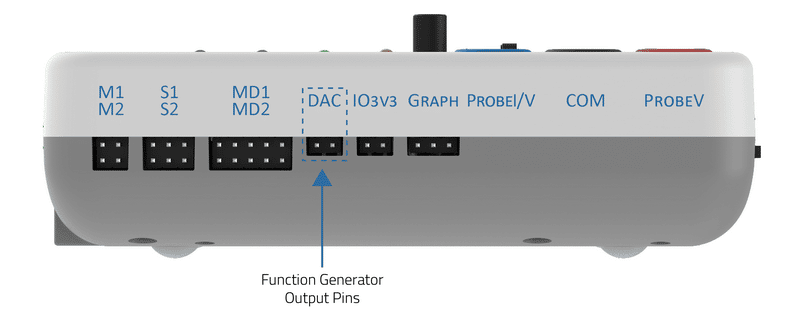
- Once you set the parameters, evive will generate a sine wave corresponding to the amplitude and frequency set by you at the DAC port.
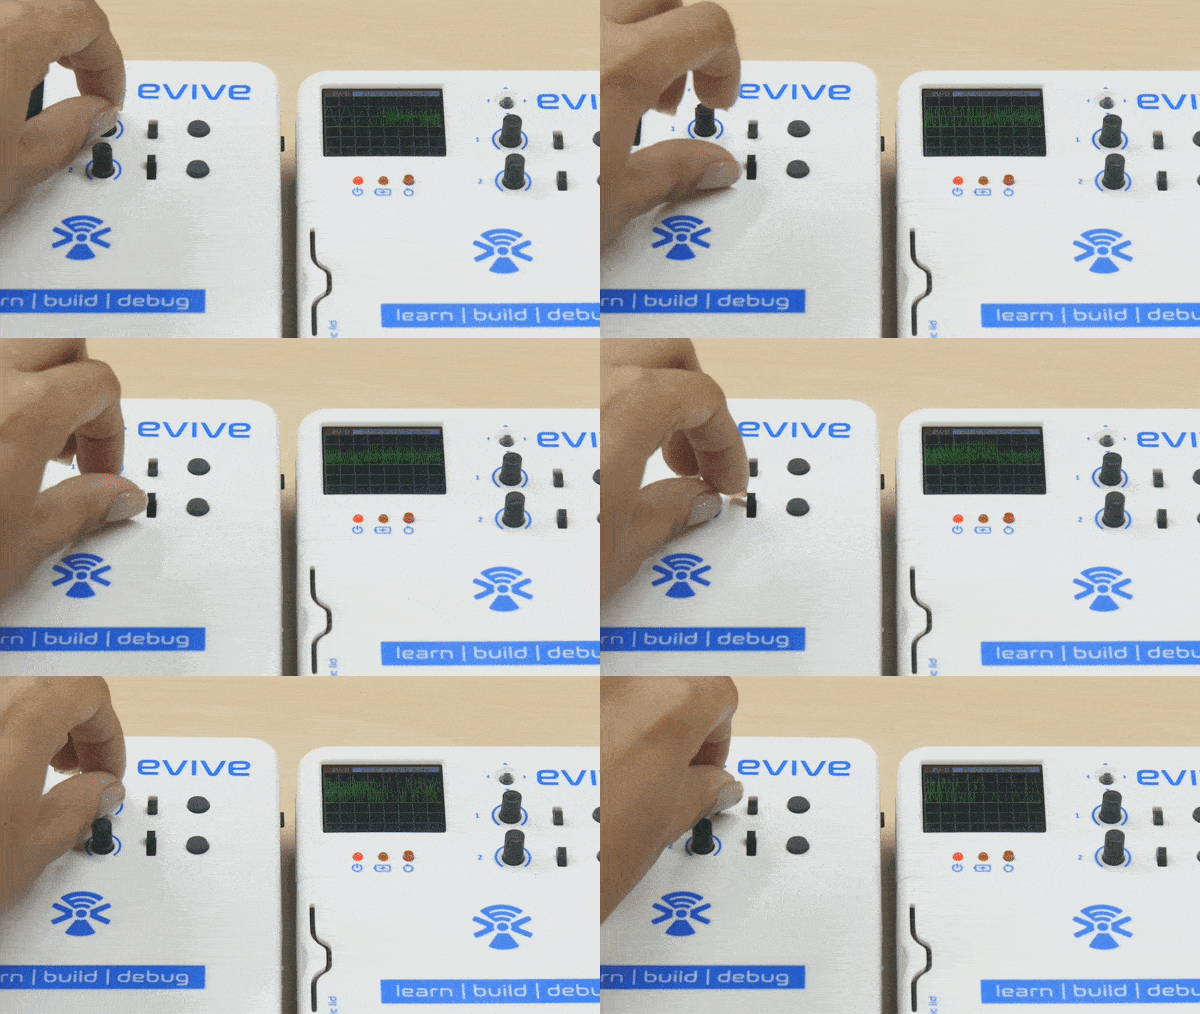
- Let’s visualize it on the oscilloscope by using another evive.
- Take two female-to-female jumper cables and connect one end of both the jumper cables to DAC port of the first evive and the other ends to the middle and the rightmost pins of graph port of the second evive.
- Now, switch on the second evive and select Mini oscilloscope from its menu.
- And there you have it! The sine wave generated by the function generator being plotted on the mini oscilloscope. Notice that as you change the amplitude and frequency, the graph is plotted on the oscilloscope also changes in real-time.
Conclusion
In this lesson, we explored evive’s inbuilt tools like the Pin State Monitor, Oscilloscope, Sensing Feature, and Function Generator. We saw how each of these tools works and how they can be used to debug electronic projects and understand the basics of electronics. With these tools, evive is truly an all–in–one, versatile, and portable electronics lab.

