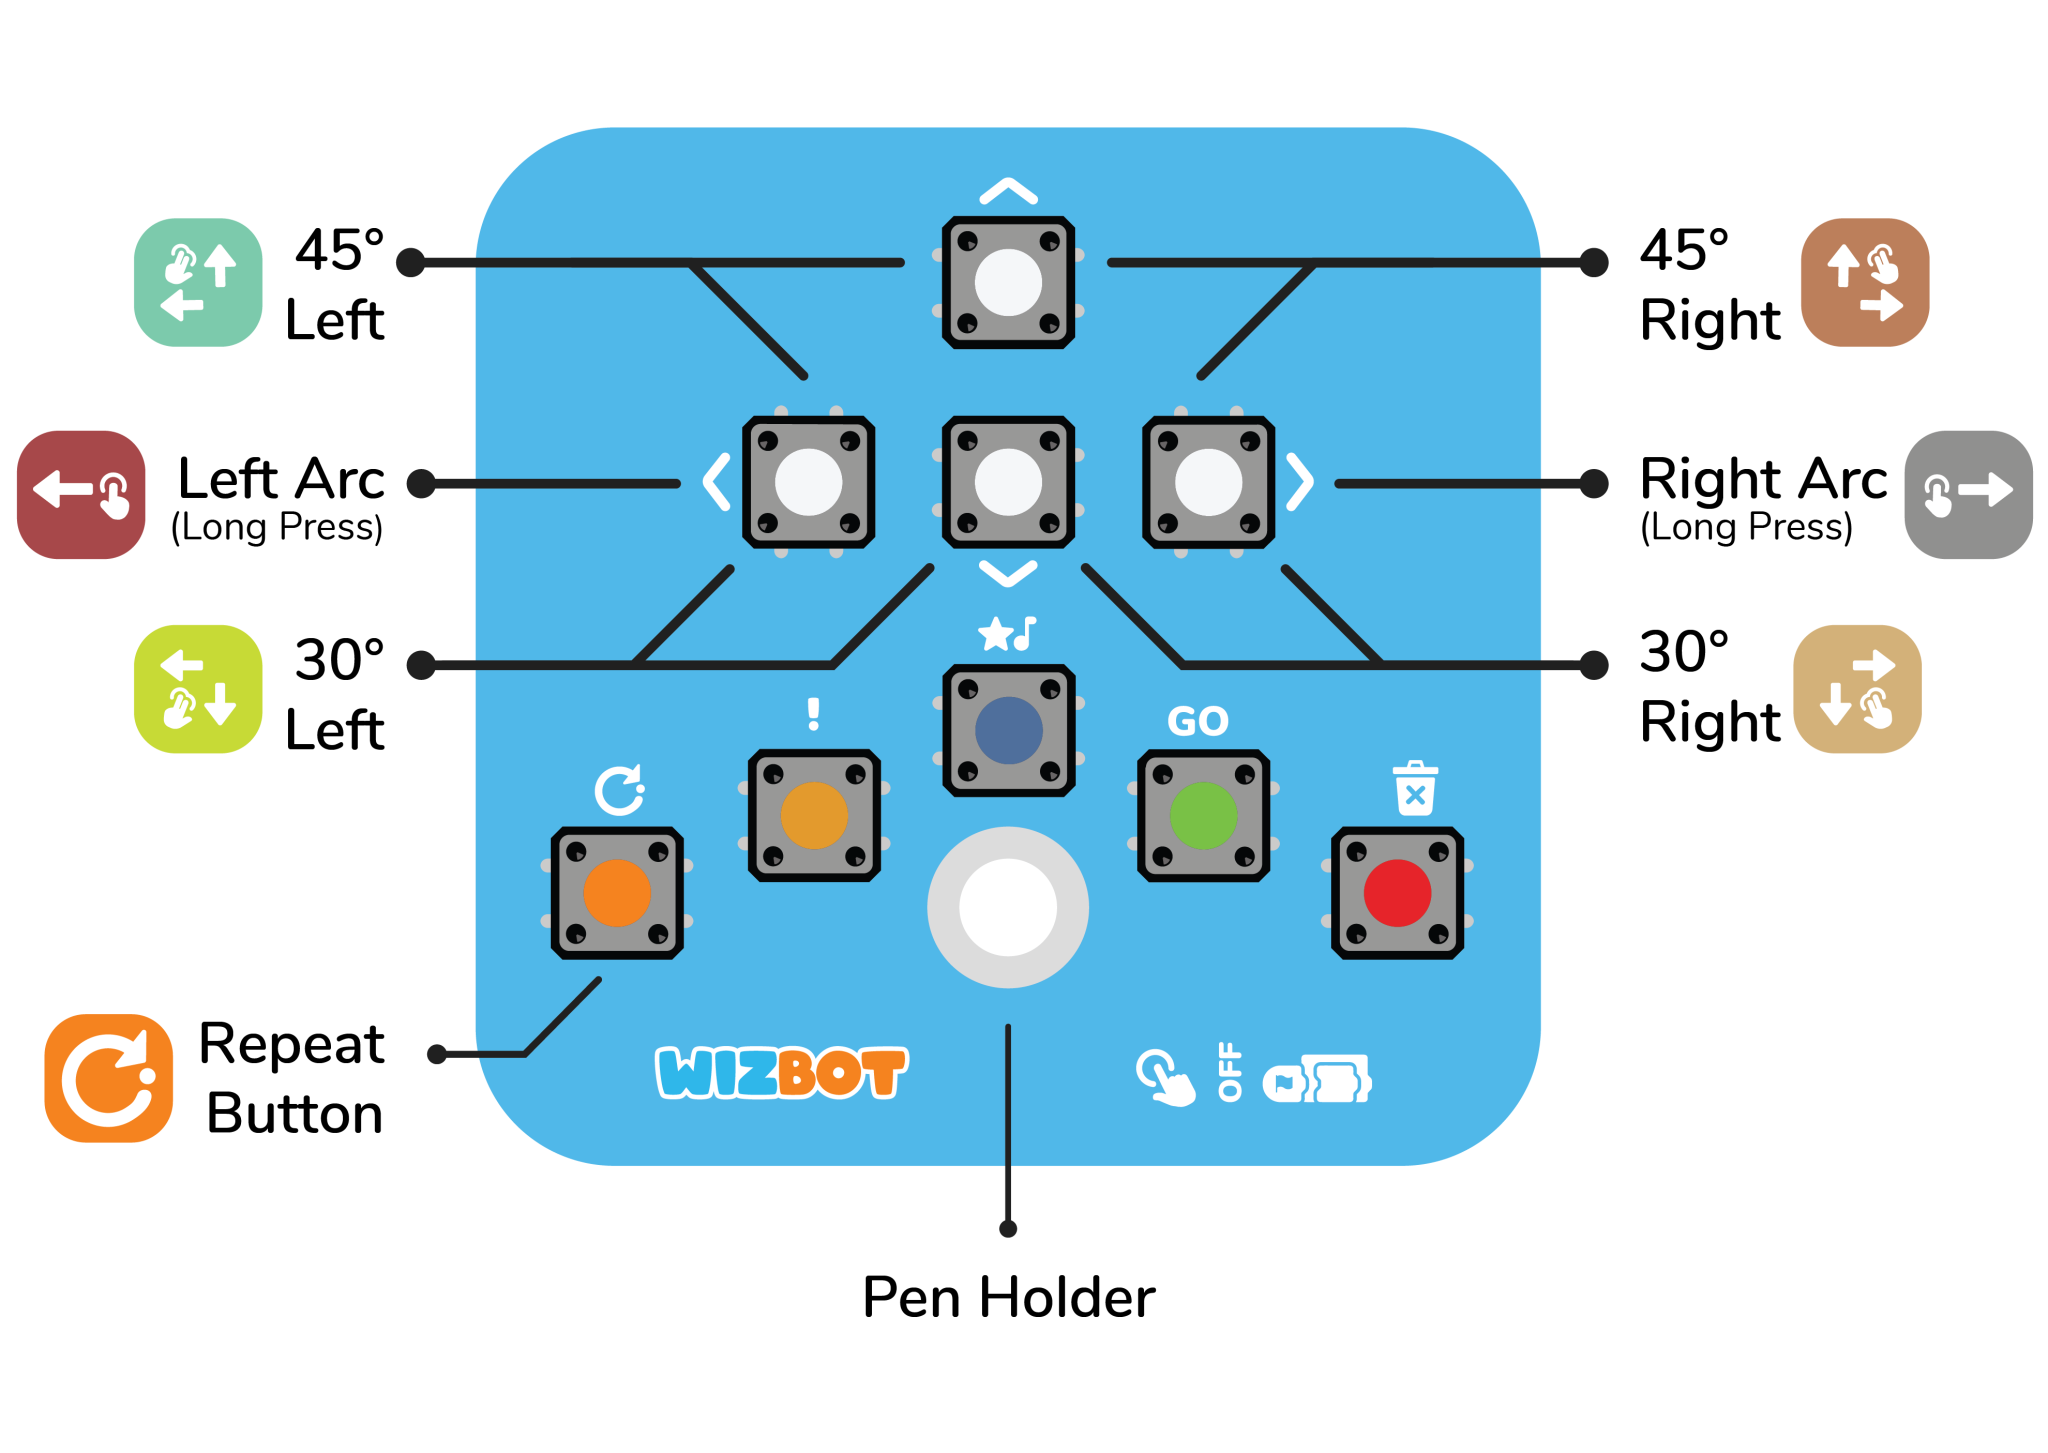
Let’s dive into the special features of Wizbot Neo and how to use them!
Explore Wizbot Neo’s Advanced Turn Commands
1. 45° Turn
To execute a 45-degree turn:
- Press the Forward button simultaneously with the desired directional button (either Left or Right).
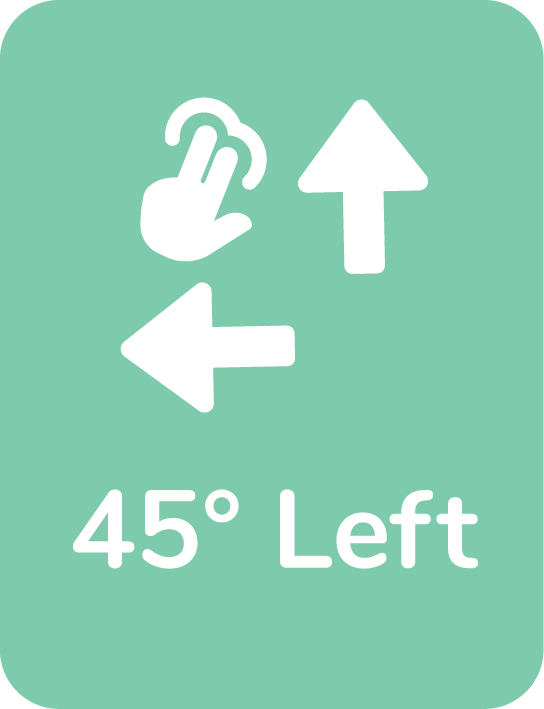
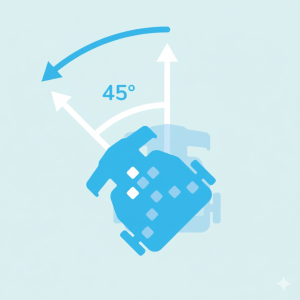
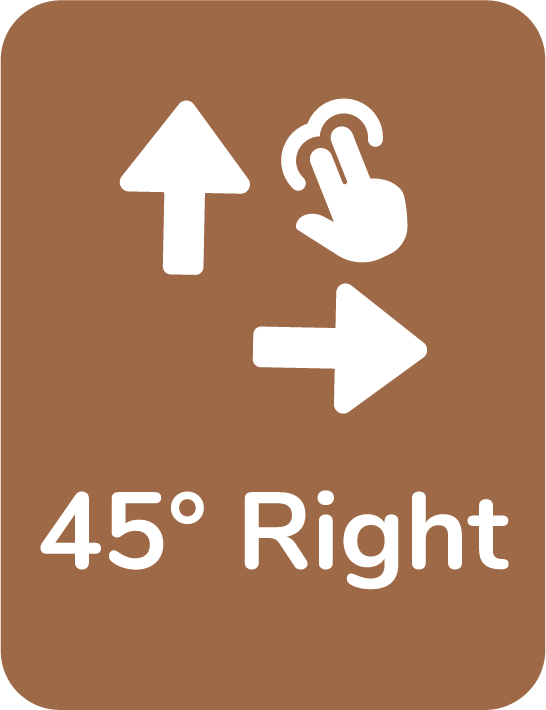
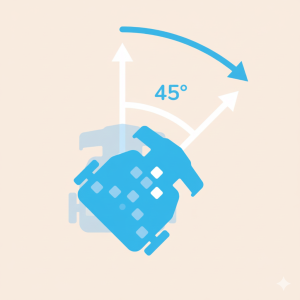
- For example, to perform a 45-degree left turn, press Forward + Left together.


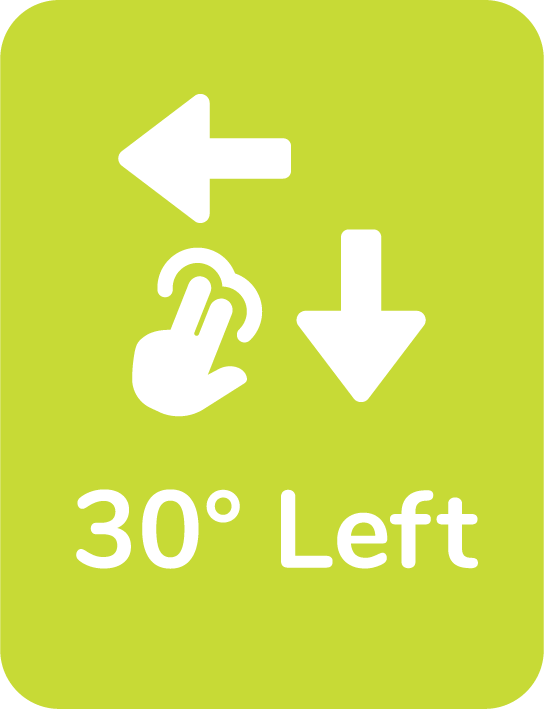
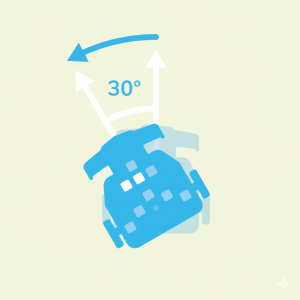
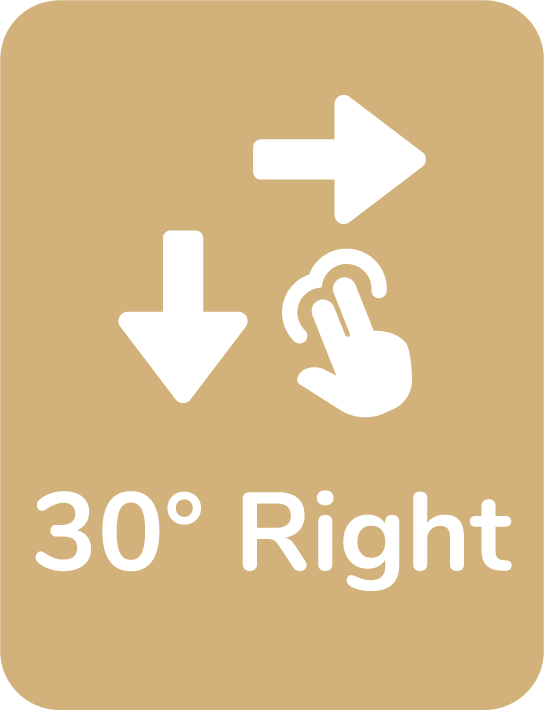
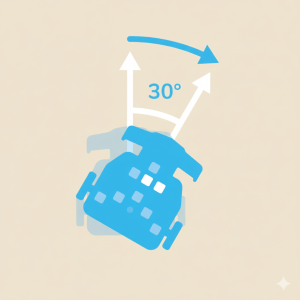
2. 30° Turn
To execute a 30-degree turn:
- Press the Reverse button simultaneously with the desired directional button (either Left or Right) for the 30-degree turn.
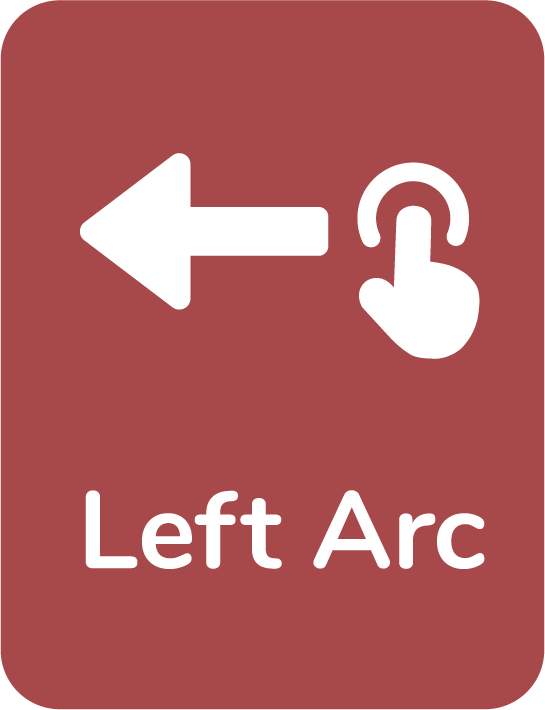
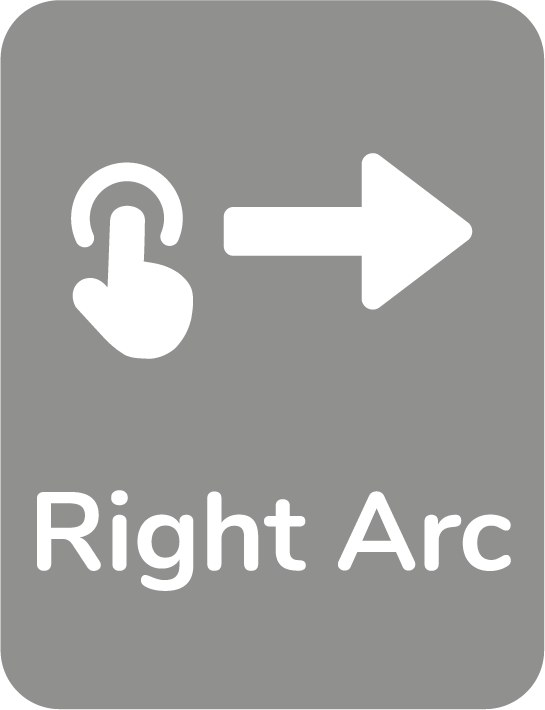
3. Arcs
Arcs are instrumental in generating circles, clouds, and a variety of other curvilinear shapes, significantly expanding drawing possibilities.
For smooth, curved movements, Wizbot Neo can create arcs:
- Short arc: Long-press (1 second) either the Left or Right directional button for a shorter arc.
- Long arc: Long-press (3 seconds) either the Left or Right directional button for a bigger arc.
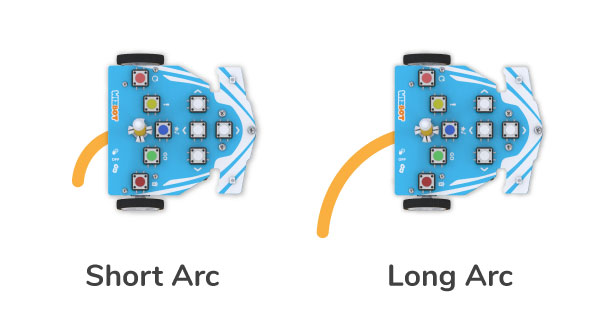
These two arcs provide students a way to create different shapes and explore their creativity.

Repeat Button: Automating Patterns
The Repeat button is a powerful feature utilized to automate the repetition of a sequence of movements.
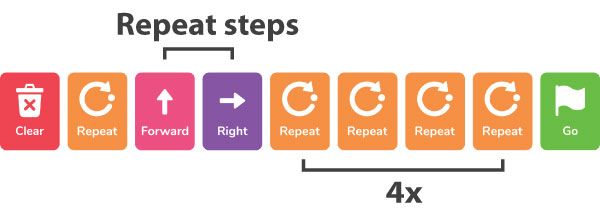
Activity: Learn to Draw Square with Repeat Button.
Step 1: Press Clear to clear any previous commands.
Step 2: Press the Repeat button. The subsequent commands added will form the repeat sequence. For a square, we aim to repeat a “forward” movement and a “right turn.”
Step 3: After inputting “forward” and “right turn,” press the Repeat button again to specify the number of repetitions. Since we are drawing a square, we will press the Repeat button 4 times. Notice the distinct sound feedback indicating the number of repetitions.
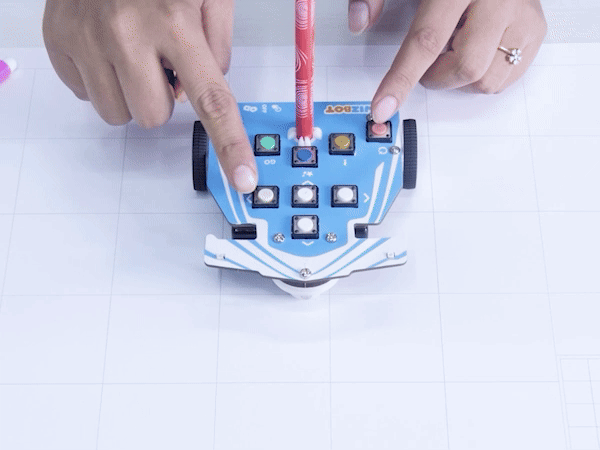
Step 4: Attach the sketch pen, ensuring the tip lightly touches the paper.
Step 5: Press Go.
Wizbot Neo will execute the entire sequence the specified number of times.

Activity: Learn to Draw a Six Point Star with Wizbot Neo’s Repeat Button
Let’s apply these newly acquired skills to create a star shape, illustrating the significant power of the Repeat button.
To create a six-point star:
Step 1: Clear the playlist.
Step 2: Press Repeat.
Step 3: Input the following sequence:
- Forward
- 30-degree Left (by pressing Reverse and Left)
- Again, 30-degree Left
- Reverse
- Right
- 30-degree Right (by pressing Reverse and the Right directional button)
Step 4: Press Repeat 6 times to repeat this complex sequence.
![]()

Step 5: Press Go.
Observe the impressive star created by Wizbot Neo!
Interrupt Button
Wizbot Neo also incorporates advanced features such as the Interrupt function, which is crucial for line following and line detection activities.
What is the Interrupt function?
In essence, the Interrupt feature allows Wizbot Neo to recognize a specific condition (e.g., detecting a black surface) as an urgent signal. Upon detecting this signal, Wizbot Neo pauses its current task (the “Main Code”) to execute a predefined “urgent job,” after which it resumes its original Main Code. This functionality is analogous to pausing a primary activity to address an immediate, smaller task before returning to the main activity.
Implementing Interrupt
Let’s practice and examine the Interrupt feature:
- Main Code Input: First, program Wizbot Neo with a series of steps that constitute your “Main Code.”
- Activate Interrupt: Press the Interrupt button.
- Urgent Task Input: Subsequently, input the commands that Wizbot Neo should execute when it detects a black line. This constitutes the “urgent job.”
- Execute Code: Finally, press Go.
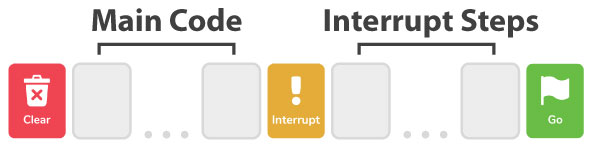
Wizbot Neo will follow the Main Code. However, upon detecting a black strip, it will momentarily stop, perform the urgent task, and then continue executing the remainder of the Main Code.
Activity: Learn to Draw a Rectangle with Interrupt Feature
Step 1: Position your Wizbot Neo on a drawing sheet and arrange black strips to define the sides of the rectangle.
Step 2: Long-press the Forward button to input a “forever forward” step, which serves as the Main Code.
Step 3: Press the Interrupt button.
Step 4: Then, press the buttons for the urgent code; in this case, a right turn.
Step 5: Now, press the Go button to execute the code.
![]()
Conclusion
This concludes the basics of Wizbot Neo’s special features. Experiment by combining basic commands, as well as special features, such as Arcs, Repeat, and Interrupt, to create an array of new and exciting shapes and challenges. Continue to mix and match commands, and most importantly, enjoy the process of coding!

