Introduction
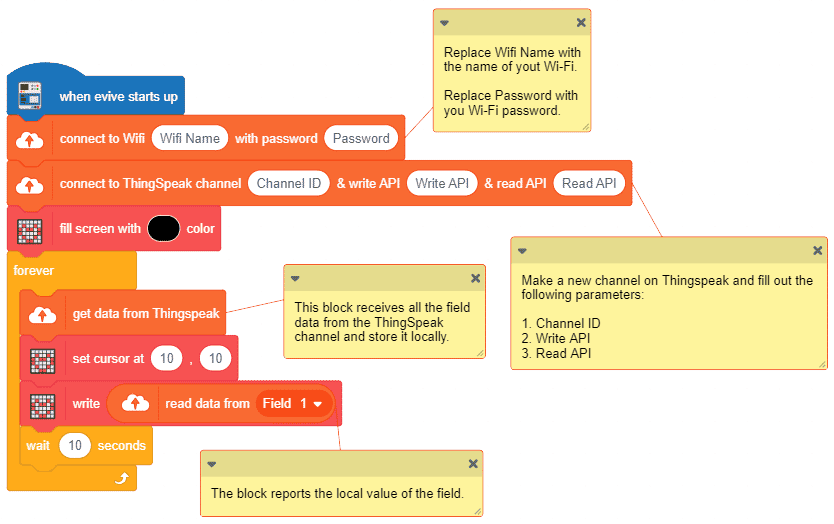
In the last tutorial, we have seen how to send sensor data to ThingSpeak. To complete the whole Internet of Thing loop, we will now learn how to retrieve sensor data from the cloud (ThingSpeak). We will retrieve the last data sent in the previous project.
Connecting evive to the Internet
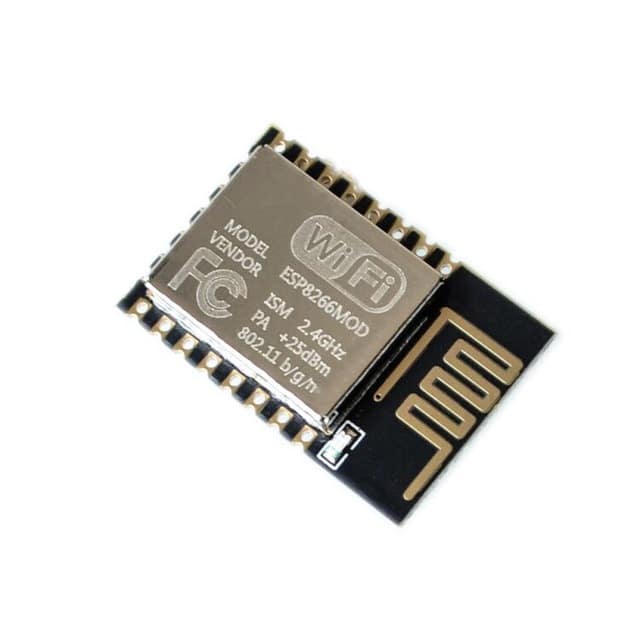
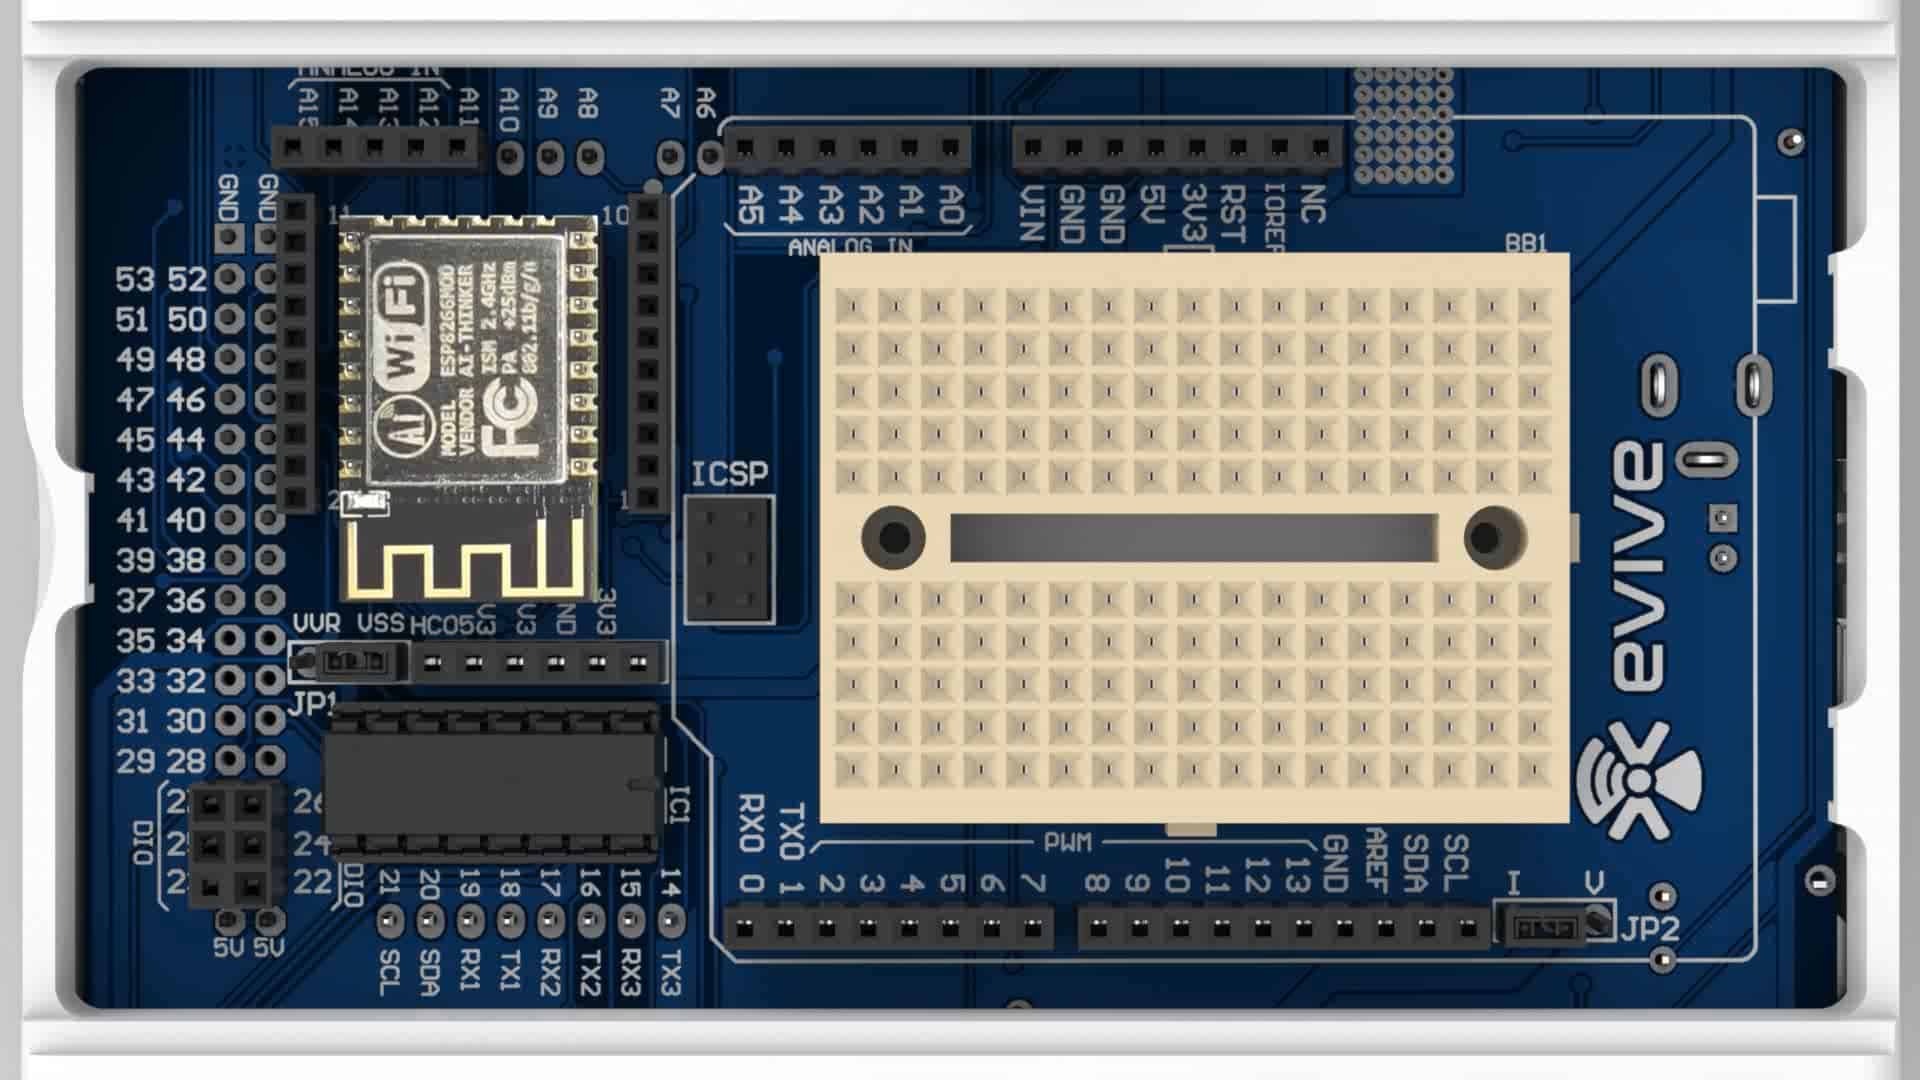
To connect evive to the internet we will use the ESP8266 module.
Connect ESP8266 Module to its header on evive:
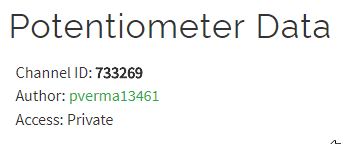
ThingSpeak Parameters
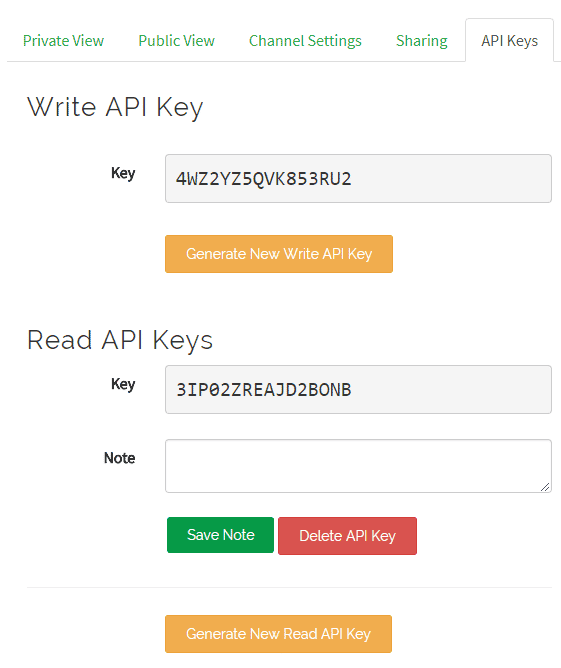
You will need the following parameters from your channel to access the data:
PictoBlox Program
In this example, we will be sending data to the potentiometer data to the ThingSpeak channel we have created.
- Open PictoBlox.
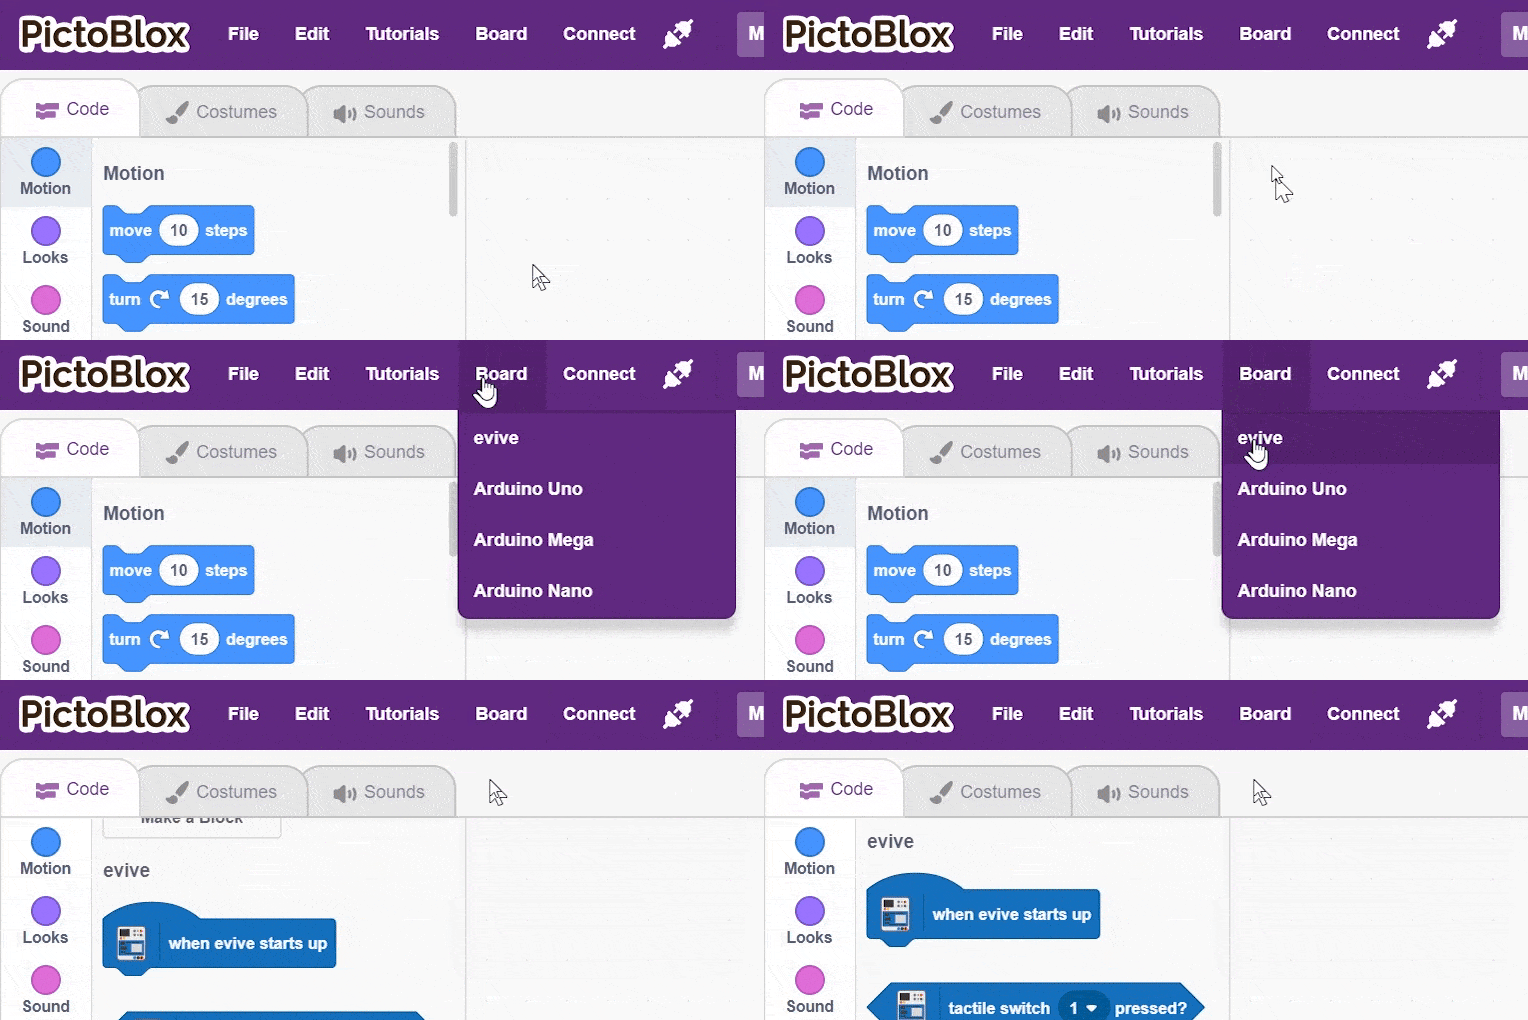
- Select the board as evive:
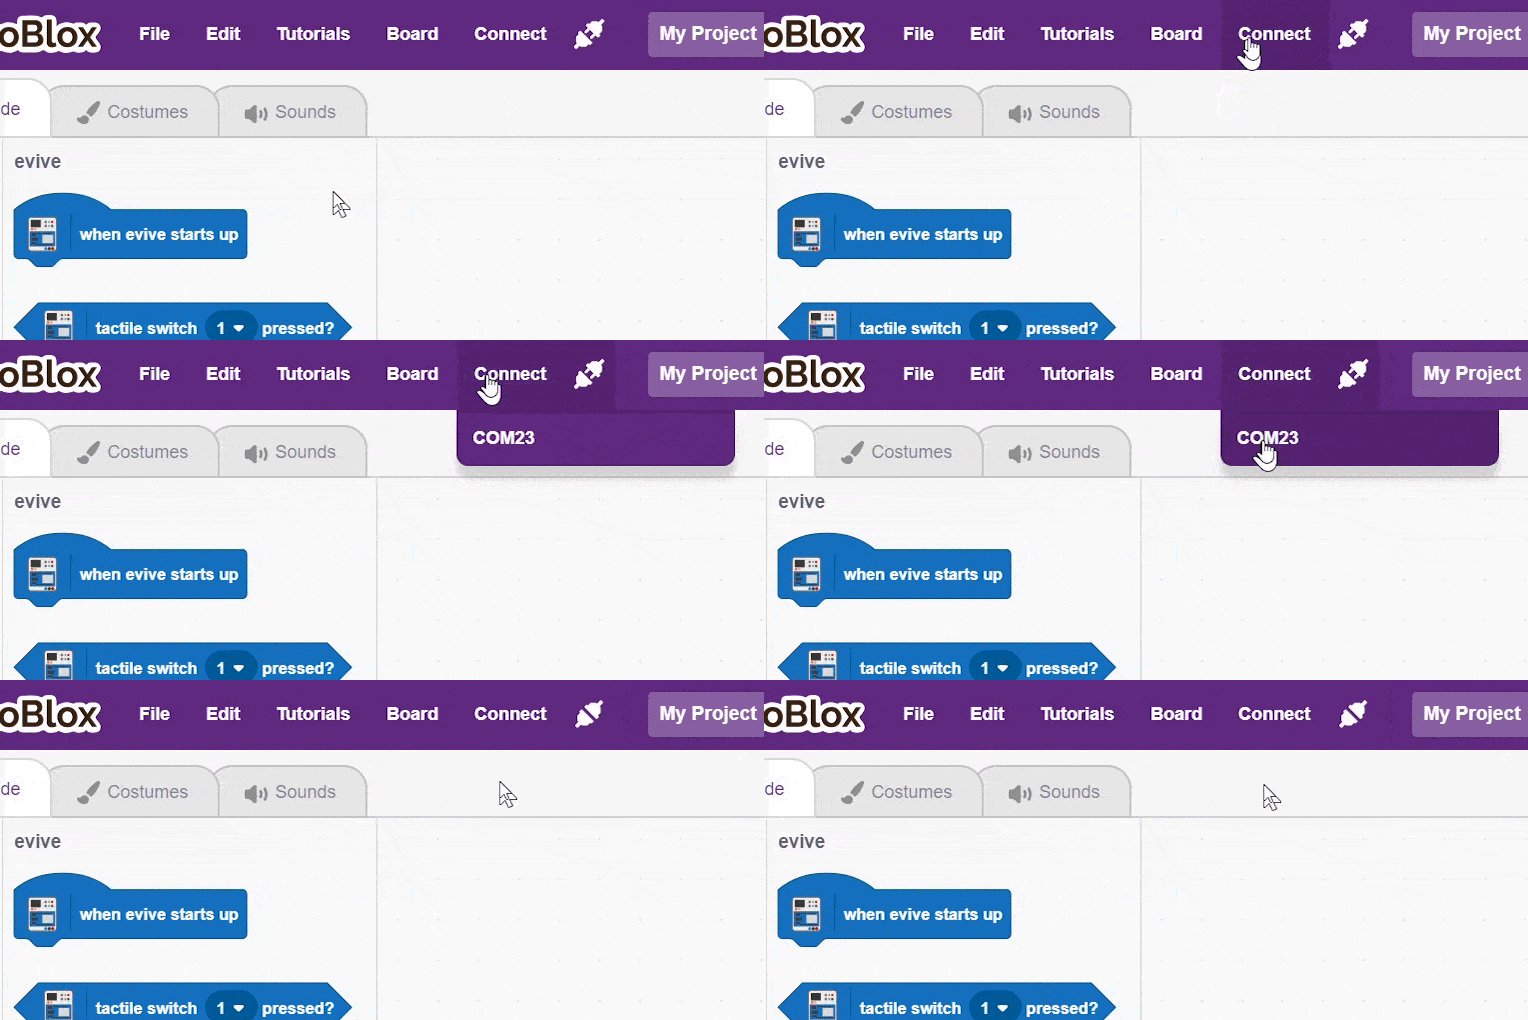
- Connect the evive.
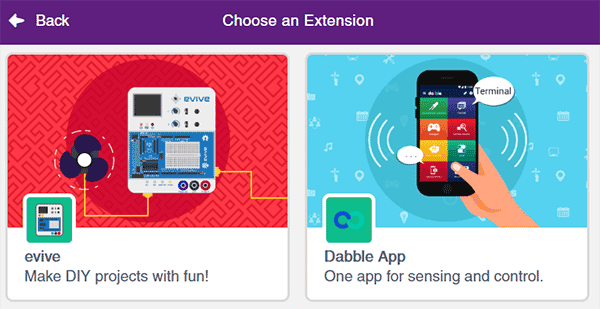
- Add the Internet of Things extension in PictoBlox by clicking on the add extension button on the bottom left corner.
- Create the following script using when evive starts up block:
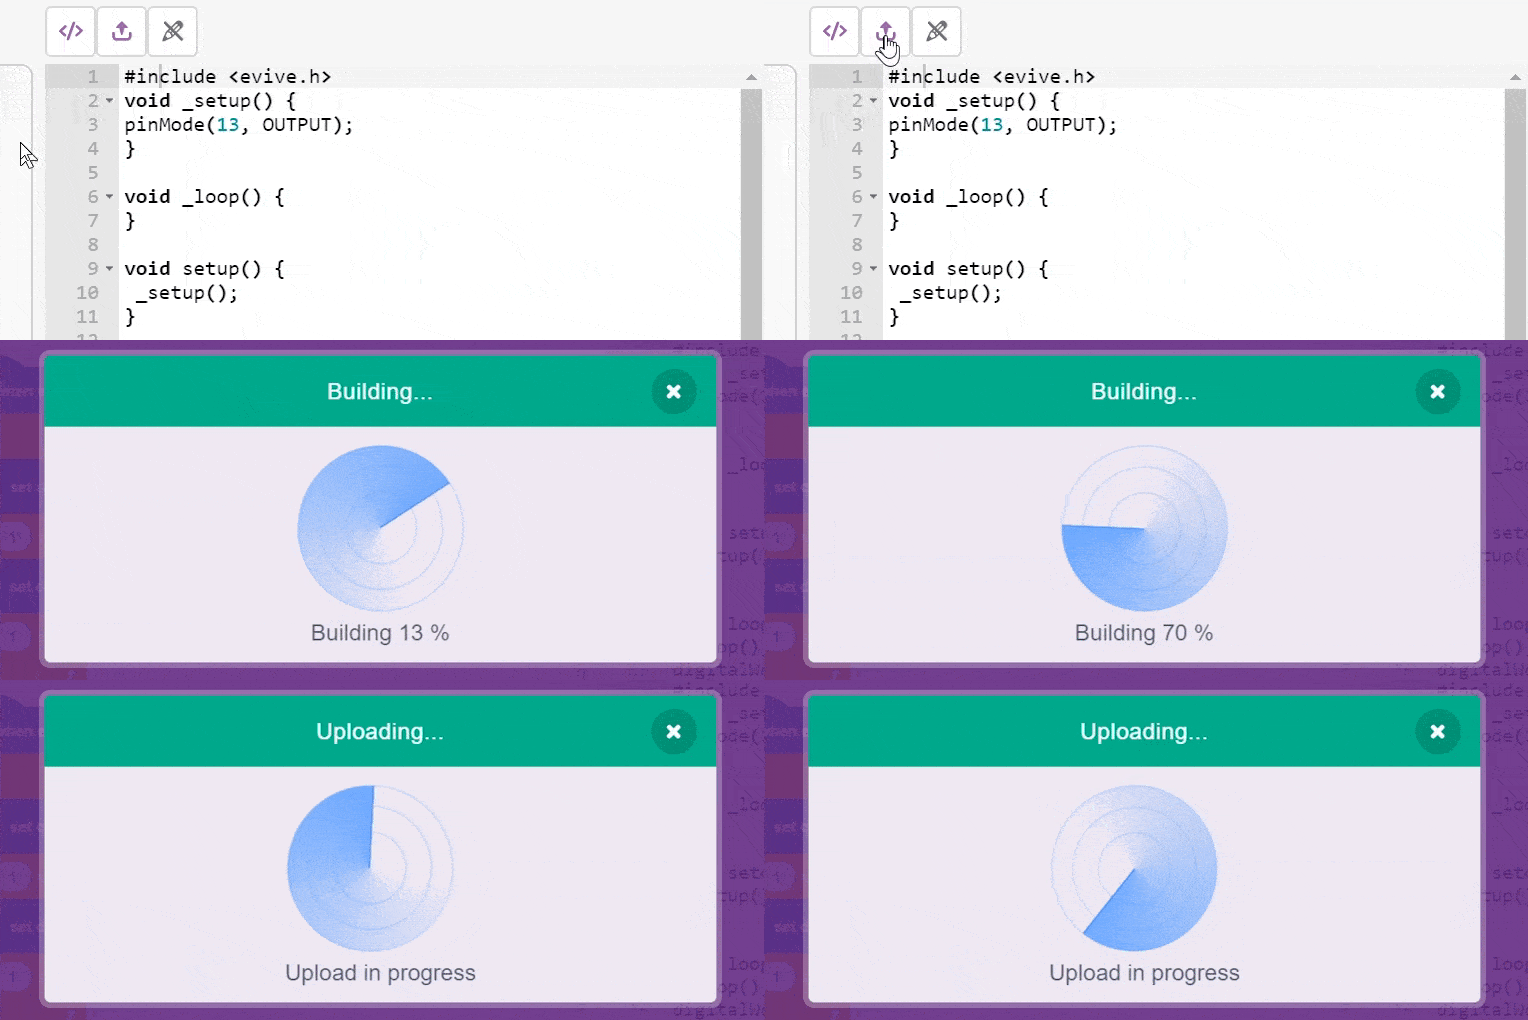
- Upload the code onto evive:
You can download the PictoBlox program from here: IoT – Receiving data to ThinkSpeak
When you start your evive, you will see two things happening:
- M1 LED glowing:
- Yellow: Connected to Wi-Fi.
- Red: Not connected to Wi-Fi. Check if your Wi-Fi name and password are correct.
- M2 LED glowing:
- Yellow: Connected to ThingSpeak.
- Red: Not connected to ThingSpeak.
Conclusion
In conclusion, this tutorial taught us how to retrieve data from the cloud (ThingSpeak) using evive and PictoBlox. We connected evive to the internet using the ESP8266 module and then used the Internet of Things extension to create a program to retrieve the data from the ThingSpeak channel. We then uploaded the program to evive and watched the LED indicators to check if the connection was established.

