Introduction
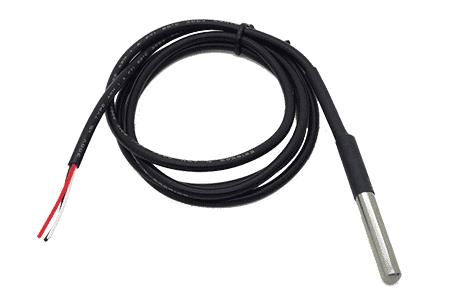
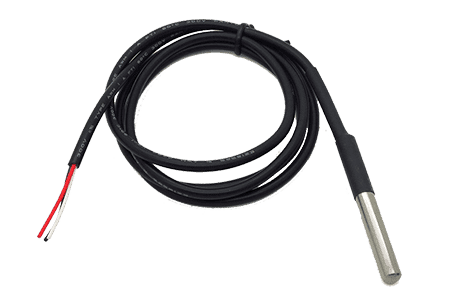
In this tutorial, we will use pre-wired and waterproof version of the DS18B20 digital temperature sensor. This sensor is handy when you want to measure temperature of the place which is far away, or in wet condition. Because the sensor is digital, we don’t get signal degradation over a long distance. This 1-wire digital temperature sensor is fairly precise (i.e + or – 0.5-degree Celsius).
Pin Description
The DS18B20 waterproof digital temperature sensor has 3 pins (2-power supply pin 1-data pin)
- VCC – Red
- GND – Black
- DATA – Yellow or White
Circuit Diagram
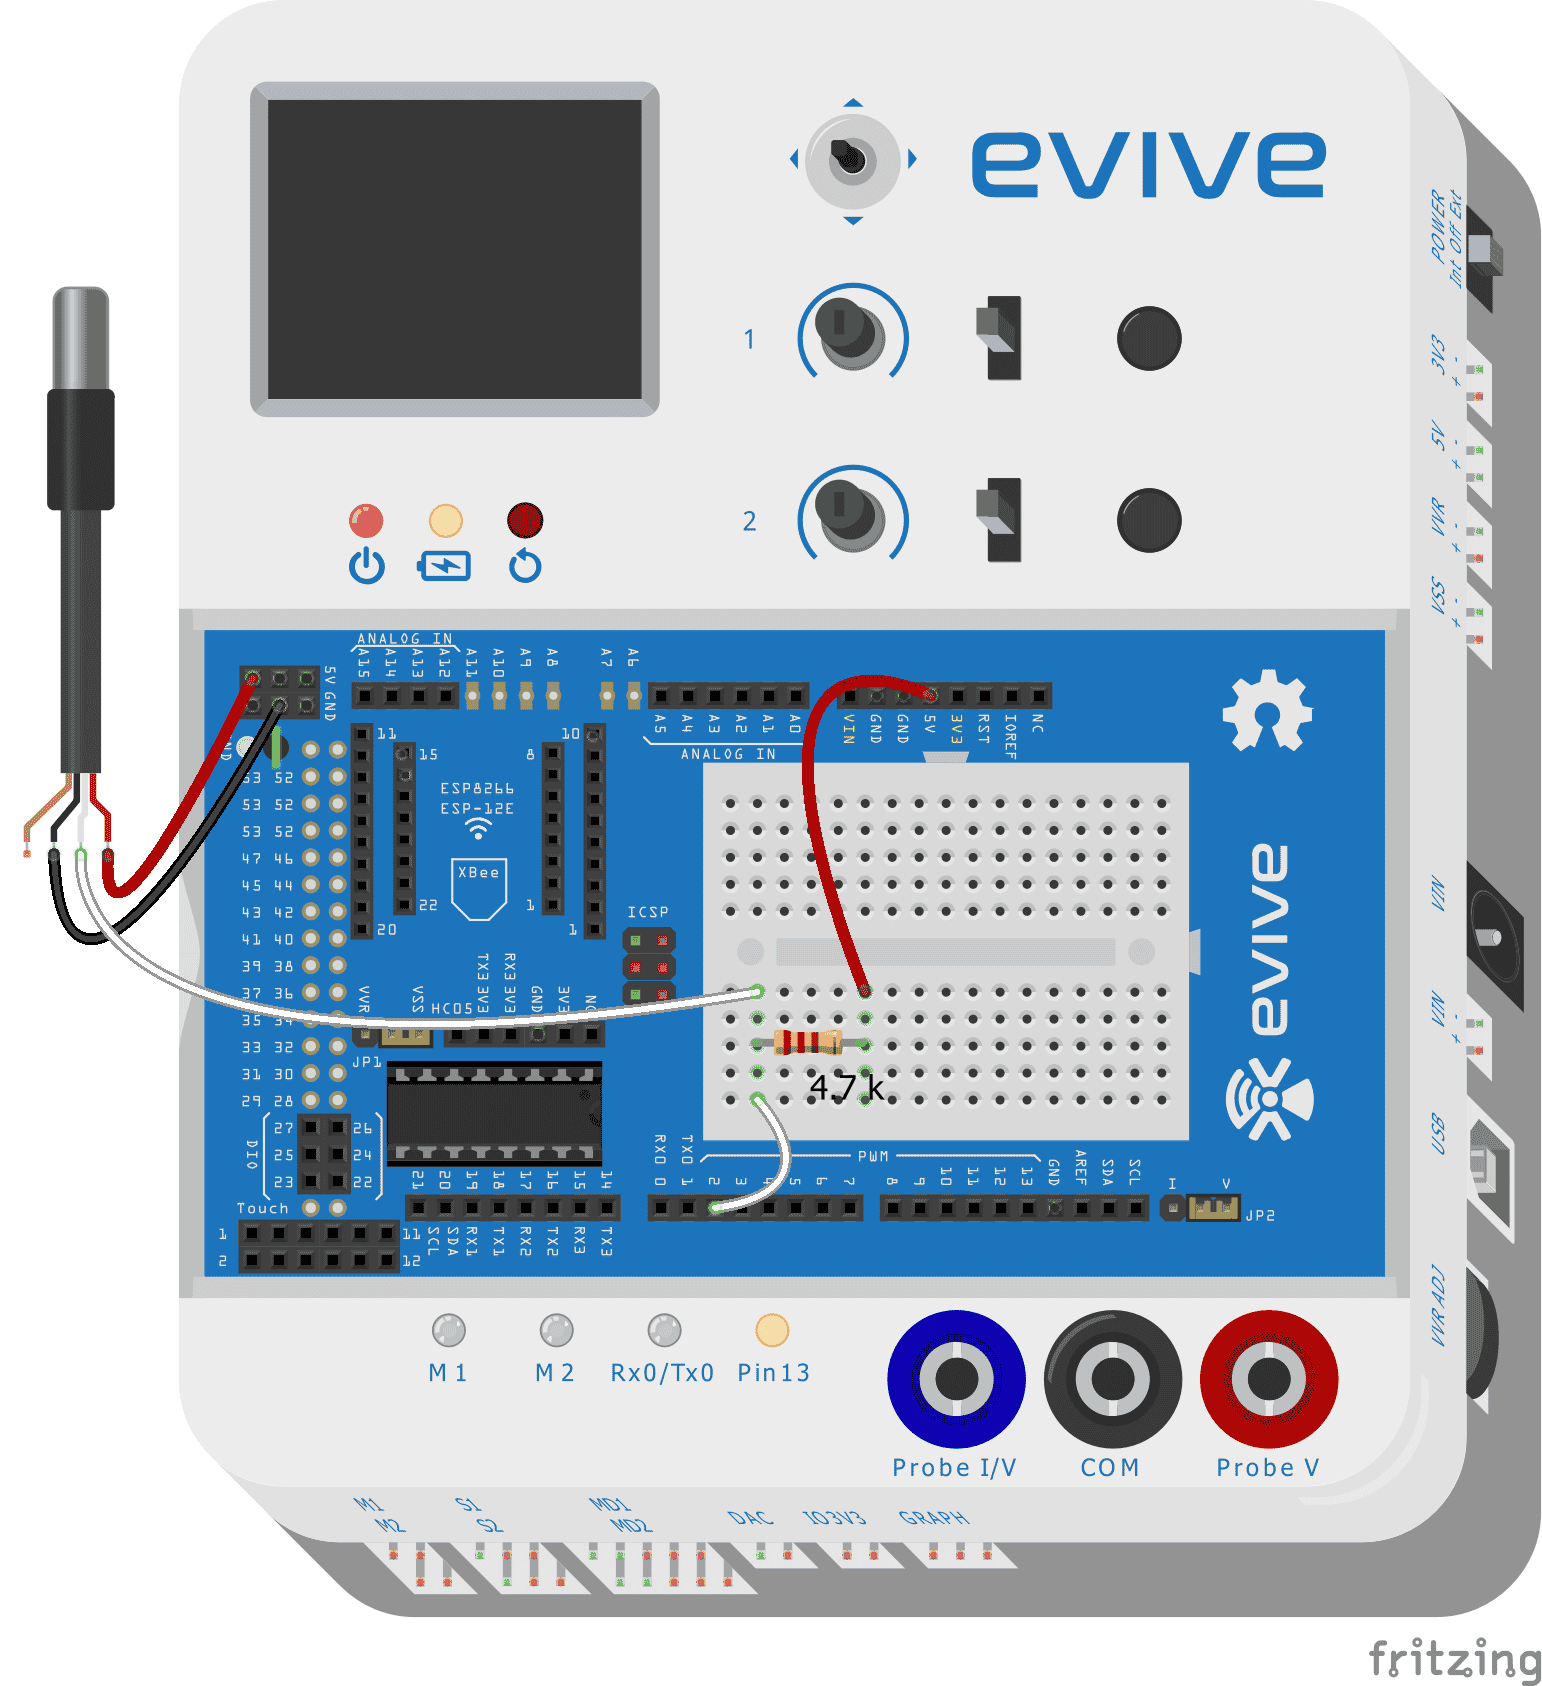
- Connect the “GND” of the DS18B20 sensor to the “GND” of the evive board
- We will also use 4.7 k ohm resistor as a pull-up resistor between “VCC” and “DATA” pins as shown below in the circuit diagram
- Connect one end of the resistor to “VCC” and another end to “DATA” wires of the temperature sensor
- Connect “VCC” of the temperature sensor to “VCC” of evive board
- Connect “DATA” pin of the temperature sensor to pin number 2 of evive board
PictoBlox Program
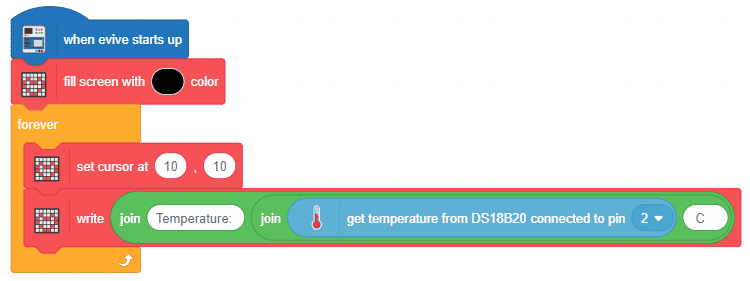
In this program, we will display the temperature sensor data on TFT Display. Follow the instructions:
- Open PictoBlox.
- Select the board as evive:
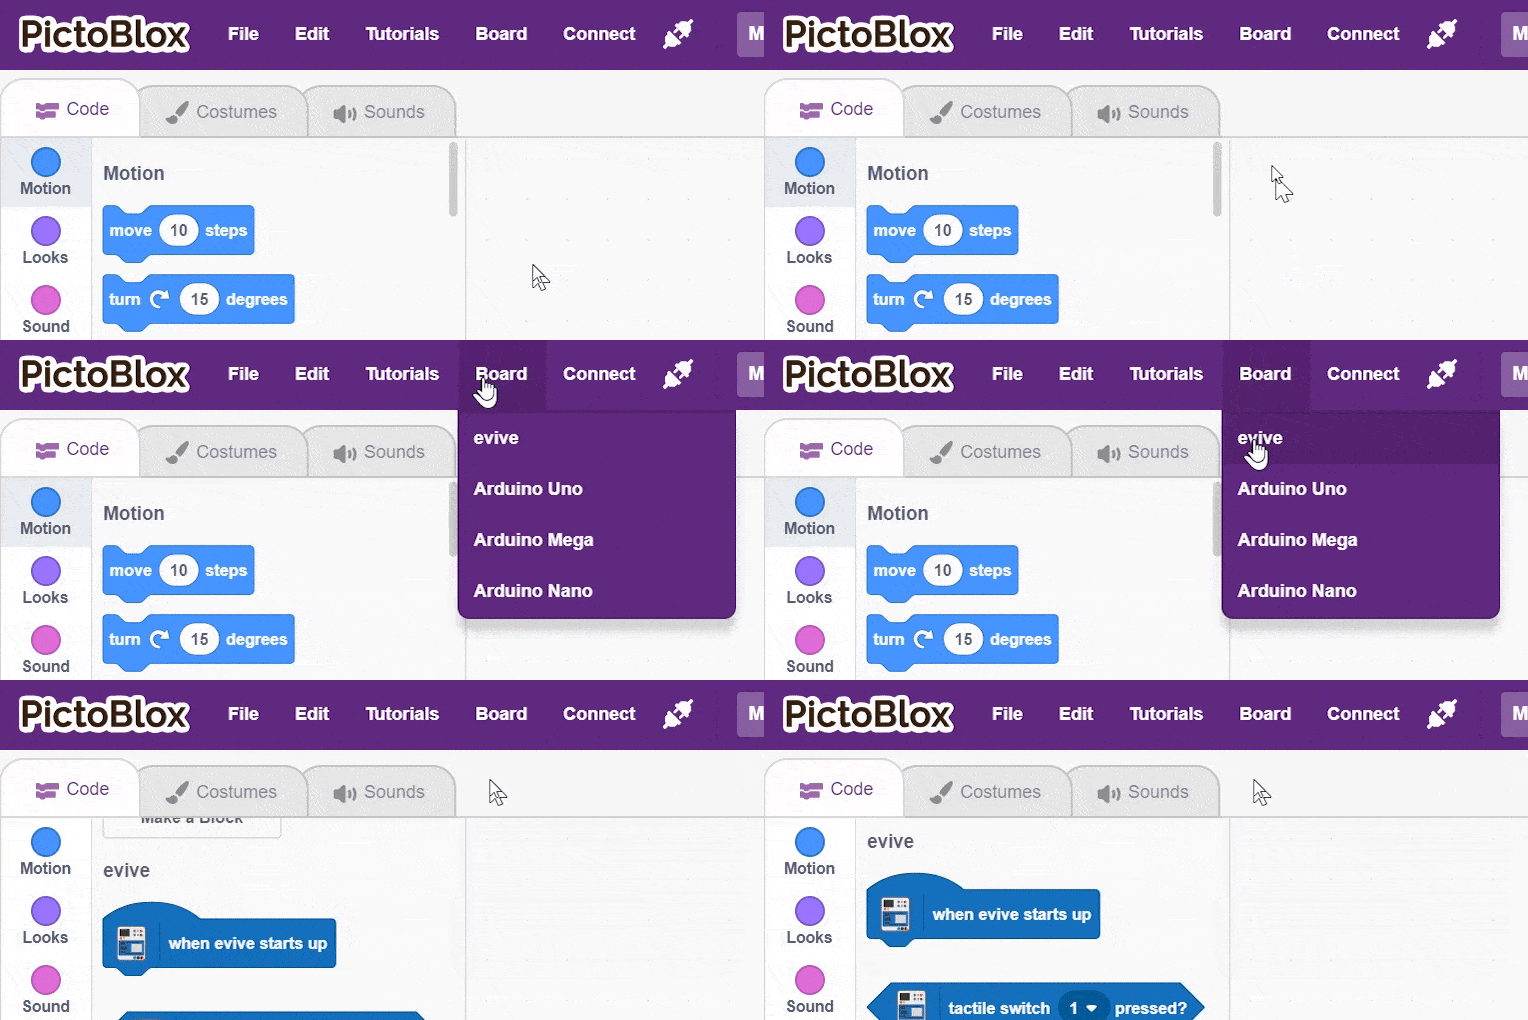
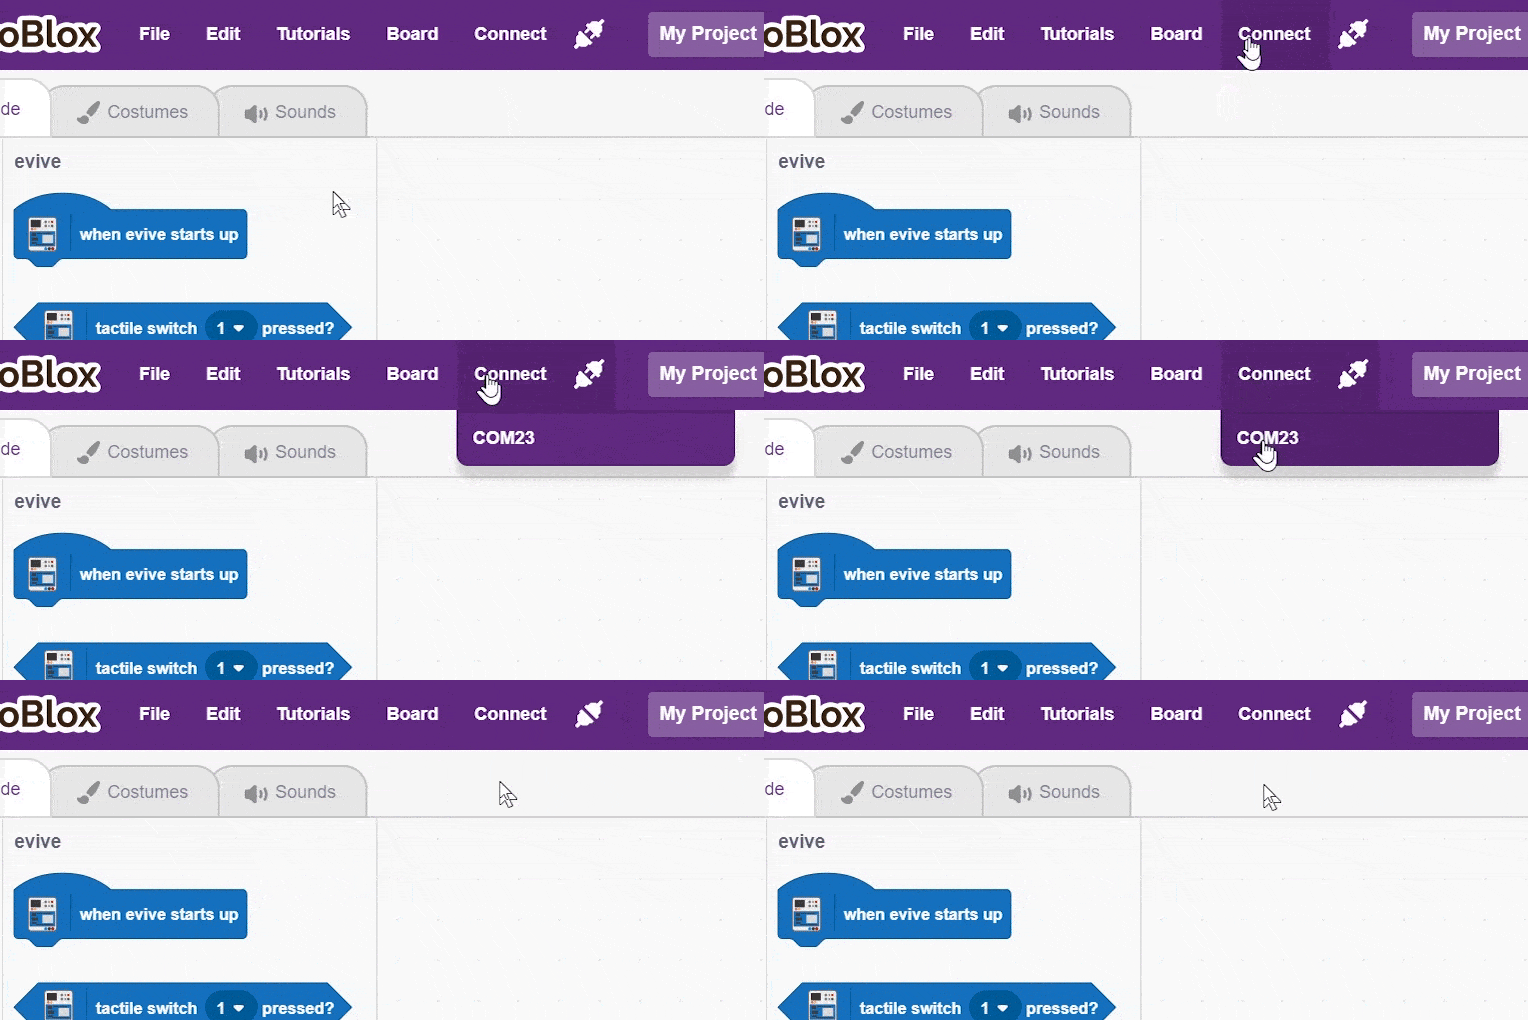
- Connect the evive.
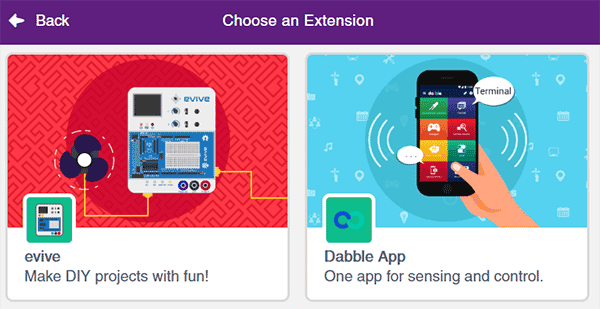
- Add Advance Sensors extension in PictoBlox by clicking on the add extension button on the bottom left corner.
- Create the following script using when evive starts up block:
- Upload the code onto evive:

You can download the PictoBlox program from here: Display Temperature using DS18B20 Sensor

Conclusion
In this tutorial, we learned how to use the pre-wired and waterproof version of the DS18B20 digital temperature sensor to measure the temperature of places that are far away or in wet conditions. We discussed the pin description and the circuit diagram for connecting the sensor to evive. Furthermore, we learned how to write a PictoBlox program to display the temperature sensor data on TFT Display. With this tutorial, you should now be able to use the DS18B20 digital temperature sensor with evive.

