LINX (LabVIEW Plugin) provides easy-to-use LabVIEW VIs for interacting with evive. Use the built-in sensor VIs to start getting data to your PC in seconds or use the peripheral VIs to access your device’s digital I/O, analog I/O, SPI, I2C, UART, PWM, and more.
Installation Instructions
You should have LabVIEW software installed on your desktop to proceed further. If you do not have it installed please visit here and install the software.
- Download VI Package Manager from here. We are installing windows in this instructions.
- Once the download gets over, execute the installation application. Click “Next”.
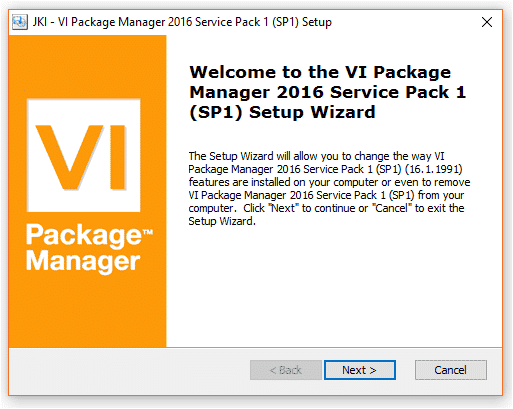
- Then choose the first option “Install” to install and click “Next”.
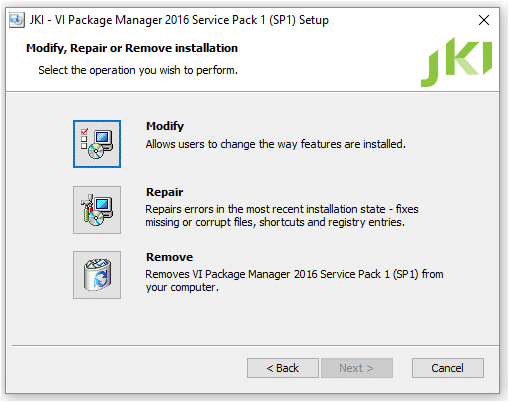
- Custom Setup window will open. Click “Next”.
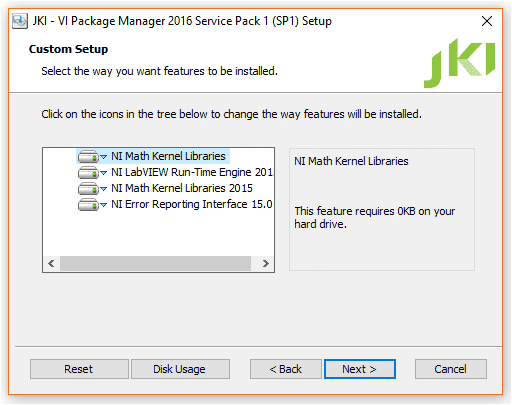
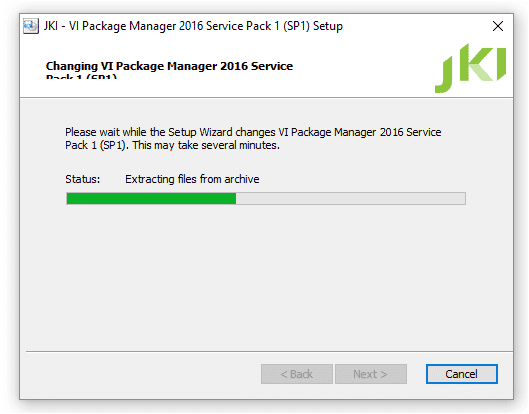
- Click “Install”.
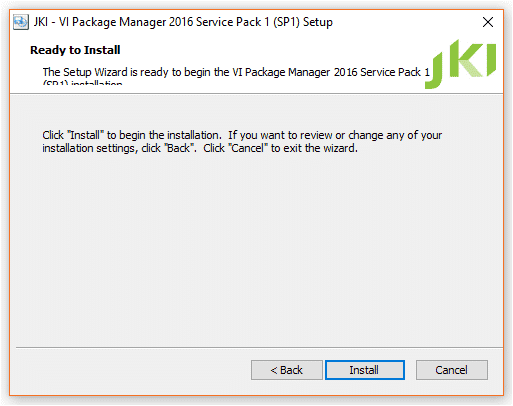
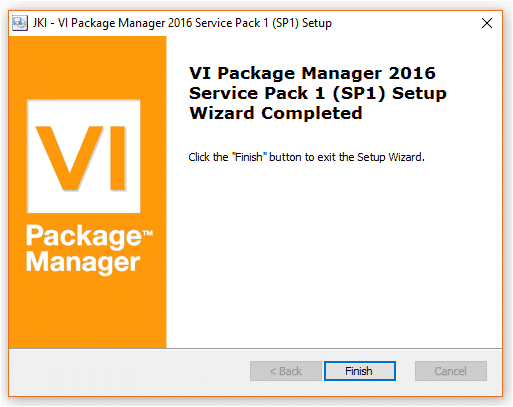
- Once installation is finished click “Finish”.
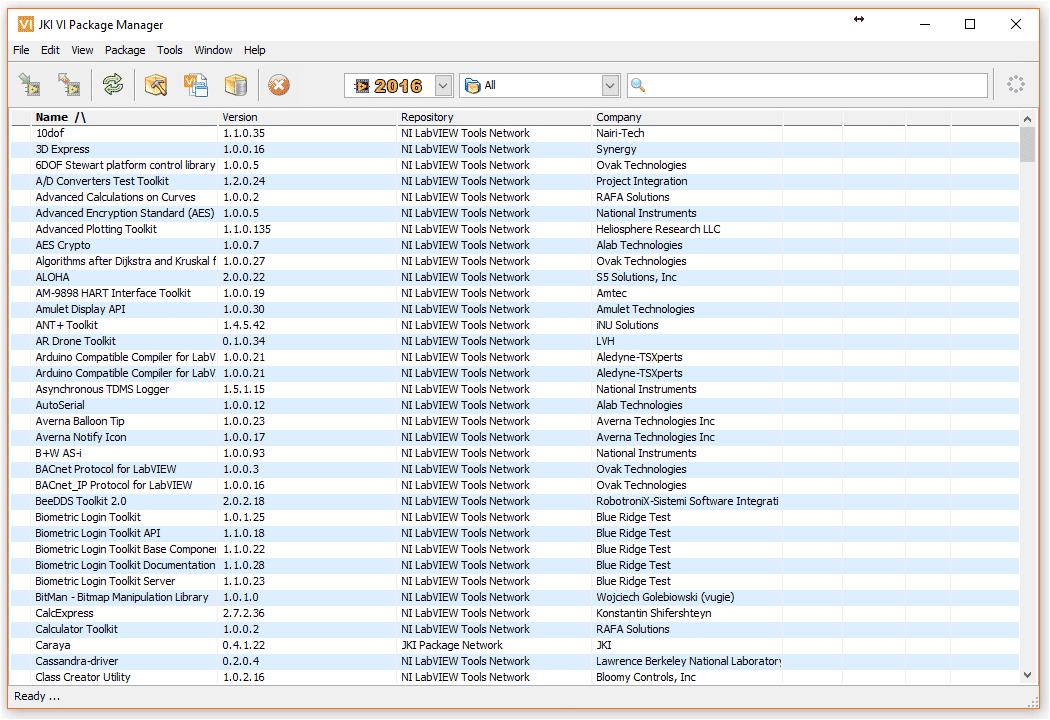
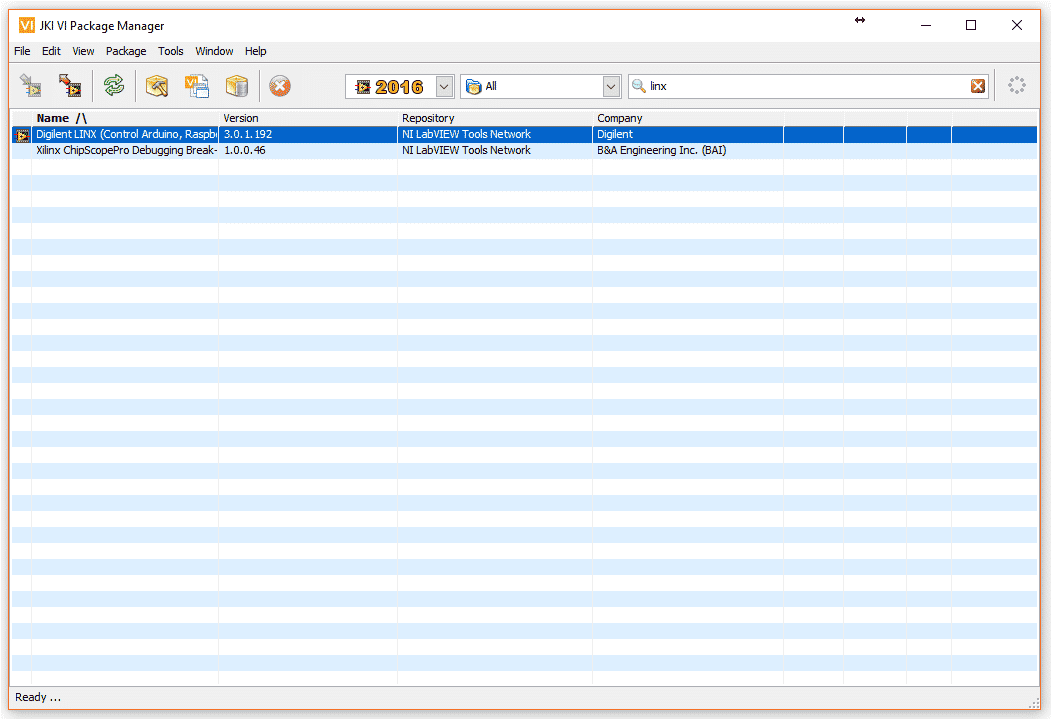
- Open VI Package Manager from start menu. The application will look like this when it is open.
- Search for LINX in the search bar, and double click on LINX plugin.
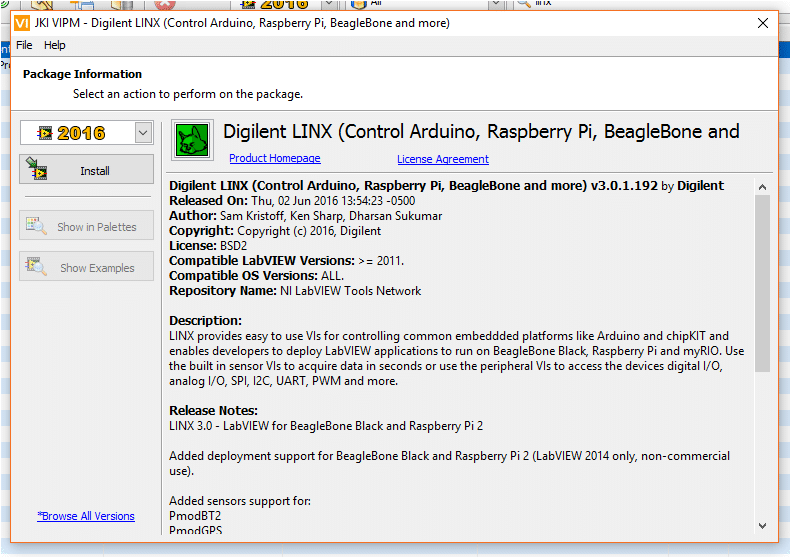
- Install Digilent LINX.
- Once it gets finished, click “Finish” and close the application.
Creating first VI with LINX functions:
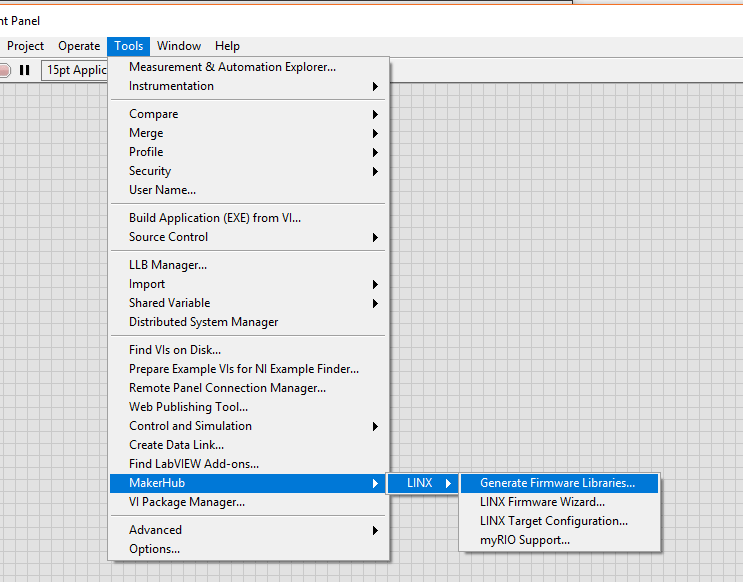
- Open new VI in LabVIEW. Go to Tools -> MakerHub -> LINK -> Generate Firmware Librarie…
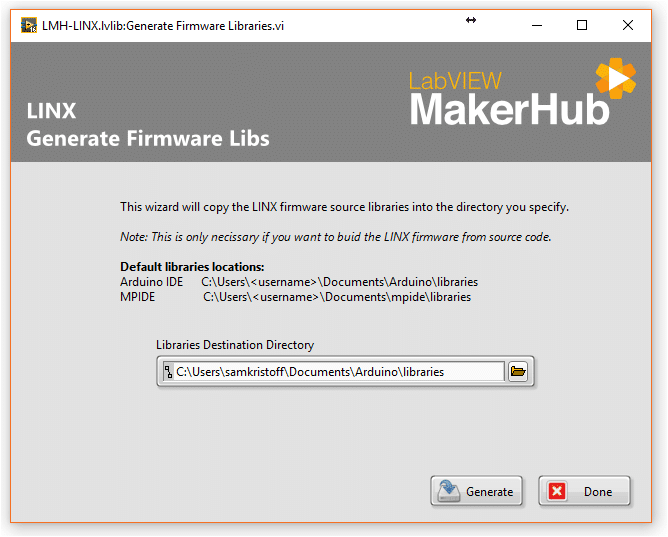
- Choose the folder you want to save your Arduino library and click “Generate”.
- Go to the folder you have just generated libraries into and go to examples\Arduino_Mega2560_Serial folder and open the Arduino code. Upload the code into evive. In my case the directory is Documents\LabVIEW\ArduinoLibrary\LINX\examples\Arduino_Mega2560_Serial
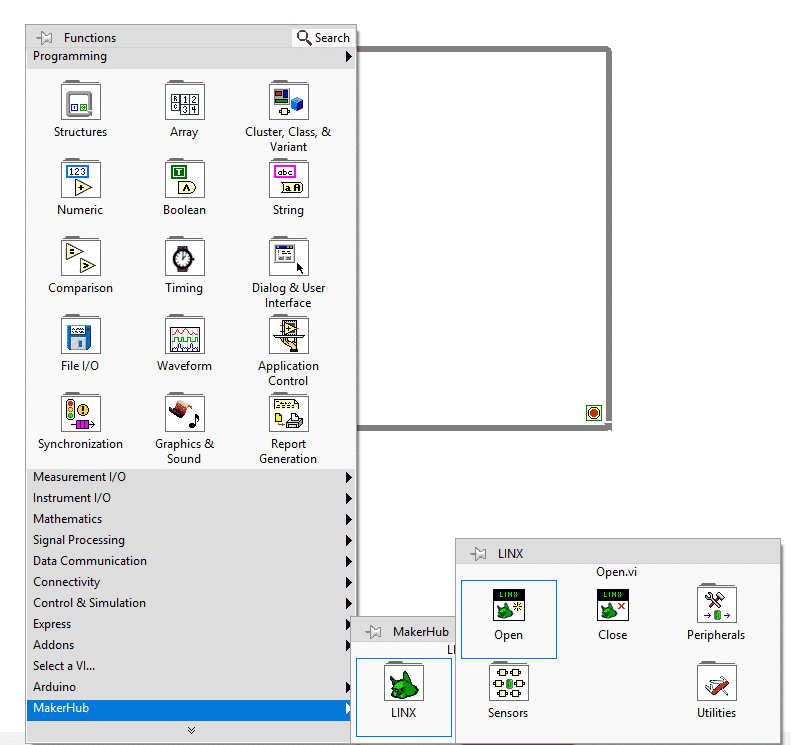
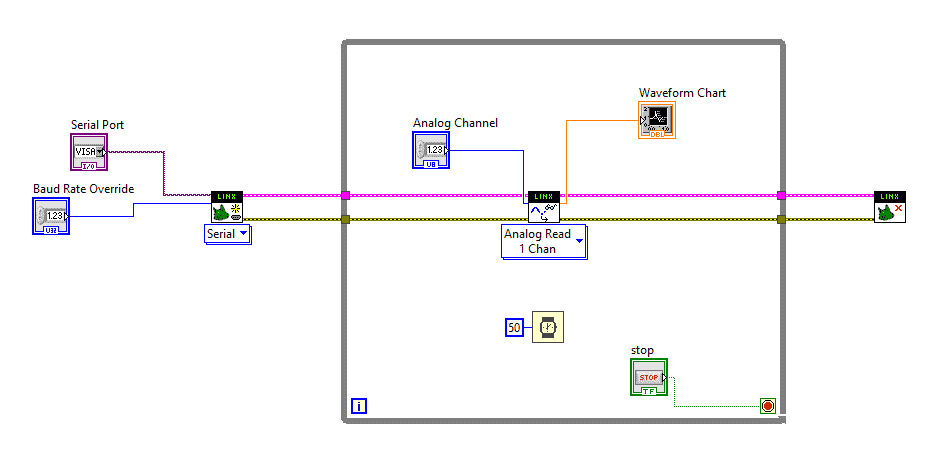
- Now, go to block diagram panel and using LINX functions make the following block diagram to read analog value from the potentiometer of evive.
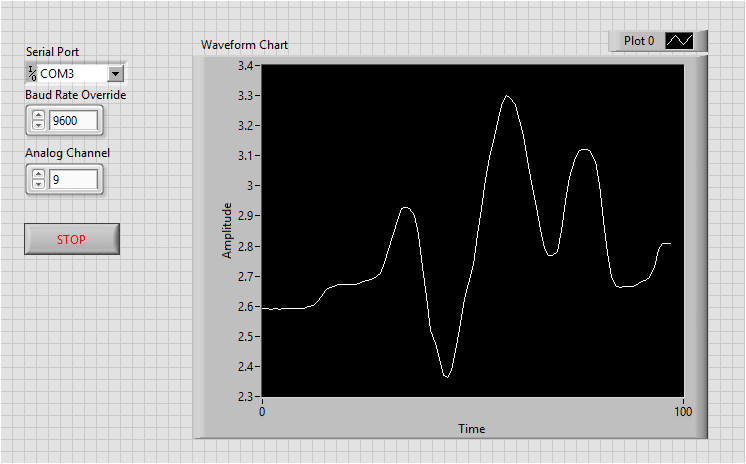
- Your front panel will look like this.
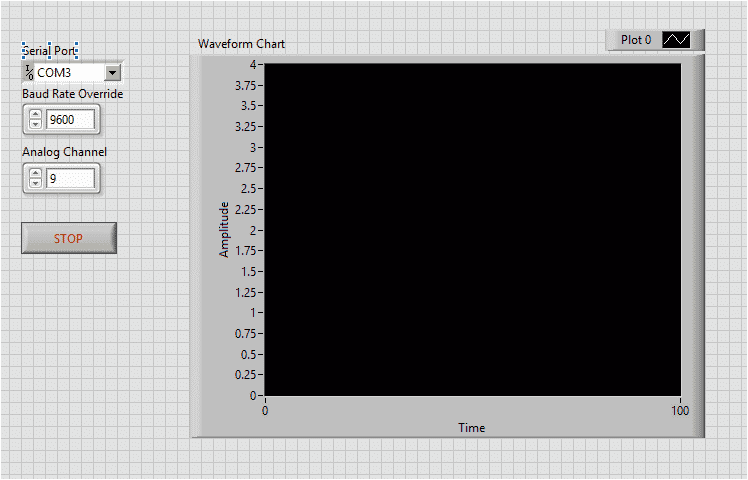
- Now, start the code execution and plot the analog reading of the potentiometer.
