Class 4 – Coding, AI and Robotics Curriculum
Introduction
Certified AI curriculum is aligned with international boards like CBSE / IB / IGCSE / ICSE / CSTA / CIE and specifically designed grade-wise AI syllabus for students of grade 4 to introduce them to technological activities in Artificial Intelligence, Robotics, Coding, and much more.
- Prerequisites: None
- Kits Required: AI & Robotics Lab, or AI Classroom Bundle
- Programming Software: PictoBlox (Block Coding)
Learning Outcomes
After completing this curriculum, students will have a basic understanding of robotics, coding, and artificial intelligence with the help of a wide variety of projects.
Apart from the aforementioned learning outcomes, this curriculum will also help them develop important skills such as problem-solving and debugging techniques, critical thinking, logical reasoning, and creativity.
Curriculum Lesson Plan
Module 1: Coding

Lesson 1: Introduction to PictoBlox
- Objective: Learn about PictoBlox, a graphical programming software based on Scratch blocks and the perfect companion to introduce children to programming. See how to create a program by arranging blocks, making Tobi walk, and saving a file.
- Activity 1: This activity teaches how to make a sprite (Tobi) move around on the stage.
- Mode: Practical (Coding Basics)
Lesson 2: Drawing a Square
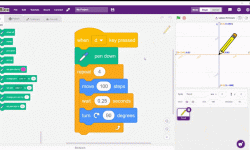
- Objective: Learn about what are shapes, how to use extentions in pictoblox and create a square in PictoBlox. Create a Square using Pen extention.
- Activity 1: Drawing a Shape in PictoBlox – Learn how to make shapes, use Pen extention and make square using pencile sprite.
- Mode: Practical (Coding Basics)
Lesson 3: Drawing Shapes
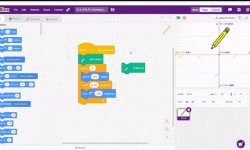
- Objective: Learn about the other shape with the activity of Drawing a triangle in PictoBlox. See how to create a program by using extensions, making another shape Triangle, and saving a file.
- Activity 1: This activity teaches how to make a triangle using pencile sprite on the stage.
- Mode: Practical (Coding Basics)
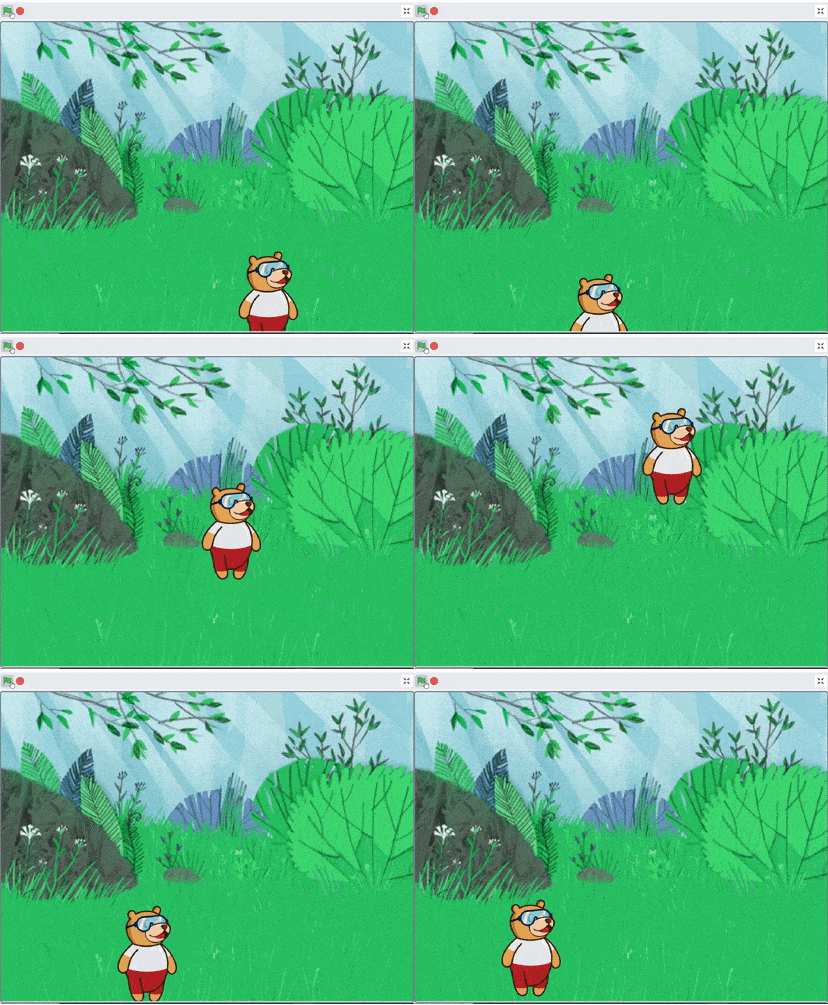
Lesson 4: Working with Conditions
- Objective: Learn about conditions and the conditional statement in pictoblox. Create a program for tobi glide to random position.
- Activity 1: Making a Tobi Glide in PictoBlox – Learn how to use conditional statements, and glide Tobi to any random position on the stage.
- Mode: Practical (Coding Basics)
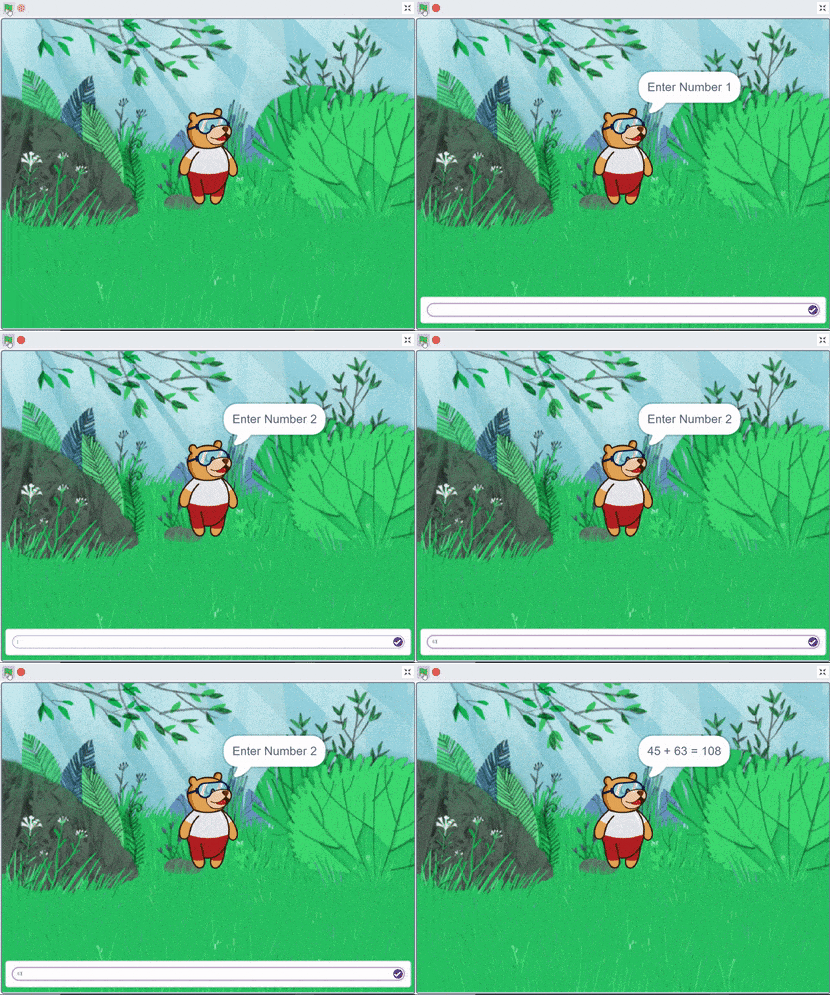
Lesson 5: Addition Bot
- Objective: Learn about What are operators, types of operators, how to take inputs from the users. Create a program for addition bot using arithmatic operators
- Activity 1: Making An Addition Bot in PictoBlox - This activity teaches how to use operators in programing.
- Mode: Practical (Coding Basics)
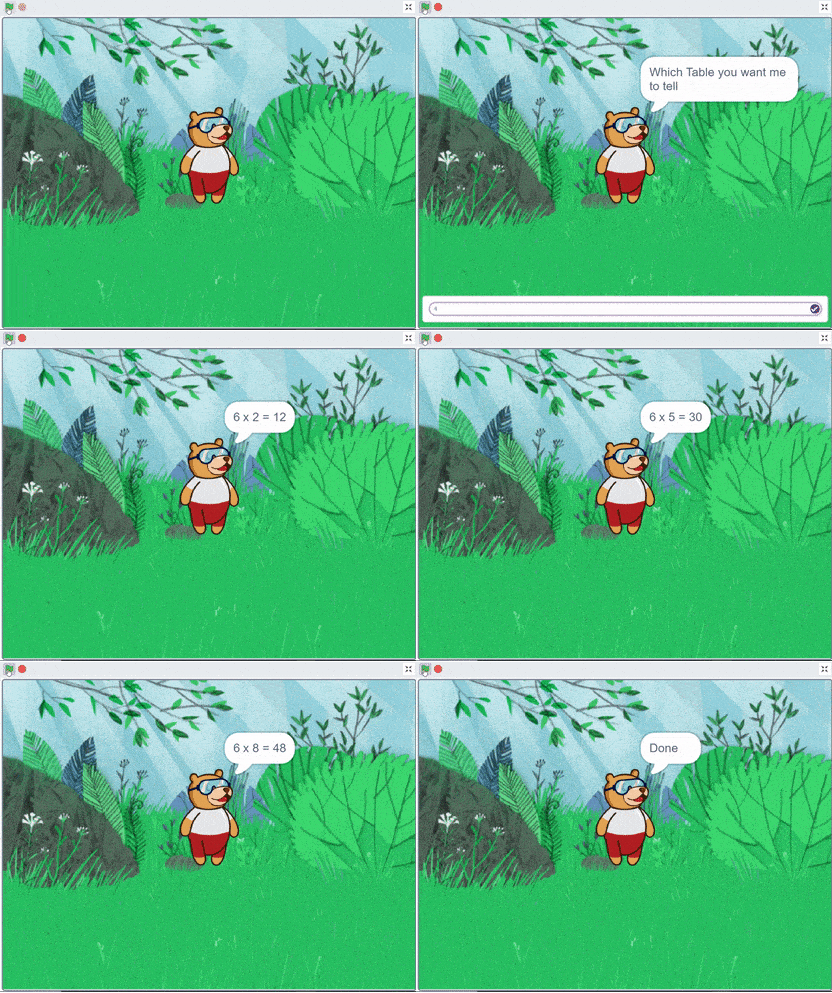
Lesson 6: Reciting Table
- Objective: Learn about the concept of the loops, how to use loops in program and multiplication operator. Create a program of reciting table using multiplication operator.
- Activity 1: Making a Reciting Table in PictoBlox – Learn how to use loops, multiplication operators and make an reciting table with a sprite.
- Mode: Practical (Coding Basics)
Module 2: Physical Computing
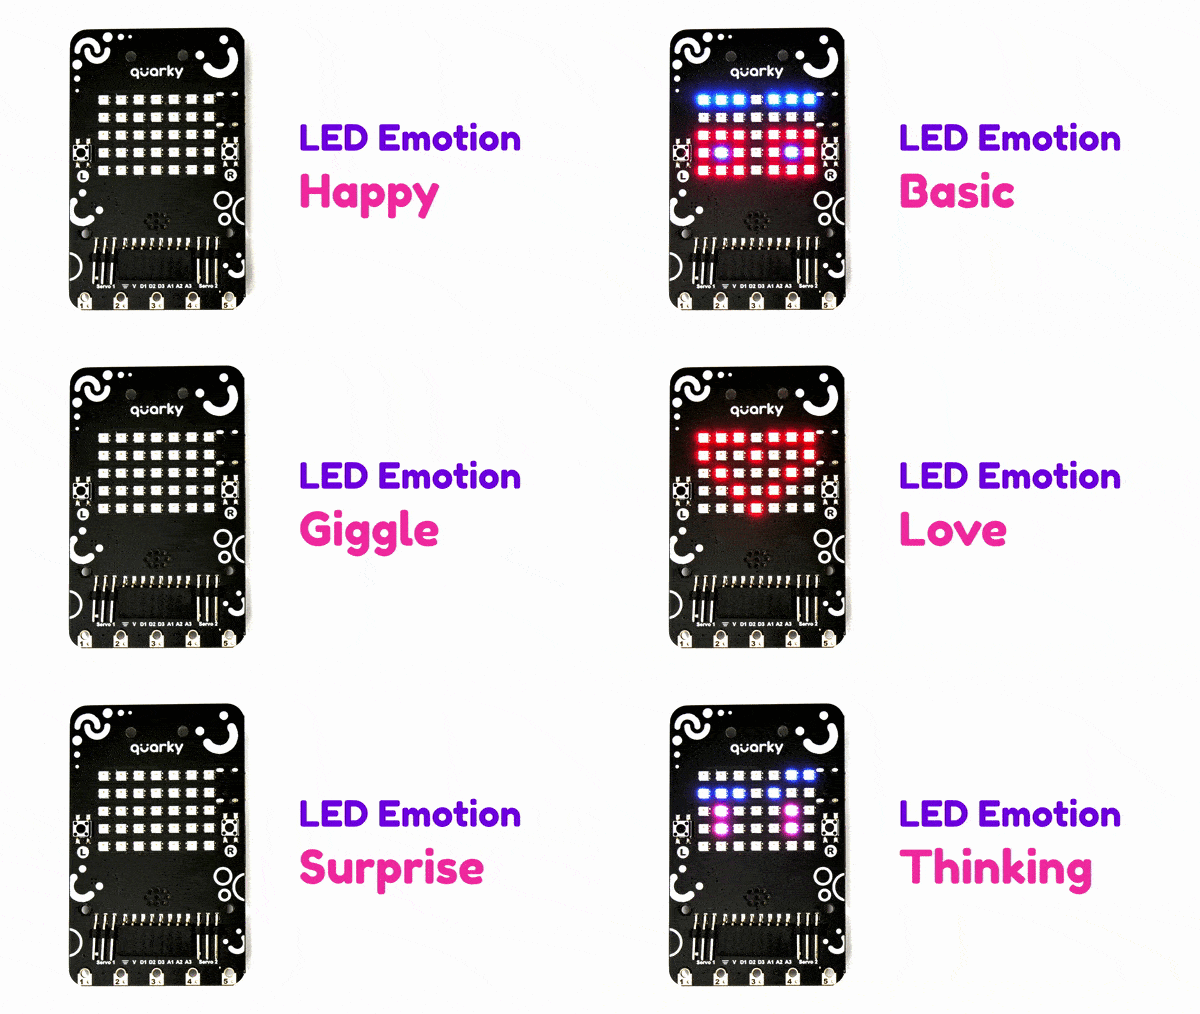
Lesson 7: Getting Familiar with Quarky
- Objective: Learn about what is Quarky a perfect companion in robotics, how to connect to Quarky with PictoBlox, and to create a program Emotion with Quarky.
- Activity 1: Making an Emotion with Quarky in PictoBlox - Learn what is quarky, how to connect quarky with pictobolx and making emation with quarky.
- Mode: Practical (Physical Computing)
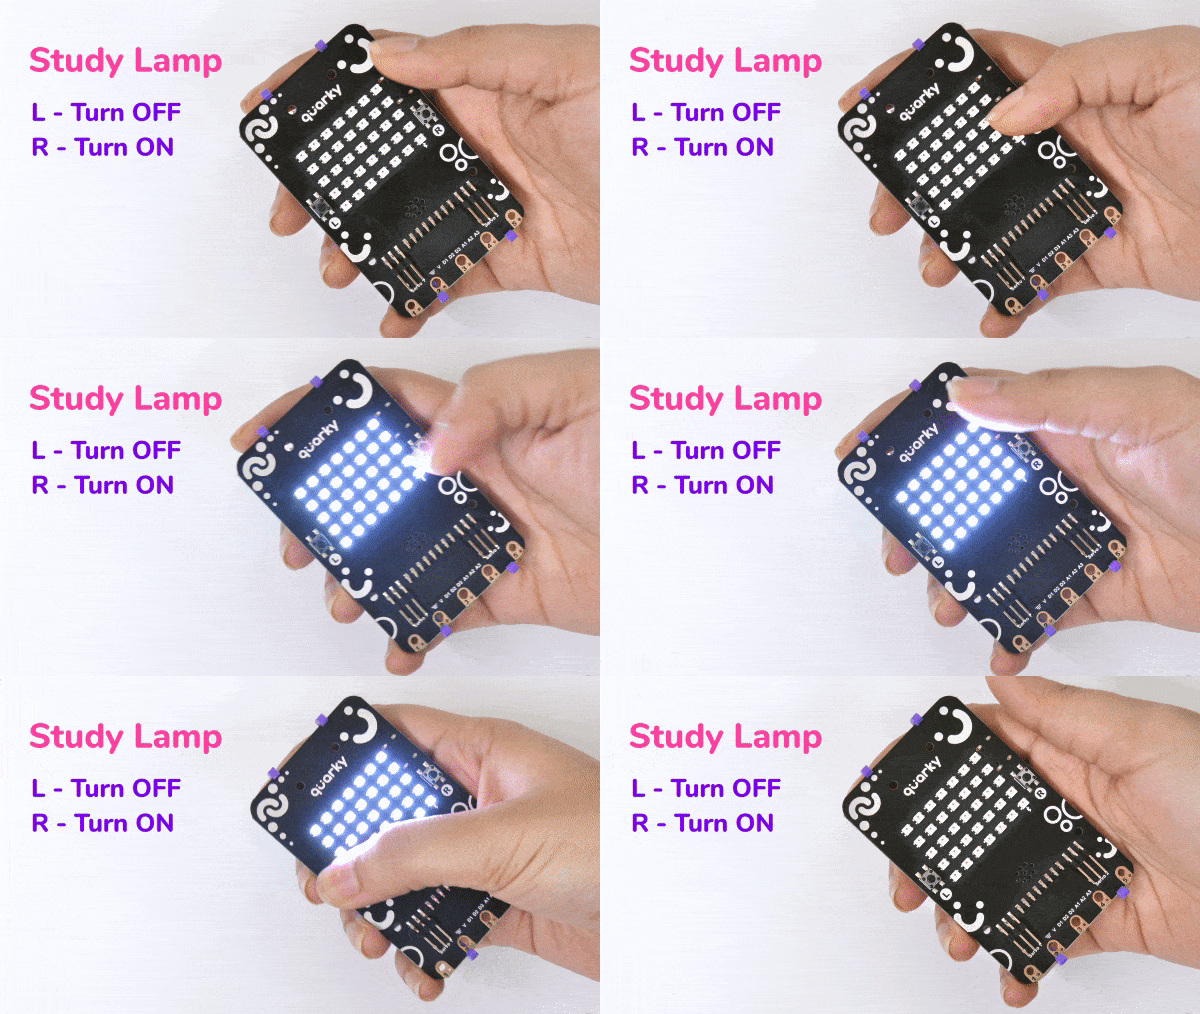
Lesson 8: Lamp with Quarky
- Objective: Learn about how to use techtile switches in Quarky and create a program Lamp with Quarky.
- Activity 1: Making a Lamp with Quarky in PictoBlox – Learn how to use techtile swithches, and make a Lamp with Quarky.
- Mode: Practical (Physical Computing)

Lesson 9: Traffic Lights with Quarky
- Objective: Learn about how traffic signal works, Know the meaning of red, green, and yellow color lights in traffic signals, Understand the Automation system.
- Activity 1: Making the Traffic Lights with Quarky in PictoBlox - Learn how to make traffic signals on their own, exploring the display of Quarky, and create a Traffic Lights with Quarky.
- Mode: Practical (Physical Computing)
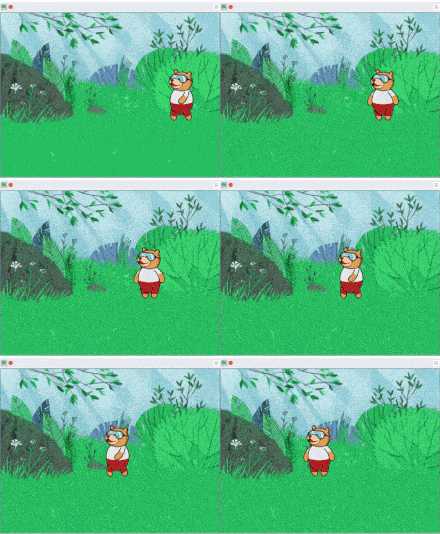
Lesson 10: Dice Roll with Quarky
- Objective: Learn about what is a dice, and how to make dice with quarky.
- Activity 1: Making a Dice Roll in PictoBlox – Learn how to make dice roll on Quarky. And create a program Dice roll with Quarky in PictoBlox.
- Mode: Practical (Physical Computing)

Lesson 11: Number Quiz with Quarky
- Objective: Learn about what is quiz and how to make a quiz with the help of Quarky.
- Activity 1: Making a Number quiz with Quarky in PictoBlox - Learn how to make a quiz in quraky and create a program number quiz with Quarky.
- Mode: Practical (Physical Computing)

Lesson 12: Touch Based Piano
- Objective: Learn about what are touch pins of quarky, and how to use touch pins to create a script
- Activity 1: Making an Animation in PictoBlox – Learn how to create backdrops, choose costumes, and make an animation with a sprite.
- Mode: Practical (Coding Basics)
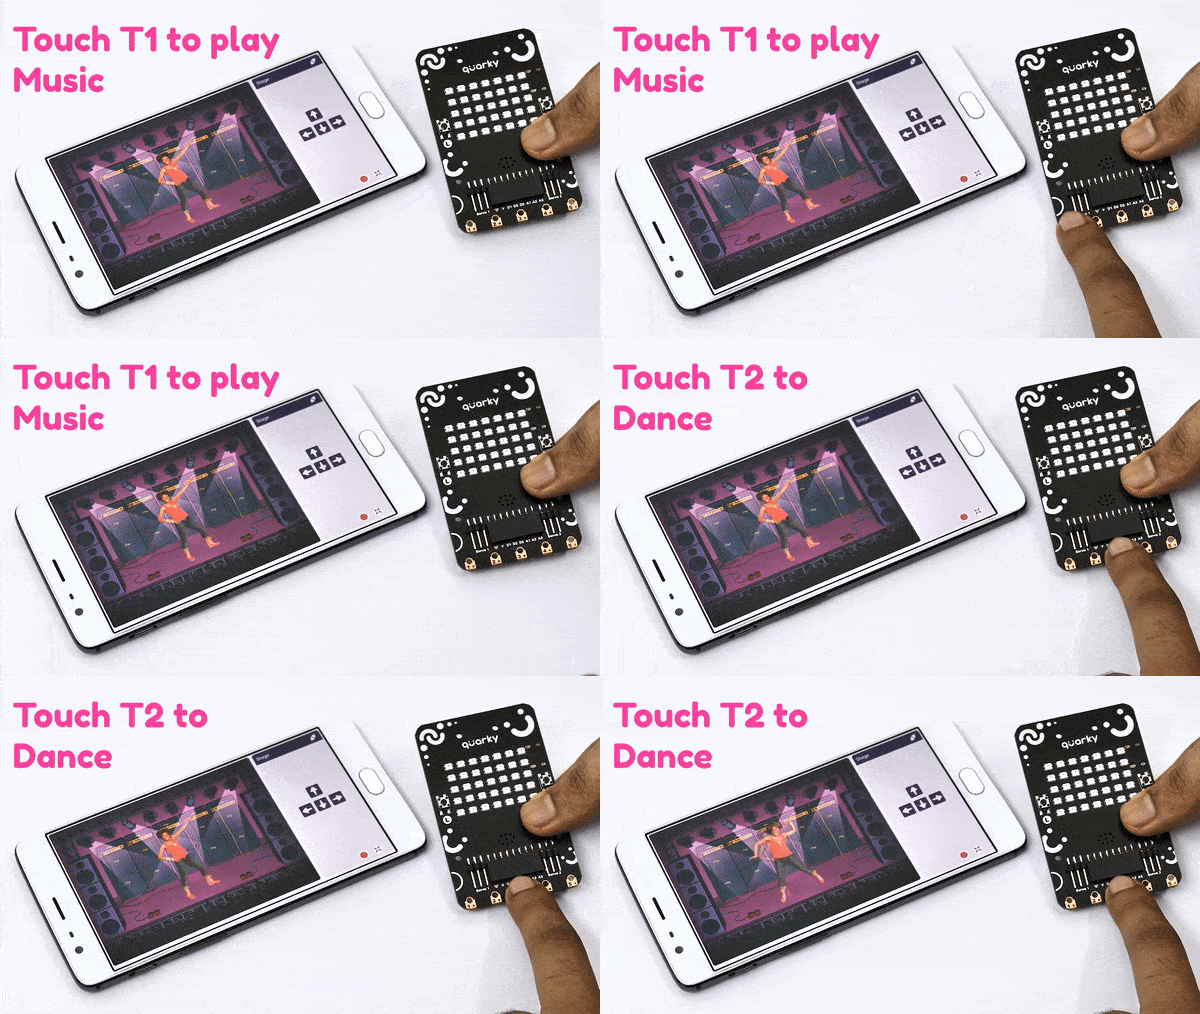
Lesson 13: Fun with Music
- Objective: Learn about how to make a musical instrument using quarky's touch sensor.
- Activity 1: Making a Fun with Music in PictoBlox - Learn to use touch pins to make a music insturment. And create a program for Fun with Music.
- Mode: Practical (Physical computing)
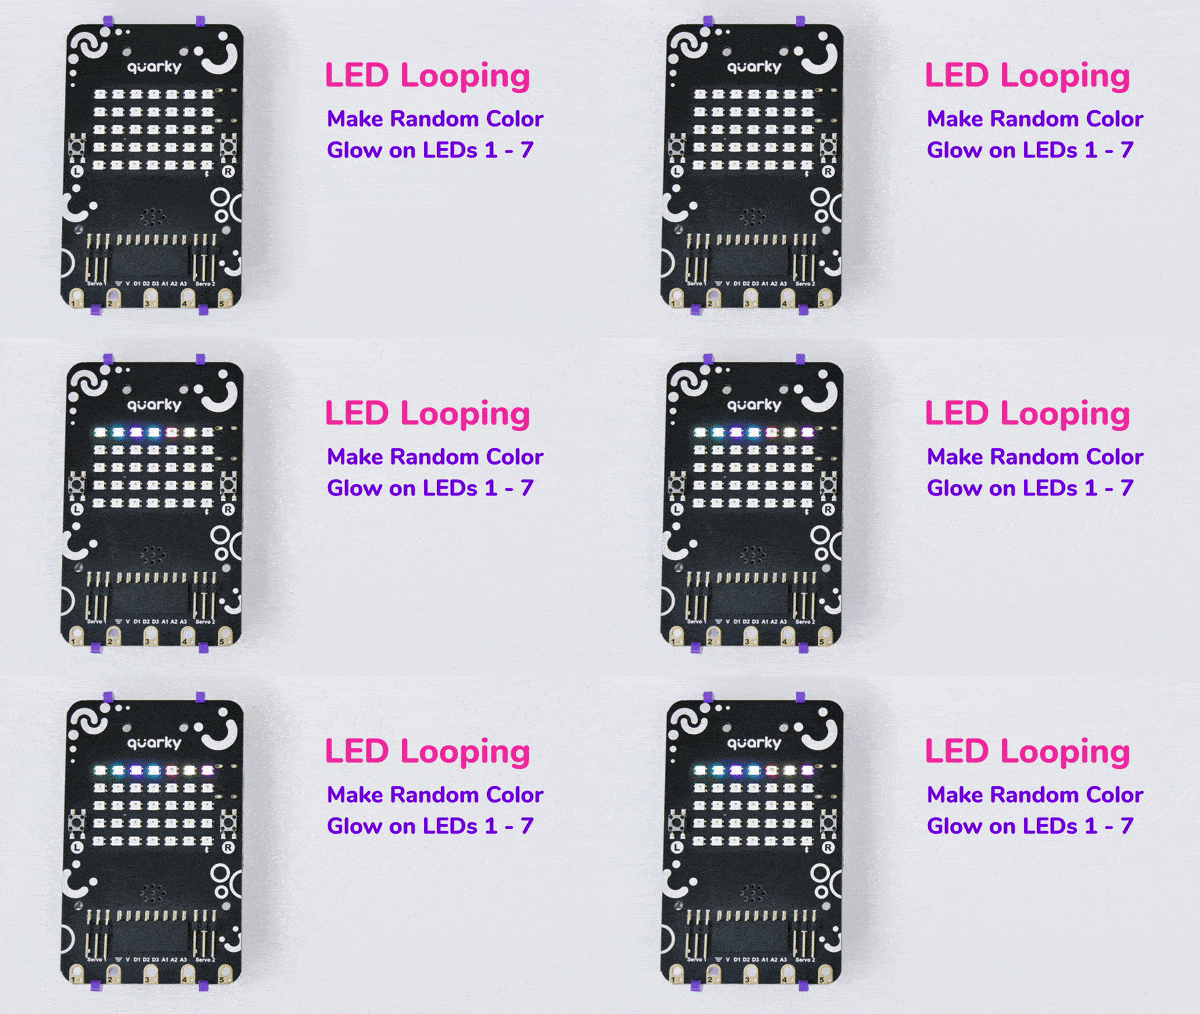
Lesson 14: Control that LED
- Objective: Learn about how to use touch pins and Display of Quarky.
- Activity 1: Making a LED Control in PictoBlox – Learn to use quarky's touch pins and display. And create a program for controlling the LED.
- Mode: Practical (Physical computing)
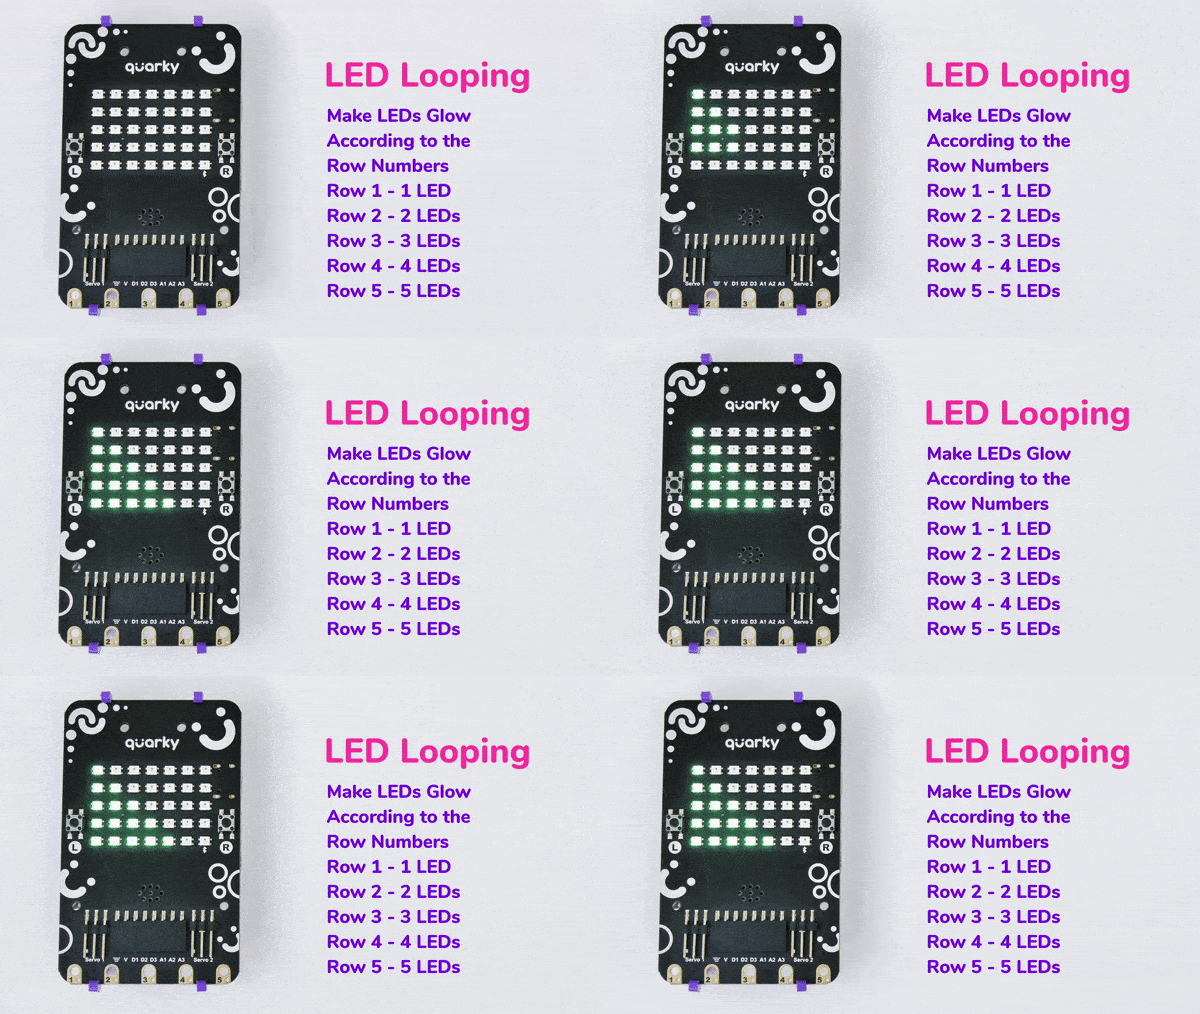
Lesson 15: LED Looping Patterns with Quarky – 1
- Objective: Learn about displaying different looping patterns on Quarky's Display.
- Activity 1: This activity teaches how to display looping patterns on Quarky's LED Display.
- Mode: Practical (Physical Computing)

Lesson 16: LED Looping Patterns with Quarky – 2
- Objective: Learn about different looping pattern on Quarky's LED display.
- Activity 1: Making a LED Loping Pattern on Quarky in PictoBlox – Learn how to make different LED Looping Pattern with Quarky's LED display.
- Mode: Practical (Physical Computing)
Module 3: Game Design
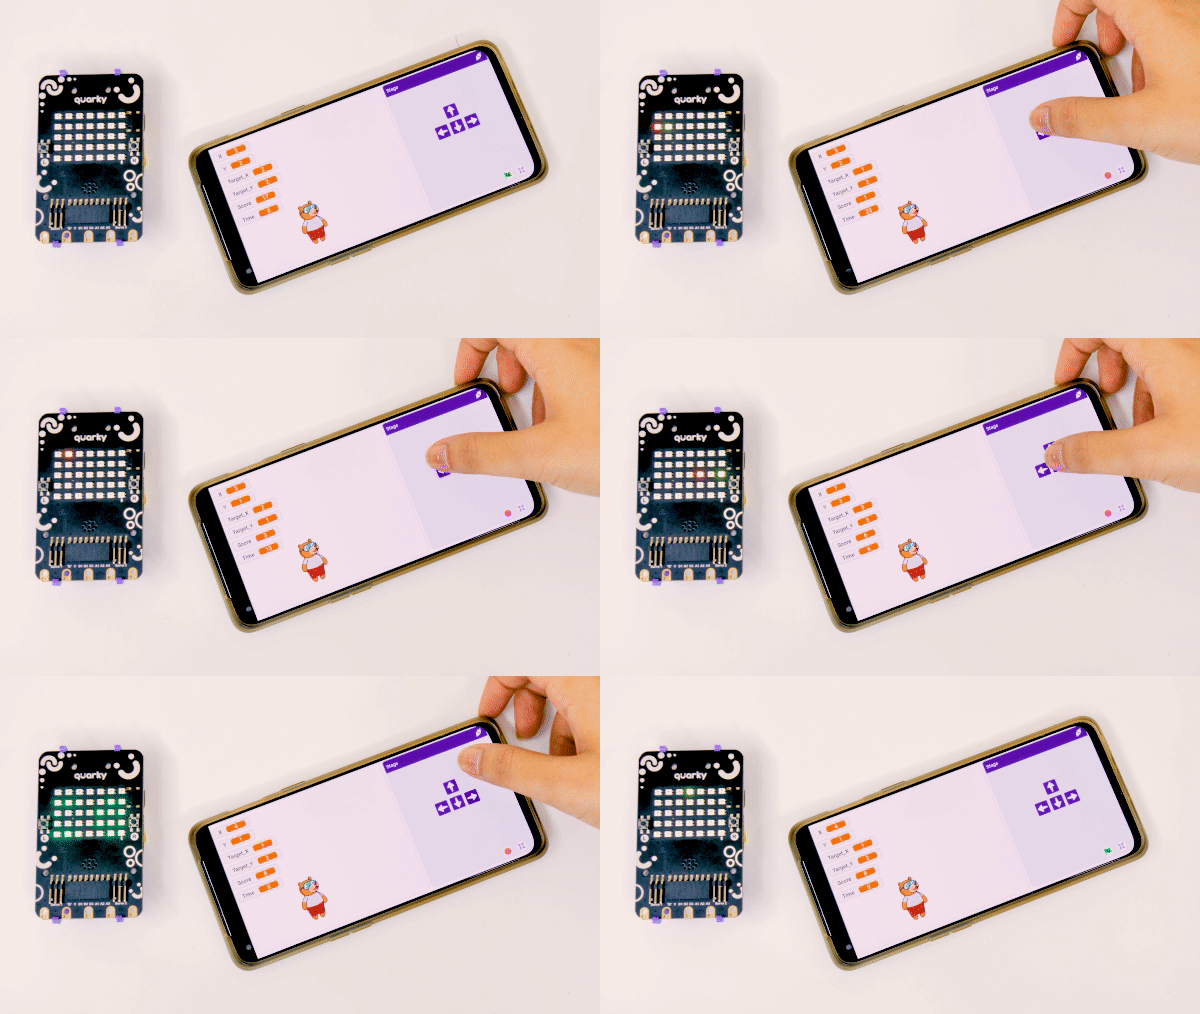
Lesson 17: LED Chase Game – Part 1
- Objective: Learn about how to make a LED chasing Game on the display of Quarky LED Matrix.
- Activity 1: This activity teaches how to chase a LED on Quarky LED Display matrix.
- Mode: Practical (Physical Computing)
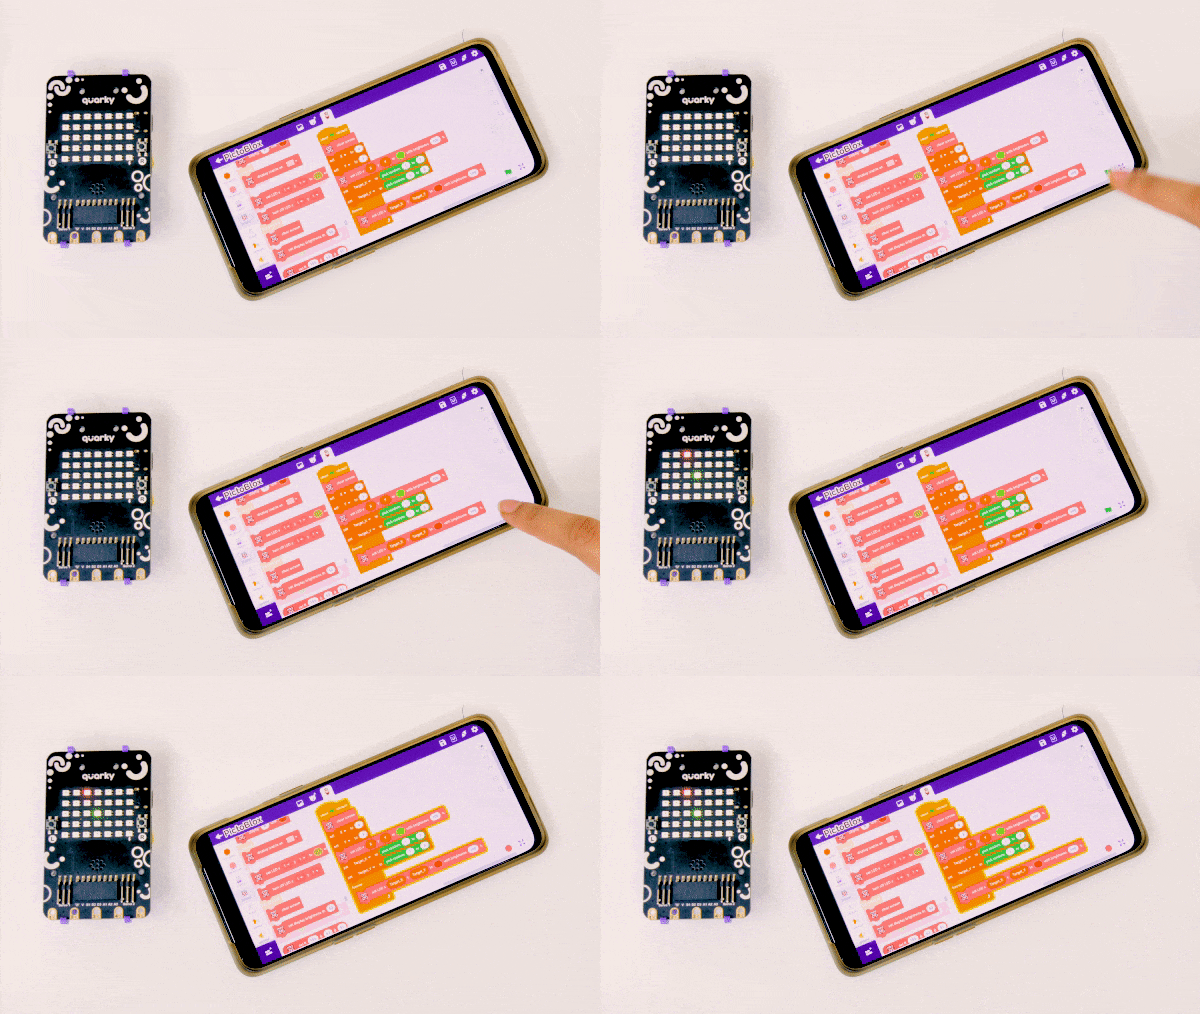
Lesson 18: LED Chase Game – Part 2
- Objective: Learn about how to make a LED chasing Game on the display of Quarky LED Matrix.
- Activity 1: This activity teaches how to chase a LED on Quarky LED Display matrix.
- Mode: Practical (Physical Computing)
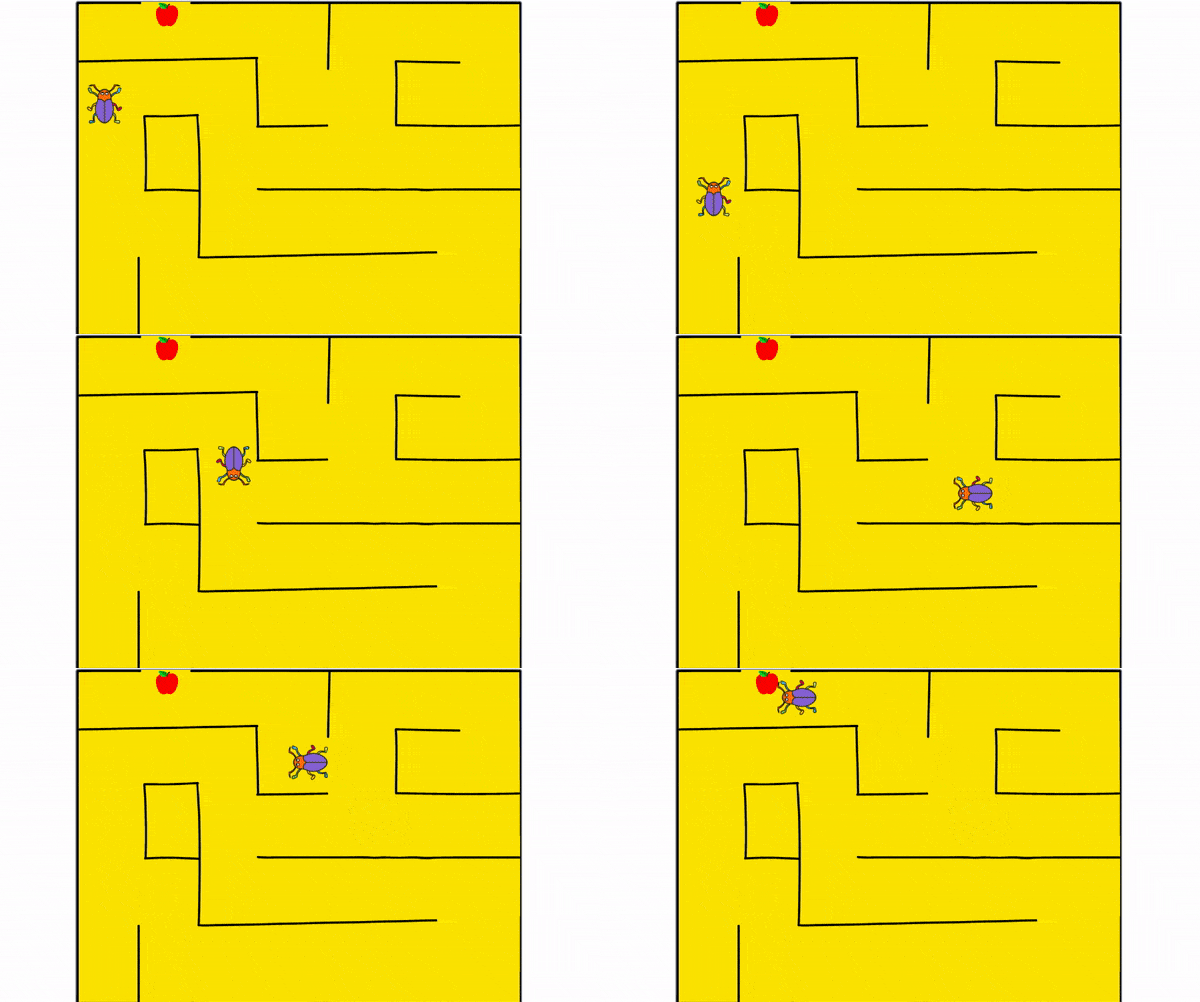
Lesson 19: Beetle in the Maze Game – Part 1
- Objective: Learn about gaming concept in pictoblox. How to use different sprites and backdrops for making games.
- Activity 1: This activity teaches how to make beetle in the maze game.
- Mode: Practical (Coding Basics)

Lesson 20: Beetle in the Maze Game – Part 2
- Objective: Learn about gaming concept in pictoblox. How to use different sprites and backdrops for making games.
- Activity 1: This activity teaches how to make beetle in the maze game.
- Mode: Practical (Coding Intermidiate)
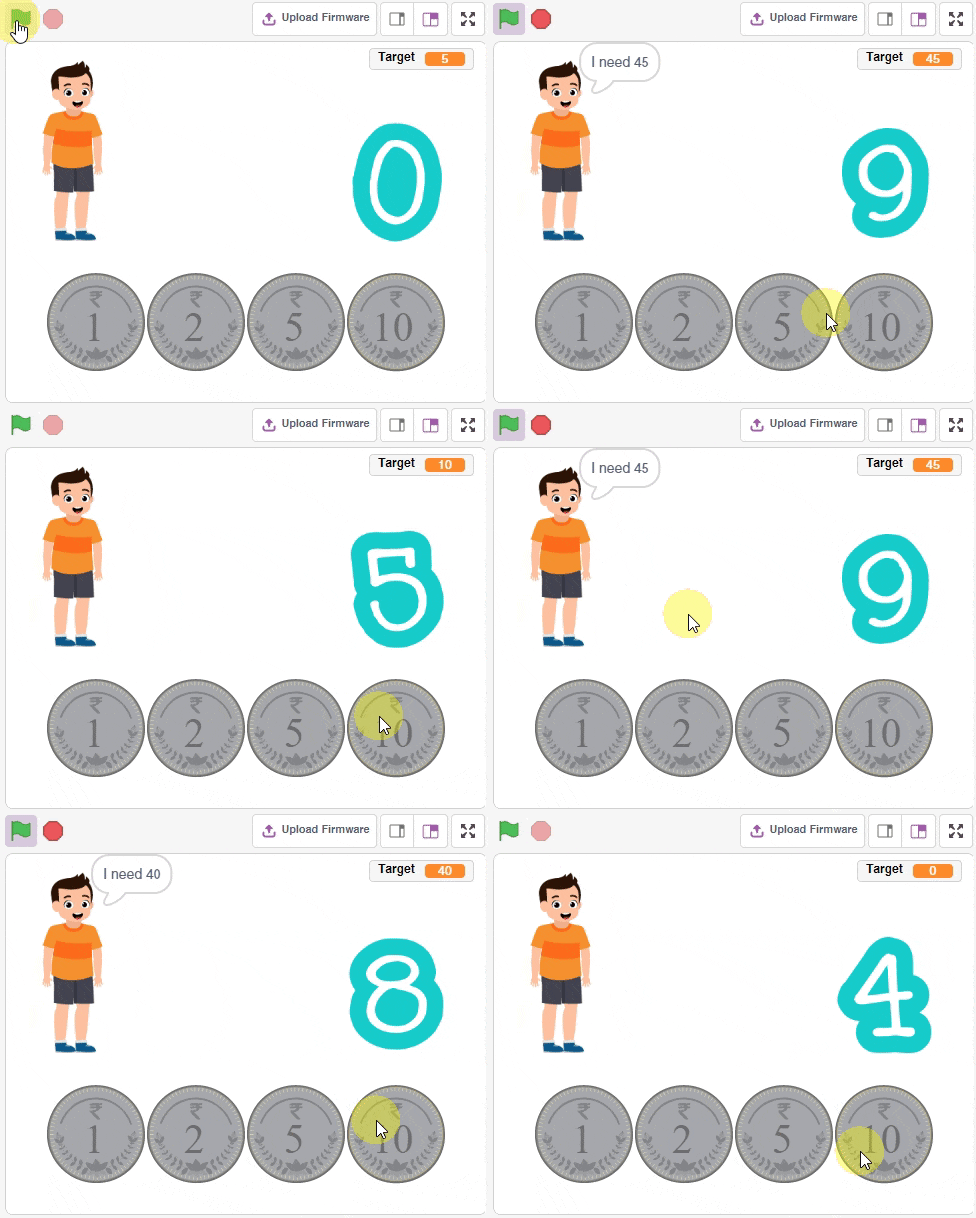
Lesson 21: Coin Collector Game – Part 1
- Objective: Learn about how to use multiple sprites in a single program, concept of broadcasting.
- Activity 1: This activity teaches how to make a coin collector game with multiple sprites in a single program.
- Mode: Practical (Coding Intermidiate)
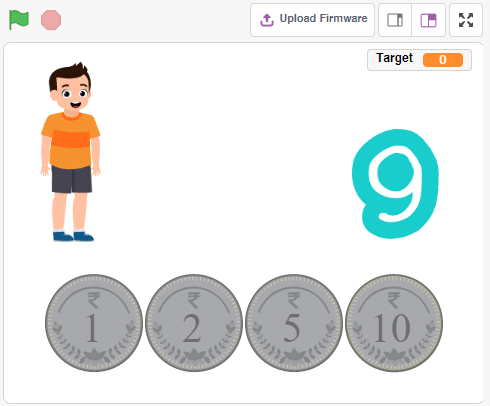
Lesson 22: Coin Collector Game – Part 2
- Objective: Learn about how to use multiple sprites in a single program, concept of broadcasting.
- Activity 1: This activity teaches how to make a coin collector game with multiple sprites in a single program.
- Mode: Practical (Coding Intermidiate)

Lesson 23: Coin Collector Game – Part 3
- Objective: Learn about how to use multiple sprites in a single program, concept of broadcasting.
- Activity 1: This activity teaches how to make a coin collector game with multiple sprites in a single program.
- Mode: Practical (Coding Intermidiate)
Module 4: Robotics

Lesson 24: Fun with Robotics
- Objective: Learn about how to give movement to the quarky, How to use robot pallete of the Quarky and to gives the movement to the wheels of the Quarky.
- Activity 1: Making a Fun with Robotics in Pictoblox – Learn how to give movement in wheels of the Quarky.
- Mode: Practical (Coding Basics)
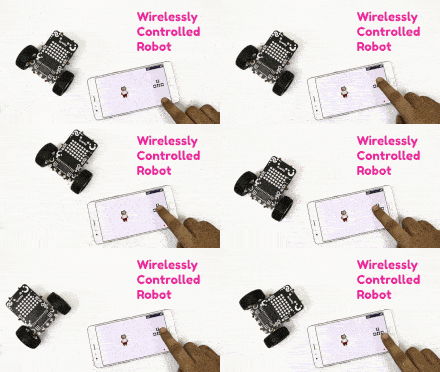
Lesson 25: Control Your Robot Wirelessly
- Objective: Learn about how to give the movement to the quarky wirelessly.
- Activity 1: This activity teaches how to make Quarky move wirelessly.
- Mode: Practical (Coding Basics)
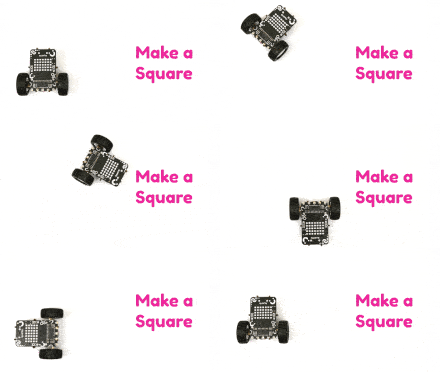
Lesson 26: Making Shapes with Robot
- Objective: Learn about how to create shapes with Quarky wirelessly.
- Activity 1: Making a shapes with Quarky in PictoBlox - Learn how to make a shapes with Quarky.
- Mode: Practical (Coding Basics)
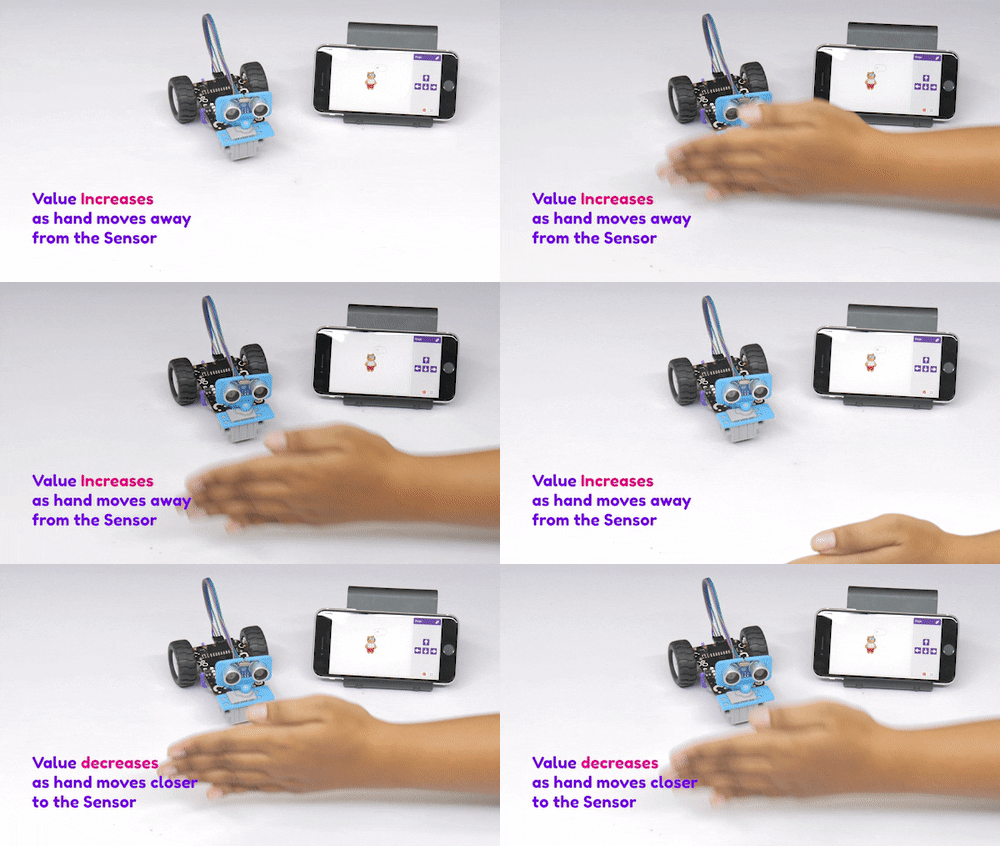
Lesson 27: Distance Tracker
- Objective: Learn about how to use ultrasonic sensor in quarky and understands the concept of distance tracker.
- Activity 1: This activity teaches how to make a Distance Tracker with Quarky and ultrasonic sensor in PictoBlox.
- Mode: Practical (Coding Basics)

Lesson 28: Face Expression Detector
- Objective: Learn about how to identify the expression of the face by the sprite.
- Activity 1: Making a Face expression Detector in Pictoblox - Learn to make a face expression detector program usinf Face detection extension.
- Mode: Practical (Coding Basics)
Lesson 29: Face Tracking Robot
- Objective: Learn about Face Tracker Robot, Make Face Tracker Robot on Pictoblox, and Understand how Quarky works as a Face tracker.
- Activity 1: This activity teaches how to face detection extensions and make an activity Face Tracking Robot that detects a face and moves its head in the same direction
- Mode: Practical (Coding Basics)
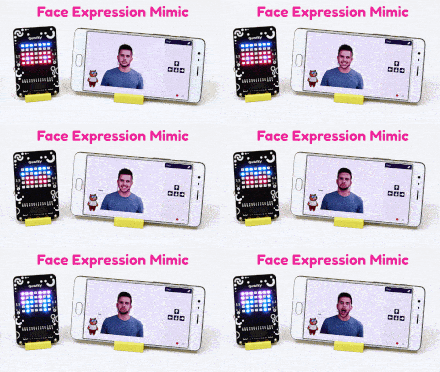
Lesson 30: Quarky Face Mimic
- Objective: Learn about how to make our quarky expressive and learn to implement Ai & Robotics in a single program.
- Activity 1: Making a Face expression Detector using Quarky in Pictoblox - Learn to make quarky expressive.
- Mode: Practical (Coding Basics)
How to execute this curriculum?
If you are a school, activity center, or institution looking to implement the coding, Artificial Intelligence, and Robotics curriculum, you are then at the right place. STEMpedia provides the right ecosystem to implement it.
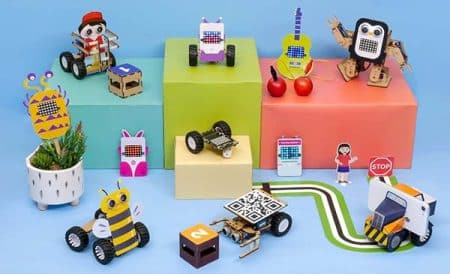
AI & Robotics Lab and Classroom Bundles
Equip your school with a Next-Gen AI laboratory along with the best AI-learning kits Quarky, DIY kits like Mars Rover and Humanoid, consumables, and hands-on projects and activities making your students AI learning journey superfun!
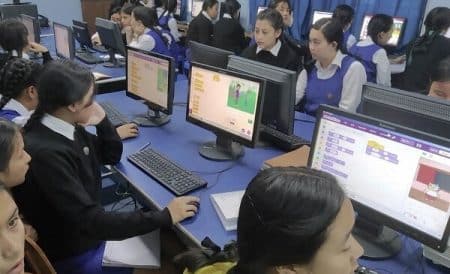
Coding and AI Platform
Get unlimited access to AI-ML projects like face detection, object classification, machine learning models, self-driving car, and speech recognition with PictoBlox – programming software for schools with Block & Python coding environment! Avail of premium features like bulk account creation and assignment submission with AI Lab.

Teacher Development Programs
For delivering Artificial Intelligence and Machine Learning education to students, our master AI trainers will train and upskill the computer science teachers, STEM faculty, and school IT staff. We provide dedicated live training sessions and curated short courses for teachers.
Structured Curriculum & Resources
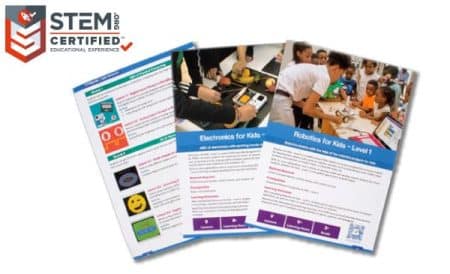
Certified AI curriculum is aligned with international boards like CBSE/IB/IGCSE/ICSE/CSTA/CIE and specifically designed grade-wise AI syllabus for students of grades 3rd to 12th to introduce them to technological activities in Artificial Intelligence, Robotics, Coding, and much more.
AI and Robotics Lab
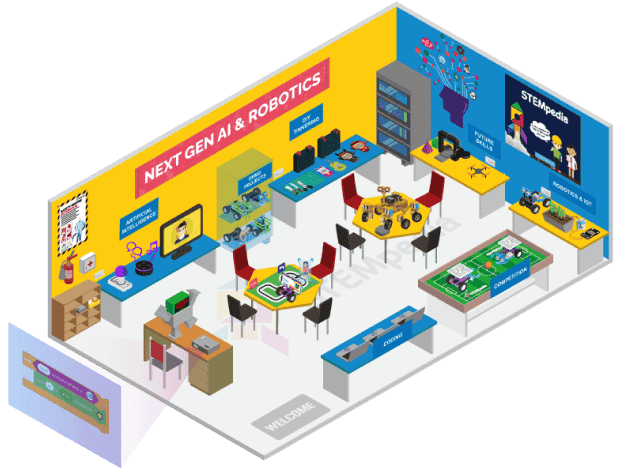
Cubicle of knowledge offering AI & Robotics education with a comprehensive curriculum, interactive robots, hands-on projects, and real-life applications!
Contact Us
Implement this curriculum at your School / Activity Center!
Explore Other AI & Robotics Class-wise Curriculum


