Class 3 – Coding, AI and Robotics Curriculum
Introduction
Certified AI curriculum is aligned with international boards like CBSE / IB / IGCSE / ICSE / CSTA / CIE and specifically designed grade-wise AI syllabus for students of grade 3 to introduce them to technological activities in Artificial Intelligence, Robotics, Coding, and much more.
- Prerequisites: None
- Kits Required: AI & Robotics Lab, or AI Classroom Bundle
- Programming Software: PictoBlox (Block Coding)
Learning Outcomes
After completing this curriculum, students will have a basic understanding of robotics, coding, and artificial intelligence with the help of a wide variety of projects.
Apart from the aforementioned learning outcomes, this curriculum will also help them develop important skills such as problem-solving and debugging techniques, critical thinking, logical reasoning, and creativity.
Curriculum Lesson Plan
Module 1: Coding

Lesson 1: Introduction to PictoBlox
- Objective: Learn about PictoBlox, a graphical programming software based on Scratch blocks and the perfect companion to introduce children to programming. See how to create a program by arranging blocks, making Tobi walk, and saving a file.
- Activity 1: This activity teaches how to make a sprite (Tobi) move around on the stage.
- Mode: Practical (Coding Basics)
Lesson 2: Creating Animation
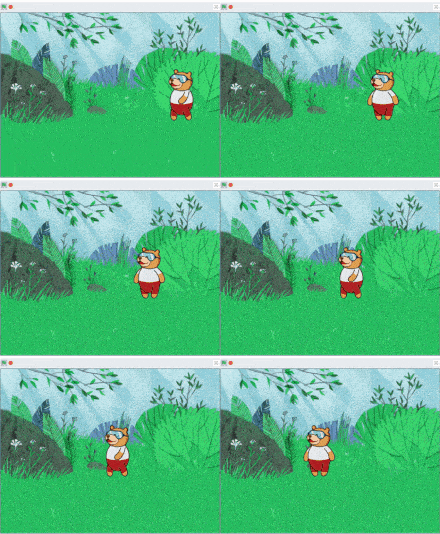
- Objective: Learn about how to create animations in PictoBlox using backdrops and costumes. Create an animation of Tobi walking by switching between costumes and explore the different values of delay.
- Activity 1: Making an Animation in PictoBlox – Learn how to create backdrops, choose costumes, and make an animation with a sprite.
- Mode: Practical (Coding Basics)

Lesson 3: Playing Sounds
- Objective: Learn about how to play sounds in PictoBlox and add them to your animations for a more interactive experience! We'll make an animation of a barking dog and learn how to control a sound's volume, tempo, and more.
- Activity 1: Playing Sounds – Create an animation of a barking dog that moves to a random location whenever the spacebar is pressed.
- Mode: Practical (Coding Basics)
Lesson 4: Let’s Chat!
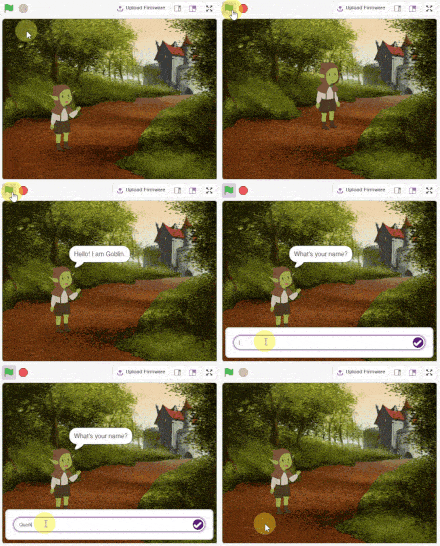
- Objective: Learn about creating an interactive conversation using the Ask block and switching costume in PictoBlox.
- Activity 1: Let’s Chat – Create a script to make a goblin sprite have a conversation with the user. Make the goblin switch costume and ask questions with the Ask block and provide an animated response.
- Mode: Practical (Coding Basics)

Lesson 5: Story Making – Once Upon a Time
- Objective: Learn about how to make two sprites communicate and tell a story using PictoBlox.
- Activity 1: Story Making – We will use Events blocks like Broadcast (), Broadcast () and Wait and When I Receive () to make the sprites communicate and create an animation.
- Mode: Practical (Coding Basics)
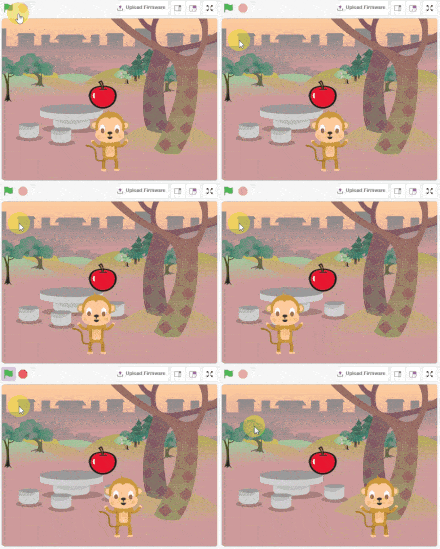
Lesson 6: Let’s Play! – Part 1
- Objective: Learn about how to use Events blocks to make a sprite move with the keys of a keyboard and create a game to catch the falling apple with PictoBlox!
- Activity 1: Let’s Play Part 1 – Create a script to make the Monkey sprite move left and right with the left and right arrow keys.
- Mode: Practical (Coding Basics)
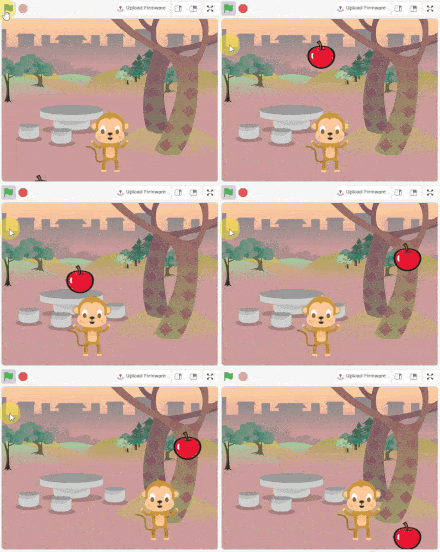
Lesson 7: Quarky as an AI Delivery Bot – Part 2
- Objective: Learn about how to code a project that involves the Apple sprite falling and bouncing off the Monkey sprite and also the lower edge of the stage.
- Activity 1: Let’s Play Part 2 – Use sensing blocks to detect conditions, pick random () to () blocks and glide () secs to x: () y: () to control the Apple sprite.
- Mode: Practical (Coding Basics)
Module 2: Physical Computing
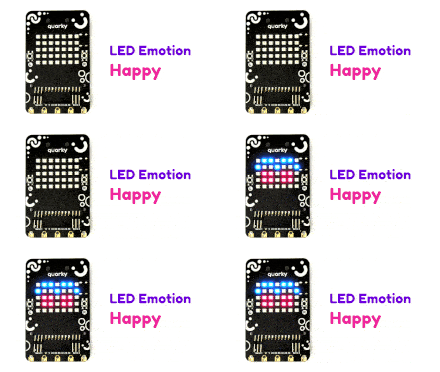
Lesson 8: Getting Familiar with Quarky
- Objective: Learn about Quarky: your AI Learning Buddy and how to connect it to PictoBlox. Create a script to display expressions on Quarky's matrix and explore other LED emotions.
- Activity 1: LED Emotion Display – Make a script that changes emotions when different keys are pressed on the keyboard.
- Mode: Practical (Physical Computing)
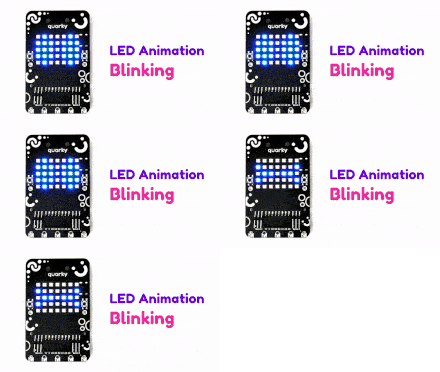
Lesson 9: Emotional Robot
- Objective: Learn about how to control Quarky's dynamic emotions on the LED display with keys. Set up Quarky with PictoBlox, animate expressions, and make the script run continuously.
- Activity 1: Modify the script to make different expressions when keys are pressed on the keyboard.
- Mode: Practical (Physical Computing)
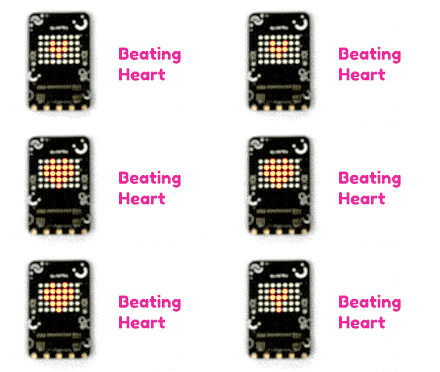
Lesson 10: Beating Hearts
- Objective: Learn about creating a custom pattern on Quarky's LED display to make it beat like a heart.
- Activity 1: Beating Heart – Create a script to display a beating heart with the help of the when flag clicked, forever, display matrix as (), and wait () seconds blocks. Make a Dancing Robot animation on Quarky LED display as a challenge.
- Mode: Practical (Physcial Computing)
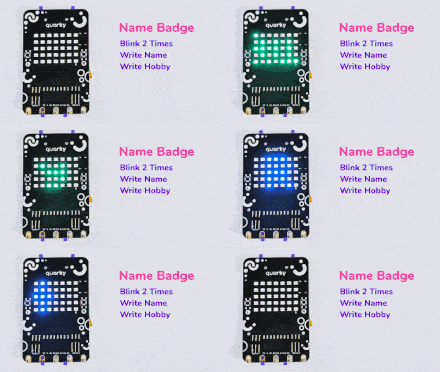
Lesson 11: Name Badge
- Objective: Learn how to display text on Quarky’s matrix.
- Activity 1: Name Badge – Make a script to display Quarky’s name on the matrix. And also make students display their names on the display matrix.
- Mode: Practical (Physcial Computing)
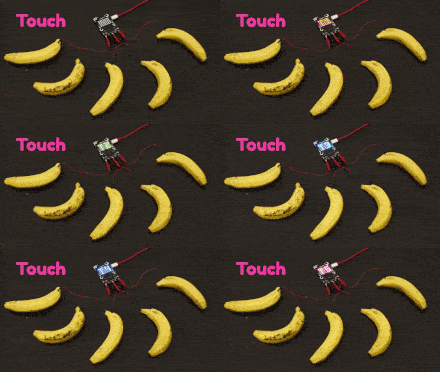
Lesson 12: Fruit Piano
- Objective: Learn about making a Fruit Piano with sensors and speaker of the Quarky robot using PictoBlox.
- Activity 1: Fruit Piano – Read the input from the sensors and play different tones for each sensor with the help of the Speaker extension.
- Mode: Practical (Physcial Computing)
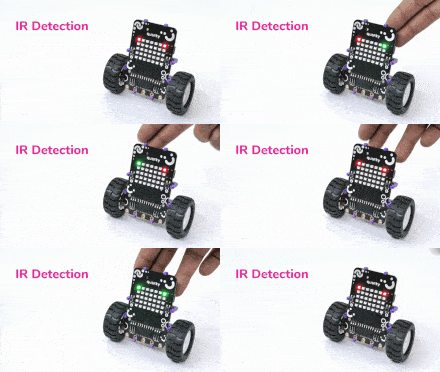
Lesson 13: Pamper your Robot Pet – Part 1
- Objective: Learn about how to make Quarky into a pet in this lesson and understand the basics of IR sensors, the threshold values and how to test the code.
- Activity 1: Get a feedback loop by lighting up LEDs of the dot matrix to indicate the sensor is active.
- Mode: Practical (Physcial Computing)
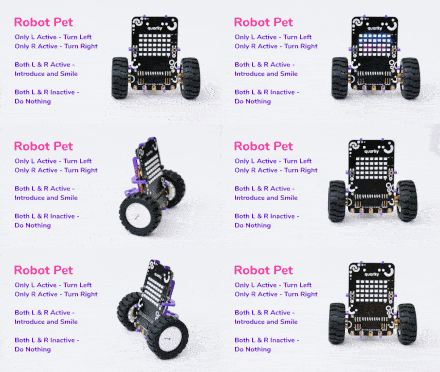
Lesson 14: Pamper your Robot Pet – Part 2
- Objective: Learn about how to make a robot pet that reacts when it is pampered with hands using IR sensors.
- Activity 1: Pamper your Robot Pet – Make it turn left or right when the sensors detect a hand. Also, make it smile and play sound when both sensors detect a hand.
- Mode: Practical (Physcial Computing)
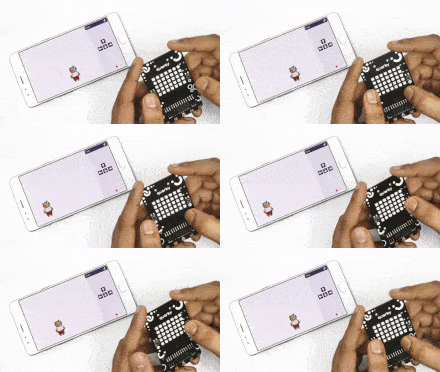
Lesson 15: Tobi Controlled with Button
- Objective: Learn about how to use Quarky's buttons to control Tobi's movements in PictoBlox. Understand the logic.
- Activity 1: Tobi Control - How to use the Quarky buttons to control the movement of a character, Tobi, in a game they are making with PictoBlox.
- Mode: Practical (Physcial Computing)
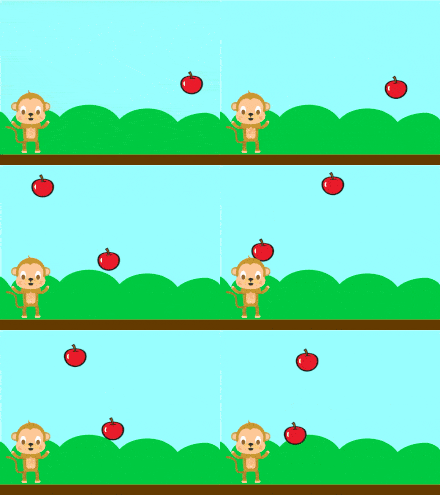
Lesson 16: Fruit Catching Game – Part 1
- Objective: Learn about how to make a game Catch the Fruit using PictoBlox.
- Activity 1: Fruit Catching Game - Create a game called "Catch the Fruit" using PictoBlox by controlling a sprite with Quarky's switches, setting up the stage, choosing sprites, writing scripts, and creating clones of the sprite.
- Mode: Practical (Physcial Computing)
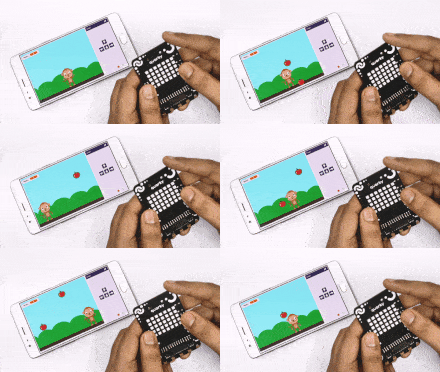
Lesson 17: Fruit Catching Game – Part 2
- Objective: Learn about how to make a game Catch the Fruit using PictoBlox.
- Activity 1: Fruit Catching Game - Write code to move a sprite and track the score for a game in PictoBlox.
- Mode: Practical (Physcial Computing)
Module 3: Artificial Intelligence

Lesson 18: Face Detector
- Objective: Learn about Artificial Intelligence and Face Detection by creating a project in PictoBlox.
- Activity 1: Analyze images from stage and camera feed, and use the get # faces block to get the number of faces recognized in the image.
- Mode: Practical (Artificial Intelligence)

Lesson 19: Face Expression Detector
- Objective: Learn how to use the Face Detection extension and analyse the image to recognize the facial expression.
- Activity 1: Face Expression Detector – Create a script that detects the face using the camera and reports the expression of the faces detected on the stage.
- Mode: Practical (Artificial Intelligence)
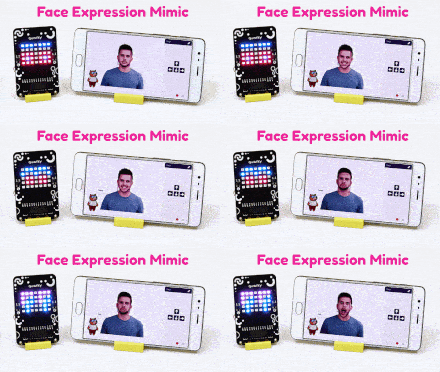
Lesson 20: Quarky Face Mimic
- Objective: Learn about how to make Quarky mimic the expression of your face using the Face Detection extension in PictoBlox.
- Activity 1: Quarky Face Mimic – Change the emotion of Quarky accordingly.
- Mode: Practical (Artificial Intelligence)
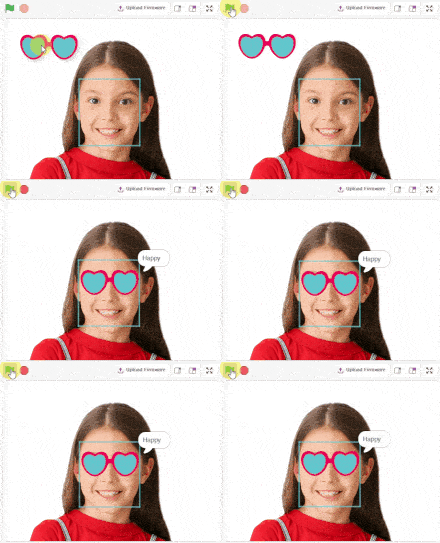
Lesson 21: Face Filters
- Objective: Learn about how to make a face filter using PictoBlox.
- Activity 1: Face Filters – Create a project to let the user choose a filter among the ones displayed on the screen and apply it to their face.
- Mode: Practical (Artificial Intelligence)
Module 4: Internet of Things

Lesson 22: Weather Monitoring System – Part 1
- Objective: Learn about Weather Monitoring System and its importance. Understand why it is needed and its advantages.
- Activity 1: Make your own Weather Monitoring system in PictoBlox using Quarky and gain insights into concepts like Latitude and Longitude.
- Mode: Practical (Internet of Things)
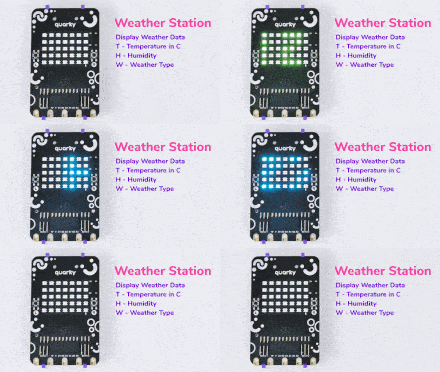
Lesson 23: Weather Monitoring System – Part 2
- Objective: Learn about how to create a weather monitoring system in PictoBlox and display the data on Quarky's matrix.
- Activity 1: Create a weather monitoring system in PictoBlox using Quarky to display temperature, humidity, and weather conditions on the Quarky matrix.
- Mode: Practical (Internet of Things)
Module 5: Robotics

Lesson 24: Fun with Robotics
- Objective: Learn about how to make a robot of your own using Quarky and understand the logic behind it.
- Activity 1: Understand the Forward, Backward, Left and Right movement of the robot and make a script in PictoBlox to control the robot.
- Mode: Practical (Robotics)
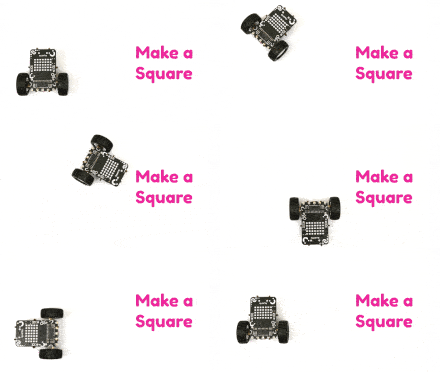
Lesson 25: Making a Square with Robot
- Objective: Learn about how to control a robot using PictoBlox.
- Activity 1: Make the robot turn 90° left, go forward, back, left, and right, and make the robot draw a square.
- Mode: Practical (Robotics)
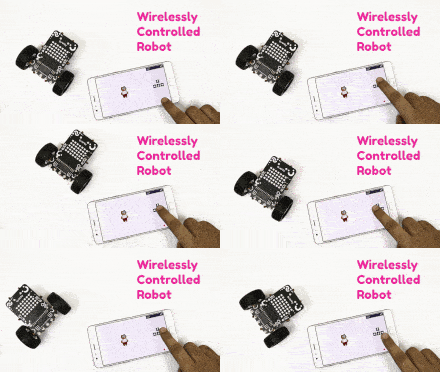
Lesson 26: Control Your Robot Wirelessly
- Objective: Learn about how to control Quarky wirelessly using the arrow keys on a desktop keyboard or in the PictoBlox mobile app.
- Activity 1: Control a robot wirelessly using the arrow keys of a keyboard or mobile app.
- Mode: Practical (Robotics)
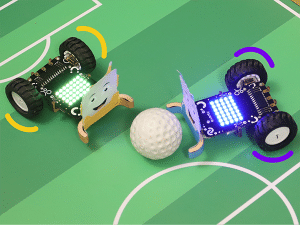
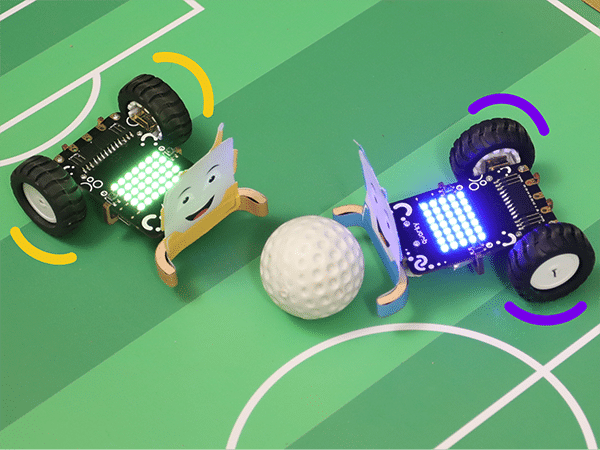
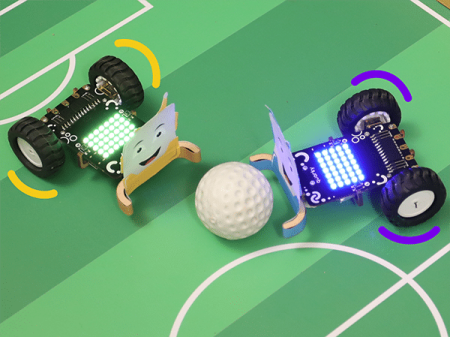
Lesson 27: Robo Soccer Game – Part 1
- Objective: Make a strategy to win a game. Collaborate and play in a group. Control the robot efficiently. Learn how to make the robot move forward, backward, left, and right. Program and make their robots ready for the game.
- Activity 1: Robo Soccer Game
- Mode: Practical (Robotics)

Lesson 28: Robo Soccer Game – Part 2
- Objective: Make a strategy to win a game. Collaborate and play in a group. Control the robot efficiently. Learn how to make the robot move forward, backward, left, and right. Program and make their robots ready for the game.
- Activity 1: Robo Soccer Game
- Mode: Practical (Robotics)
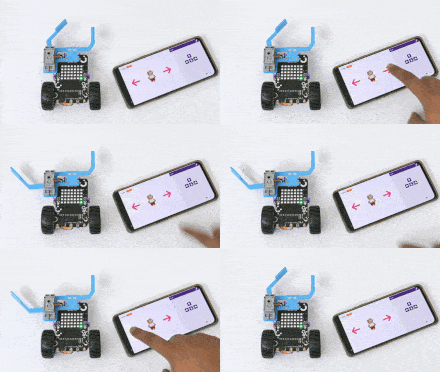
Lesson 29: Gripper Robot – Part 1
- Objective: Learn about programming a gripper robot to grip and place boxes using PictoBlox.
- Activity 1: Program a gripper robot to grip boxes and place them, using a servo motor controlled by PictoBlox.
- Mode: Practical (Robotics)
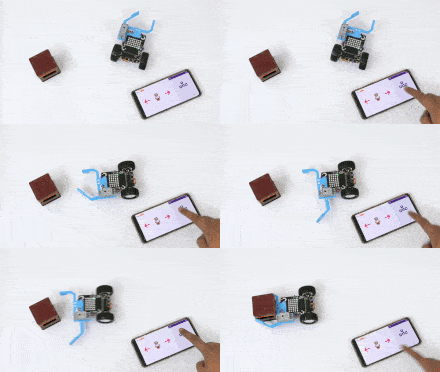
Lesson 30: Gripper Robot – Part 2
- Objective: Learn about how to create the script to make the robot move, control the gripper and how to test and play with the robot using the PictoBlox software.
- Activity 1: Create a script to make a robot move and control the gripper.
- Mode: Practical (Robotics)
How to execute this curriculum?
If you are a school, activity center, or institution looking to implement the coding, Artificial Intelligence, and Robotics curriculum, you are then at the right place. STEMpedia provides the right ecosystem to implement it.
AI & Robotics Lab and Classroom Bundles
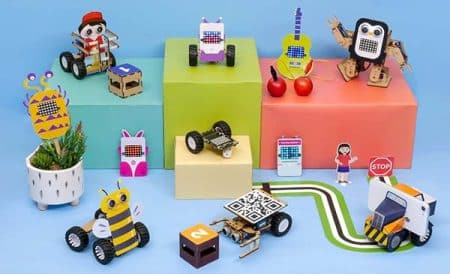
Equip your school with a Next-Gen AI laboratory along with the best AI-learning kits Quarky, DIY kits like Mars Rover and Humanoid, consumables, and hands-on projects and activities making your students AI learning journey superfun!
Coding and AI Platform
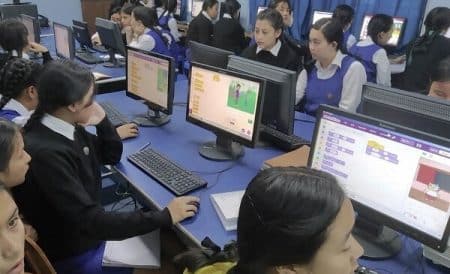
Get unlimited access to AI-ML projects like face detection, object classification, machine learning models, self-driving car, and speech recognition with PictoBlox – programming software for schools with Block & Python coding environment! Avail of premium features like bulk account creation and assignment submission with AI Lab.

Teacher Development Programs
For delivering Artificial Intelligence and Machine Learning education to students, our master AI trainers will train and upskill the computer science teachers, STEM faculty, and school IT staff. We provide dedicated live training sessions and curated short courses for teachers.
Structured Curriculum & Resources
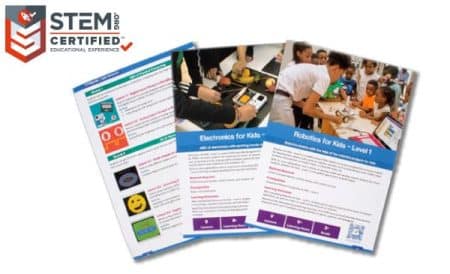
Certified AI curriculum is aligned with international boards like CBSE/IB/IGCSE/ICSE/CSTA/CIE and specifically designed grade-wise AI syllabus for students of grades 3rd to 12th to introduce them to technological activities in Artificial Intelligence, Robotics, Coding, and much more.
AI and Robotics Lab
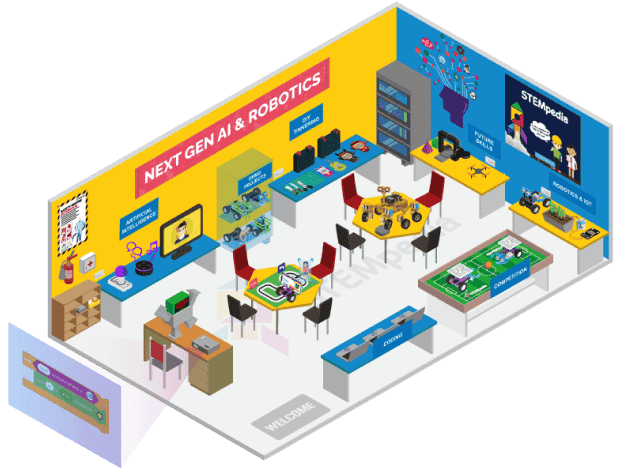
Cubicle of knowledge offering AI & Robotics education with a comprehensive curriculum, interactive robots, hands-on projects, and real-life applications!
Contact Us
Implement this curriculum at your School / Activity Center!
Explore Other AI & Robotics Class-wise Curriculum


