introduction
So far, we’ve explored programming a robotic arm using block coding and integrating machine learning (ML). This activity builds upon our previous work, as we will now write code in Python for the robotic arm. This hands-on activity demonstrates the real-world application of Python, highlighting its capabilities in supporting data analytics, which powers AI and ML technologies. In future Python-based activities, we will delve deeper into embedding AI and ML into the robotic arm’s Python environment. Let’s dive into this activity and get started!
Lets Code
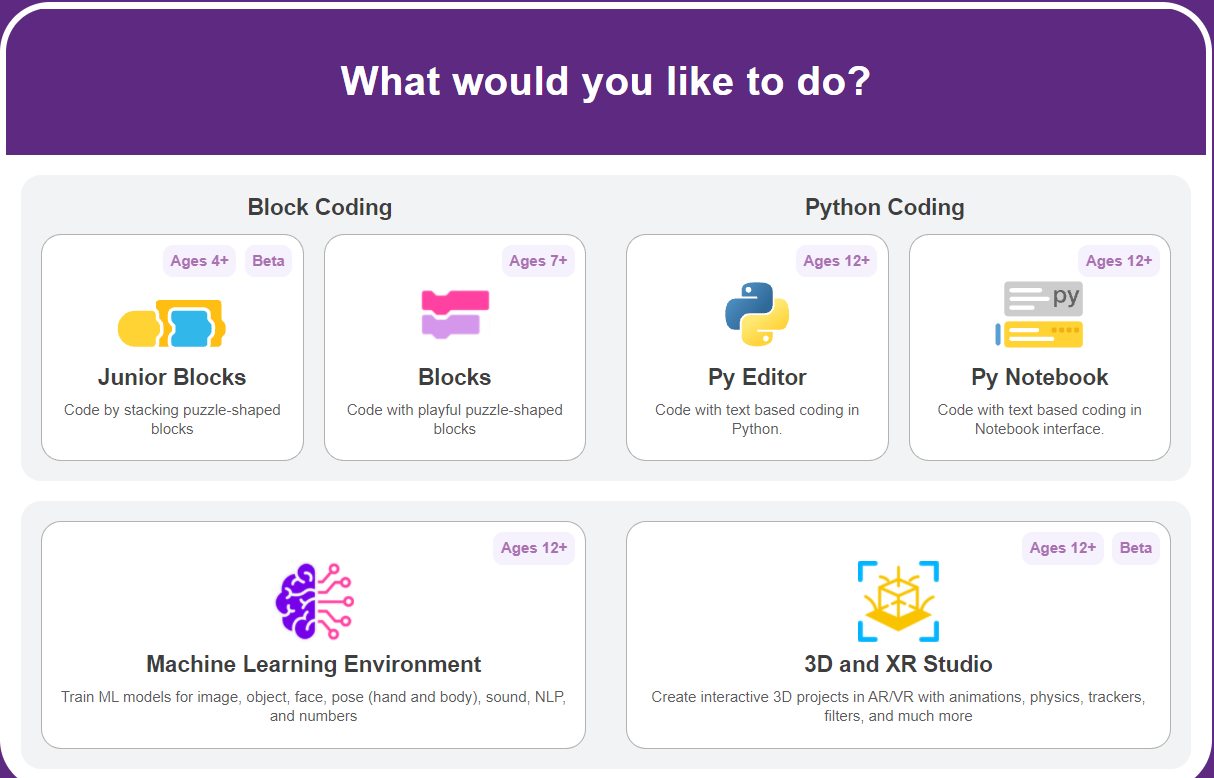
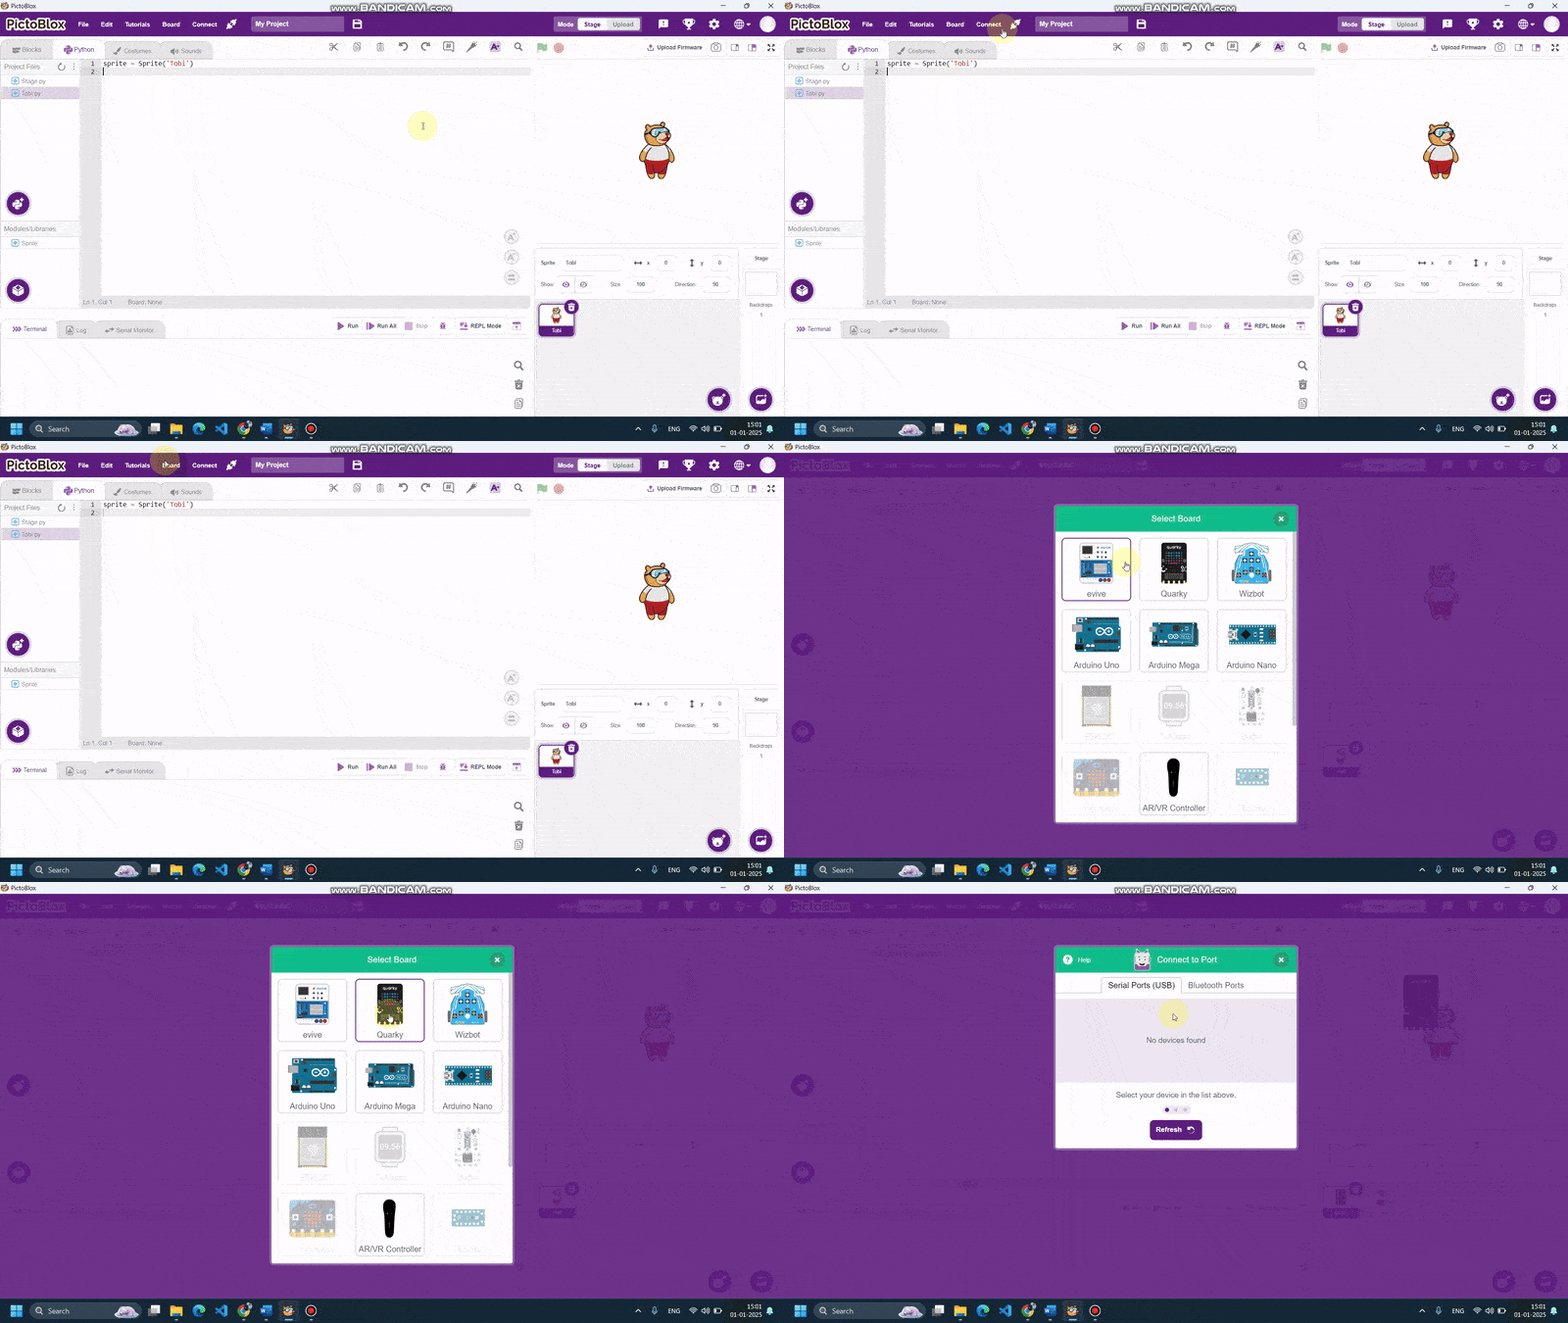
- Open Pictoblox and choose the python as coding environment.

- Go to the boards tab and select.

- Connect your quarky with the pictoblox.
- Firstly we need to initialize the robotic arm
sprite=sprite = Sprite(“Tobi”)
quarky=Quarky()
roboticArm = RoboticArm(1,2,3,4)
roboticArm.calibrate(0, 0, 0)
roboticArm.setgripperangle(0,50)
roboticArm.sethome()
5. import the time module Nd create a time
sprite=sprite = Sprite(“Tobi”)
quarky=Quarky()
roboticArm = RoboticArm(1,2,3,4)
roboticArm.calibrate(0, 0, 0)
roboticArm.setgripperangle(0,50)
roboticArm.sethome()
import time
Time = 10
6. Now we need to define the function to move in different axis , let’s start with X-axis.
def x_Axis_Control():
if sprite.iskeypressed(“right arrow”):
roboticArm.movebyinoneaxis(10,”X”,Time)
elif sprite.iskeypressed(“down arrow”):
roboticArm.movebyinoneaxis(-10,”X”,Time)
7. Do the same for the other axis.
def Y_Axis_Control():
if sprite.iskeypressed(“w”):
roboticArm.movebyinoneaxis(10,”Y”,Time)
elif sprite.iskeypressed(“s”):
roboticArm.movebyinoneaxis(-10,”Y”,Time)
# function for controlling the movement along z-axis
def Z_Axis_Control():
if sprite.iskeypressed(“up arrow”):
roboticArm.movebyinoneaxis(10,”Z”,Time)
elif sprite.iskeypressed(“down arrow”):
roboticArm.movebyinoneaxis(-10,”Z”,Time)
8. Define the controls for gripping operation.
# function for controlling the movement of gripper servo motor
def Gripper_Control():
if sprite.iskeypressed(“o”):
roboticArm.gripperaction(“open”)
elif sprite.iskeypressed(“c”):
roboticArm.gripperaction(“close”)
9. Create a forever loop and call all these functions inside the forever loop.
#min code
while True:
x_Axis_Control()
Y_Axis_Control()
Z_Axis_Control()
Gripper_Control()
time.sleep(0.1)
this way we have completed the script for our robotic arm in python coding.
Complete python Script
sprite=sprite = Sprite(“Tobi”)
quarky=Quarky()
roboticArm = RoboticArm(1,2,3,4)
roboticArm.calibrate(0, 0, 0)
roboticArm.setgripperangle(0,50)
roboticArm.sethome()
import time
Time = 10
def x_Axis_Control():
if sprite.iskeypressed(“right arrow”):
roboticArm.movebyinoneaxis(10,”X”,Time)
elif sprite.iskeypressed(“down arrow”):
roboticArm.movebyinoneaxis(-10,”X”,Time)
def Y_Axis_Control():
if sprite.iskeypressed(“w”):
roboticArm.movebyinoneaxis(10,”Y”,Time)
elif sprite.iskeypressed(“s”):
roboticArm.movebyinoneaxis(-10,”Y”,Time)
# function for controlling the movement along z-axis
def Z_Axis_Control():
if sprite.iskeypressed(“up arrow”):
roboticArm.movebyinoneaxis(10,”Z”,Time)
elif sprite.iskeypressed(“down arrow”):
roboticArm.movebyinoneaxis(-10,”Z”,Time)
# function for controlling the movement of gripper servo motor
def Gripper_Control():
if sprite.iskeypressed(“o”):
roboticArm.gripperaction(“open”)
elif sprite.iskeypressed(“c”):
roboticArm.gripperaction(“close”)
#min code
while True:
x_Axis_Control()
Y_Axis_Control()
Z_Axis_Control()
Gripper_Control()
time.sleep(0.1)
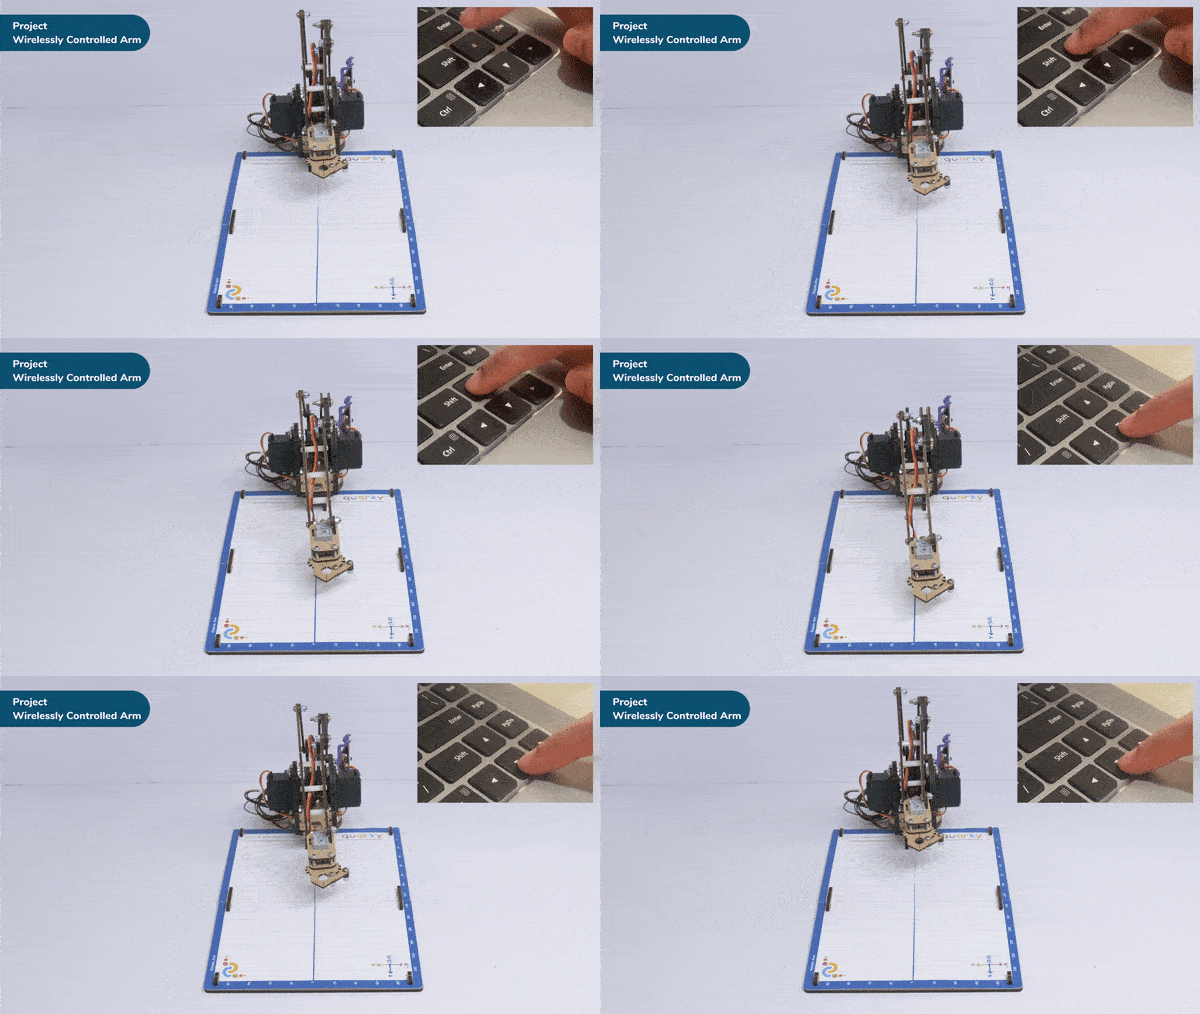
with this, your script os complete, now run the code and play with your Robootoc arm.


