Robotic arms are being used in modern industries on a large scale like medical filed, manufacturing industry etc. mostly we use the manual controlled robotic arms but, in some cases, when a same repetitive task, autonomous robotic are also required. This example will explain how to robotic arm an autonomous one. So, let’s get started.
Let’s Code
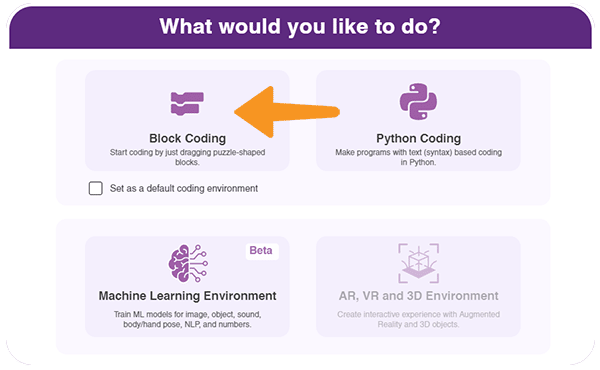
- Open pictoblox and create a new file in the block coding environment.
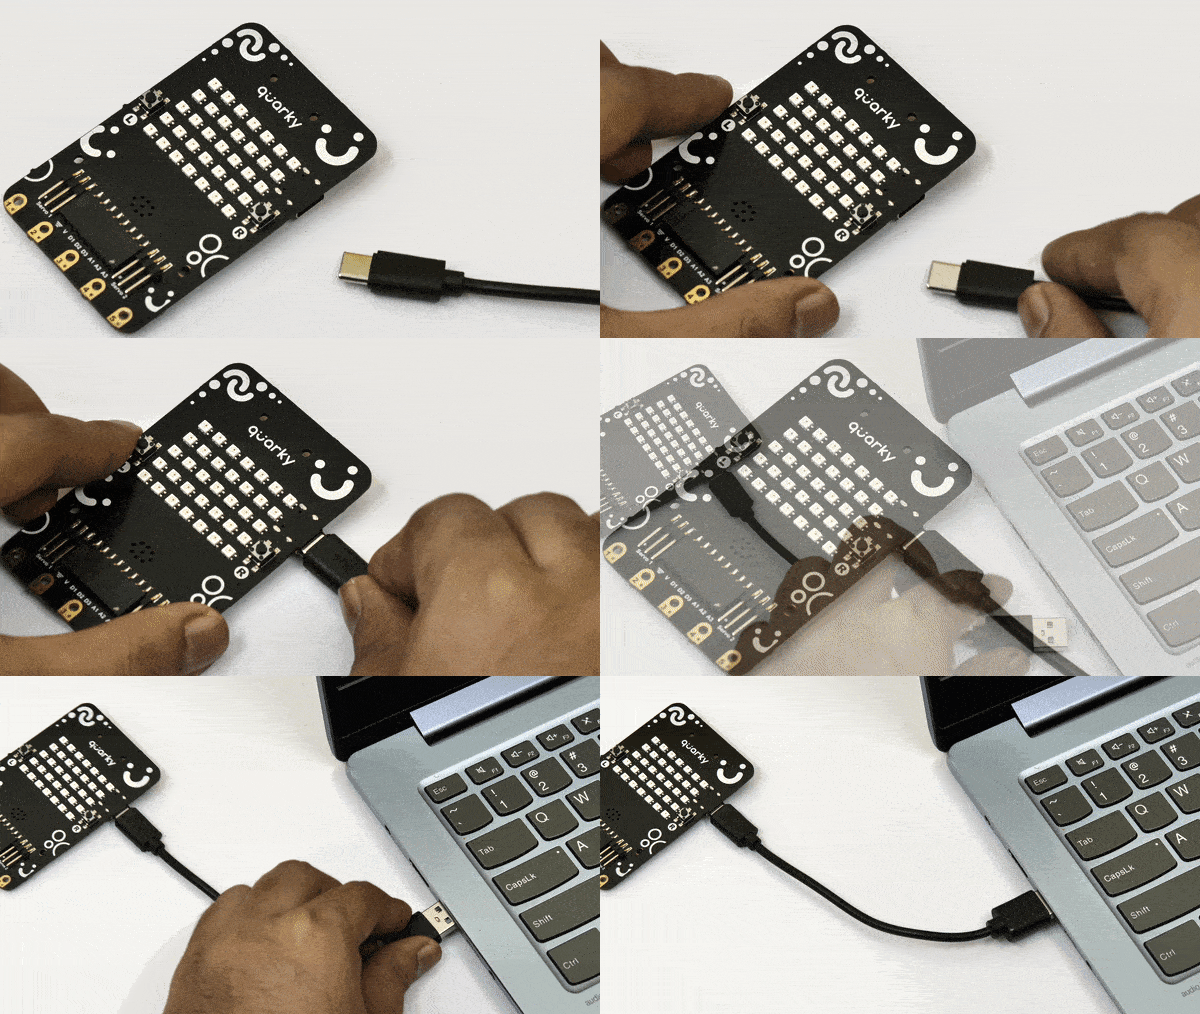
 Connect your Quarkly with the PC using the USB cable.
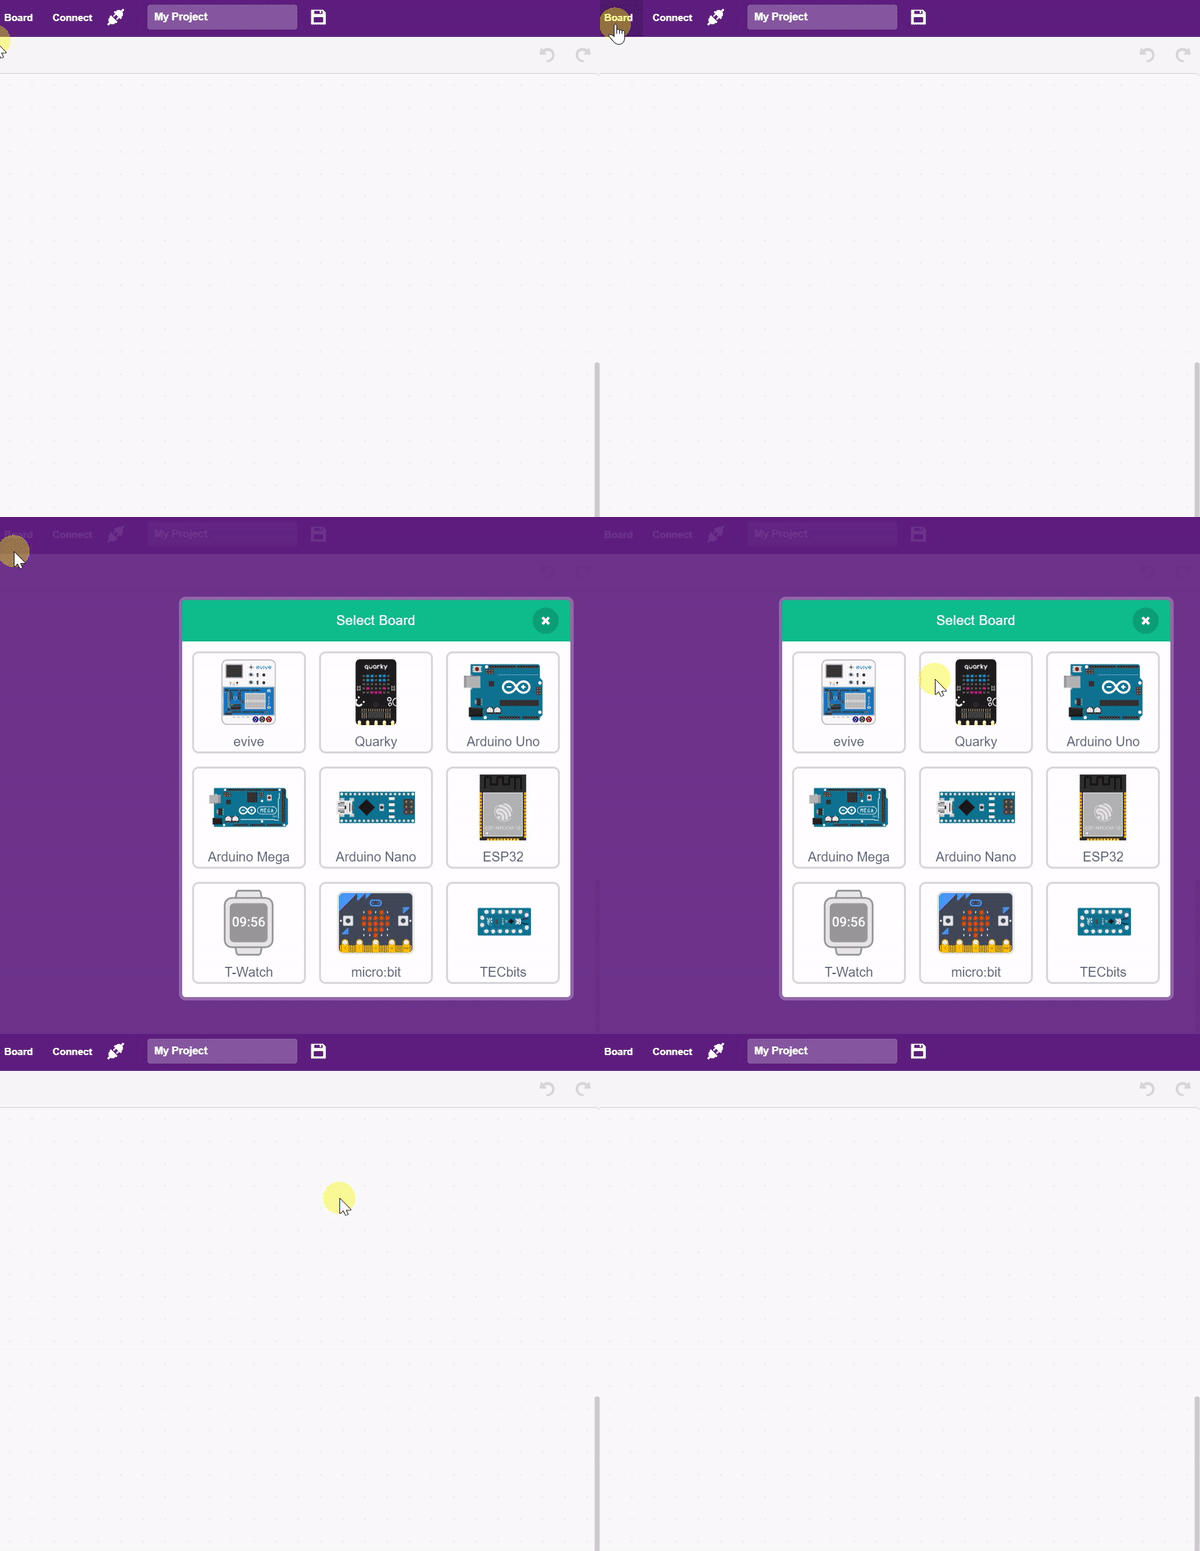
3. Go to the board tab and select Quarky from the listed boards.
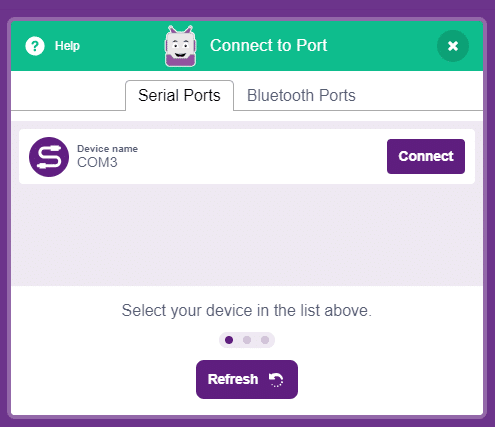
4. Connect your quarky under serail port and upload the firmware.
5. Now click on add extension button and add Robotic Arm extension from the list.
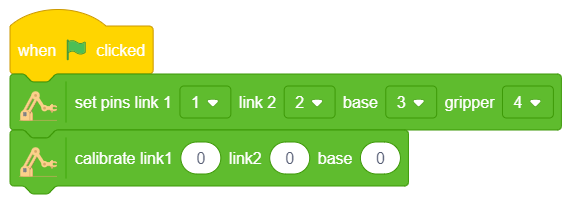
6. Go to the event palette and drag when flag clicked into the scripting area.
7. From Robotic arm extension, we need to initialize the pins for different servo motors so drag the first block and connect below the event block. as shown below.

8. Add the calibration block for like !, link 2 and base. this block helps to tackle the errors that appear due to poor wrong alognments during the assembly.
9. Select the open and close angles for the gripper and set the arm to home position using the home block

10. Add a forever block from the Controls palette and create the below script. this script will pick the object and place it to a different location.
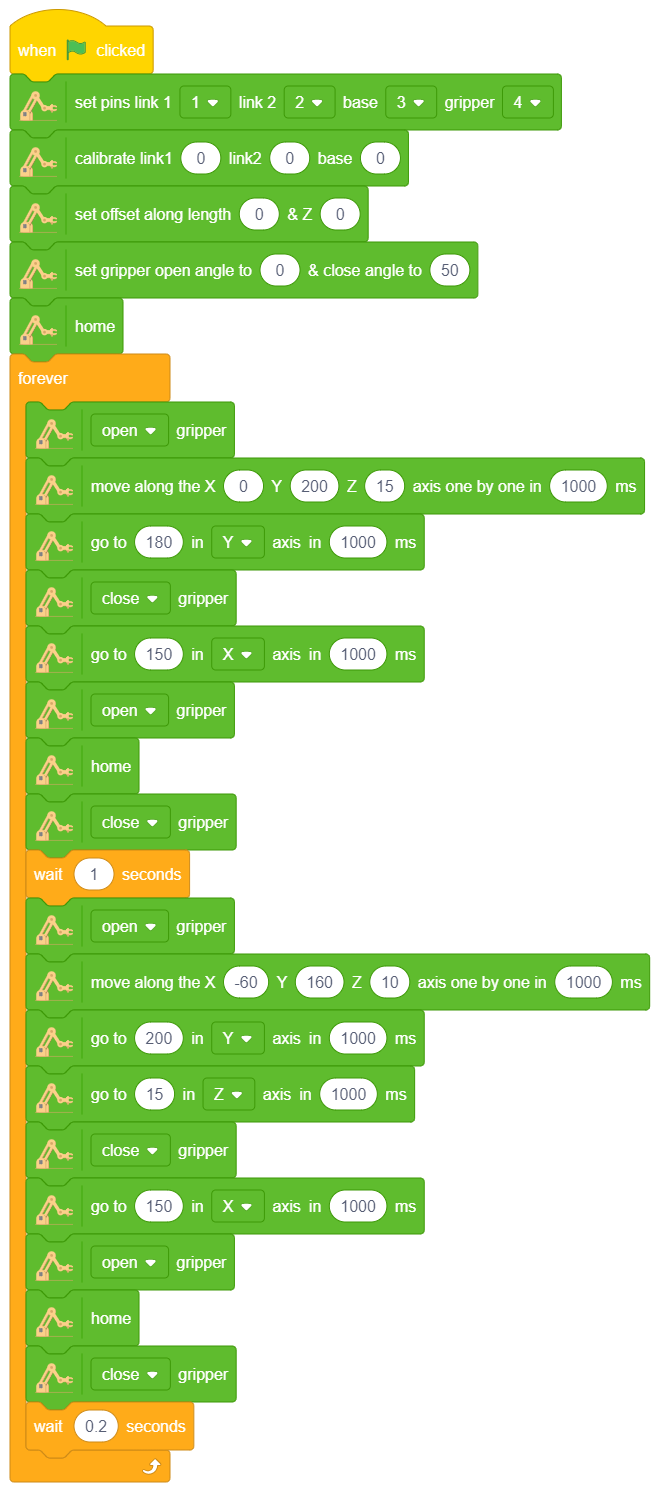
Note: You might need to change the gripper angles as it varies according to the assembly of the Robotic Arm.
11. Before we upload the code into the quarky an it autonomous, try running the code in stage and check the working of the model. if everything works fine than change the mode from stage mode to upload mode.
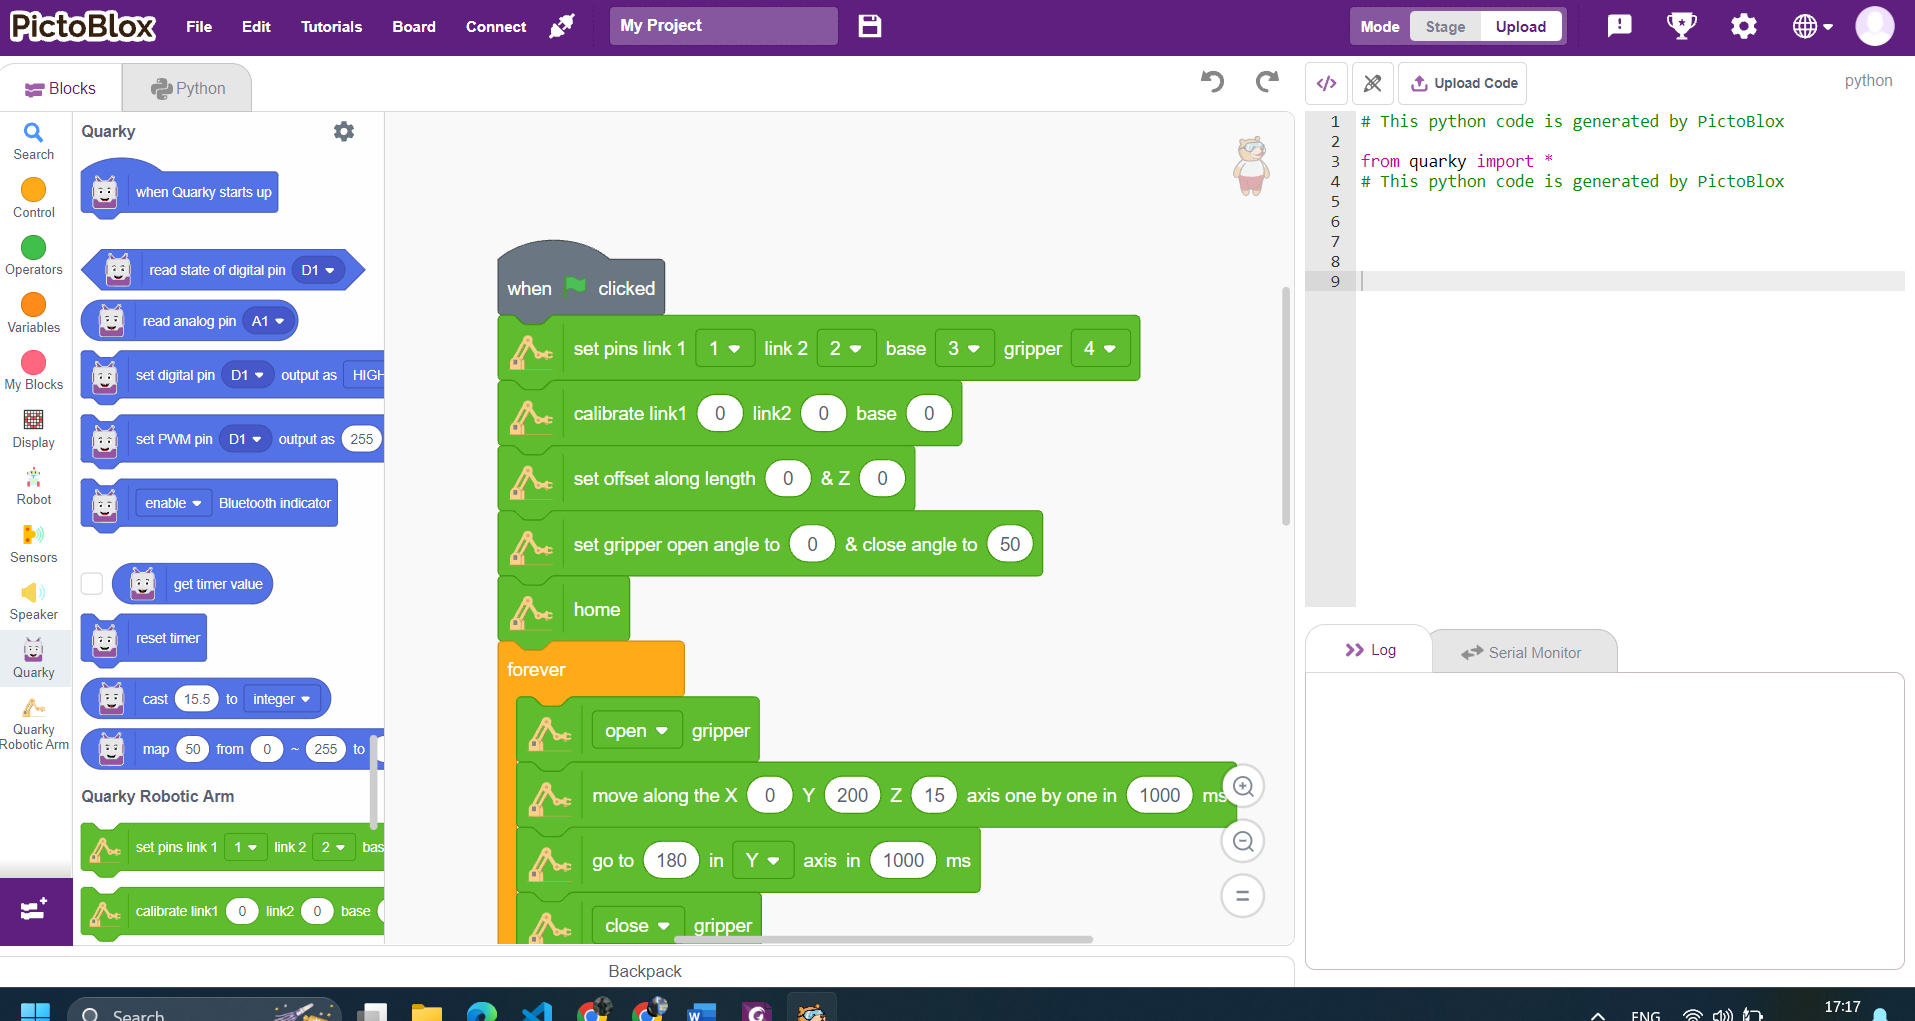
Alert: while switching from stage mode to upload mode, quarky gets disconnected from the pictoblox so it is mandatory to go to connect tag and connect your quarky via USB.
Note: flag, key, and other events and blocks related to spite will not work in upload mode so make sure you are not using any such block.
12. Replace the “when flag clicked ” event with “ When quarky starts up” event and all the code will be converted into text on the right-hand side, as shown in the image below.
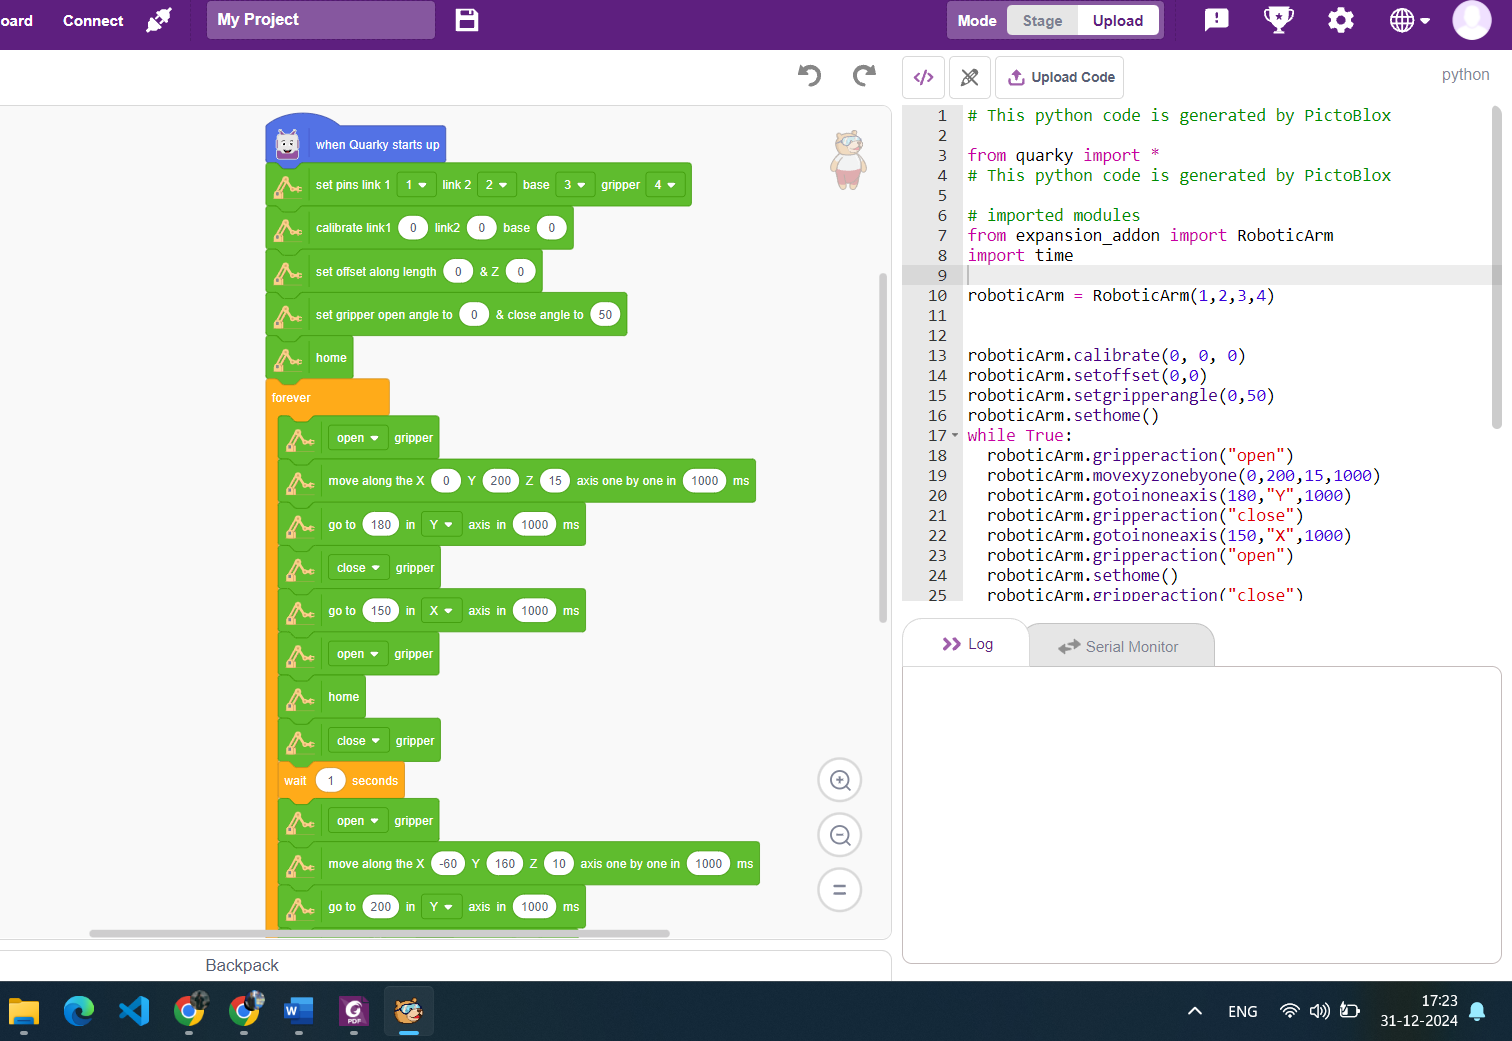
As our quarky is already connected with the pictoblox via USB its time to upload the code into the quarky board. clock on the upload code button on top of the stage. python script will start uploading into the board. once you see the upload successful, click again and upload the file twice (as a single upload doesn’t work in upload mode).


