Introduction
In this activity, we will integrate a machine learning (ML) model into the Python environment of our robotic arm. This will showcase the potential advancements achievable in robotics. The activity combines real-world text-based coding concepts in Python with their seamless integration into robotics, creating an advanced and efficient system. Further innovations in this field are not only possible but can also be implemented with ease. So, let’s dive in and get started!
Creating the ML model
- Open pictoblox and create a new file in the Python environment.
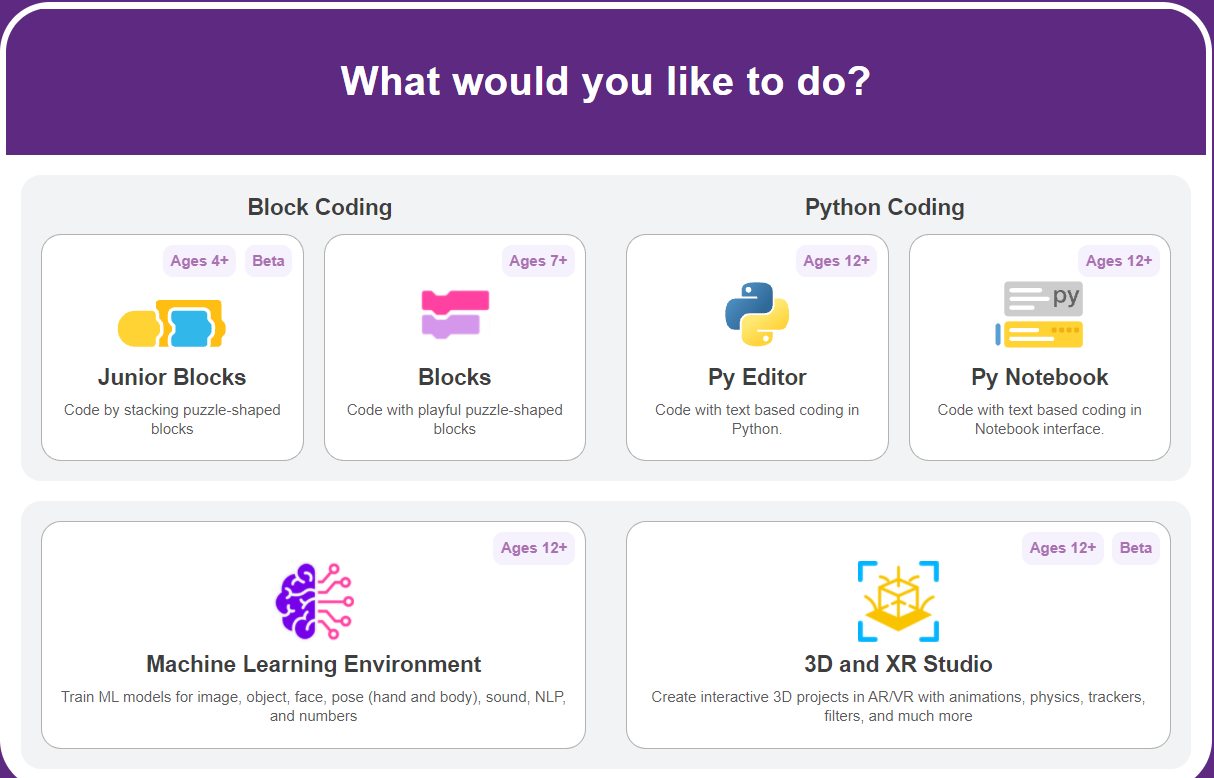
- Go to files and click on open ML environment.
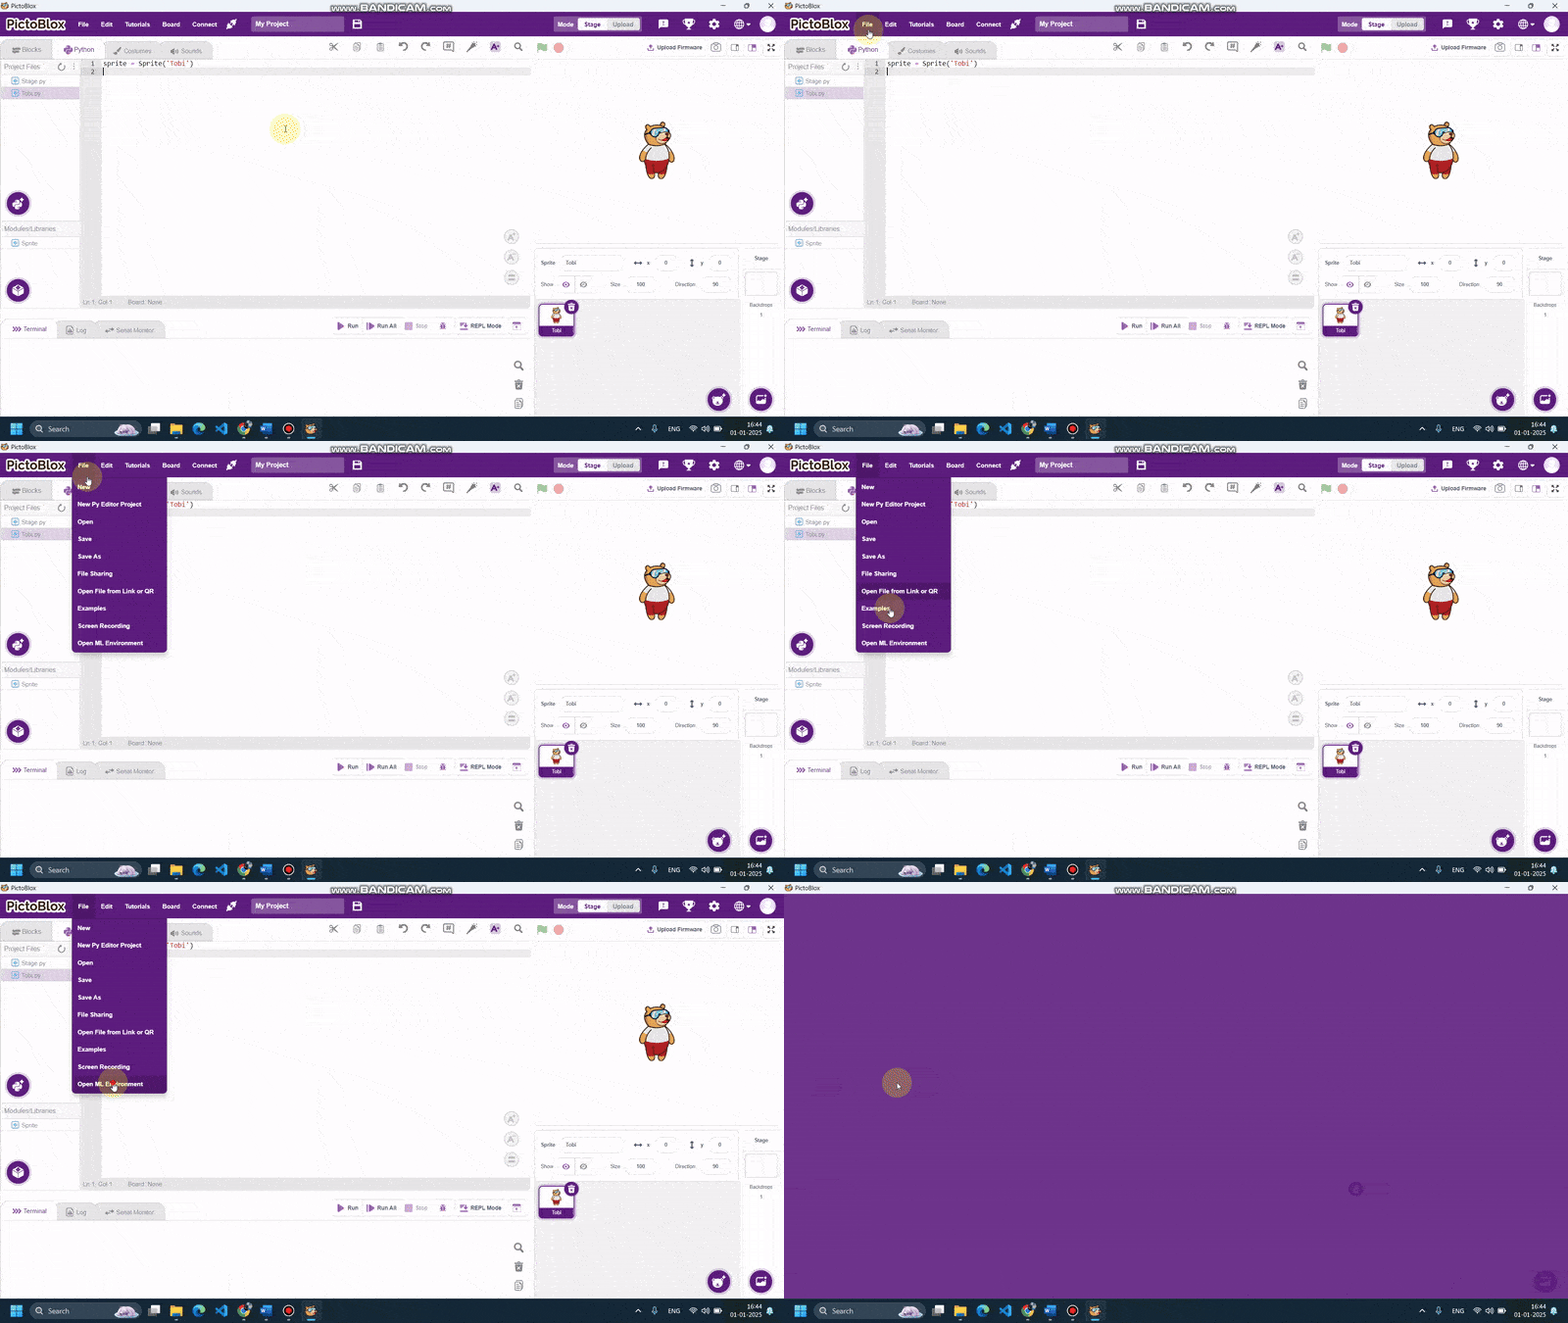
Note: before we proceed further you have to update the Python dependencies for ML environment
3. Go to the ML environment settings option and click update dependencies. this will take some time based on the strength of your internet connection.
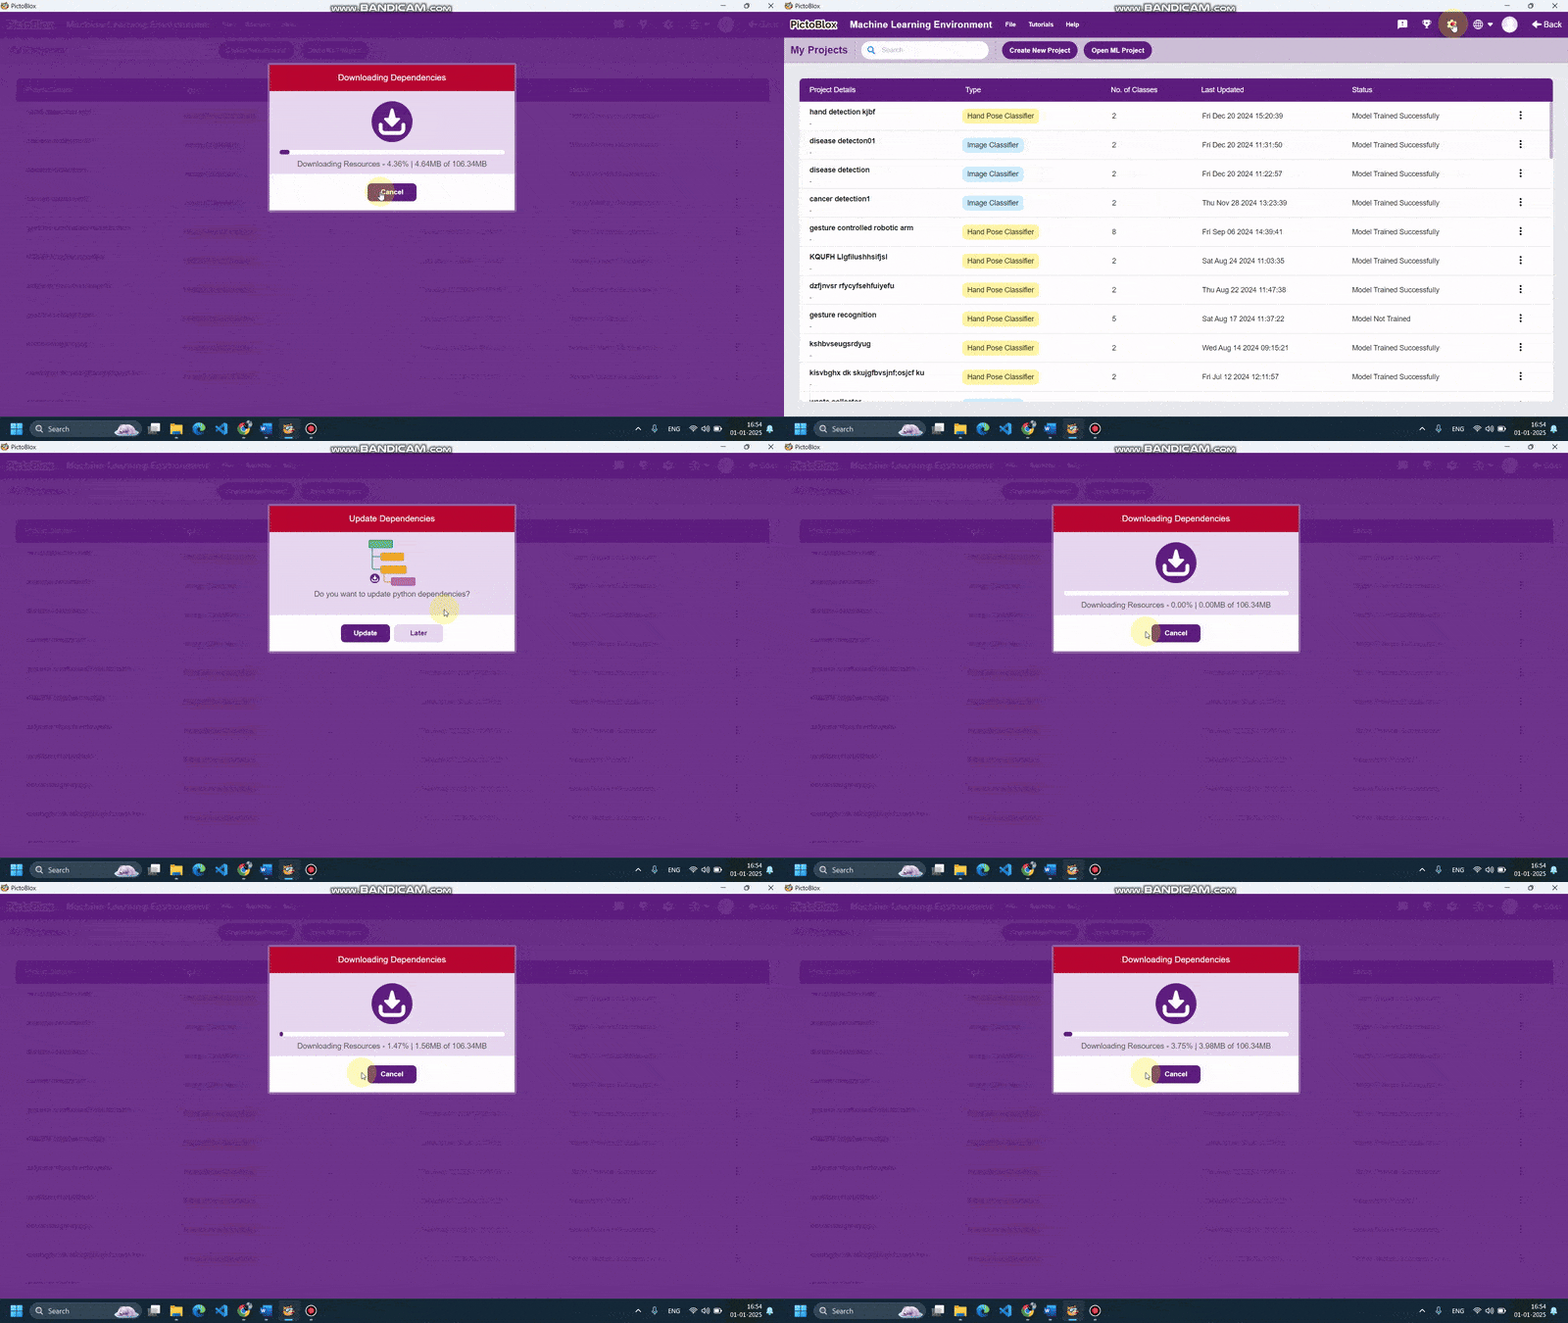
4. after successfully updating the dependencies, you can create ML models. click on Create New Project, you will be directed to a new screen, select the hand pose classifier extension, and name your project.
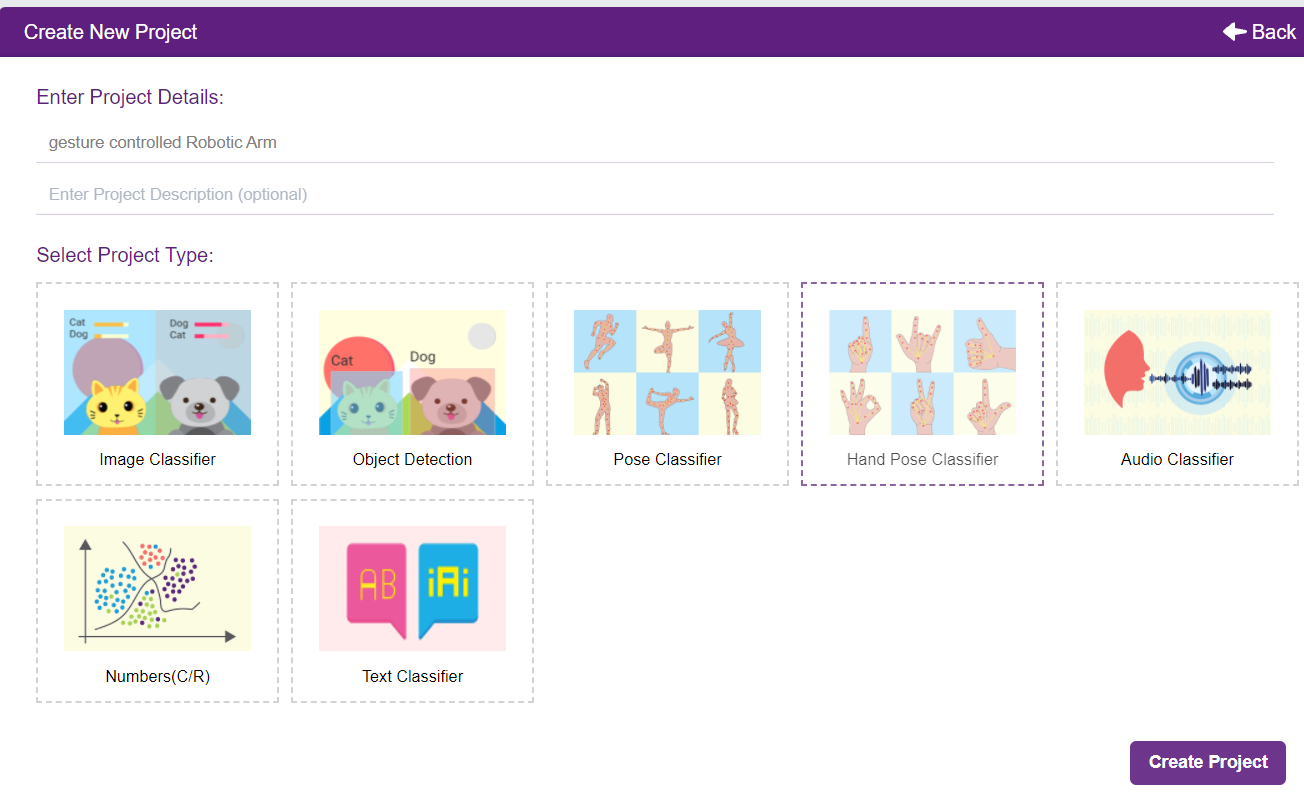
5. You shall see the Classifier workflow with two classes already made for you. Your environment is all set. Now it’s time to upload the data.
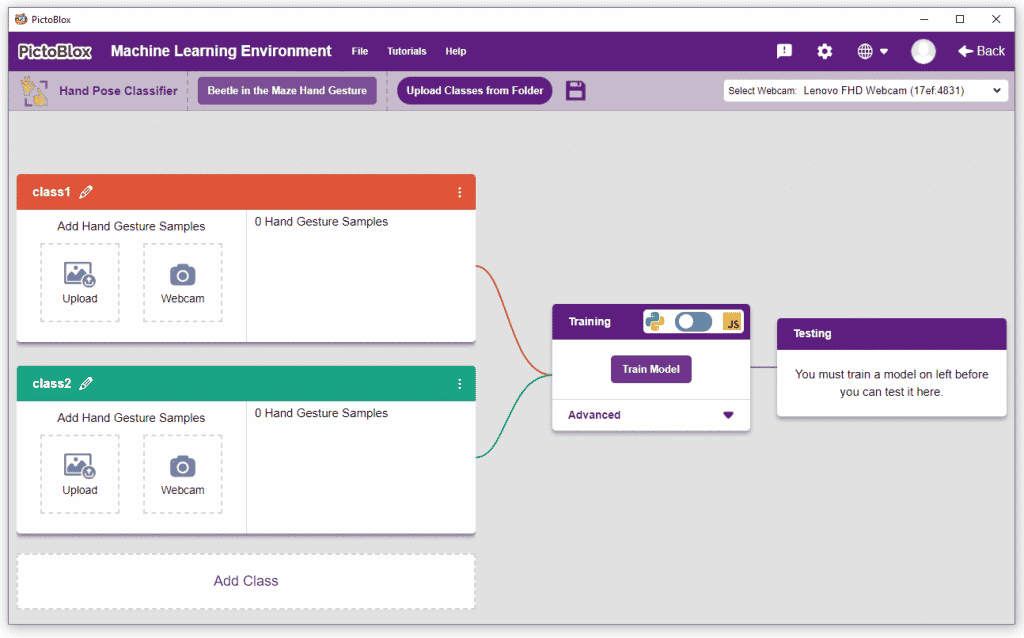
Class in Hand Gesture Classifier
There are 2 things that you have to provide in a class:
- Class Name: It’s the name to which the class will be referred as.
- Hand Pose Data: This data can either be taken from the webcam or by uploading from local storage.

Adding Data to Class
You can perform the following operations to manipulate the data into a class.
- Naming the Class: You can rename the class by clicking on the edit button.
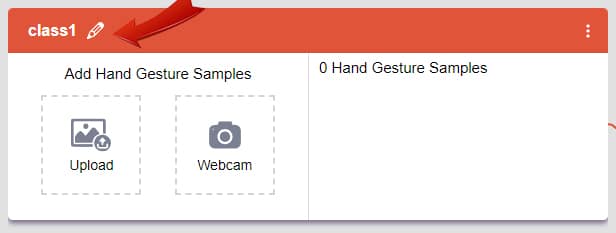
- Adding Data to the Class: You can add the data using the Webcam or by Uploading the files from the local folder.
- Webcam:
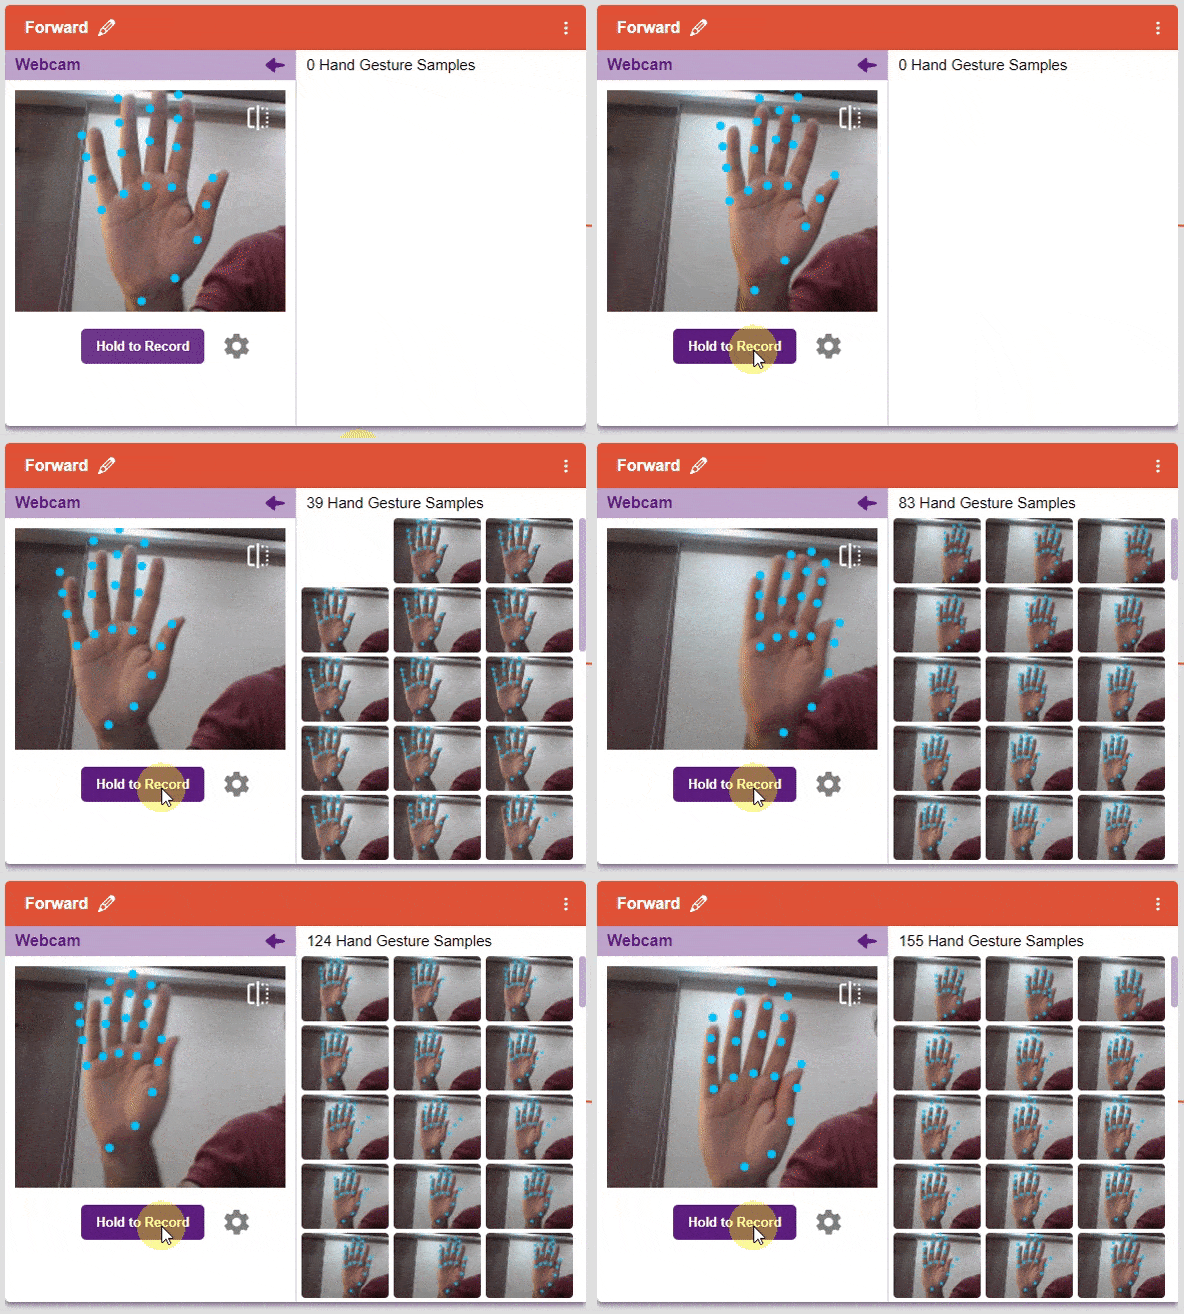
- Webcam:
Training the Model
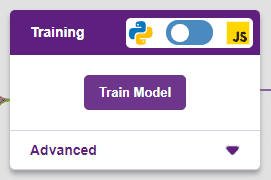
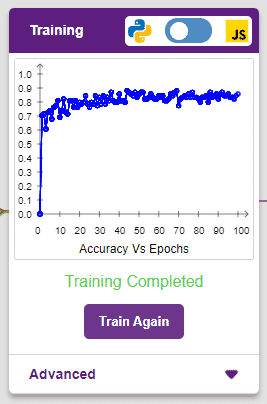
After data is added, it’s fit to be used in model training. In order to do this, we have to train the model. By training the model, we extract meaningful information from the hand pose, and that in turn updates the weights. Once these weights are saved, we can use our model to make predictions on data previously unseen.
The accuracy of the model should increase over time. The x-axis of the graph shows the epochs, and the y-axis represents the accuracy at the corresponding epoch. Remember, the higher the reading in the accuracy graph, the better the model. The range of the accuracy is 0 to 1.
Testing the Model
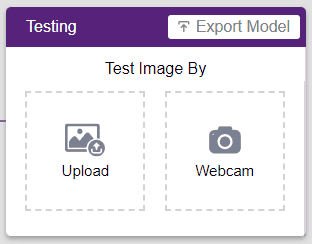
To test the model, simply enter the input values in the “Testing” panel and click on the “Predict” button.
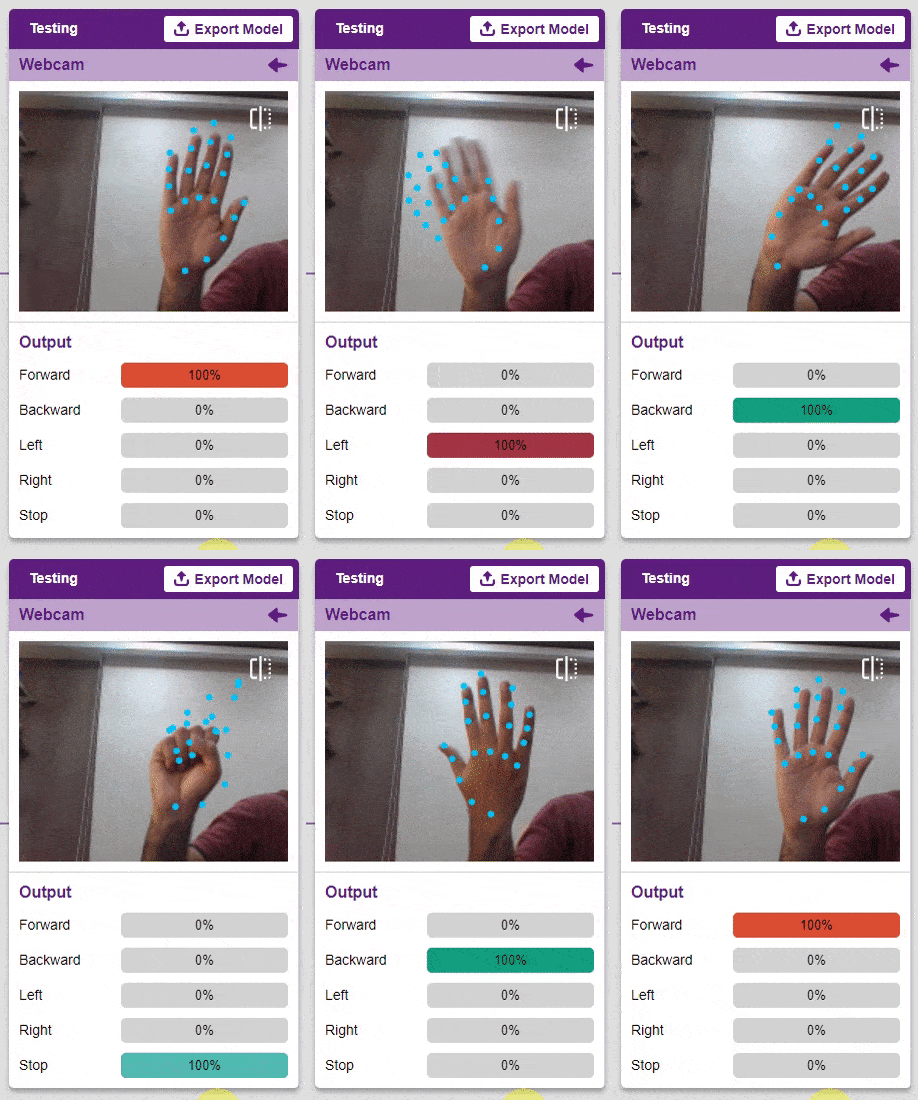
The model will return the probability of the input belonging to the classes.
Export in Python Coding
Click on the “Export Model” button on the top right of the Testing box, and PictoBlox will load your model into the Python Coding Environment if you have opened the ML Environment in Python Coding.
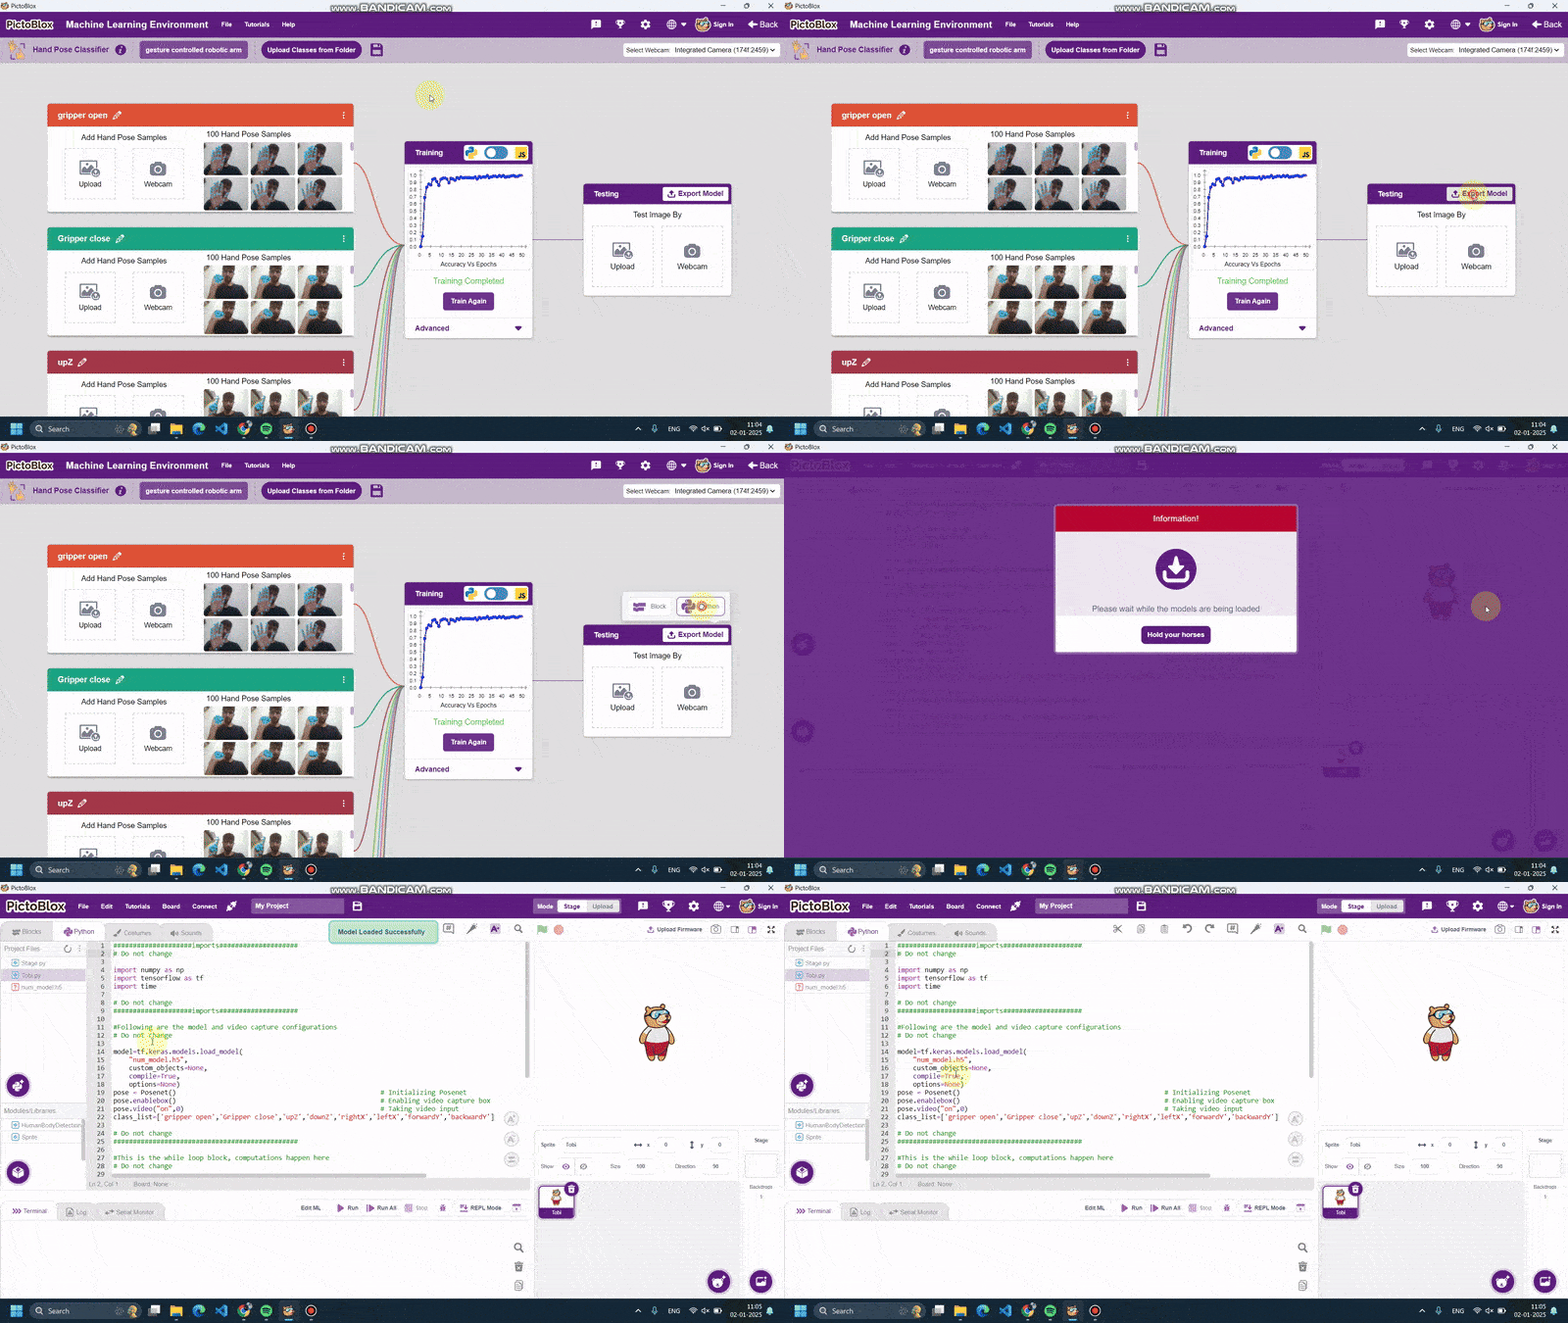
Python Script
| #Following are the model and video capture configurations # Do not changemodel=tf.keras.models.load_model( “num_model.h5”, custom_objects=None, compile=True, options=None) pose = Posenet() # Initializing Posenet pose.enablebox() # Enabling video capture box pose.video(“on”,0) # Taking video input class_list=[‘gripper open’,’Gripper close’,’upZ’,’downZ’,’rightX’,’leftX’,’forwardY’,’backwardY’] # List of all the classes # Do not change #This is the while loop block, computations happen here while True: # for loop to iterate through 21 points of recognition coordinate_xy_tensor = tf.expand_dims(coordinate_xy, 0) # Expanding the dimension of the coordinate list # Do not change |
We request you to please don’t change the above code. this is the script generated by pictoblox for our ML model. The model is complete but we need to write a line of code to embed it with our Robotic arm.
Follow the steps below.
- We need to define sprite and add quarky into our model.
- Secondly, we need to initiate the robotic arm. below given code calls the sprite and initializes the quarky and Robotic arm for our model.
sprite=Sprite(“Tobi”)
import numpy as np
import tensorflow as tf
import time
Time =10
quarky=Quarky()
roboticArm = RoboticArm(1,2,3,4)
roboticArm.calibrate(0,0,0)
roboticArm.setgripperangle(30,70)
roboticArm.sethome()
quarky.cleardisplay() - Now we will be defining our costume function in which we will define all the motions for our robotic arm. the function is given below.
| def arm(predicted_class): if pose.ishanddetected(): if predicted_class==”gripper open”: roboticArm.gripperaction(‘open’) sprite.say(“opening gripper”) elif predicted_class==”Gripper close”: roboticArm.gripperaction(“close”) sprite.say(“closing gripper”) elif predicted_class==”upZ”: roboticArm.movebyinoneaxis(10,”Z”,Time) sprite.say(“moving upward”) elif predicted_class==”downZ”: roboticArm.movebyinoneaxis(-10,”Z”,Time) sprite.say(“moving downward”) elif predicted_class==”rightX”: roboticArm.movebyinoneaxis(10,”X”,Time) sprite.say(“moving right side”) elif predicted_class==”leftZ”: roboticArm.movebyinoneaxis(-10,”X”,Time) sprite.say(“moving left side”) elif predicted_class==”forwardY”: roboticArm.movebyinoneaxis(10,”Y”,Time) sprite.say(“moving forward”) elif predicted_class==”backwardY”: roboticArm.movebyinoneaxis(-10,”Y”,Time) sprite.say(“moving backward”) else: roboticArm.sethome() sprite.say(“auto homing”) |
4. Now need to add the initial settings and function definition inn our model.
| sprite=Sprite(“Tobi”) import numpy as np import tensorflow as tf import time Time =10 quarky=Quarky() roboticArm = RoboticArm(1,2,3,4) roboticArm.calibrate(0,0,0) roboticArm.setgripperangle(30,70) roboticArm.sethome() quarky.cleardisplay()#Following are the model and video capture configurations # Do not change model=tf.keras.models.load_model( # Do not change def arm(predicted_class): #This is the while loop block, computations happen here while True: # for loop to iterate through 21 points of recognition coordinate_xy_tensor = tf.expand_dims(coordinate_xy, 0) # Expanding the dimension of the coordinate list # Do not change |
5. We are all done with the model and function definition we just need to call it into the script. call the function after the last print command inside the while loop. as shown below.
| sprite=Sprite(“Tobi”) import numpy as np import tensorflow as tf import time Time =10 quarky=Quarky() roboticArm = RoboticArm(1,2,3,4) roboticArm.calibrate(0,0,0) roboticArm.setgripperangle(30,70) roboticArm.sethome() quarky.cleardisplay()#Following are the model and video capture configurations # Do not change model=tf.keras.models.load_model( # Do not change def arm(predicted_class): #This is the while loop block, computations happen here while True: # for loop to iterate through 21 points of recognition coordinate_xy_tensor = tf.expand_dims(coordinate_xy, 0) # Expanding the dimension of the coordinate list arm(predicted_class) # Do not change |
Now our script is complete. connect your quarky with pictobox via USB or Bluetooth and run the code. happy learning.


