Introduction
In this activity, we will how we can program a robotic arm to work independently without human interference or external system requirements. for this activity we will be writing the code in python environment of pictoblox. So, Let’s get started.
Let’s Code
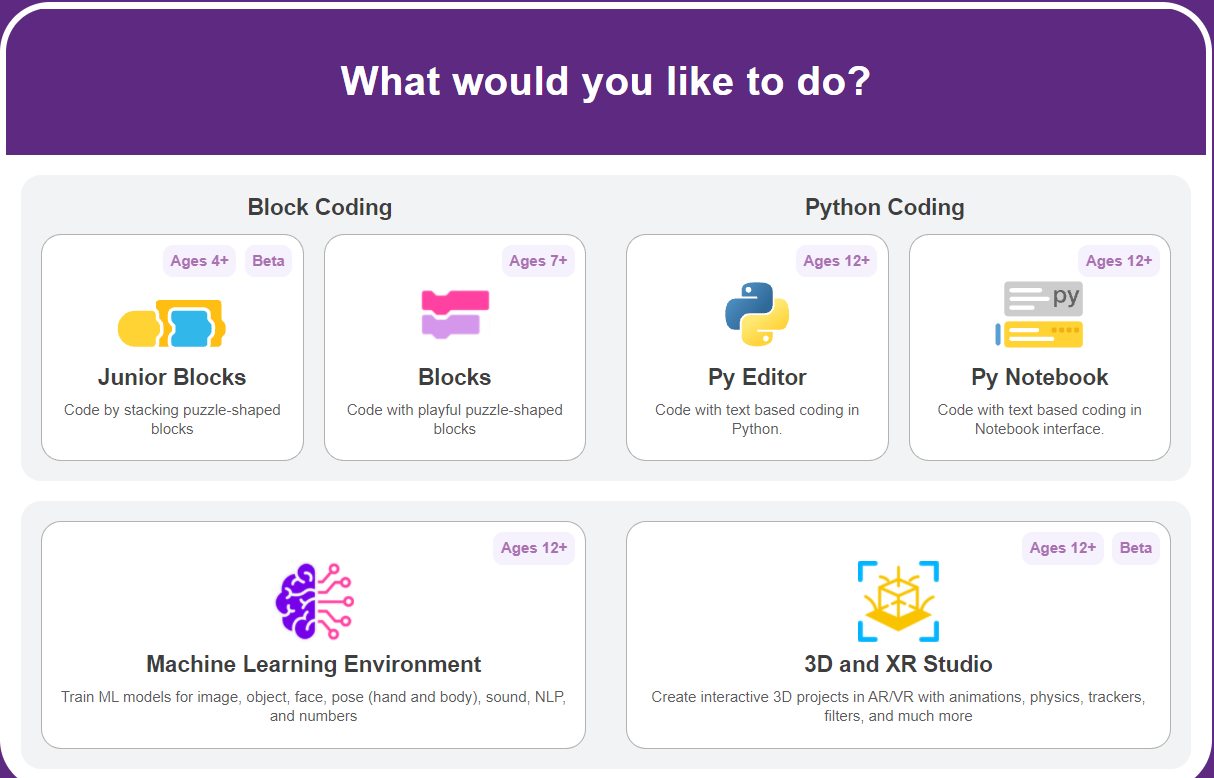
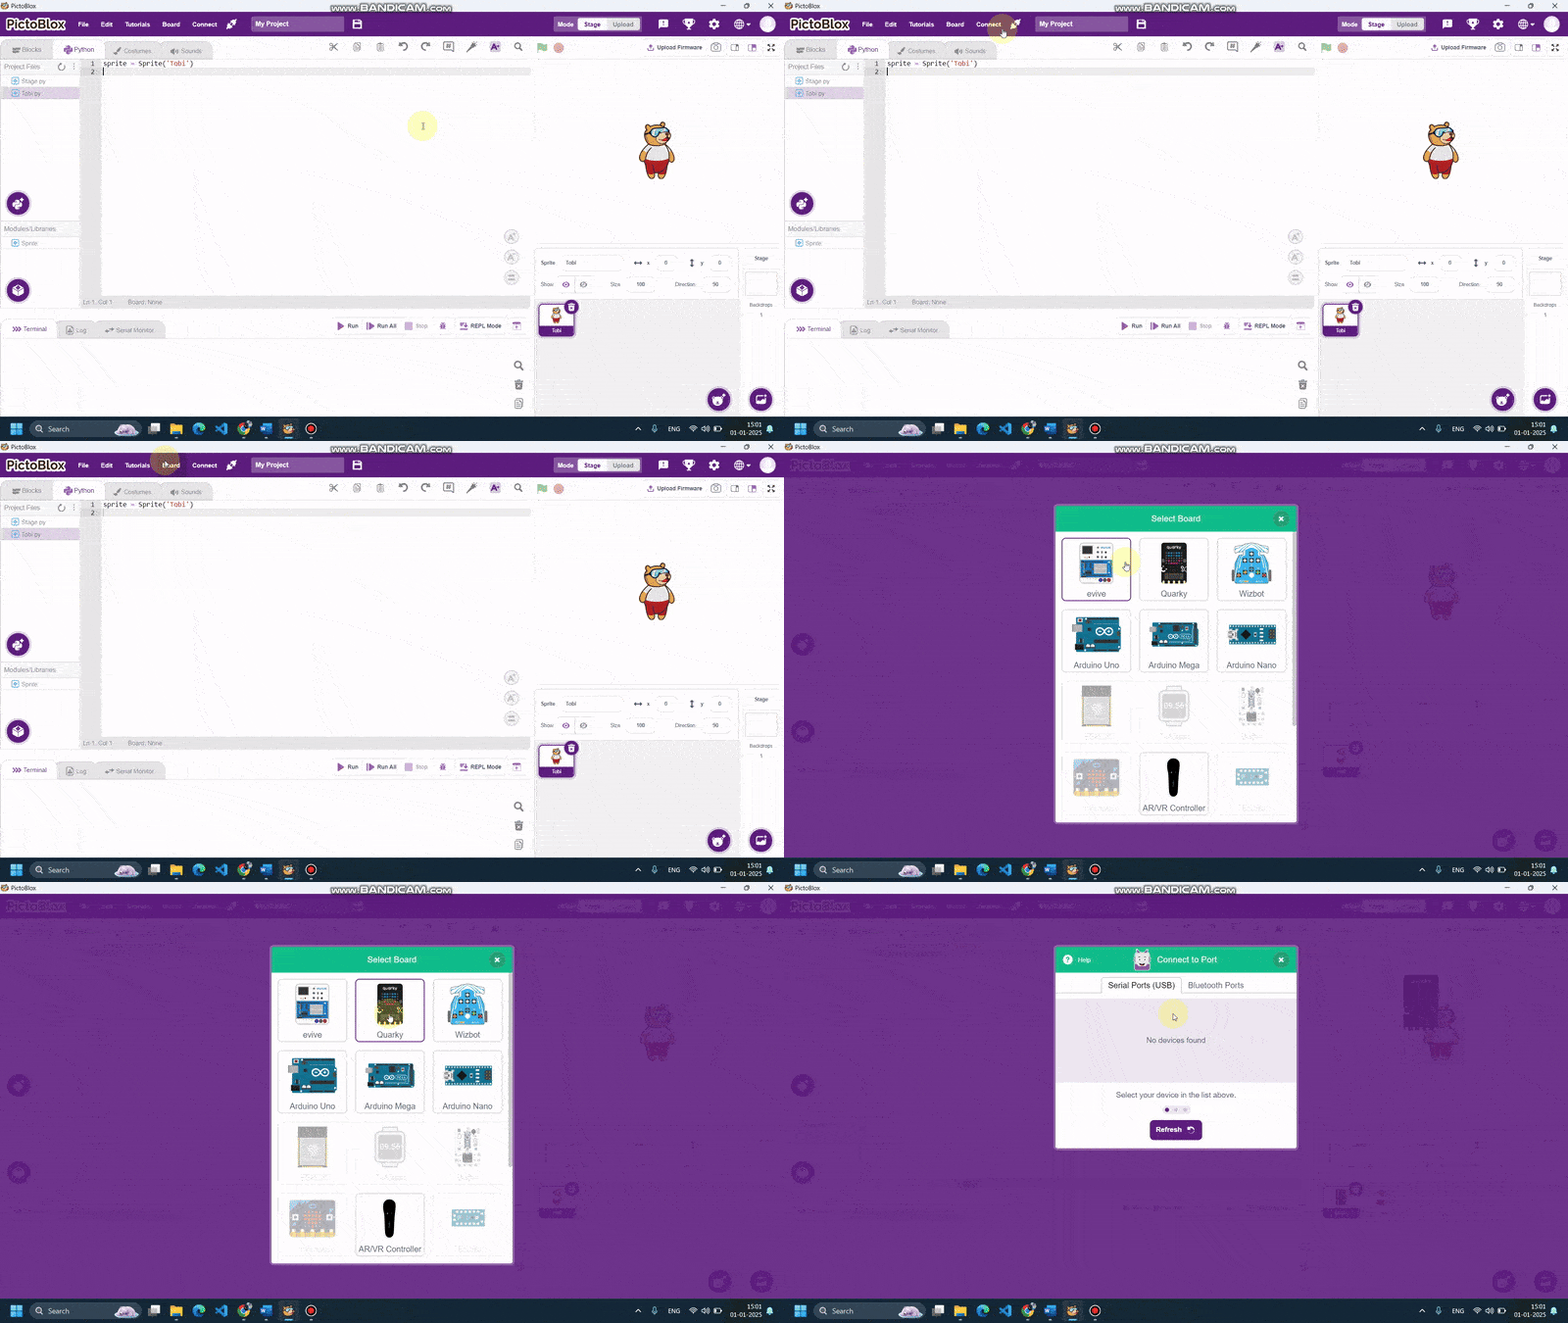
- Open Pictoblox and choose the python as coding environment.

- Go to the boards tab and select.

- Quarky boards will be imported into the script area by default. firstly we need to initlize the robotic arm and setting related to the robot. follow the script given below.
sprite = Sprite(‘Tobi’)
quarky=Quarky()
roboticArm = RoboticArm(1,2,3,4)
roboticArm.setgripperangle(90,145)
roboticArm.sethome()
import time
4. Now create a forever loop and define all the sets and movements inside the loop. as shown below.
Complete Script
Python Script for Upload Mode
1. Change the work code from stage mode to upload mode. create the below script.
from quarky import *
from expansion_addon import RoboticArm
import time
roboticArm = RoboticArm(1,2,3,4)
roboticArm.setgripperangle(90,145)
roboticArm.sethome()
while True:
roboticArm.gripperaction(“open”)
roboticArm.movexyzonebyone(0,200,15,1000)
roboticArm.gotoinoneaxis(180,”Y”,1000)
roboticArm.gripperaction(“close”)
roboticArm.gotoinoneaxis(150,”X”,1000)
roboticArm.gripperaction(“open”)
roboticArm.sethome()
roboticArm.gripperaction(“close”)
time.sleep(1)
roboticArm.gripperaction(“open”)
roboticArm.movexyzonebyone(-60,160,10,1000)
roboticArm.gotoinoneaxis(200,”Y”,1000)
roboticArm.gotoinoneaxis(15,”Z”,1000)
roboticArm.gripperaction(“close”)
roboticArm.gotoinoneaxis(150,”X”,1000)
roboticArm.gripperaction(“open”)
roboticArm.sethome()
roboticArm.gripperaction(“close”)
time.sleep(0.2)
2. connect your quarky via USB and upload the code twice. by doing this , you have uploaded the code into the quarky memory and there is no need for any system or pictoblox to remain connected. now quarky can run independently


